
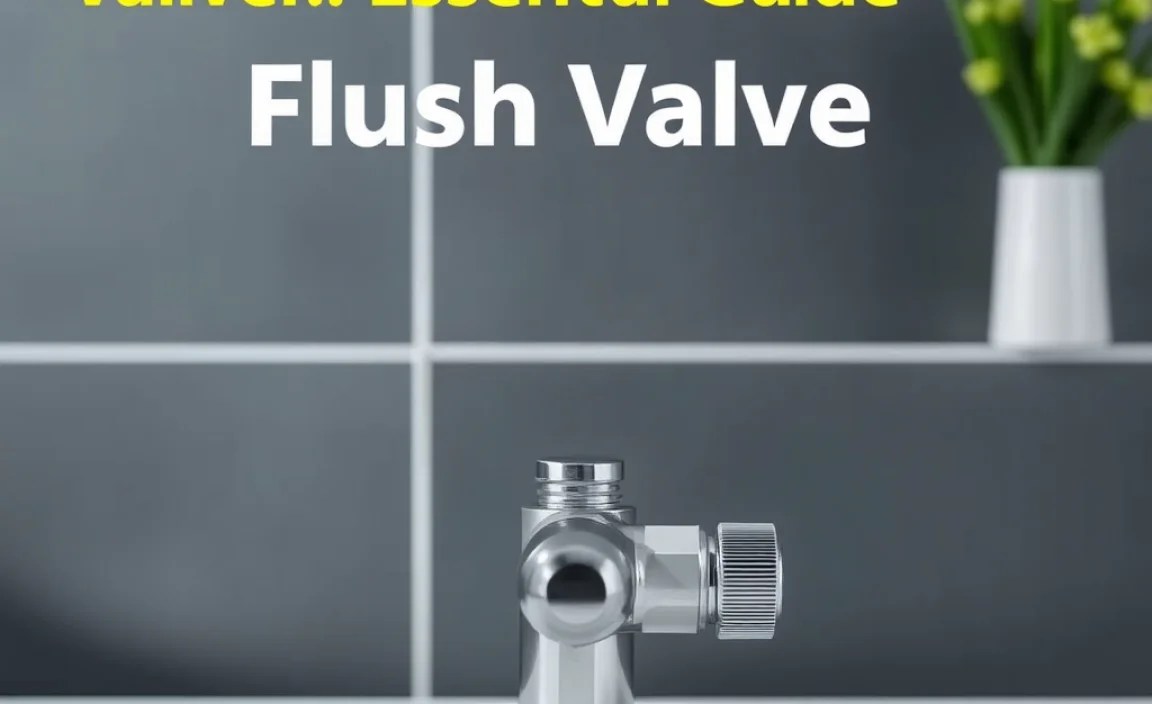
Flush valves in plumbing are crucial for efficient toilet operation. Understanding their key parts—like the tank, fill valve, flushometer, flush lever, and flush valve seat—helps in diagnosing issues and performing simple DIY repairs, ensuring your toilet flushes reliably and saves water.
Dealing with a toilet that won’t flush right can be a real pain. It’s that moment when you push the handle, and… nothing. Or worse, it keeps running! Many homeowners feel a bit stumped when it comes to toilet mechanics. But guess what? The magic behind every flush is actually quite simple and broken down into a few key components within the tank.
Understanding these parts is the first step to fixing a leaky toilet, a weak flush, or a constantly running tank. Don’t worry, we’re going to break down exactly what each piece does in plain English, so you can tackle these common issues with confidence. Get ready to become a toilet troubleshooting pro!
The Main Players: Understanding Your Flush Valve Components

At its heart, a flush valve is the system inside your toilet tank that controls the water flow to your toilet bowl. When you press the flush lever, you’re engaging a chain of events orchestrated by several essential components. Let’s break down each one, so you know exactly what’s happening behind the scenes during each flush.
1. The Fill Valve (Also known as the Ballcock)
This is the unsung hero that refills the tank after each flush. Think of it as the water replenisher. Its main job is to shut off the water supply once the tank reaches the proper water level. This prevents the tank from overflowing.
What it does:
- Allows fresh water into the tank after a flush.
- Monitors the water level and shuts off automatically when full.
- Often has an overflow tube built-in as a safety measure against overfilling.
Modern fill valves are typically float-cup or float-ball types. The older ballcock style has a large float ball attached to an arm, while the float-cup type has a smaller cup that slides up and down the valve’s shank. Both achieve the same goal: precise water level control. You can find great resources on fill valve types and troubleshooting from organizations like Engineering Toolbox which details water usage in toilets.
2. The Flush Lever and Handle
This is the part you see and interact with every day. It’s the trigger for the entire flushing process.
What it does:
- When you push or pull the handle, it lifts a chain or a rod.
- This action pulls up the flapper, opening the flush valve.
Handles come in various styles and materials, from basic plastic to decorative metal finishes. The key function is to provide the mechanical advantage needed to lift the flapper and initiate the flush. Sometimes, a loose handle or a stretched chain can prevent a good flush.
3. The Lift Chain or Rod
Connected to the flush lever and the flapper, this is the critical link that transfers the action of the handle to the seal of the flush valve.
What it does:
- Lifts the flapper when the flush lever is activated.
- Ensures the flapper opens wide enough for a sufficient water release.
It’s important for the chain to have the correct tension. Too loose, and it won’t lift the flapper properly. Too tight, and the flapper might not seal completely, leading to a leak. Most chains have S-hooks or clips that allow for easy length adjustment.
4. The Flapper (Flush Valve Seal)
This is arguably the most common culprit when toilets leak or run continuously. The flapper is a rubber or plastic seal that sits at the bottom of the tank, covering the opening to the toilet bowl (the flush valve seat).
What it does:
- Forms a watertight seal to keep water in the tank.
- Lifts when the flush lever is activated, allowing water to rush from the tank into the bowl.
- Drops back down to reseal the flush valve seat once the tank empties.
Flappers are designed to last for several years, but they can degrade over time due to chlorine in the water or simply become worn out. A worn, brittle, or warped flapper won’t create a good seal, leading to that annoying phantom-flush or constant running sound as water slowly leaks from the tank into the bowl.
5. The Flush Valve Seat
This is the circular opening at the bottom of the tank that the flapper seals against. It’s the gateway between the tank and the bowl.
What it does:
- Provides a flat, smooth surface for the flapper to create a watertight seal.
- The opening through which water enters the toilet bowl during a flush.
The flush valve seat is typically part of a larger assembly called the flush valve or flush valve mechanism. If the seat itself is corroded, chipped, or has debris on it, the flapper won’t be able to form a perfect seal, causing leaks. Many flappers are designed to fit standard flush valve seats, but some specialty toilets might have integrated flush valve assemblies.
6. The Overflow Tube
This is a crucial safety component, usually a vertical tube located inside the tank. It’s part of the flush valve mechanism.
What it does:
- Directs excess water from the tank into the toilet bowl if the fill valve fails to shut off properly.
- Prevents the toilet tank from overflowing and causing water damage to your bathroom floor.
The overflow tube is designed to be submerged under the normal water level. If the water level rises above the top of the overflow tube, the excess water flows down it. This is a critical component for preventing water waste and damage from a malfunctioning fill valve. Generally, if water is constantly going down the overflow tube, your fill valve needs adjustment or replacement.
Understanding Flushometer Valves (Commercial & High-Efficiency Toilets)

While the components above are typical for a standard residential toilet tank, some toilets, especially in commercial buildings or newer high-efficiency models, use a different system called a flushometer valve. These are designed for higher usage and more powerful flushes. They don’t have a tank in the traditional sense; instead, they connect directly to the water supply line.
Key Components of a Flushometer Valve:
- Diaphragm: This is the flexible heart of the system. When water pressure is released, the diaphragm moves, initiating the flush.
- Piston: In some designs, a piston helps control the water flow and return the valve to its closed position.
- Handle or Sensor: This is the user interface—either a manual handle or a motion sensor—that triggers the flushing cycle by releasing pressure.
- Shut-off Valve: A manual valve on the water supply line to the flushometer, necessary for maintenance.
- Vacuum Breaker: Another safety feature that prevents back-siphoning of dirty water from the toilet into the clean water supply.
Flushometer valves are more complex and require specific tools and knowledge for repair. For DIYers, if you have a flushometer-style toilet, it’s often best to consult a professional plumber unless you have experience with these systems. The U.S. Environmental Protection Agency (EPA) WaterSense program offers great insights into water-efficient plumbing technologies, including high-efficiency toilets and flushometer systems: EPA WaterSense.
When to Replace Flush Valve Components
Knowing the parts is great, but knowing when to fix them is even better. Here are the tell-tale signs that it’s time to get your hands dirty (or call a plumber):
- Constant Running Water: Typically signals a worn or misaligned flapper, or a fill valve set too high.
- Weak Flush: Can be caused by a chain that’s too long, a partially blocked flush valve seat, or insufficient water in the tank.
- Phantom Flushes (Intermittent running): Another sign of a leaky flapper or a faulty flush valve seat.
- Water Leaking into the Bowl: The most common sign that your flapper isn’t sealing properly.
- Fill Valve Won’t Shut Off: Indicates a problem with the float mechanism or internal seals of the fill valve.
Troubleshooting a Leaky Flush Valve: A DIYer’s Guide

The most common issue that homeowners face is a leaky flush valve, often heard as a continuous hiss or trickle of water even when the toilet hasn’t been flushed. This is usually due to the flapper not creating a proper seal against the flush valve seat. Here’s how you can tackle this!
Tools You’ll Need:
- Adjustable wrench
- Screwdriver (flathead or Phillips, depending on your handle)
- New flapper (make sure it matches your flush valve type and size)
- Towel or sponge for catching water
- Optional: Plumbing sealant or tape if dealing with threads
Step-by-Step Guide:
- Turn Off the Water Supply: Locate the shut-off valve on the wall behind the toilet. Turn it clockwise until it stops.
- Empty the Tank: Flush the toilet once to drain most of the water from the tank. You can use the towel or sponge to soak up any remaining water at the bottom.
- Inspect the Flapper: Gently lift the flapper. Check for any signs of wear, cracks, or rigidity. Look at the chain – is it too long, too short, or tangled?
- Check the Flush Valve Seat: Run your finger around the rim of the flush valve seat where the flapper rests. Is it smooth? Are there any nicks, corrosion, or debris? Clean it gently with a cloth.
- Test the Flapper Seal (Optional but Recommended): Pour a few drops of food coloring into the tank. Let is sit for 15-20 minutes without flushing. If the color appears in the toilet bowl, your flapper is leaking.
- Replace the Flapper:
- Disconnect the old flapper from the flush valve seat posts or ears.
- Detach the chain from the flush lever arm.
- Attach the new flapper, ensuring it’s oriented correctly.
- Connect the chain to the lever arm. Adjust the chain length so that when the handle is released, the flapper is just barely open, with about 1/2 inch of slack. The flapper should seal the opening when resting.
- Turn the Water Back On: Slowly turn the shut-off valve counter-clockwise to restore the water supply.
- Test the Flush: Let the tank fill. Flush the toilet several times. Listen for any running water and check that the tank stops filling at the correct level (usually just below the overflow tube).
Fill Valve Adjustment and Replacement
If your issue isn’t a leaking flapper, it might be the fill valve. This component regulates how much water enters the tank. Common problems include the valve not shutting off completely (causing continuous running) or not filling the tank high enough (leading to weak flushes).
Adjusting the Float
Most modern fill valves have an adjustable float. This is often a screw adjustment on the valve arm or a slider on a float cup mechanism.
How to adjust:
- For weaker flushes: Slowly turn the adjustment screw or move the float arm down. This allows the tank to fill to a slightly lower level, which can sometimes improve flush velocity. Be careful not to set it too low, or flushes will be ineffective.
- For toilets that won’t stop running: The float might be set too high, causing water to flow into the overflow tube. Gently push the float cup down or adjust the arm upwards so that the water level stops just below the top of the overflow tube.
Replacing the Fill Valve
If adjusting the float doesn’t solve the problem, or if the fill valve is audibly leaking or not engaging at all, it’s time for a replacement. Thankfully, fill valves are one of the most straightforward toilet parts to replace.
Tools for Fill Valve Replacement:
- Adjustable wrench
- Bucket or towel
- New fill valve kit (ensure it’s compatible with your toilet tank type)
Steps for Fill Valve Replacement:
- Turn off water supply and drain the tank (as described in the flapper replacement steps).
- Disconnect the water supply line from the bottom of the old fill valve using an adjustable wrench. Have a towel or bucket ready for residual water.
- Remove the old fill valve: Inside the tank, there’s usually a large nut holding the fill valve in place. Unscrew this nut from the bottom of the tank. Lift the old fill valve out of the tank.
- Install the new fill valve: Place the new fill valve into the tank opening from the inside. On the outside, hand-tighten the lock nut that comes with the new valve. Then, use the adjustable wrench to tighten it another quarter to half turn. Ensure the valve is straight.
- Reconnect water supply line: Attach the water supply line to the fill valve’s inlet according to the manufacturer’s instructions.
- Turn on water and test: Slowly turn the water supply back on. Let the tank fill completely. Check for leaks at the connection point and around the base of the fill valve. Adjust the float on the new valve to the correct water level (usually indicated by a line on the valve or in the instructions).
For more detailed instructions and visual guides, resources from plumbing supply manufacturers like Kohler or American Standard often have helpful videos and diagrams for their specific parts.
Flush Valve Assembly: A Deeper Dive
The flush valve assembly is the collective name for the parts at the bottom of the tank that control water release: the flush valve seat, the overflow tube, and often, the mechanism to which the flapper attaches. On older toilets, this might be a brass component. In newer toilets, it’s often a plastic tower or a two-piece system.
Types of Flush Valve Assemblies:
Understanding the type of flush valve assembly you have is key for troubleshooting and replacement.
<td style=”border: 1px solid black
| Type of Flush Valve Assembly | Description | Common Issues |
|---|---|---|
| Two-Piece (Tank-to-Bowl Gasket) | The flush valve body (which includes the overflow tube) is a separate piece from the tank itself. It seals to the tank base with a large rubber gasket. The flapper system attaches to this body. | Leaking tank-to-bowl gasket, worn flapper seat, cracked overflow tube. |
