
Exhaust fans are straightforward to set up! This beginner’s guide provides clear, step-by-step instructions with simple tools for effortless installation, ensuring better air quality and a more comfortable home environment without the stress.
Welcome! Are you tired of steamy bathrooms or lingering cooking smells? An exhaust fan is your secret weapon for a fresher home. Many homeowners think installing one is a complex DIY project, leading to stuffy rooms and dampness. But it doesn’t have to be! With the right guidance, setting up an exhaust fan can be a simple and rewarding task that anyone can tackle. We’ll break down everything you need to know, from choosing the right fan to getting it humming. Get ready to say goodbye to stale air and hello to a cleaner, more comfortable living space!
Your Essential Exhaust Fan Guide for Beginners


As your go-to DIY expert, I know that dive into home maintenance can seem daunting. But understanding and installing an exhaust fan is surprisingly manageable. Think of it as a crucial step for your home’s health, much like changing an air filter or cleaning your gutters. This guide is designed for you – the beginner who wants clear, no-nonsense advice. We’ll cover what an exhaust fan does, why you need one, and most importantly, how to get it installed with confidence.
Why Install an Exhaust Fan? The Air-Quality Upgrade

Exhaust fans aren’t just fancy gadgets; they’re vital for your home’s well-being. In areas like bathrooms and kitchens, moisture and odors are a common problem. Without proper ventilation, this can lead to:
- Mold and Mildew Growth: Excess humidity creates a perfect breeding ground for mold and mildew, which can affect your health and damage surfaces.
- Lingering Odors: Cooking smells, bathroom odors, and other unpleasant scents can stick around, making your home less enjoyable.
- Reduced Air Quality: Stale air can contribute to headaches, fatigue, and other health issues.
- Damage to Surfaces: Persistent moisture can warp wood, peel paint, and ruin drywall over time.
An exhaust fan efficiently removes this moist, odor-filled air, expelling it outside. This simple act dramatically improves your home’s environment, keeping it cleaner, healthier, and more pleasant. It’s a proactive measure that saves you from bigger problems down the line.
Types of Exhaust Fans for Your Home

Before we get to installation, let’s quickly look at the main types of exhaust fans. Most DIYers will be dealing with these common models:
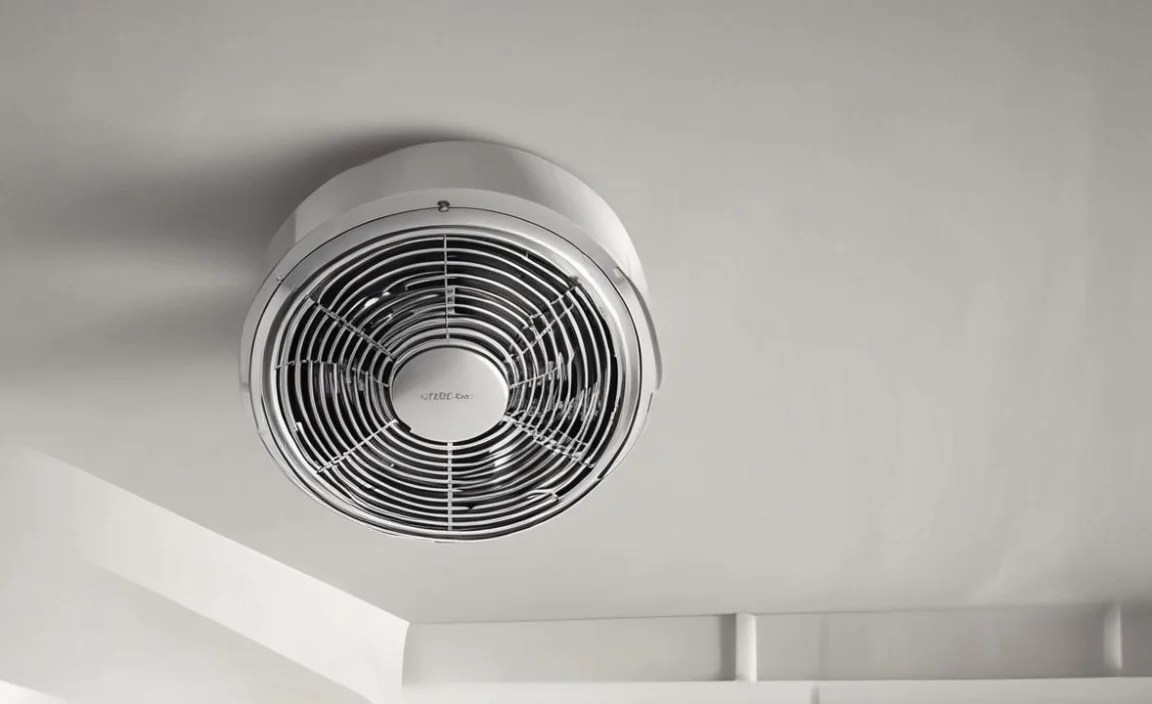
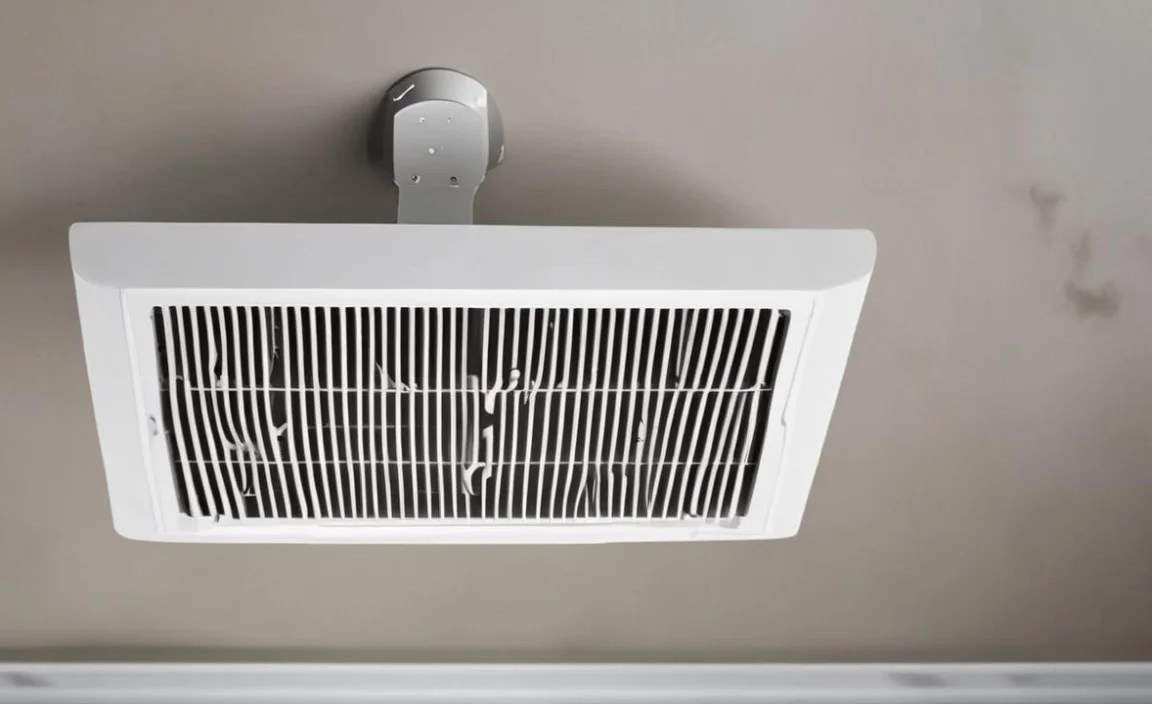
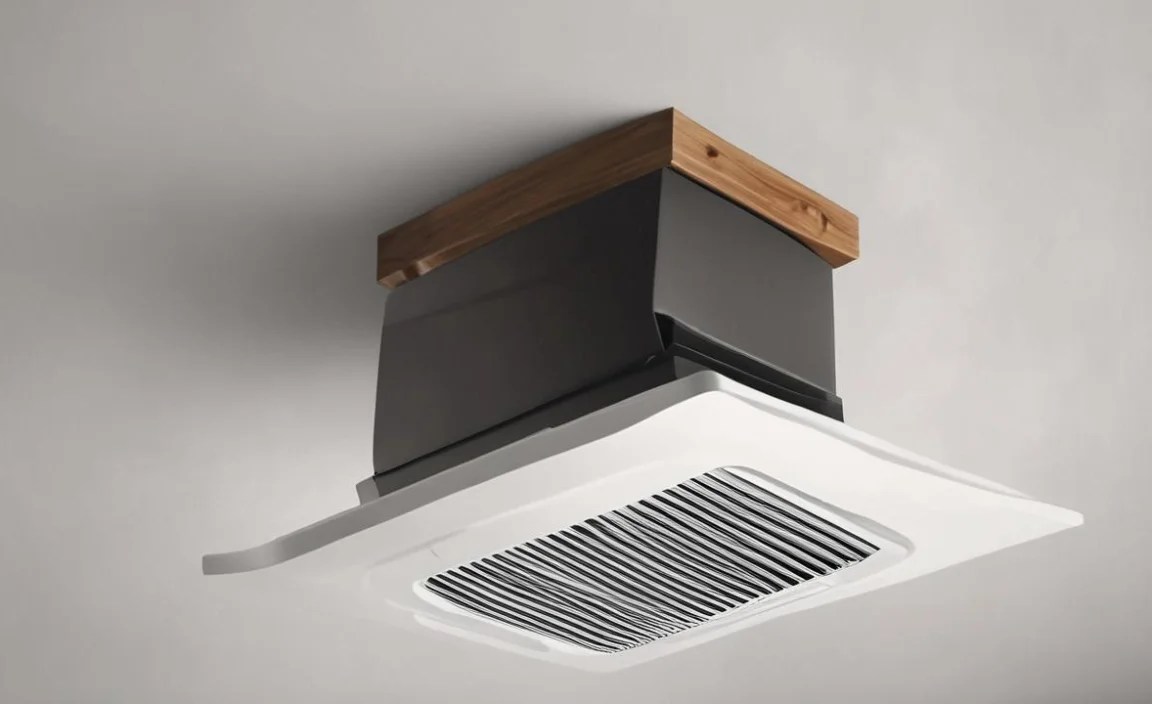
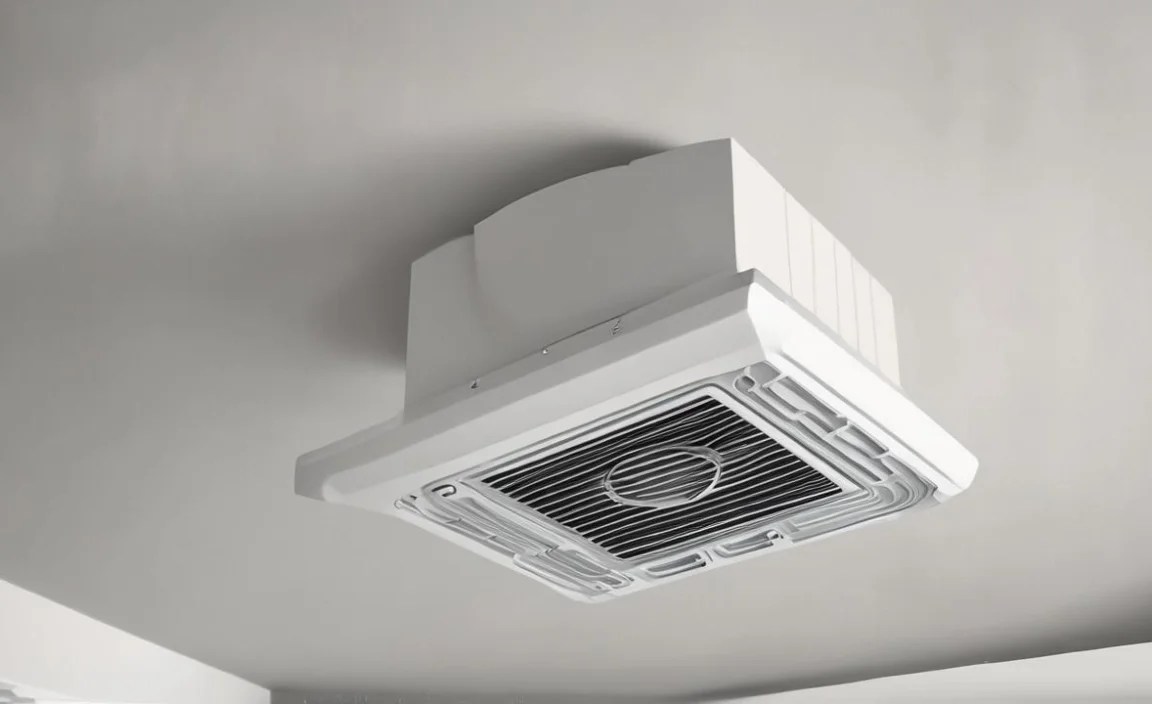
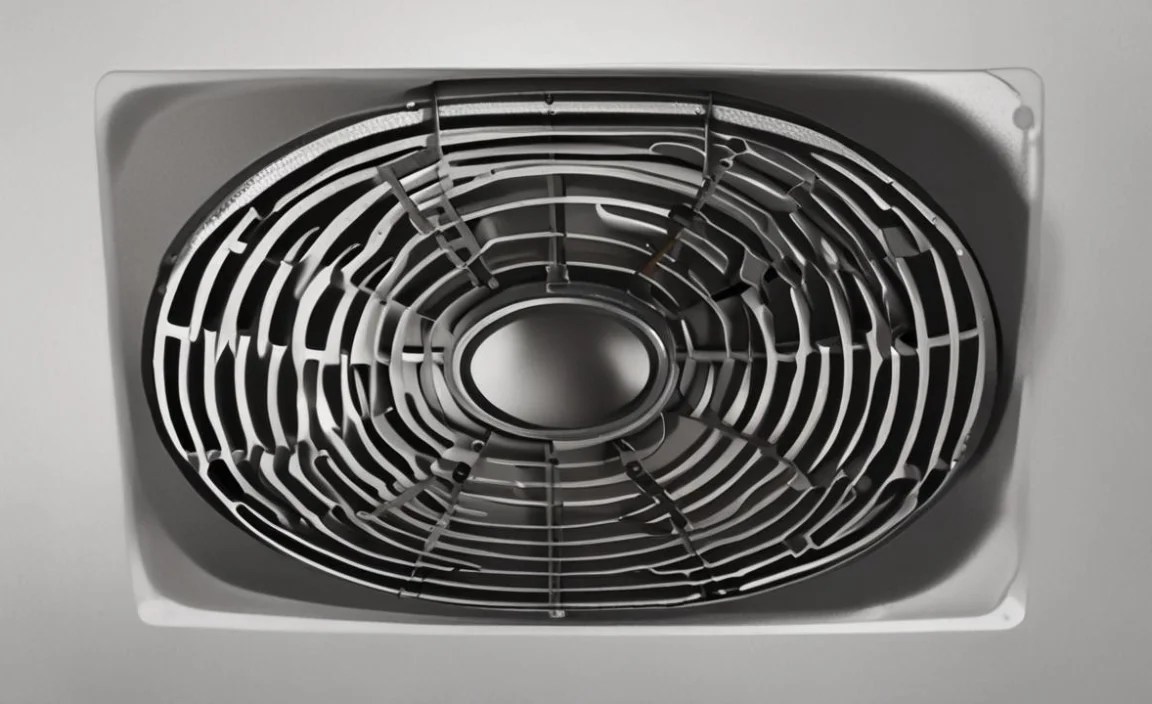
1. Ceiling-Mounted Exhaust Fans
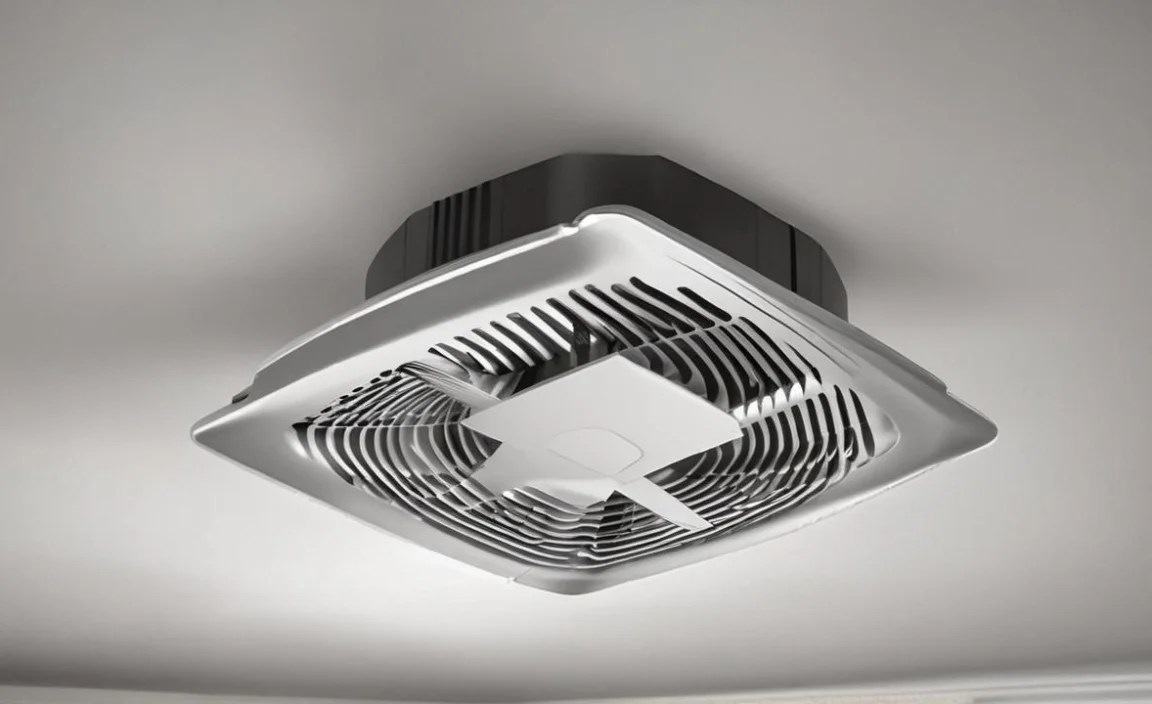
These are the most common type, installed directly into your ceiling. They are ideal for bathrooms and small to medium-sized rooms. They can be ducted through the roof or a wall.
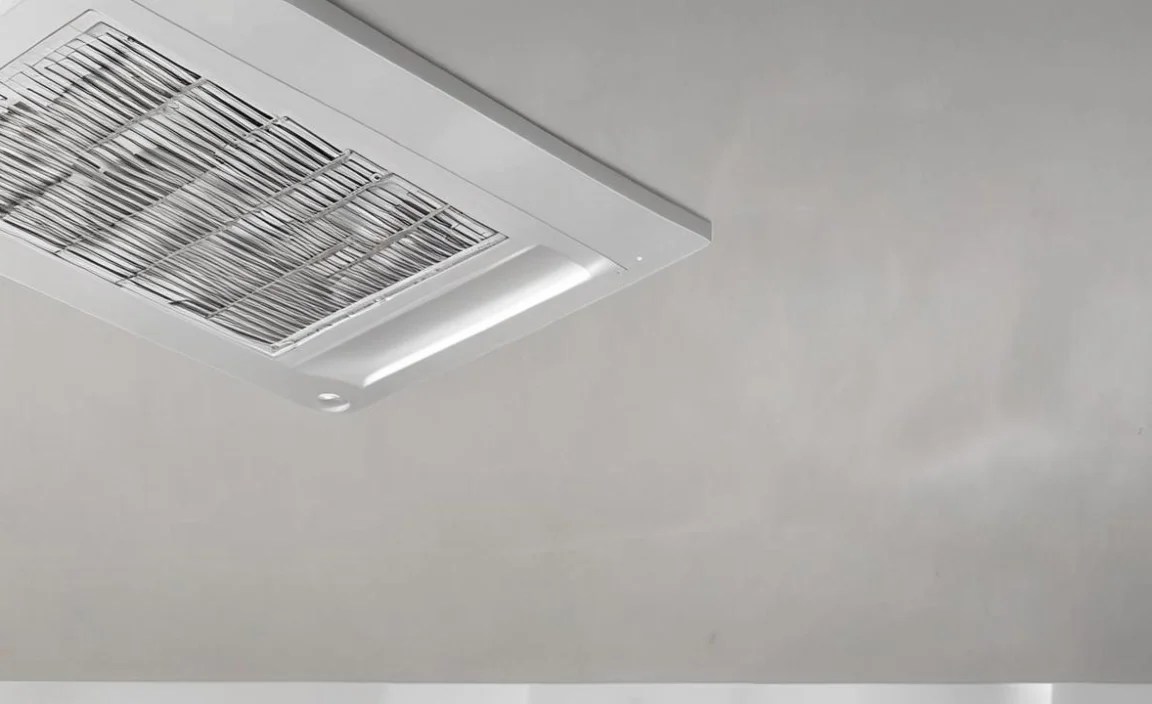
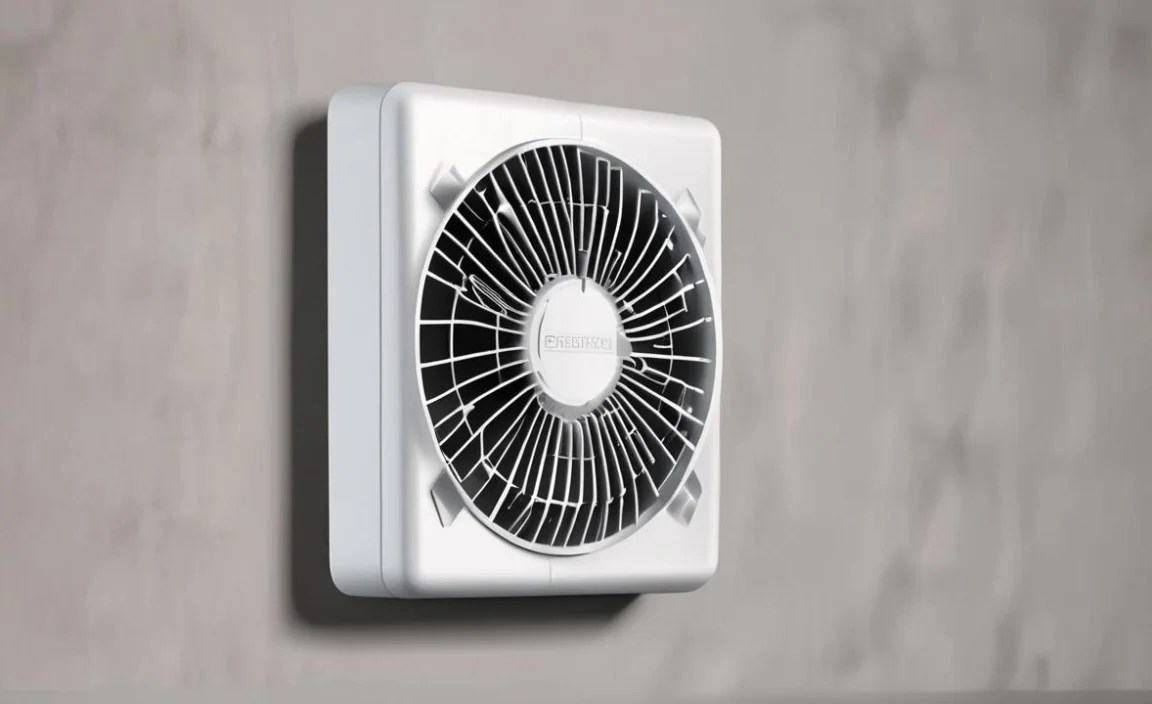
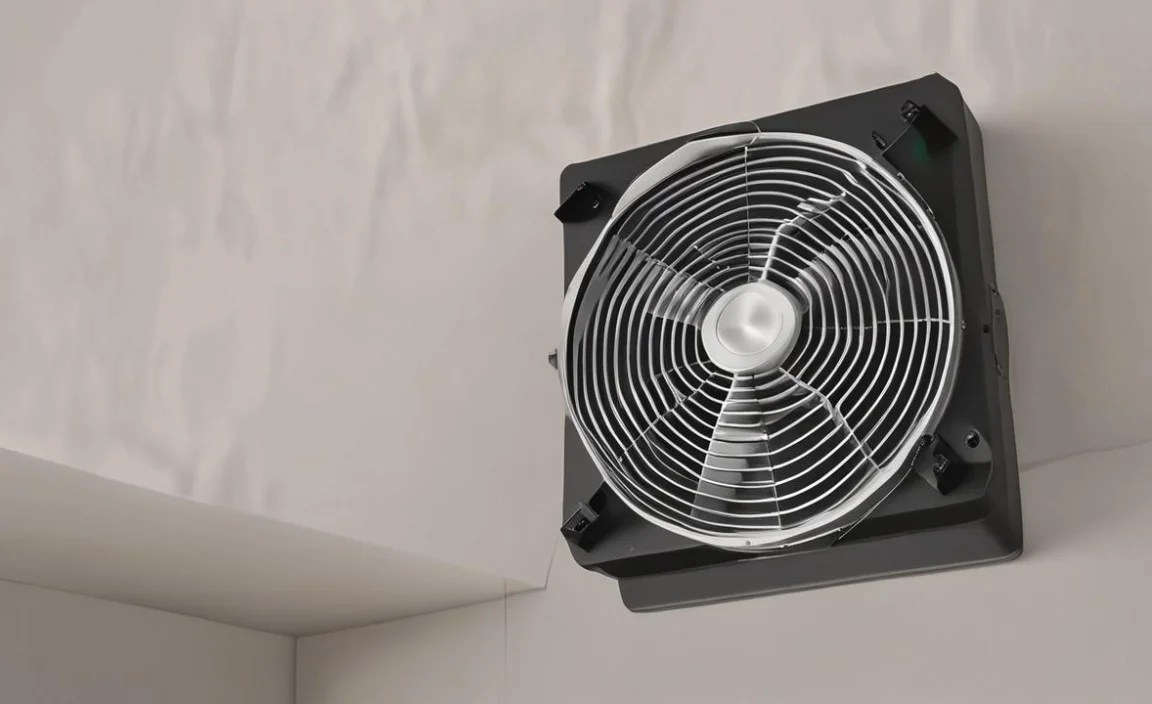
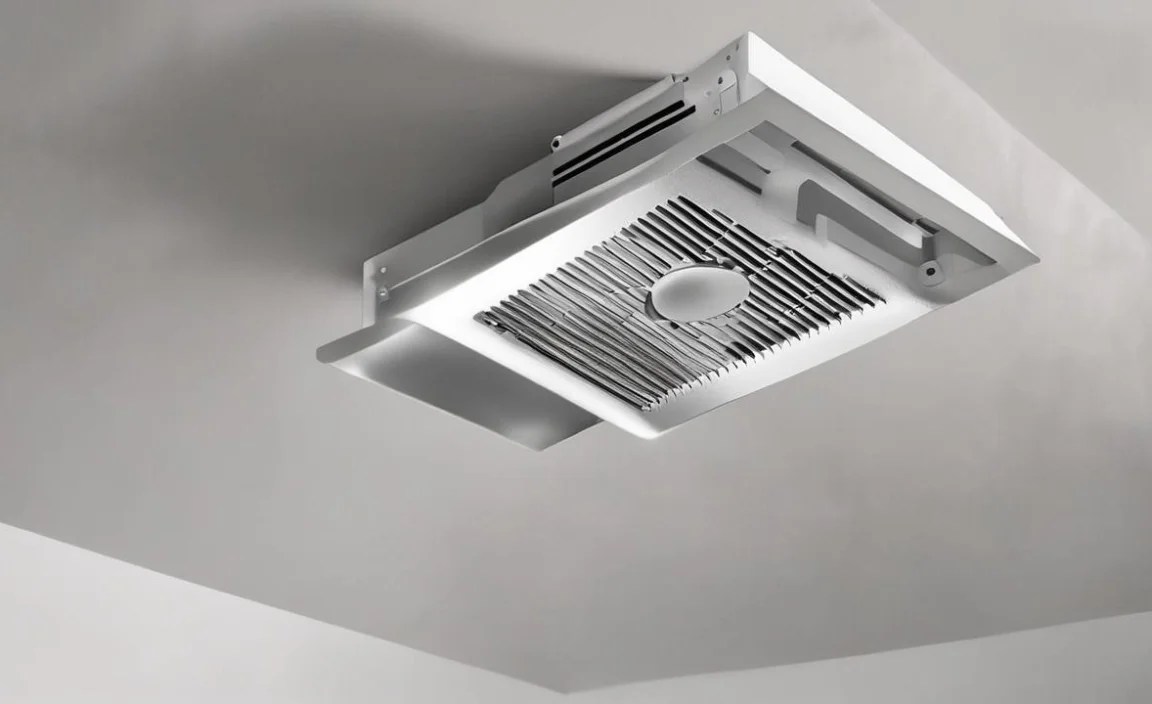
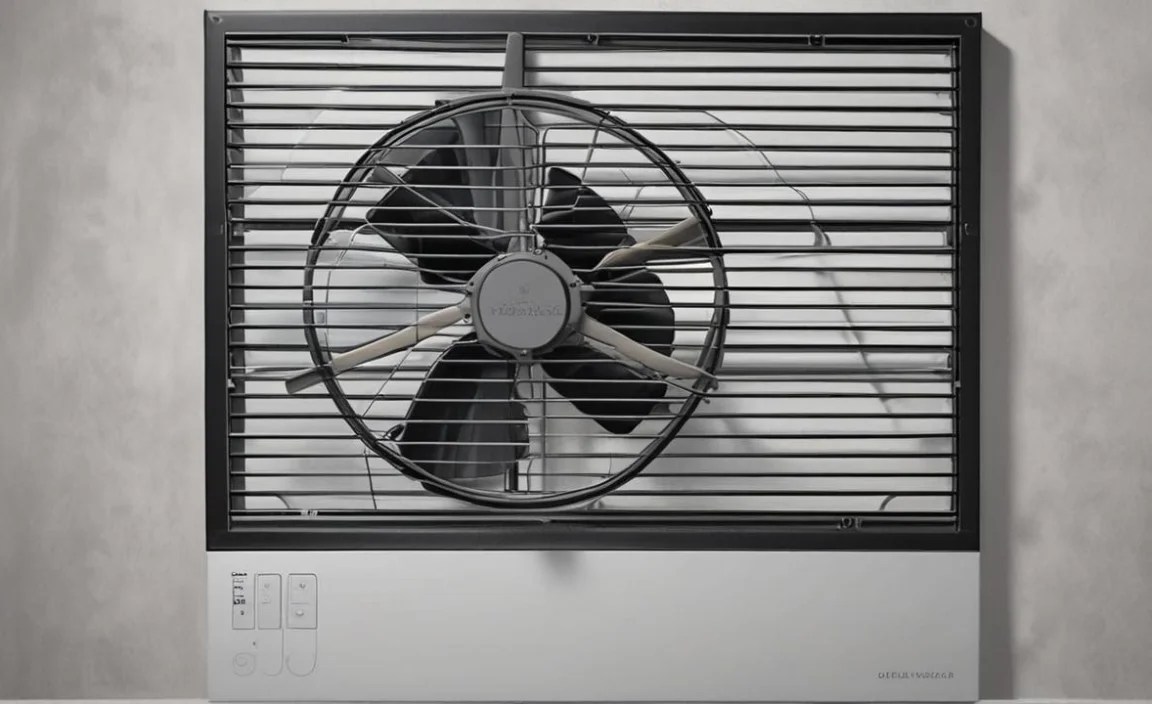
2. Wall-Mounted Exhaust Fans
Often installed in kitchens above stoves (though these are typically range hoods, a specialized type of exhaust fan), or sometimes in bathrooms. They are typically vented directly through an exterior wall.
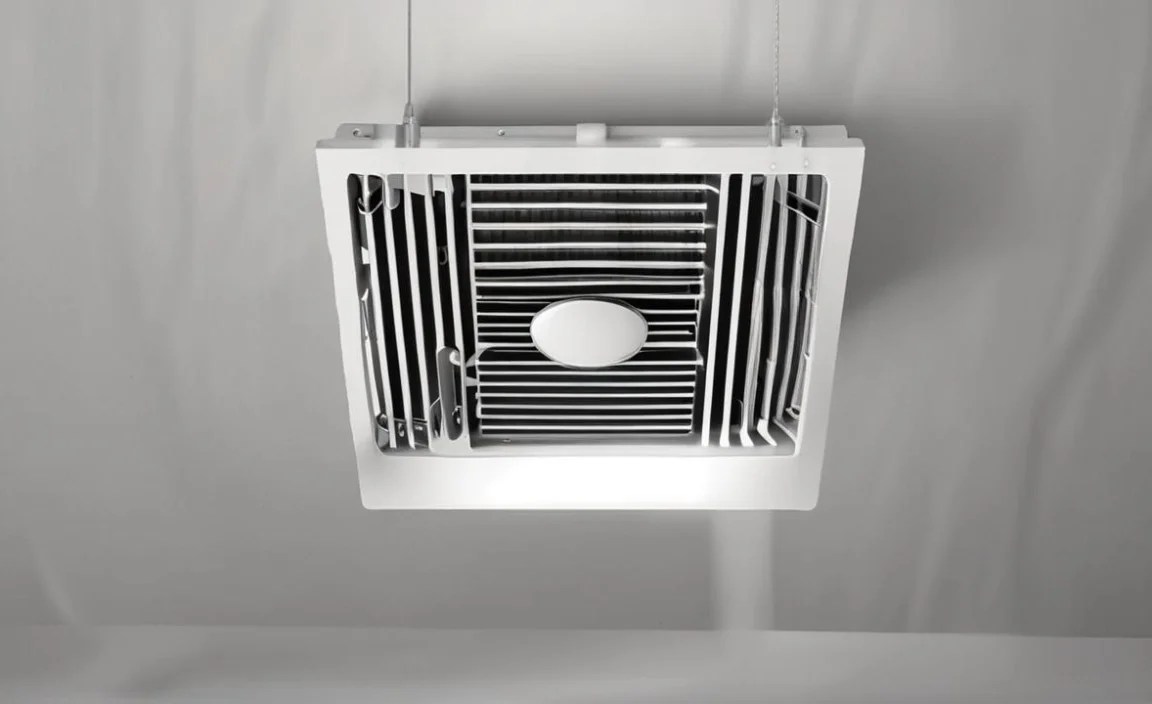
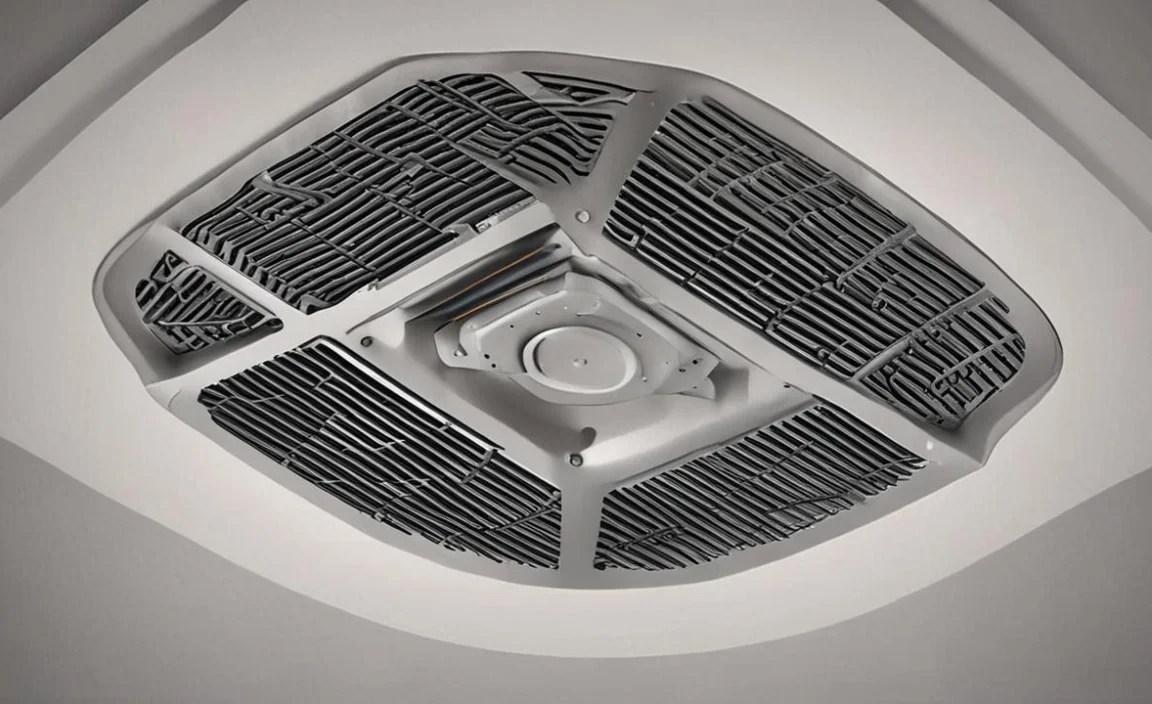
3. Inline Exhaust Fans
These fans are installed within the ductwork itself, often in attics or crawl spaces. They are very powerful and quiet because the motor is located away from the living space. Great for larger areas or when you need a strong, quiet solution.
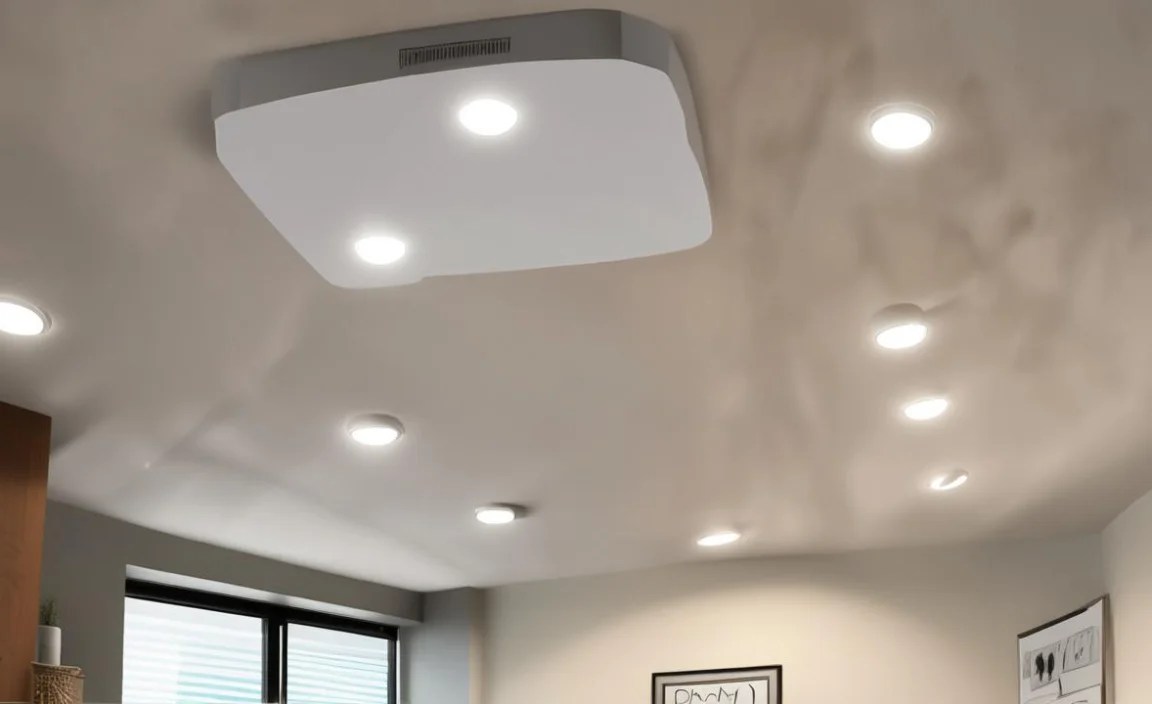
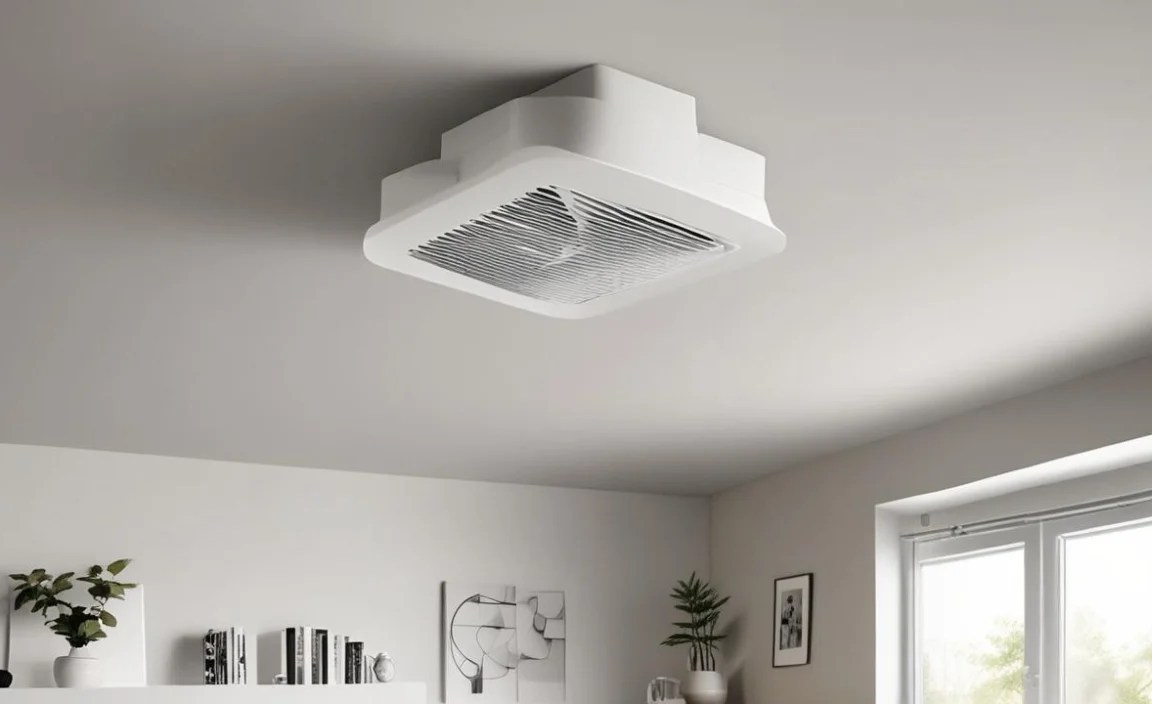
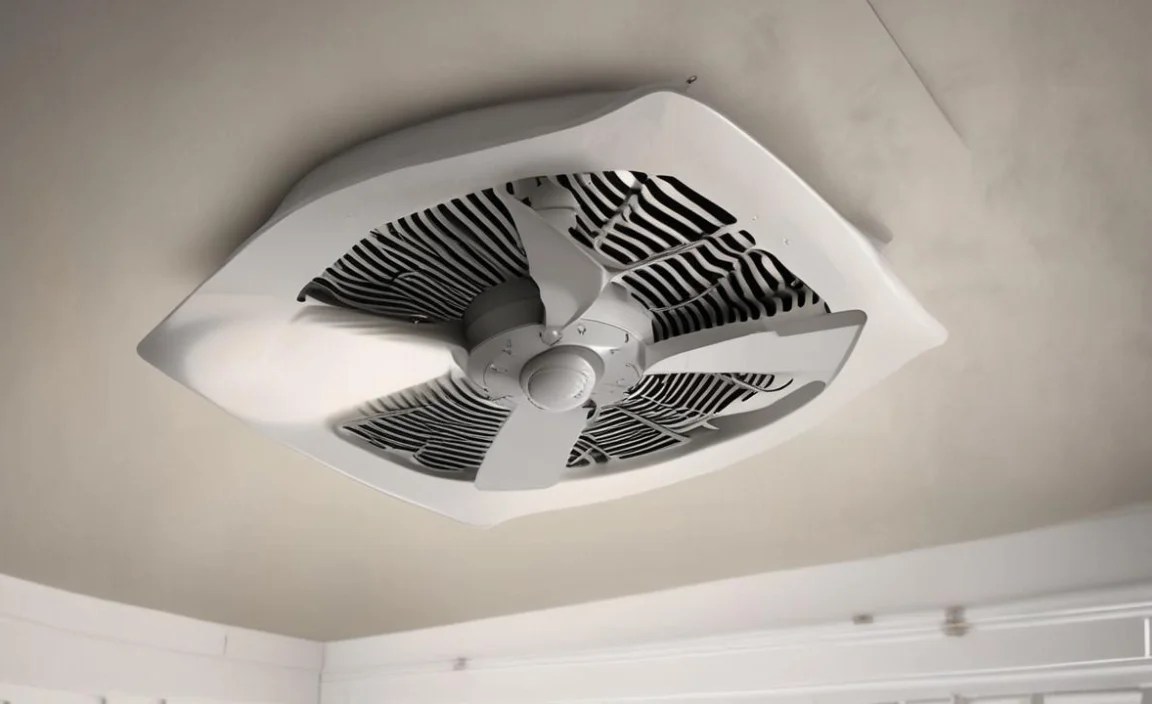
4. Combination Exhaust Fans
These fans often include a light and/or a heater, providing multiple functions for your bathroom or room.
For most beginner projects, a simple ceiling-mounted exhaust fan is the most practical choice. We’ll focus on that for our setup guide.
Tools and Materials You’ll Need
Gathering your tools beforehand makes the process smooth. Don’t worry; you likely have many of these already, or they are readily available at any hardware store. Safety first, so ensure your tools are in good working order!
Essential Tools:
- Safety Glasses: Protect your eyes from dust and debris.
- Work Gloves: Keep your hands clean and protected.
- Measuring Tape: For accurate measurements.
- Pencil: For marking cuts and positions.
- Drywall Saw or Utility Knife: To cut openings in the drywall.
- Screwdriver Set: Phillips and flathead screws are common.
- Wire Strippers and Crimpers: For electrical connections.
- Voltage Tester (Non-Contact): Crucial for ensuring the power is off.
- Drill and Drill Bits: For pilot holes and driving screws.
- Stud Finder: To locate ceiling joists for secure mounting.
- Ladder: A sturdy ladder is essential for safely reaching the ceiling.
- Caulking Gun and Sealant: For sealing gaps and preventing leaks.
- Duct Tape (Properly rated for HVAC): For sealing ductwork.
Materials Included with Your Fan Kit (Usually):
- Exhaust Fan Unit (motor, housing, grille)
- Mounting screws
- Wire connectors
Materials You Might Need to Purchase Separately:

- Ducting: Flexible or rigid ducting, usually 4 or 6 inches in diameter, depending on your fan.
- Duct Connector/Hose Clamp: To secure the duct to the fan housing.
- Exterior Vent Cap: To cover the exit point on your roof or wall.
- Electrical Wire (if extending from an existing circuit): Typically 14-gauge wire for most residential circuits.
- Circuit Breaker (if adding a new circuit): Consult an electrician if unsure.
Always read the specific instructions that come with your chosen exhaust fan model, as requirements can vary.
Step-by-Step: Installing Your New Exhaust Fan
This process generally involves cutting a hole, running ductwork, making electrical connections, and securing the fan. Let’s break it down!
Step 1: Safety First – Turn Off the Power!

This is the MOST important step. Locate the circuit breaker panel and switch off the power to the room you’ll be working in. To be absolutely sure, use your non-contact voltage tester on the wires you’ll be working with before touching them. If you’re unsure about any electrical work, it’s always best to consult a qualified electrician.
Step 2: Choose the Fan Location
For bathrooms, the best spot is usually near the shower or bathtub to capture the most moisture. For kitchens, it’s often above the range (for range hoods) or in general ventilation for cooking smells. Use your stud finder to ensure you have a clear space between ceiling joists for the fan housing and ductwork. Avoid placing it directly over light fixtures or plumbing.
Step 3: Mark and Cut the Opening
Take the exhaust fan housing (or a template if provided) and trace its outline onto the ceiling. If you’re replacing an old fan, you might be able to use the existing hole, but measure to be sure it fits. Carefully use your drywall saw or utility knife to cut along the marked line. Go slow and steady to create a clean opening. Brush away any loose drywall dust.
Step 4: Install the Fan Housing
Insert the exhaust fan housing into the ceiling opening. Many fan housings have brackets that extend to secure them firmly to the ceiling joists from above or below. Follow your fan’s specific instructions for securing the housing. Ensure it’s snug and stable.
Step 5: Run the Ductwork
This is often the trickiest part, but we can simplify it. You need to connect the fan housing to an exterior vent. Measure the distance from the fan to the exterior wall or roof. Cut your ducting to length, allowing a little extra for bends. Connect one end of the duct to the fan housing using a hose clamp and seal any connections with HVAC-rated duct tape. Then, route the ductwork through the ceiling and wall (or roof) to the exterior vent. Make sure there are no sharp kinks or bends that could restrict airflow. You may need to cut a hole in the exterior wall or roof for the vent cap.
Tip: If you are running ductwork through an attic, ensure it is properly insulated to prevent condensation. The U.S. Department of Energy offers great resources on effective home ventilation strategies.
Step 6: Install the Exterior Vent Cap
Secure your exterior vent cap over the opening outside. This cap should have a damper that opens when the fan is on and closes when it’s off, preventing drafts and pests from entering. Seal the edges of the vent cap with sealant to prevent water or air leaks where it meets the exterior surface.
Step 7: Make Electrical Connections
Now for the wiring. With the power confirmed OFF, connect the fan’s wires to the power source. Most fans have three wires: a black hot wire, a white neutral wire, and a green or bare copper ground wire. Match these to the corresponding wires from your home’s wiring (or the switch you’re connecting to). Use wire nuts to make secure connections. If your fan also controls a light, you’ll have additional wiring to consider, often involving a double-gang switch or a fan/light combo switch. If you’re unsure about the wiring, this is a good time to consult a professional electrician.
For a simple fan installation, connecting to an existing light fixture’s wiring (if you’re replacing a light with a fan with a built-in light) or a dedicated bathroom fan circuit is common. Always refer to your fan’s manual for specific wiring diagrams.
Step 8: Attach the Grille and Test
Once everything is wired and secured, attach the decorative grille to the fan housing. It usually snaps or screws into place. Now, it’s time for the moment of truth! Turn the power back on at the circuit breaker. Turn on your exhaust fan and listen for its operation. You should feel air being pulled into the grille and pushed out through the exterior vent. Check that the damper on the exterior vent opens correctly.
Important Note: If you encounter any issues, such as an unusual noise, no airflow, or flickering lights, turn the power off immediately and re-check your connections or consult the fan’s troubleshooting guide.
Maintaining Your Exhaust Fan for Longevity

Once installed, your exhaust fan is pretty low maintenance, but a little care goes a long way to ensure it runs efficiently and quietly for years:
- Regular Cleaning: Dust and debris can build up. Periodically (every 6-12 months), turn off the power, remove the grille, and gently vacuum or wipe down the fan blades and housing.
- Check the Exterior Vent: Make sure the exterior vent cap is clear of debris like leaves, nests, or snow. The damper should move freely.
- Listen for Unusual Noises: If you hear rattling or grinding, it might indicate a loose part or a motor issue. Turn it off and investigate.
- Check Ductwork (If Accessible): If you have attic access, periodically check that the ductwork is securely connected and hasn’t collapsed or been damaged.
Exhaust Fan CFM and Sones: What Beginners Need to Know
When choosing an exhaust fan, you’ll see two main ratings: CFM and Sones. Understanding these will help you pick the best fan for your space.
CFM (Cubic Feet per Minute)
This rating tells you how much air the fan can move. Higher CFM means more air is moved. For bathrooms, a general rule of thumb is 1 CFM per square foot of room area. So, a 100 sq ft bathroom would benefit from a 100 CFM fan. For kitchens, higher CFM is usually needed due to cooking odors and grease. Always check your fan’s manual for recommended sizing.
Sones
This measures how loud the fan is. A lower sone rating means a quieter fan. Most modern exhaust fans are designed to be quiet, often with ratings below 2 sones. A rating of 0.5 sones is nearly silent, while 3 sones is easily noticeable.
A table to help you understand typical CFM needs:
| Room Type | Room Size (Sq Ft) | Recommended CFM | Recommended Sones |
|---|---|---|---|
| Small Bathroom (e.g., 5’x5′) | 25 | 25-50 | 1.0 – 2.0 |
| Medium Bathroom (e.g., 8’x9′) | 72 | 70-100 | 0.5 – 1.5 |
| Large Bathroom/Powder Room | 100+ | 100+ | 0.5 – 1.0 |
| Kitchen (General Ventilation) | 150+ | 150-300+ | 1.0 – 2.5 |
Remember, these are general guidelines. Always consult the manufacturer’s recommendations for your specific fan model and room size.
Common Beginner Pitfalls and How to Avoid Them

Even with the best intentions, beginners can run into a few snags. Here’s how to steer clear of them:
- Not Turning Off Power: I can’t stress this enough. Always double-check that the power is OFF. Use your voltage tester!
- Incorrect Ducting: Using smooth, rigid ducting is often better for airflow than flexible ducting, which can kink and restrict air. Ensure the duct is the correct diameter for your fan.
- Poor Sealing: Leaving gaps around the fan housing or ductwork can lead to air and moisture leaks into your wall or ceiling cavities, causing damage. Seal everything thoroughly.
- Kinked or Sagging Ducts: This severely reduces airflow and efficiency. Ensure ducts are run with as few bends as possible and are properly supported.
- Ignoring Local Building Codes: While many simple installations don’t require permits, it’s good practice to be aware of any local building regulations regarding ventilation and electrical work. Resources like the International Code Council (ICC) can point you in the right direction for code information.
- Overly Ambitious First Project: If you’re completely new to electrical or construction, start with a simpler fan model or be prepared to call for help on trickier parts like running new electrical circuits or ducting through complex roof structures.
Frequently Asked Questions (FAQ)
Q1: How long does it typically take to install an exhaust fan?

For a beginner working carefully, installing a standard ceiling exhaust fan usually takes between 2 to 4 hours. This can vary based on your experience, the complexity of your ceiling structure, and whether you need to run extensive new ductwork.
Q2: Can I install an exhaust fan without accessing the attic?

Yes, in many cases. If you can route the ductwork through an exterior wall, you might not need attic access. However, running ductwork through the ceiling space to the roof often requires attic access. Some fans are designed for “soffit venting” or can be vented directly through a side wall to avoid attic work.
Q3: What’s the difference between an exhaust fan and a vent fan?

The terms “exhaust fan” and “vent fan” are often used interchangeably, especially in residential contexts. Both refer to a fan that moves air from inside a room to the outside. “Exhaust” emphasizes removing air, while “vent” emphasizes circulating it out. For practical purposes, they mean the same thing.
Q4: Do I need a permit to install an exhaust fan?

In most areas, replacing an existing exhaust fan or installing a basic one that ties into existing wiring and ducting does not require a permit. However, if you are running new electrical circuits, cutting large new openings in the structure, or installing in a new location that requires significant construction, a permit and inspection might be necessary. It’s always best to check with your local building department to be sure.
Q5: My new exhaust fan seems much louder than my old one. What could be wrong?

Several things could cause this. Ensure you selected a fan with a low Sone rating. Check that the ductwork is the correct diameter and isn’t kinked or sagging, as this restricts airflow and can make the fan work harder and louder. Also, confirm the fan is securely mounted to the ceiling joists; a loose unit will vibrate and create noise.
Q6: I don’t have a suitable place for ducting to go outside. Are there alternatives?
For situations where external venting is impossible, ductless or recirculating exhaust fans exist. These typically use charcoal filters to clean the air and recirculate it back into the room. They are generally less effective at removing.
