
Quick Summary: A smart faucet layout streamlines your kitchen tasks by placing your faucet, sink, and workspace in ergonomic harmony. This thoughtful arrangement reduces steps, prevents clutter, and makes cooking and cleaning a breeze, transforming a chaotic kitchen into a functional oasis.
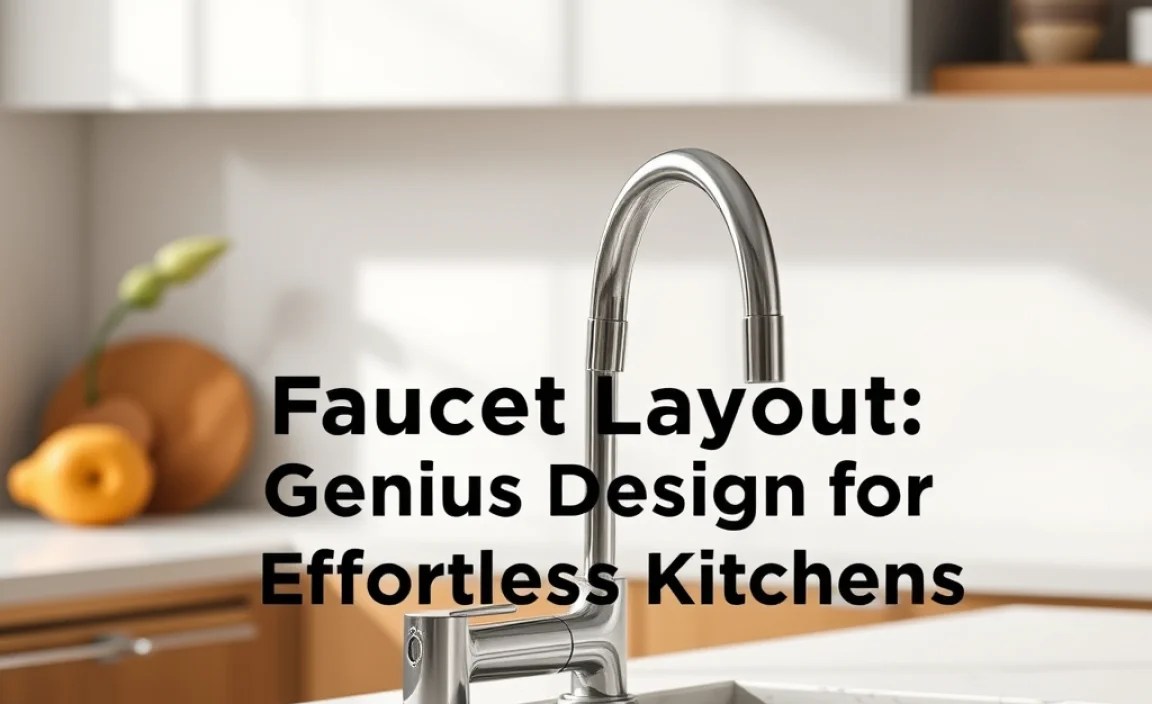
Faucet Layout: Genius Design for Effortless Kitchens
Are your kitchen chores feeling like a chaotic dance? Do you find yourself constantly bumping into things, reaching too far, or making extra trips back and forth to the sink? You’re not alone! A poorly planned faucet layout can turn even the most enjoyable cooking experience into a frustrating ordeal. It’s like trying to navigate a maze with your arms full of groceries.
The good news is, fixing this isn’t about major renovations; it’s about understanding some simple design principles that can make a huge difference. We’re going to explore how a “genius” faucet layout can bring ease and efficiency to your kitchen. Let’s dive into how you can create a workspace that feels natural, intuitive, and makes your daily kitchen activities feel less like work and more like a well-choreographed ballet.
Understanding the Kitchen Work Triangle
Before we even think about the faucet specifically, it’s helpful to understand a fundamental kitchen design concept: the “work triangle.” This idea, born in the 1920s by architects who studied home economics, connects three main areas: the refrigerator, the sink, and the stove/cooktop. The goal is to have these three points form a triangle with no single leg longer than 9 feet (2.7 meters) and a total distance of 13 to 26 feet (4 to 8 meters) between them. This layout is designed to minimize steps and maximize efficiency.
Think of it this way: you pull food from the fridge, you prepare it at the sink (washing), you cook it on the stove, and then you serve. A well-defined work triangle ensures that these movements are fluid and logical, preventing you from crisscrossing the kitchen unnecessarily. While modern kitchens often have more complex layouts with islands and multiple workstations, the core principle of efficient movement still applies. Your faucet, being a central hub for many kitchen activities like washing produce, filling pots, and rinsing dishes, plays a crucial role in this triangle.
The Central Role of Your Faucet and Sink
The sink and faucet are the unsung heroes of the kitchen. They are the primary water source and the main drainage hub, involved in everything from a quick hand wash to the final clean-up. Therefore, their placement and the space around them are critical for a smooth-running kitchen. A faucet that’s hard to reach, a sink that’s too small, or a layout that forces you to awkward positions can undo all the benefits of even the best work triangle.
A “genius” faucet layout isn’t just about where the faucet is, but how it interacts with its surroundings. It considers:
- Accessibility: Can you easily reach the faucet with full hands?
- Flow: Does the workflow from prep areas to the sink to cleaning make sense?
- Ergonomics: Are you bending or stretching excessively?
- Functionality: Does the faucet’s design (e.g., pull-down spray, pot filler) complement the sink’s use?
- Aesthetics: Does it look good and fit the overall kitchen style?
When these factors align, your kitchen transforms from a place of labor to a pleasure to work in.
Key Elements of an Effortless Faucet Layout
Creating an “effortless” kitchen hinges on smart placement and thoughtful design choices around your primary water source. It’s about making everyday tasks feel seamless, reducing wasted motion, and ensuring you have the right tools at your fingertips.
1. Sink Placement: The Foundation of Your Layout
The sink is fixed in place, so its location is the starting point for any faucet layout. Ideally, the sink should be strategically positioned to serve multiple purposes efficiently. Common placements include:
- The Primary Sink: This is usually the largest sink and is typically located under a window for natural light and a pleasant view while you work. It’s the hub of most kitchen activity.
- Island Sink: Placing a sink on a kitchen island is a popular choice for modern kitchens. It can serve as a secondary prep area, a bar sink, or even the main sink, offering excellent accessibility for entertaining and cooking.
- Bar/Prep Sink: A smaller, secondary sink is fantastic for specific tasks like washing produce, filling pet bowls, or serving drinks. It keeps these activities separate from the main dishwashing area.
The key is to ensure your sink is within easy reach of your primary work areas (fridge, stove) and doesn’t become a bottleneck. For instance, placing the sink too far from the stove can mean carrying hot pots of water a long distance, which isn’t ideal.
2. Faucet Type and Functionality: More Than Just a Tap
The type of faucet you choose significantly impacts its usability. Modern faucets come with a variety of features designed to make tasks easier:
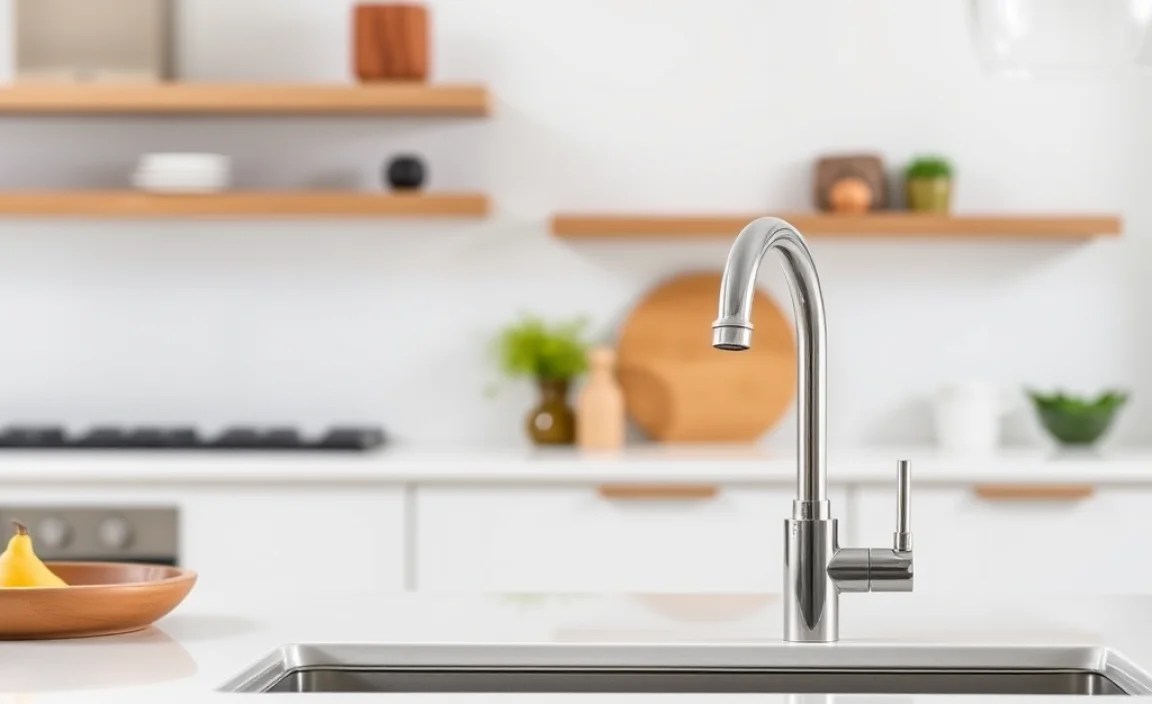
- Pull-Down and Pull-Out Faucets: These are incredibly versatile. The retractable spray head allows you to wash large pots, rinse the sink basin, and target specific dirty spots with ease. This is a must-have for many for an ergonomic layout.
- High-Arc Faucets: These offer more clearance, making it easier to fill and wash large pots and pans without banging them against the spout.
- Touchless/Smart Faucets: These offer hands-free operation, ideal for situations where your hands are dirty or you’re trying to conserve water. A simple wave of your hand turns the water on and off.
- Pot Fillers: If you’re an avid cook who uses large pots regularly, a pot filler faucet mounted on the wall above your stove can be a game-changer, eliminating the need to carry heavy pots full of water.
When selecting a faucet, consider your typical kitchen activities. If you’re always washing big trays or filling tall water bottles, a high-arc pull-down model is likely your best bet for an effortless experience.
3. Counter Space and Workflow Integration
The counter space surrounding your sink and faucet is just as important. You need adequate landing zones for items:
- Directly beside the sink: This is where you’ll place dirty dishes before washing, items to be rinsed, or even a drying rack.
- Across from the sink: This area can be designated for food preparation. If your sink is in an island, the opposite counter space is perfect for chopping and mixing.
- Behind the faucet: This space is often used for soap dispensers, sponge holders, or perhaps a small decorative item.
A cluttered counter around the sink can make even the best faucet layout feel cramped and inefficient. Think about how you move through your kitchen. If you’re bringing ingredients from the refrigerator, you might wash produce at the sink, then move to a counter space for chopping. A layout where these elements are close and easy to navigate will feel much more intuitive.
4. Appliance Proximity: The Work Triangle in Action
As mentioned with the work triangle, the placement of your refrigerator and stove relative to your sink and faucet is crucial. While you can’t always move major appliances, understanding their impact helps optimize the space you have.
- Sink to Stove: Ideally, these should not be too far apart. You’ll often carry water to the stove or hot pots back to the sink. A reasonable distance (within the work triangle guidelines) ensures this is convenient.
- Sink to Refrigerator: You’ll often bring ingredients from the fridge to the sink for washing. Having them relatively close makes this transition smooth.
Consider if your faucet can easily reach key areas. For example, can you fill a large pot at the sink and comfortably carry it to the stove without splashing or tripping?
Designing Your Faucet Layout: Step-by-Step
Creating a functional and “genius” faucet layout for your kitchen is achievable, even if you’re not undertaking a full renovation. It’s about making smart choices with what you have, or planning carefully for any upgrades.
Step 1: Assess Your Current Kitchen Workflow
Start by observing how you use your kitchen. What are the common tasks you perform at or around the sink? (e.g., washing produce, filling pots, doing dishes, washing hands). Where do you store items related to these tasks (soap, sponges, drying racks, cleaning supplies)? Where do you usually prepare food?
The goal here is to identify any points of friction or inefficiency in your current setup. Do you wish you had more counter space near the sink? Do you find your faucet difficult to use for certain tasks? Write down your observations.
Step 2: Evaluate Your Sink and Faucet
Sink Size and Depth: Is your sink adequate for your needs? A deeper basin can accommodate larger items. A wider basin might be better for multiple tasks. If your sink is too small, it can be a constant source of frustration.
Faucet Reach and Functionality: Consider the reach of your current faucet. Does it extend easily into the sink basin without being awkward to manage? Does it have a spray function? Is the handle placement convenient?
You might find that a simple faucet upgrade can dramatically improve your kitchen’s functionality without changing the sink or its placement. For instance, switching to a pull-down faucet can add significant versatility.
Step 3: Map Out Your Work Zones
Visualize your kitchen as a series of work zones:
- The Prep Zone: Typically the largest unbroken counter space, ideally located near the sink and refrigerator.
- The Cleaning Zone: Centered around the sink and faucet. This includes space for dishes, soap, and drying.
- The Cooking Zone: Around the stove/cooktop.
- The Storage Zone: Refrigerator and pantry areas.
Your faucet layout should facilitate smooth transitions between these zones, especially between prep and cleaning, and between sink and stove.
Step 4: Optimize Counter Space Around the Sink
Ensure you have clear, accessible counter space on at least one side of your sink. This is your “landing zone” for items coming out of or going into the sink.
- Keep it Clear: Avoid storing appliances or other permanent items on the counter immediately adjacent to the sink if possible.
- Consider Accessories: Use clever organizers like drainboard racks that tuck away when not in use, or built-in soap dispensers to minimize clutter.
Think about a 2 to 3-foot clear space on either side of the sink for optimal workflow.
Step 5: Choose the Right Faucet for Your Needs
Based on your workflow assessment, select a faucet that enhances your kitchen experience. Consider:
Factors to Consider When Choosing a Faucet:
| Feature | Benefit for Layout | When to Choose |
|---|---|---|
| Pull-Down/Pull-Out Sprayer | Extended reach, easy cleaning of sink and large items. | Maximizing sink versatility; busy cooks. |
| High-Arc Spout | More clearance for large pots and pans. | Frequent use of large cookware. |
| Single Handle Control | Easy temperature and flow adjustment, even with wet hands. | Convenience and quick adjustments. |
| Touchless Operation | Hygiene, convenience when hands are full or messy. | Families with young children; germ-conscious individuals. |
| Pot Filler | Convenience for large pots directly at the stove. | Serious cooks and those who frequently use large pots. |
The right faucet can feel like an extension of your hand, effortlessly performing the tasks you need it to. For the most effortless kitchen, a high-arc pull-down faucet with a single handle is often the top choice.
Step 6: Integrate with Appliances
Think about the flow between appliances and the sink. If you have a dishwasher, it’s usually located next to the sink. Ensure there’s enough counter space between them for loading and unloading
For those with an island, placing a sink there creates a wonderful secondary prep area. You can keep it stocked with utensils, and have cutting boards and bowls ready, making it an efficient hub separate from the main cleanup sink.
Step 7: Consider Lighting and Accessories
Good lighting is crucial around the sink area. Task lighting directly above the sink and faucet ensures you can see clearly, especially for detailed tasks like washing produce or cleaning. This enhances safety and efficiency.
Don’t forget accessories: a well-placed sponge holder, a stylish soap dispenser, or a small cutting board that fits over the sink can all contribute to a more organized and effortless workflow. These small touches make a big difference in how seamless your kitchen feels.
Common Faucet Layout Challenges and Solutions
Even with the best intentions, kitchens can present unique challenges when it comes to faucet and sink layout. Fortunately, there are practical solutions to overcome these hurdles and create a more functional space.
Challenge 1: Small Kitchens and Limited Counter Space
Problem: You can’t seem to find enough clear counter space, making the area around the sink feel cramped and cluttered.
Solution:
- Vertical Storage: Utilize wall-mounted racks, magnetic knife strips, or shelves above the sink for less frequently used items.
- Over-the-Sink Solutions: Invest in accessories designed to fit over the sink, like drying racks or cutting boards. Many modern sinks come with integrated accessories.
- Compact Faucet Designs: Opt for a faucet with a smaller footprint or a single lever that takes up less space than dual handles. A pull-down sprayer can often replace a separate side sprayer, saving space.
- Strategic Appliance Placement: If possible, ensure your dishwasher is snug against the sink, and minimize any counter space needed between them.
Challenge 2: Awkward Sink and Appliance Placement
Problem: Your sink is located far from the refrigerator or stove, forcing you to take many extra steps during basic food preparation or cooking.
Solution:
- Create Dedicated “Power Zones”: Even if the layout is suboptimal, create highly efficient zones. For example, set up a dedicated prepping station on the counter closest to the fridge, with a small cutting board and knife. Then, have a defined cleaning station near the sink.
- Mobile Carts: A sturdy kitchen cart can act as a temporary prep surface or a transport vessel. You can wheel it from the fridge to your prep area, or from the sink to the stove.
- Faucet Reach: Ensure your faucet has a generous reach to allow you to fill pots or wash produce as conveniently as possible from its fixed location.
Challenge 3: Desire for Modern Faucet Features in an Older Home
Problem: You love the idea of a pull-down faucet or a touchless model, but your current sink setup isn’t designed for it.
Solution:
- Faucet Retrofitting: Many modern faucets are designed to fit standard sinkhole configurations. A plumber or a handy DIYer can often replace an old faucet with a new, feature-rich one without altering the sink itself.
- Consider the Number of Holes: Your existing sink will have a certain number of holes drilled for the faucet and any accessories (like a sprayer or soap dispenser). New faucets are designed to accommodate different numbers of holes, sometimes with escutcheon plates to cover unused ones.
- Expert Consultation: Consult with a plumbing professional or visit a reputable kitchen supply store. They can advise on faucet options that will work with your existing plumbing and sink configuration. Reputable sources like the Plumbing Advice Center can offer guidance on compatibility.
Challenge 4: Maximizing Usability of an Island Sink
Problem: You have a sink on your island, but it feels isolated or isn’t supporting your workflow.
Solution:
- Dual Functionality: Designate the island sink as a primary prep station. Keep a cutting board, bowls, and utensils on the island for easy access.
- Beverage Station: If space allows, create a mini beverage station on the island with a small refrigerator, ice maker, and glassware. The sink is perfect for filling glasses or making ice.
- Consider Faucet Placement: Ensure the faucet on an island sink is positioned centrally and has good reach across the basin. A pull-down faucet is excellent for reaching all corners of a large island sink.
