
You can significantly reduce the cost of fixing your cabinets by focusing on smart repairs, identifying the root cause of damage, and considering DIY solutions over professional replacements. This guide helps you save money while restoring your cabinets’ look and function.
Are your kitchen or bathroom cabinets looking a little tired? Maybe a door is loose, a drawer won’t slide smoothly, or the finish is chipped. It’s common for cabinets to need a little TLC over time. The word “fix” can sometimes sound expensive, but it doesn’t have to be! You can repair many cabinet issues without a huge budget when you know what to look for and the best ways to tackle them. This article will walk you through essential savings, turning potential headaches into manageable projects. Get ready to discover how to fix cabinet costs and keep your home looking its best!
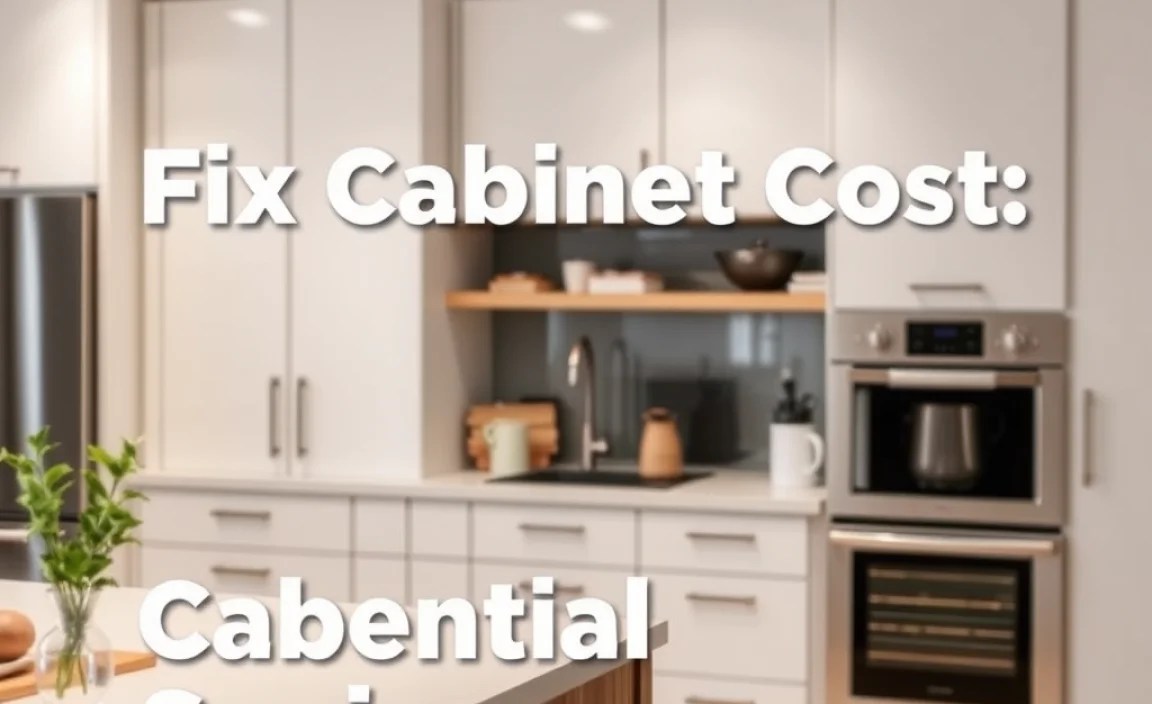
Understanding Cabinet Damage and Costs

Before we dive into fixing, let’s look at what can go wrong and how much it typically costs. Knowing the problem helps you choose the right solution and avoid unnecessary expenses. The cost to fix cabinets can range from a few dollars for minor cosmetic touch-ups to several hundred dollars for more complex structural repairs or hardware replacements.
Common Cabinet Issues
Loose Hinges: Doors that sag or don’t close properly often have loose hinges.
Worn Drawer Slides: Drawers that stick, wobble, or are hard to open.
Scratches and Dents: Surface-level damage from everyday use.
Peeling Veneer or Laminate: The decorative layer of the cabinet front starting to lift.
Chipped Paint or Finish: Areas where the protective coating has worn away.
Water Damage: Swollen wood or mildew, often near sinks.
Broken Hardware: Cracked knobs, pulls, or handles.
Factors Affecting Repair Costs
Type of Material: Solid wood, particleboard, MDF, and laminate all have different repair needs and costs.
Extent of Damage: A small scratch is cheaper to fix than a warped door.
DIY vs. Professional: Doing it yourself is almost always cheaper, but complex issues might require a pro.
Parts Needed: Hinges, slides, screws, wood filler, paint, stain, and new hardware all add to the cost.
Location: Labor costs for professionals vary by region.
DIY Fixes for Common Cabinet Problems
The good news is that many cabinet repairs are well within the reach of a beginner DIYer. With a few basic tools and a little patience, you can save a significant amount of money.
1. Fixing Loose Hinges
Loose hinges are one of the most frequent culprits behind cabinet door problems. This fix is usually straightforward and requires minimal tools.
Tools You’ll Need:
Screwdriver (Phillips or flathead, depending on your hinge screws)
Wood glue
Wooden toothpicks or golf tees
Drill with appropriate drill bits (optional, for re-drilling holes)
Step-by-Step Guide:
1. Assess the Hinge: Open the cabinet door and examine the hinges. Are the screws loose? Or are the screw holes stripped?
2. Tighten Screws: If the screws are just loose, try tightening them firmly with your screwdriver. If the door stays put, you’re done!
3. Deal with Stripped Holes: If tightening the screws doesn’t work, the holes are likely stripped.
Remove the hinge from the cabinet door.
Dip a few wooden toothpicks or a golf tee into wood glue.
Insert the glued toothpicks/tee into the stripped screw hole. Break them off so they are flush with the cabinet surface.
Let the glue dry completely (check the glue bottle for drying times, usually at least an hour).
Once dry, carefully drill a small pilot hole into the glued area. This gives the screw something to grip onto. For a more secure fix, you might need a drill bit slightly smaller than your screw.
Reattach the hinge with its screw. The glue and toothpicks provide new material for the screw to bite into.
4. Adjust Door Alignment: If the door is still not hanging straight, most hinges have adjustment screws. Consult your hinge manufacturer (often found on the hinge plate itself) for specific adjustment instructions.
Cost Savings: A tube of wood glue and a box of toothpicks cost a few dollars. Professional hinge repair or hinge replacement could cost $50-$150 per hinge, depending on complexity. You’re saving potentially hundreds!
2. Repairing Drawer Slides
Sticky, wobbly, or off-track drawer slides can be frustrating. Repairing or replacing them is often a DIY win.
Tools You’ll Need:
Screwdriver
Pliers
Wire brush or steel wool
Lubricant (e.g., paraffin wax, silicone spray, or lithium grease)
New drawer slides (if the old ones are too damaged)
Step-by-Step Guide:
1. Remove the Drawer: Empty the drawer completely. Then, carefully pull it out as far as it will go. Often, there’s a small release lever or clip on the slide mechanism that needs to be pressed to fully remove the drawer.
2. Inspect the Slides: Examine both the slides attached to the drawer and the ones inside the cabinet. Look for bent metal, debris, or worn-out wheels.
3. Clean and Lubricate:
If the slides are just a bit stiff, clean them thoroughly with a wire brush or steel wool to remove any dust, rust, or grime.
Wipe them down.
Apply a lubricant. Paraffin wax (rubbed on) or a spray lubricant works well to help them glide smoothly.
4. Address Bent Slides: If sections of the metal slide are bent, gently try to straighten them with pliers or by tapping them with a small hammer. Be careful not to bend them too much, as this can weaken the metal.
5. Replace Damaged Slides: If the slides are severely bent, rusted, or broken, replacement is usually the best option.
Measure your current drawer slides carefully (length, width, and mounting hole positions).
Purchase a matching set. You can find these at most hardware stores. For guidance, resources like Hardware.wiki offer detailed information on different types of hardware, including drawer slides.
Unscrew the old slides from both the drawer and the cabinet.
Install the new slides, ensuring they are level and parallel. Use a level for best results. Re-drill pilot holes if necessary, as described for hinge repairs.
6. Reinstall Drawer: Slide the drawer back into place, ensuring the mechanisms engage correctly. Test it by opening and closing it several times.
Cost Savings: Lubricants and cleaning supplies are inexpensive. A pair of new drawer slides can cost $15-$50, a fraction of the cost of replacing a whole cabinet unit.
3. Repairing Scratches and Dents
Minor cosmetic damage is common and can often be fixed with simple touch-up techniques.
Tools You’ll Need:
Fine-grit sandpaper (220 grit or higher)
Wood filler or putty (color-matched to your cabinets)
Putty knife or scraper
Touch-up markers or stain pens
Furniture polish or wax
Step-by-Step Guide:
1. Clean the Area: Gently wipe the scratched or dented area with a clean, damp cloth to remove any dust or debris.
2. Light Sanding (for deeper scratches): If the scratch is deep enough to catch your fingernail, lightly sand the area with fine-grit sandpaper. Sand in the direction of the wood grain. Be gentle to avoid making the scratch worse or damaging the surrounding finish. Wipe away dust.
3. Fill Dents and Gouges:
For dents, you can sometimes use a damp cloth and an iron. Place the damp cloth over the dent and gently iron it on a low setting. The steam can help swell the wood fibers back into place. Test this method on an inconspicuous area first.
If sanding or steam compression doesn’t work, or for deeper gouges, use wood filler. Apply a small amount of color-matched wood filler with a putty knife, pressing it firmly into the scratch or dent. Overfill slightly, as it may shrink a little when drying.
Allow the filler to dry completely according to the product instructions.
4. Sand Smooth: Once dry, gently sand the filled area with fine-grit sandpaper until it’s flush with the rest of the cabinet surface. Wipe away all dust.
5. Touch Up the Finish:
For minor scratches that didn’t require filling, a touch-up marker or stain pen in a matching color can work wonders. Draw in the direction of the wood grain.
For filled areas, use a small brush or cloth to apply matching stain or paint. Feather the edges to blend it in. If your cabinets have a clear coat or varnish, apply a thin layer of clear varnish over the repaired area once the stain/paint is dry.
6. Protect: Apply a coat of furniture polish or wax to protect the repaired area and blend the sheen.
Cost Savings: Wood filler, sandpaper, and touch-up markers are very affordable, costing less than $10-$20 in total. A professional touch-up or refinishing could easily cost $100-$300 or more.
4. Addressing Peeling Veneer or Laminate
Veneer and laminate can lift over time, especially in high-moisture areas or where they’ve been bumped.
Tools You’ll Need:
Wood glue (for real wood veneer)
Contact cement (for laminate)
Putty knife or thin scraper
Clamps or heavy objects
Damp cloth
Utility knife (if trimming excess)
Hairdryer (optional)
Step-by-Step Guide:
1. Clean the Area: Carefully lift the peeling edge and use a clean cloth to remove any loose debris or old adhesive from both the peeling piece and the underlying surface.
2. Apply New Adhesive:
For Wood Veneer: Apply a thin, even layer of wood glue to both the underside of the veneer and the exposed cabinet surface.
For Laminate: Apply contact cement to both surfaces according to the manufacturer’s instructions. Contact cement bonds quickly and strongly, so precise application is key.
3. Press Down: Carefully re-position the peeling piece onto the glued surface, aligning it perfectly.
4. Clamp or Weight:
Press down firmly on the repaired area. Use a putty knife to smooth out any air bubbles and ensure complete contact.
Apply even pressure. You can use painter’s tape to hold it in place, or for a stronger bond, use clamps. If clamps might mar the surface, place a block of wood between the clamp and the cabinet, and weigh down the block with heavy objects (like books or cans).
For laminate, some people recommend using a hairdryer on a low setting while pressing to help the contact cement bond quickly, but be cautious not to overheat or melt the material.
5. Remove Excess: If any glue or cement squeezed out, carefully wipe it away with a damp cloth (for wood glue) or follow contact cement instructions. If the veneer or laminate is slightly oversized, you may need to trim the excess with a sharp utility knife once the adhesive has set.
6. Dry Time: Allow adequate drying time as per the adhesive instructions before removing clamps or heavy objects.
Cost Savings: A small tube of wood glue or contact cement and basic supplies cost under $20. Professional repair or replacement of a cabinet door panel could cost $100-$250.
5. Touching Up Chipped Paint or Finish
Small chips and worn areas in paint or finish are common and easy to fix.
Tools You’ll Need:
Fine-grit sandpaper (220 grit or higher)
Painter’s tape
Primer (if needed)
Paint or stain matching your cabinets
Small paintbrush or artist’s brush
Clear topcoat or varnish (if applicable)
Step-by-Step Guide:
1. Clean and Prep: Clean the area around the chip. Gently sand the edges of the chip to smooth any rough spots. If the original finish is glossy, lightly sand the entire area to be painted to help the new coat adhere.
2. Masking: Use painter’s tape to mask off the surrounding area, protecting it from errant paint or stain.
3. Prime (if necessary): If you’re painting over a dark color or bare wood, apply a thin coat of primer and let it dry.
4. Apply Color:
Painting: Using your matching paint and a small artist’s brush, carefully apply a thin layer of paint to the chipped area. Build up the color in thin coats rather than one thick one to avoid a lumpy finish. Feather the edges to blend into the existing paint.
Staining: If your cabinets are stained, use a stain pen or a small brush to apply matching stain. Wipe away excess.
5. Topcoat: Once the base color is dry, apply a thin coat of matching clear topcoat or varnish to protect the repair and match the sheen of the original finish.
6. Remove Tape: Carefully remove the painter’s tape while the topcoat is still slightly wet (but not so wet that it smudges) for cleaner lines.
Cost Savings: Basic painting supplies can cost $15-$30. Professional cabinet refinishing or a touch-up job can be a significant expense, running from $100 to over $500 depending on the scope.
When to Call a Professional

While many cabinet fixes are DIY-friendly, there are times when professional help is the better (and ultimately more cost-effective) choice.
Here are a few scenarios where you might want to call in an expert:
Extensive Water Damage: If cabinets are severely warped, swollen, or show signs of mold growth due to water damage, it might be beyond simple repair and could affect the structural integrity of surrounding areas.
Structural Damage: If cabinet boxes are warped, are pulling away from the wall, or have significant structural cracks, a professional carpenter may be needed to ensure they are safely re-secured.
Refinishing Entire Kitchens: While touching up a chip is DIY, if you’re looking to completely repaint or restain all your cabinets, a professional can often achieve a faster, more factory-like finish. Their expertise in prep work, spraying, and even in-home services can prevent costly mistakes for a homeowner.
Complex Hardware or Custom Builds: If you have high-end or custom cabinet hardware that’s broken, or if you’re looking to modify the cabinet structure significantly, a specialist may be required.
Lack of Time or Confidence: If you’re short on time, don’t have the right tools, or simply don’t feel confident tackling a repair, hiring a professional can save you stress and potentially prevent further damage.
The U.S. Department of Housing and Urban Development (HUD) offers resources for homeowners on maintaining their homes safely, which is a good reminder that sometimes the safest and most efficient fix is professional assistance.
Cost Comparison: DIY vs. Professional Services

To illustrate the savings, let’s look at a typical scenario. Imagine you need to fix loose hinges and repair a few scratches and one peeling veneer panel on your kitchen cabinets.
| Task | Estimated DIY Cost | Estimated Professional Cost | Savings with DIY |
| Loose Hinges (per hinge) | $1 – $5 (glue, screws) | $50 – $150 | $45 – $145 |
| Scratches (per area) | $2 – $10 (filler, marker) | $75 – $150 | $73 – $140 |
| Peeling Veneer (per panel) | $5 – $15 (glue, clamps) | $100 – $250 | $95 – $235 |
| Total for moderate repair | $8 – $30 | $225 – $550+ | $213 – $520+ |
Note: Professional costs are estimates and can vary significantly by location and service provider.
As you can see, even for a few common repairs, the DIY approach offers substantial savings, often reducing the cost by 80-90% or more.
Preventative Maintenance for Cabinet Longevity
An ounce of prevention is worth a pound of cure—especially when it comes to your cabinets. Regular, simple maintenance can prevent minor issues from becoming costly repairs.
Clean Regularly: Wipe down cabinet surfaces with a soft, damp cloth regularly to remove dust, grease, and spills. Avoid harsh chemical cleaners that can damage finishes.
Wipe Up Spills Immediately: Especially around sinks and dishwashers, dry any splashes or spills promptly to prevent water seepages that can warp wood or damage finishes.
Don’t Overload Drawers: Excessive weight can strain drawer slides and hinges, leading to premature wear and tear.
Check Hardware: Periodically check that hinges and drawer slides are snug. A quick tightening session can prevent bigger problems.
Avoid Direct Sunlight/Heat: Prolonged exposure to direct sunlight can fade finishes, and extreme heat can cause.
