
Fix exhaust fan leaks easily and effectively with this simple guide. Address water stains and dampness around your vent by identifying common causes like condensation, blocked ducts, or leaky seals. Follow our step-by-step instructions to pinpoint the problem and apply the right fix, restoring your fan’s performance and your peace of mind.
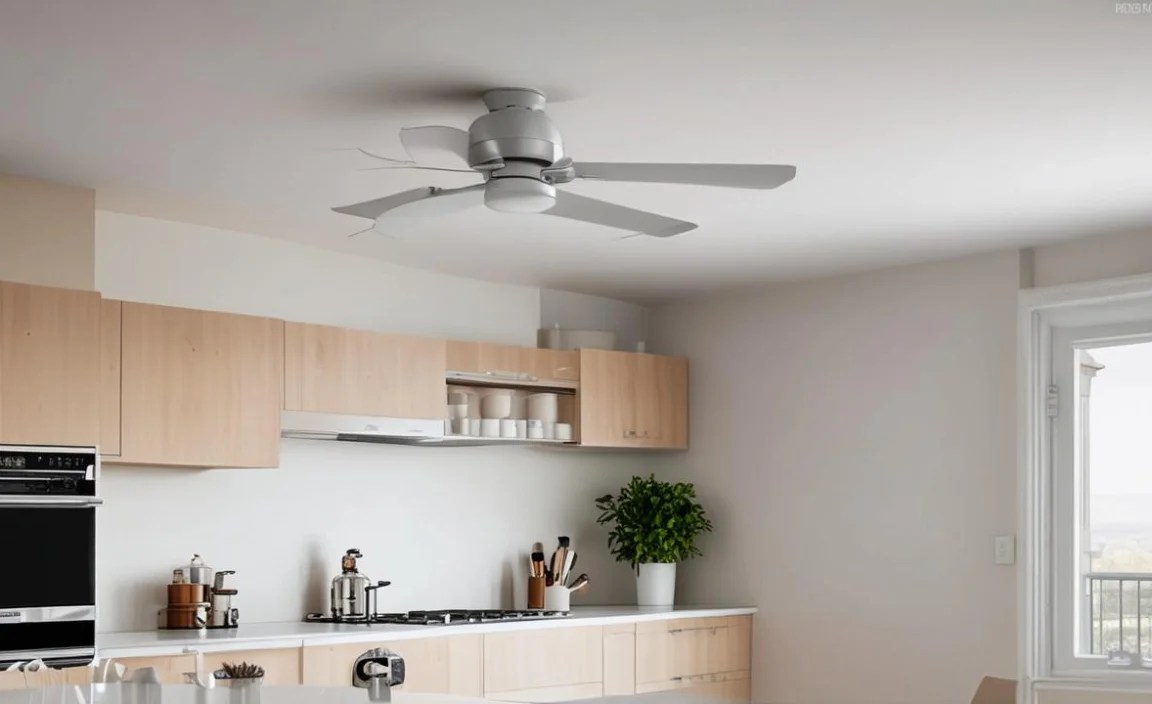
Living in a home means dealing with a few quirks, and a leaky exhaust fan might be one of them. Seeing those telltale water stains around your bathroom or kitchen vent can be frustrating. But don’t worry! This is a common issue, and usually, it’s quite fixable without needing a professional.
This guide will walk you through exactly why your exhaust fan might be leaking and how to stop it, step by step. We’ll break down the process so you can feel confident tackling it yourself. Ready to learn how to fix that leak and get your fan working like new? Let’s dive in!
Why is My Exhaust Fan Leaking? Understanding the Culprit


It seems odd, doesn’t it? You turn on a fan to vent moisture, yet water starts appearing around it. Several things can cause this, and understanding the root cause is the first crucial step to fixing it. Think of it like visiting a doctor; they need to know your symptoms to prescribe the right treatment.
The most frequent reasons for an exhaust fan leak boil down to a few common culprits:
Condensation Buildup: This is especially common in bathrooms where warm, moist air from showers meets cooler ductwork. When the warm air hits the cold surface of the duct, it turns back into water droplets, like a cold glass on a humid day.
Blocked or Improperly Sloped Ducts: If the path air takes to get outside is blocked by debris or isn’t sloped correctly, water can pool up inside the duct and eventually find its way back through the fan.
Damaged or Loose Seals: The fan housing and the duct connection are usually sealed to prevent air and moisture escape. If these seals break down or aren’t properly installed, leaks can occur.
Cracked Ductwork: Over time, duct materials can crack or break, especially if they’ve been improperly installed or subjected to stress.
* Backdraft Dampers: These little flaps are designed to prevent outside air from coming back into your home when the fan is off. If they stick or aren’t sealed properly, they can allow moisture in or fail to prevent water vapor from condensing.
Pinpointing which of these is causing your leak is key. We’ll explore how to do just that in the next section.
Step 1: Safety First – Turn Off the Power!

Before you even think about touching your exhaust fan or its housing, the absolute first step is to disconnect the power. This is non-negotiable and extremely important for your safety. Working with electricity can be dangerous if you’re not careful.
How to do this:
- Locate your home’s electrical panel (often in a garage, basement, or utility closet).
- Identify the circuit breaker that controls your exhaust fan. It might be labeled “Bathroom Fan,” “Kitchen Fan,” or something similar.
- Flip the breaker switch to the “OFF” position.
- If you’re unsure which breaker it is, a safer bet is to turn off the main breaker for your entire house.
- To double-check, try turning on the exhaust fan. If it doesn’t turn on, you’ve successfully cut the power.
Remember, always err on the side of caution. Electricity and water are a dangerous combination, and this simple step prevents serious accidents.
Step 2: Visual Inspection – What Do You See?
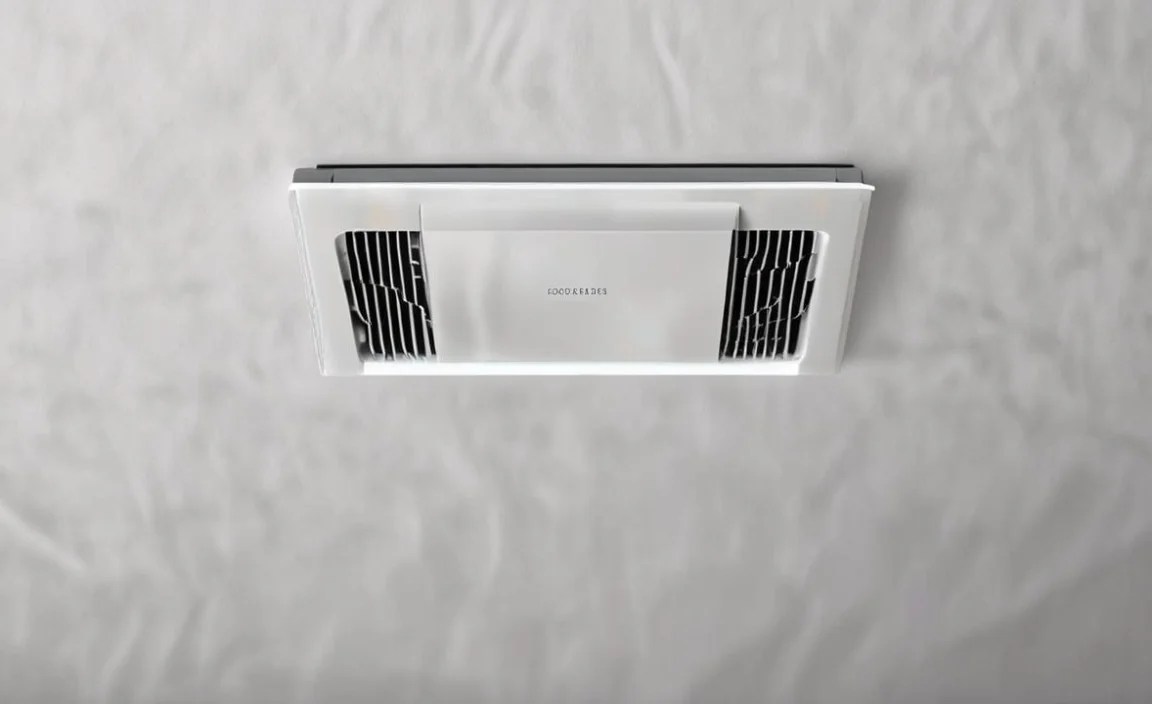
Now that it’s safe to work, let’s get a good look at the fan. You’re looking for obvious signs of where the water is coming from. Sometimes, the leak is right out in the open.
Here’s what to inspect:
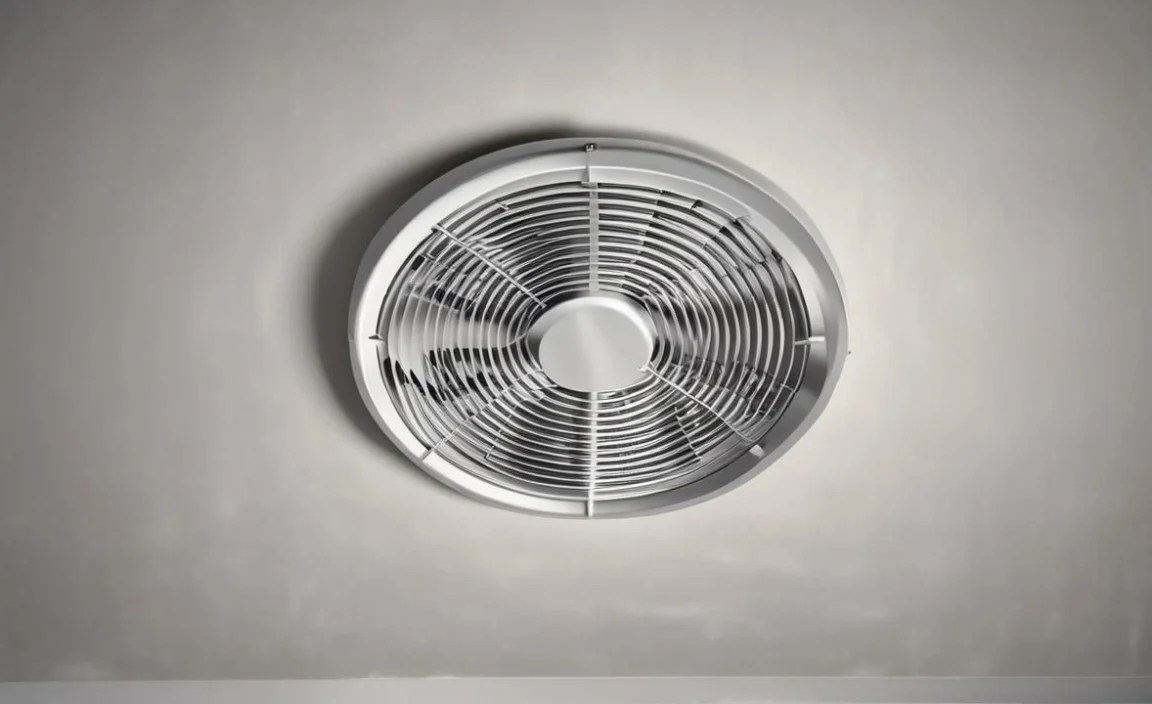
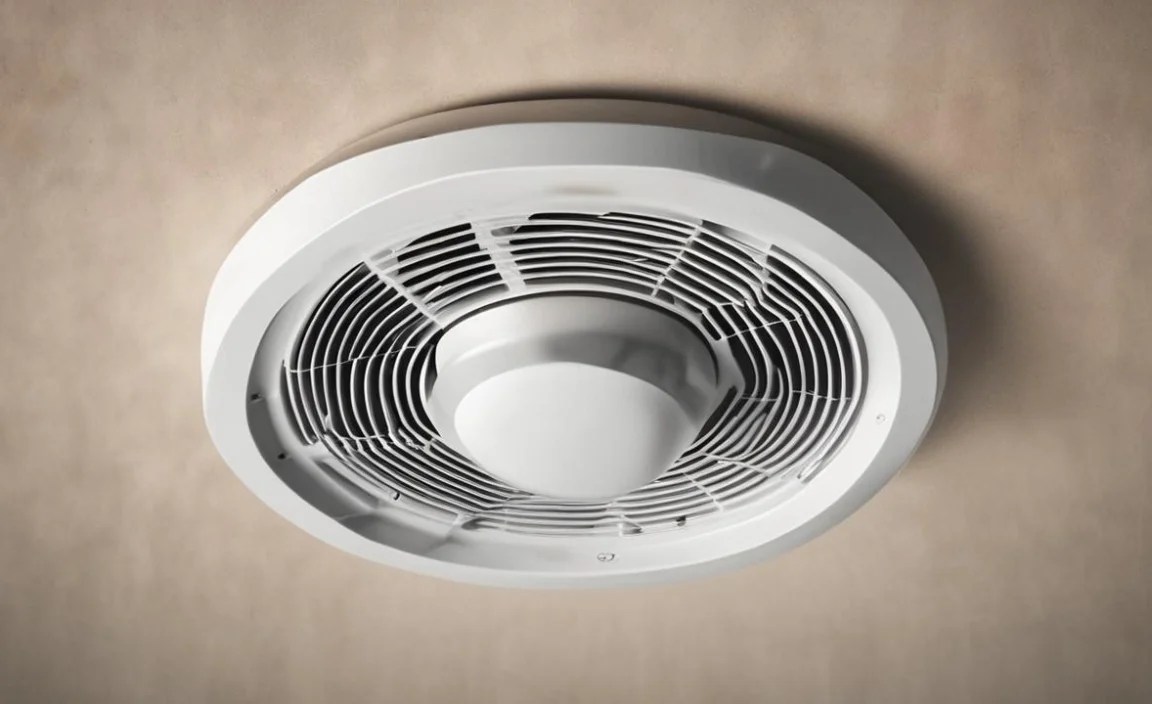
- The Fan Grille: This is the part you see from inside the room. Are there water stains on it? Is it damp?
- The Housing: If you can see the housing around the fan where it meets the ceiling, check for leaks or moisture trails there.
- Around the Vent Opening: Look at the ceiling or wall area immediately surrounding the fan. Are there any dark spots or peeling paint that suggest water damage?
- Inside the Fan (Carefully): If your fan has a removable grille, gently detach it. Be careful not to damage any plastic clips. Once removed, look inside the fan housing itself. Do you see any water pooling, rust, or dripping?
Common observations at this stage might include:
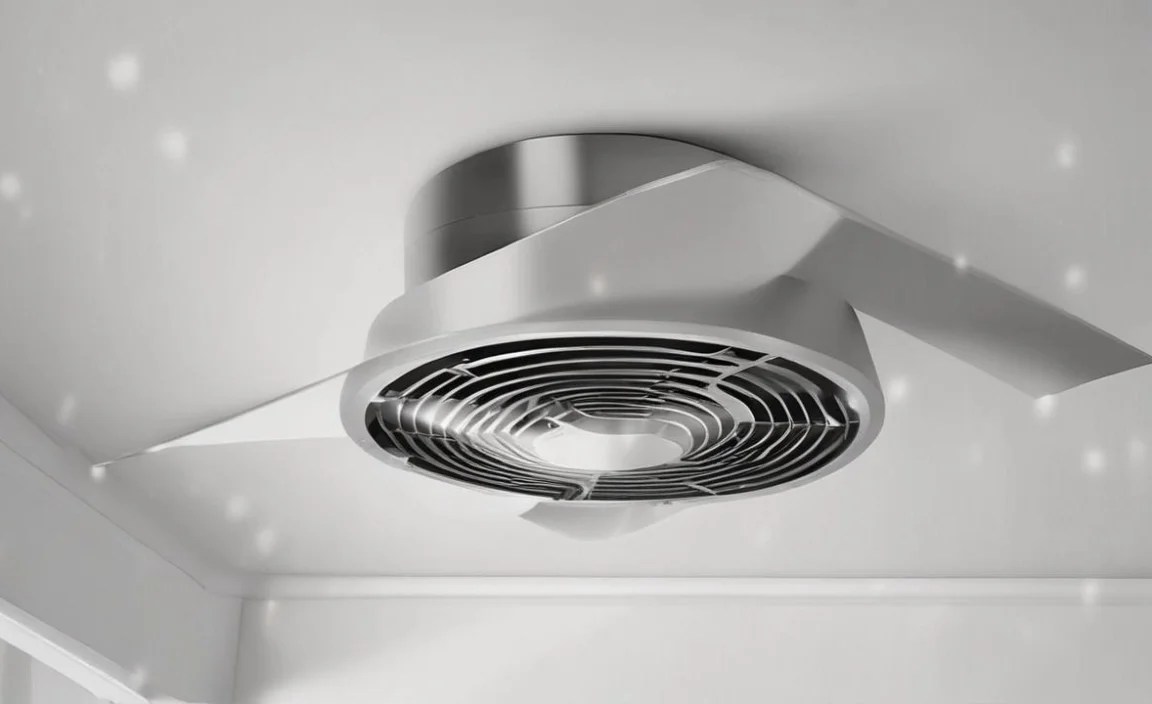
- Droplets of water on the fan blades or motor.
- Moisture streaks running down the inside of the fan housing.
- Water stains originating from the edge of the fan where it meets the ceiling.
Take notes or pictures of what you find. This information will be invaluable as you diagnose the problem further.
Step 3: Accessing the Ductwork – The Likely Suspect
Most exhaust fan leaks are actually a problem with the ductwork connected to the fan, not the fan motor itself. To get to the root of the issue, you’ll likely need to access this ductwork. This usually means accessing your attic or a crawl space above the bathroom or kitchen.
What you might need:
The tools and materials you’ll need depend on your home’s construction, but generally, consider having these on hand:
| Tool/Material | Purpose |
|---|---|
| Screwdriver Set | To remove screws holding the fan grille or access panels. |
| Work Gloves | To protect your hands from dust and rough surfaces. |
| Safety Glasses | To protect your eyes from falling debris. |
| Headlamp or Flashlight | Crucial for seeing in dark attics or crawl spaces. |
| Ladder | For safe access to attics or ceilings. |
| Duct Tape (Heavy-duty, foil-backed) | For sealing small leaks or reinforcing connections. |
| Caulking Gun & Sealant (e.g., Silicone mastic) | For sealing gaps around the fan housing or duct joints. |
| Dry Rag or Towel | For wiping away moisture. |
| Drop Cloth or Plastic Sheeting | To protect your room below from dust and debris. |
| Stud Finder (Optional) | To locate joists for easier access if cutting an access panel. |
Accessing the Ductwork:
- In the Attic: If your fan ducts run through the attic, carefully navigate to the area above your fan. Be mindful of where you step, as attics contain fragile joists and insulation. Lay down a piece of plywood or sturdy cardboard to walk on if necessary to avoid damaging the ceiling below.
- Through a Ceiling Panel: Some homes have removable ceiling panels near vents. Check if yours does.
- Creating an Access Panel (Advanced): In some cases, you might need to carefully cut an access hole in the drywall. This should be done only if you’re comfortable and know where ceiling joists are located. Always locate joists first to avoid cutting into them. A stud finder can help.
Once you’ve gained access, you’ll be able to see the ductwork connected to your exhaust fan. This is where the real detective work begins.
Step 4: Diagnosing the Ductwork Issues
With access to your ductwork, it’s time to investigate the potential problems. This is often where the source of the leak lies. Think of the duct system as the fan’s plumbing.
Condensation: The Most Common Culprit

This is why many exhaust fans leak, particularly those in bathrooms. Warm, moist air from your shower or bath rises and travels into the cooler ductwork. When this warm, humid air hits the colder surface of the duct (especially in unconditioned spaces like attics or crawl spaces), it condenses into water droplets. If the duct isn’t properly insulated or if there’s a long run of ductwork, this condensation can accumulate and drip.
- Look for: Wetness, drips, or puddles near the fan connection point or longer along the duct run. You might see water stains on the duct itself.
- Why it happens:
- Uninsulated ducts in cold spaces.
- Long duct runs where air has more time to cool.
- Insufficient ventilation pushing moist air into the ducts.
Blocked or Improperly Sloped Ducts
Exhaust fan ducts need to be installed with a slight slope downwards towards the exterior vent. This allows any condensation that forms to drain away from the fan. If the duct is blocked by insulation, debris, a bird’s nest, or if it sags, water can pool inside. For more information on proper duct installation and airflow, the Energy Star guidelines offer valuable insights into efficient fan and duct systems.
- Look for: Sagging sections of duct, dips where water could collect, or obvious blockages (e.g., lint buildup, debris).
- Why it happens:
- Improper installation (sags, no slope towards exterior).
- Accumulation of lint, dust, or external debris.
- An animal intrusion or nest.
Loose or Damaged Duct Connections
The point where the duct connects to the exhaust fan housing, and where it exits your home, should be securely sealed. Over time, the tape or mastic used for sealing can degrade, or the connection itself can become loose, allowing air and moisture to escape or external moisture to enter.
- Look for: Gaps, cracks, or fallen tape around the connection point of the duct to the fan and at the exterior vent.
- Why it happens:
- Degradation of sealing materials (tape, mastic) over time.
- Vibrations from the fan causing connections to loosen.
- Improper initial installation.
Cracked Ductwork
Duct pipes, especially flexible ones, can develop cracks or holes due to age, sharp edges in the attic, or improper handling during installation or maintenance. These cracks can allow condensation or even small leaks from the roof/wall to enter the duct system.
- Look for: Visible tears, punctures, or holes in the duct pipe.
- Why it happens:
- Age and material degradation.
- Physical damage from objects in the attic or crawl space.
- Sharp edges on framing or other components rubbing against the duct.
Step 5: Addressing the Leak – Your Proven Solutions
Now that you’ve identified the problem, it’s time to fix it! The solution will depend on what you found in Step 4. For DIYers, most of these fixes are straightforward.
Solution 1: Insulating for Condensation Control
If condensation is the issue, the goal is to keep the duct surface warmer so moisture doesn’t form. This is especially important for ducts running through unconditioned spaces like attics or crawl spaces.
- What to do:
- Wrap the Duct: Purchase foil-backed fiberglass duct insulation or foam pipe insulation sleeves.
- Measure & Cut: Measure the length of the duct that is exposed to cold. Cut the insulation to fit snugly around these sections.
- Install: For fiberglass wrap, simply wrap it around the duct and secure it with foil tape (the kind specifically made for ducts). For pre-formed sleeves, slide them onto the duct and secure with tape or clamps.
- Seal Joints: Ensure there are no gaps where warm, moist air can reach the cold duct.
- When to use: Best for ducts in unheated attics, crawl spaces, or exterior walls where temperature differences are significant.
- Tip: Aim for at least an R-8 insulation value for good performance in most climates.
Solution 2: Clearing Blockages and Ensuring Proper Slope
If your duct is blocked or sagging, you need to clear it and correct its pitch.
- What to do:
- Clear Blockages: Gently use a broom handle, flexible grabber tool, or a wet/dry vacuum with an extension to remove any lint, debris, or obstructions. If the blockage is at the exterior vent, clear it from the outside.
- Correct Slope: If the duct sags, try to gently lift and support it. You might need to use duct straps or wire to hold it in place with a slight downward slope towards the exterior vent.
- Check Exterior Vent: Ensure the vent flap outside is opening freely and not blocked by snow, ice, or debris.
- When to use: When you find debris, lint buildup, or significant sags in the ductwork.
- Tip: Regular cleaning (at least annually) can prevent future blockages.
Solution 3: Sealing Duct Connections and Cracks
Loose connections and cracks are easily fixed with the right materials.
- What to do:
- Clean the Area: Ensure the areas around the connection or crack are clean and dry.
- Re-tape Joints: If you have loose foil tape, remove it completely and reapply new, heavy-duty foil-backed HVAC tape. Press it firmly to ensure a good seal. Aluminum foil tape is designed for this and is more durable than standard duct tape.
- Apply Mastic: For a more robust and permanent seal, especially on seams or around the fan housing connection, apply a layer of HVAC mastic sealant using a brush or caulk gun. This creates an airtight barrier. Visit resources like Fantech’s product information to see examples of suitable sealants.
- Repair Small Cracks: Small cracks can often be sealed with HVAC mastic or specialized duct repair tape. For larger holes in flexible ducting, you might need to patch with a piece of compatible duct material and mastic, or consider replacing the section of duct.
- When to use: For any observed gaps, loose tape, or small holes in the ductwork or at connection points.
- Tip: Ensure any sealant or tape used is rated for use with HVAC systems and is flexible enough to withstand vibrations.
Solution 4: Addressing Backdraft Dampers
These simple flaps can sometimes cause issues.
- What to do:
- Inspect: Locate the damper, usually a small flapper inside the duct attached to the fan housing.
- Clean & Free Up: If it seems stuck, carefully clean any lint or debris from around it. Gently test its movement; it should open and close freely.
- Check Seal: Ensure the damper closes snugly against its opening to prevent air infiltration. If it’s warped or damaged, it may need replacement.
- When to use: If you suspect outside air is entering or if the damper itself seems to be accumulating moisture.
- Tip: If the damper is significantly damaged or if you can’t get it to seal properly, replacing the fan assembly or damper mechanism might be necessary.
Step 6: Testing Your Fix
After you’ve made your repairs, it’s time to see if you’ve successfully stopped the leak. This is the moment of truth!
- Restore Power: Go back to your electrical panel and flip the circuit breaker back to the “ON” position.
- Run the Fan: Turn on your exhaust fan. Let it run for a good 10-15 minutes. For bathroom fans, it’s best to do this with some steam, like running hot water in the sink or shower to generate humidity. For kitchen fans, run it while boiling water on the stove.
- Observe: While the fan is running and for at least an hour afterward, check the fan grille, housing, and the ceiling around it for any signs of moisture. Go back up into the attic or crawl space to visually inspect the ductwork you worked on.
