
Quick Summary: Tackle pipe repair costs head-on with DIY-friendly strategies and smart material choices. Simple fixes like tightening fittings or using pipe repair tape can save significantly on plumber fees, keeping your home safe and dry without breaking the bank. Explore common issues and budget-friendly solutions here.
Leaky pipes can be a homeowner’s nightmare. That persistent drip, the unsettling dampness, the worry about water damage – it all adds up to stress. But the good news is, you don’t always need to call in the expensive professionals for every pipe problem. Many common pipe issues can be fixed affordably, and some even by yourself! We’ll guide you through understanding the costs involved and show you proven ways to fix pipes that are kind to your wallet.
This guide will demystify “fix pipes cost,” offering practical, budget-conscious solutions. We’ll break down common repairs, highlight affordable materials, and even show you when a DIY approach is your best bet. Get ready to save money and gain confidence in managing your home’s plumbing!
Understanding “Fix Pipes Cost”: What You’re Really Paying For

When you get a quote for pipe repair, the “fix pipes cost” isn’t just about the labor. It’s a combination of several factors. Knowing these helps you understand where your money goes and how you might be able to reduce it.
- Diagnostic Fees: The plumber first needs to find the leak. This might involve special equipment or simply a lot of careful searching.
- Labor Costs: This is usually the biggest part. Plumbers charge hourly rates, and complex jobs take longer.
- Material Costs: This includes the pipes, fittings, sealants, and anything else needed to make the repair.
- Emergency Surcharges: If your leak happens at night, on a weekend, or during a holiday, expect to pay extra.
- Permits and Inspections: For major work, you might need permits, which adds to the cost.
The biggest variable that impacts “fix pipes cost” is the complexity and location of the problem. A simple drip under a sink is much cheaper to fix than a burst pipe inside a wall.
Common Pipe Problems and Affordable Fixes
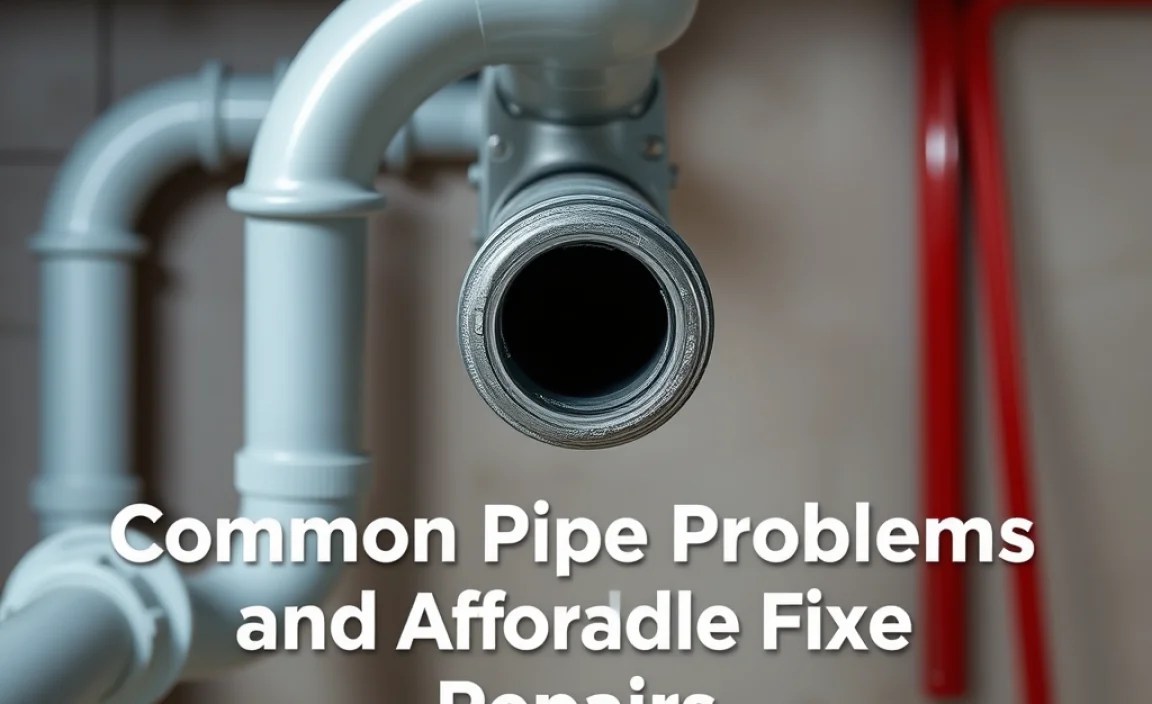
Let’s look at some typical pipe issues and how to approach them without emptying your savings.
1. Minor Drips and Leaks at Fittings
Often, a small drip you see is coming from a joint or fitting. This is usually the easiest and cheapest problem to solve.
Causes:
- Loose threaded connections.
- Worn-out rubber washers or O-rings in faucets or connectors.
- Cracked fittings (less common for minor leaks).
Affordable Fixes:
- Tightening Connections: For threaded pipes (like under a sink), a wrench might be all you need. Always turn off the water supply first! Gently try to tighten the fitting a quarter turn. If the leak stops, you’re golden.
- Replacing Washers/O-rings: For faucets, the culprit is often a small rubber ring. You can often buy a replacement kit at a hardware store. Turn off the water, disassemble the faucet handle, replace the old ring with a new one, and reassemble.
- Pipe Repair Tape/Wrap: For a temporary but effective fix on minor leaks, specialized pipe repair tape or putty can work wonders. These waterproof materials harden around the pipe, sealing small cracks or pinhole leaks. They are incredibly affordable and easy to apply. For example, products like Everbuild Stixall or brands like “Fix It Stick” putty are great for temporary fixes. Always follow the product’s instructions for the best results.
2. Pinhole Leaks in Straight Pipe Sections
These are small, often round holes that appear in the pipe itself. They can be caused by corrosion over time or even friction from water flow.
Causes:
- Corrosion (especially in older galvanized or copper pipes).
- Water impurities causing erosion.
- Manufacturing defects (rare).
Affordable Fixes:
- Pipe Repair Clamps: These are metal sleeves with a rubber gasket that wrap around the damaged area and are secured with screws. They create a strong seal and are a very effective temporary or even semi-permanent solution for pinhole leaks. You can find these at any hardware store for a reasonable price.
- Epoxy Putty for Pipes: Similar to the tape but in putty form, you knead it until it activates and then mold it around the leak. It hardens into a solid patch. Look for water-activated or water-cure epoxies designed specifically for plumbing. Brands like Oatey or J-B Weld WaterWeld are popular choices.
- Temporary Patch with Rubber and Hose Clamp: For a real emergency, you can cut a piece of rubber (from an old inner tube, for instance), wrap it tightly around the leak, and then secure it firmly with a hose clamp. This is a very basic, temporary measure until a more permanent repair can be made.
3. Leaking Drains and Traps
The pipes under your sinks – the trap and the drainpipe – are common spots for leaks, often due to loose connections or worn seals.
Causes:
- Loose slip nuts (the large plastic or metal nuts that connect pipe sections).
- Cracked or degraded rubber gaskets/washers.
- Cracked seals at the sink drain opening.
Affordable Fixes:
- Tighten Slip Nuts: Again, try gently tightening these by hand first if they are plastic. If they are metal, use a pipe wrench, but be careful not to overtighten and crack the plastic pipes.
- Replace Gaskets: If tightening doesn’t work, the rubber gasket inside the slip nut might be worn out. You can buy replacement kits for P-traps and sink drains very cheaply.
- Replace the Trap: If the trap itself is cracked or very old and corroded, replacing the entire P-trap assembly is often inexpensive and straightforward. You can buy a new plastic P-trap kit for under $20.
4. Frozen Pipes
While not a “leak” initially, a frozen pipe is a disaster waiting to happen, as the ice expansion can burst the pipe.
Causes:
- Uninsulated pipes in unheated areas (basements, crawl spaces, garages, exterior walls).
- Sudden and extreme drops in temperature.
Affordable Fixes (Preventative & Immediate):
- Insulation! The most affordable “fix” is PREVENTION. Use foam pipe sleeves or fiberglass insulation wrapped around vulnerable pipes. This reduces the “fix pipes cost” significantly by avoiding bursts. Learn more about pipe insulation from resources like Energy.gov’s insulation guide.
- Allow a Trickle: During extreme cold snaps, letting a tiny trickle of water run from a faucet connected to vulnerable pipes can prevent freezing.
- Gentle Thawing: If a pipe freezes, DO NOT use an open flame. Open the faucet connected to that pipe. Warm the pipe gently with a hairdryer, a heating pad wrapped around it, or by running warm (not hot) water over it with a cloth. Patience is key!
DIY vs. Professional: When to Call for Help

Knowing your limits is crucial when dealing with plumbing. While many small fixes are DIY-friendly, some situations demand a professional plumber.
DIY is Likely Possible For:
- Visible, easily accessible leaks under sinks.
- Loose fittings you can reach.
- Replacing simple parts like faucet washers or P-trap assemblies.
- Applying pipe repair tape or putty to minor, temporary breaches.
When to Call a Professional:
- Hidden Leaks: If you suspect a leak inside a wall, ceiling, or floor, don’t guess. Professionals have tools to detect these accurately.
- Major Damage: Burst pipes, extensive corrosion, or leaks in main water lines.
- Sewer Line Issues: These are complex and often hazardous.
- Lack of Confidence or Tools: If you’re unsure, uncomfortable, or don’t have the right tools, it’s safer and often more cost-effective in the long run to get professional help.
- Gas Lines: Never attempt DIY repairs on gas lines. This is extremely dangerous.
The “fix pipes cost” will skyrocket if a DIY attempt goes wrong and causes more damage. Always prioritize safety.
Tools You’ll Need for Affordable Pipe Fixes

For many basic DIY pipe repairs, you don’t need an elaborate toolkit. Here are some essentials that can save you money:
| Tool | Purpose | Typical Cost Range |
|---|---|---|
| Adjustable Wrench (Pipe Wrench) | Tightening/loosening threaded pipe fittings. | $10 – $30 |
| Plumber’s Tape (PTFE Tape) | Sealing threaded pipe connections to prevent leaks. | $2 – $5 per roll |
| Bucket and Rags | Catching water during repairs, cleaning up spills. | Mostly free (household items) |
| Screwdrivers (Phillips & Flathead) | Disassembling faucet handles, securing clamps. | $5 – $20 for a set |
| Pipe Cutter (for Copper/Plastic) | Cleanly cutting pipes if replacement is needed (more advanced DIY). | $15 – $40 |
| Pliers (Channel Locks/Groove Joint) | Gripping and turning pipes or fittings. | $10 – $25 |
| Safety Glasses | Protecting your eyes from debris or drips. | $5 – $15 |
When budgeting for “fix pipes cost,” consider investing in a few basic tools. They’ll pay for themselves over time with the money saved on small repairs.
Budget-Friendly Materials for Pipe Repairs
The materials you choose can drastically affect your repair costs. Opting for the right, affordable materials is key to keeping the “fix pipes cost” low.
Comparison of Affordable Materials:
| Material/Product | Best For | Pros | Cons | Approximate Cost |
|---|---|---|---|---|
| Rubber Washers / O-Rings | Faucet repairs, pipe joint seals | Very cheap, easy to replace | Only for specific fittings, can degrade over time | $0.50 – $5 per piece/kit |
| Pipe Repair Tape/Wrap | Temporary fixes for small drips/pinholes | Easy to use, waterproof, quick | Temporary by nature unless professionally sealed over | $10 – $30 per kit |
| Pipe Repair Epoxy Putty | Pinhole leaks, small cracks | Durable once cured, strong bond | Requires mixing, cure time, less flexible for curved areas | $10 – $25 per stick |
| Pipe Repair Clamps | Pinhole leaks on straight pipe sections | Strong, reliable temporary or semi-permanent fix, good pressure resistance | Bulky, needs straight pipe section, specific size needed | $10 – $30 per clamp |
| PVC Cement & Primer | Joining PVC pipes for drain/supply (DIY plumbing projects) | Permanent bond for PVC, widely available | Requires clean surfaces and good ventilation, specific to PVC | $5 – $15 per can |
| Plumber’s Putty | Sealing under sink drains, fixtures to porcelain/metal | Malleable, creates a watertight seal | Not for joints that will flex or move, can stain some materials | $3 – $8 per tub |
Remember, the most expensive option isn’t always the best. For minor leaks, a $10 pipe repair putty can be far more cost-effective than calling a plumber for minor work.
Step-by-Step Guide: Fixing a Leaky Faucet Connector (Under Sink)
This is a common DIY scenario, perfect for practicing affordable pipe repair. This guide assumes a standard compression fitting or flexible supply line connection.
Estimated Time: 30-60 minutes
Difficulty: Easy
Materials Needed:
- Adjustable wrench
- Bucket
- Rags
- Plumber’s tape (if dealing with threaded connections that aren’t compression/flexible lines)
- Replacement washer or O-ring (if suspected cause)
- Replacement flexible supply line (if the existing one is damaged)
- Safety glasses
Steps:
- Turn Off Water Supply: Locate the shut-off valves under your sink (one for hot, one for cold). Turn them clockwise until they stop. Turn on the faucet to release any remaining water pressure. Place your bucket under the pipes.
- Inspect the Connection: Look closely at where the supply line connects to the faucet and to the shut-off valve. Is the leak coming from the nut itself, or from around the valve?
- Tighten the Connection: Typically, the leak is just a loose fitting. Using your adjustable wrench, gently try to tighten the nut connecting the supply line to the faucet or the shut-off valve. Turn it clockwise – usually, a quarter to a half turn is enough. Do not overtighten, especially with plastic pipes or fittings, as you can crack them.
- Test for Leaks: Slowly turn the water supply valves back on (counter-clockwise). Check the connection point for any drips. Let it sit for a few minutes.
- If Tightening Didn’t Work:
- For Standard Compression Fittings (metal pipe to fitting): You may need to loosen the nut, place a new ferrule (a small metal ring) and tighten. This is a bit more advanced.
- For Flexible Supply Lines: These have rubber hoses with metal or plastic nuts. If tightening didn’t work, the rubber seal inside the nut (or the hose itself) might be compromised. Loosen the nut completely. You can try replacing just the rubber washer inside the nut if visible. More often, it’s easier and more reliable to replace the entire flexible supply line. Unscrew both ends, take the old one to the hardware store to get an exact match (length and thread size), and install the new one. Use plumber’s tape on the threads if it’s a metal-to-metal threaded connection without an internal rubber seal.
- Identify if the Shut-off Valve is Leaking: If the leak is coming from the valve stem itself, you might be able to tighten a packing nut behind the handle, or the valve may need replacement – often a job for a plumber unless it’s a very simple valve.
- Final Check: Once you’ve tightened, replaced a part, or installed a new supply line, turn the water back on slowly. Check thoroughly for leaks under pressure. Let water run through the faucet for a minute. Wipe the area dry with a rag and re-check for any moisture.
This process can save you the “fix pipes cost” of a plumber’s call-out fee for a simple, accessible leak.
Preventing Future Leaks to Reduce “Fix Pipes Cost”
The best way to manage “fix pipes cost” is to prevent leaks in the first place. Proactive maintenance is your best friend.
- Regular Inspections: Periodically look under sinks, around toilets, and near appliances (washing machines, dishwashers) for any signs of moisture, corrosion, or drips.
- Insulate Pipes: As mentioned, insulate pipes in cold areas to prevent freezing and bursting.
- Know Your Water Pressure: High water pressure puts a strain on your plumbing system. You can test this.
