
Fixing tiles yourself is absolutely achievable! This guide provides clear, beginner-friendly steps for repairing cracked, loose, or missing tiles, along with essential tools and safety tips to get your tile surfaces looking great again with confidence.
Dealing with damaged tiles can be a drag. A cracked tile can snag clothing, a loose one can be a tripping hazard, and a missing tile leaves an ugly gap. But don’t worry! You don’t need to be a master tiler to fix these common issues. With a few simple tools and this easy-to-follow guide, you’ll be repairing your tiles like a pro in no time. We’ll walk you through each step, making sure you feel confident and safe. Get ready to restore your tile surfaces and feel a great sense of accomplishment!
Why Fix Tiles Yourself? The Benefits

Tackling tile repairs yourself offers a lot of perks. First off, it’s a fantastic way to save money. Professional tile repair can add up quickly, especially if you have several tiles that need attention. Doing it yourself means you only pay for the materials, which are usually quite affordable.
Beyond saving cash, it’s incredibly satisfying. There’s a real sense of pride that comes with fixing something with your own hands. Plus, you learn a new skill! Imagine being able to handle small home repairs confidently, knowing you’ve got the know-how. It’s empowering and makes your home feel even more yours.
When to Tackle Tile Repairs DIY

Not every tile problem requires a professional. For beginners, it’s best to start with smaller, more manageable issues. These typically include:
- Replacing a single cracked or chipped tile.
- Re-adhering loose tiles that haven’t shifted too much.
- Filling minor cracks or chips in the tile surface itself.
- Refreshing grout around damaged tiles.
For extensive damage, like multiple blown-out tiles, widespread water damage, or significant structural issues with the subfloor, it’s wise to consult a professional contractor. But for the common, everyday bumps and breaks, DIY is your go-to solution.
Essential Tools and Materials for Tile Repair

Before you start, gather your supplies. Having everything ready will make the process smooth and efficient.
Tools You’ll Need:
- Safety Glasses: Protect your eyes from dust and debris.
- Work Gloves: Keep your hands clean and protected.
- Putty Knife or Scraper: For removing old grout or adhesive.
- Grout Saw or Utility Knife: To carefully remove grout around a damaged tile.
- Hammer: For gently tapping or prying.
- Chisel: To carefully remove broken tiles. (Use with caution!)
- Measuring Tape: To ensure new tiles fit correctly.
- Sponge: For cleaning up excess grout or adhesive.
- Bucket: For water and mixing grout/adhesive.
- Trowel (notched): For applying tile adhesive.
- Tile Nippers or Cutter: If you need to trim a new tile.
- Vacuum Cleaner or Broom: To clear debris.
Materials You’ll Need:
- Replacement Tile(s): Try to find an exact match for size, color, and texture. You can often find spares from the original installation or at tile stores.
- Tile Adhesive: Suitable for your tile type and location (e.g., thin-set mortar for floors, mastic for walls).
- Grout: Choose a color that matches your existing grout.
- Grout Sealant: To protect the new grout.
- Painter’s Tape: To protect surrounding areas.
Step-by-Step Guide: Replacing a Cracked or Missing Tile
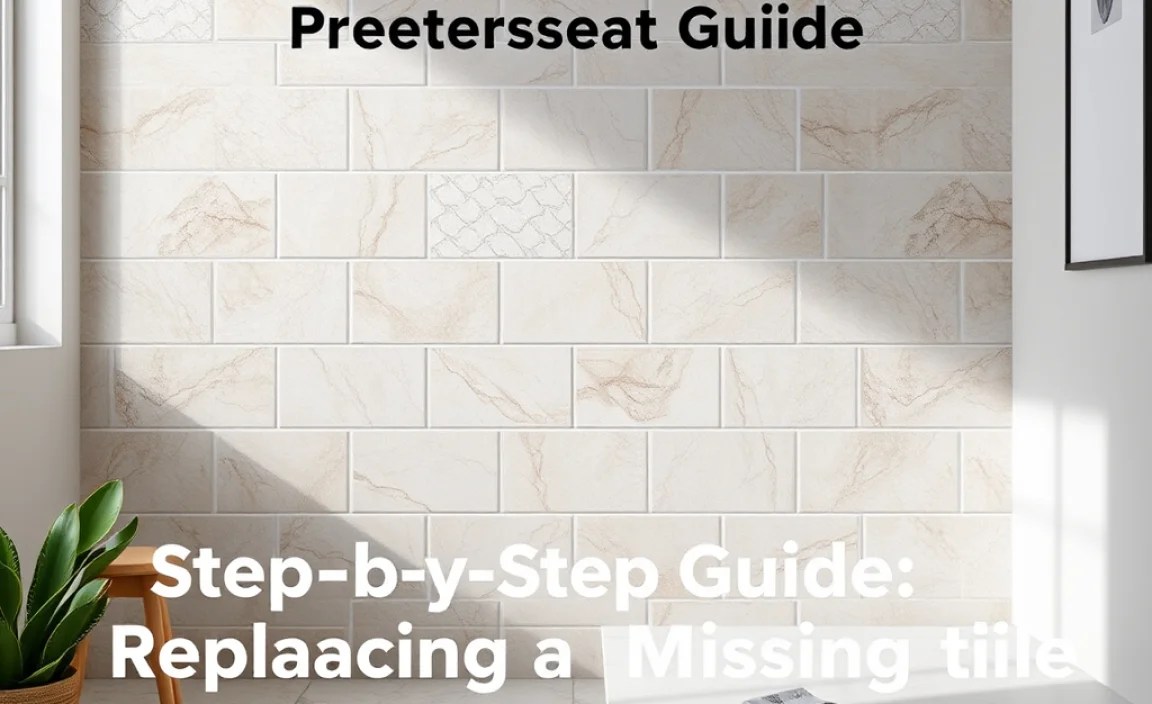
Let’s get down to fixing that damaged tile! This is the most common tile repair scenario.
Step 1: Safety First!
Put on your safety glasses and work gloves. The last thing you want is an eye injury from flying ceramic shards or a cut from sharp edges. Clear the area of any obstructions, especially if you’re working in a bathroom or kitchen.
Step 2: Remove Damaged Tile
This is where patience is key. Start by carefully removing the grout surrounding the broken tile using a grout saw or a sharp utility knife. Work slowly and deliberately to avoid damaging adjacent tiles. Once the grout is cleared, place the tip of a chisel at an angle under one edge of the broken tile. Gently tap the chisel with a hammer to lift the tile. If the tile is in pieces, work from the edges inward, lifting out each piece one by one. Be thorough and get all the broken bits out.
Step 3: Clean the Area
Once all the pieces of the broken tile are out, use your putty knife or scraper to carefully remove any old adhesive from the subfloor or wall. You want a clean, flat surface for the new tile. Vacuum or sweep up all the debris. A clean surface is crucial for the new adhesive to bond properly.
Step 4: Prepare the Adhesive
Follow the manufacturer’s instructions for mixing your tile adhesive. For most DIYers, a pre-mixed adhesive (like mastic for walls) or a powdered tile adhesive that you mix with water (like thin-set mortar for floors) will work well. Aim for a consistency like peanut butter – thick enough to hold its shape but spreadable.
For more information on different types of tile adhesives and their uses, check out BuildingGreen’s guide to tile adhesives and grouts.
Step 5: Apply the Adhesive
Using your notched trowel, spread a thin, even layer of adhesive onto the clean area where the tile used to be. Hold the trowel at a 45-degree angle to create ridges in the adhesive. These ridges help the tile bond more securely and allow air to escape.
Step 6: Set the New Tile
Carefully place the new tile into the adhesive. Press down firmly with a slight twisting motion. This helps ensure good contact between the tile and the adhesive. If you are replacing multiple tiles, use tile spacers to ensure consistent grout lines. Check that the new tile is flush with the surrounding tiles using your fingers or a clean cloth. If it’s too high, gently press it down. If it’s too low, carefully lift it and add a little more adhesive.
Step 7: Clean Up Excess Adhesive
Use a damp sponge to wipe away any adhesive that has squeezed out around the edges of the new tile immediately. It’s much easier to clean when it’s wet than when it dries.
Step 8: Let it Cure
Allow the adhesive to cure completely according to the product’s instructions. This usually takes at least 24 hours. Avoid walking on floor tiles or putting pressure on wall tiles during this time.
Step 9: Grout the Tile
Once the adhesive is fully cured, it’s time to grout. Mix the grout according to the package directions to a smooth, paste-like consistency. Apply the grout using a grout float or a putty knife, pressing it into the joints around the new tile. Work at an angle to the tile lines to ensure the grout fills the gaps completely. Scrape off any excess grout from the tile surface with the float.
Step 10: Clean the Grout
Wait about 15-30 minutes, or until the grout starts to set. Then, use a damp sponge (not soaking wet!) to gently wipe the excess grout haze off the tile surface. Rinse your sponge frequently in clean water. Be careful not to wash too much grout out of the joints.
Step 11: Final Curing and Sealing
Let the grout cure for the time recommended by the manufacturer (usually 24-72 hours). After it’s fully cured, there will likely be a slight haze on the tiles. Buff this off with a dry cloth. Finally, apply a grout sealant. This is very important to protect the grout from stains and moisture. Use a small brush or applicator to apply the sealant, making sure to cover the grout lines only. Let it dry completely.
The U.S. Environmental Protection Agency (EPA) offers valuable resources on proper home maintenance and repair, which you can explore at their comprehensive guide on radon reduction techniques, which often involves sealing and protective measures relevant to home structures and surfaces.
Fixing Loose Tiles (Without Removing Them!)
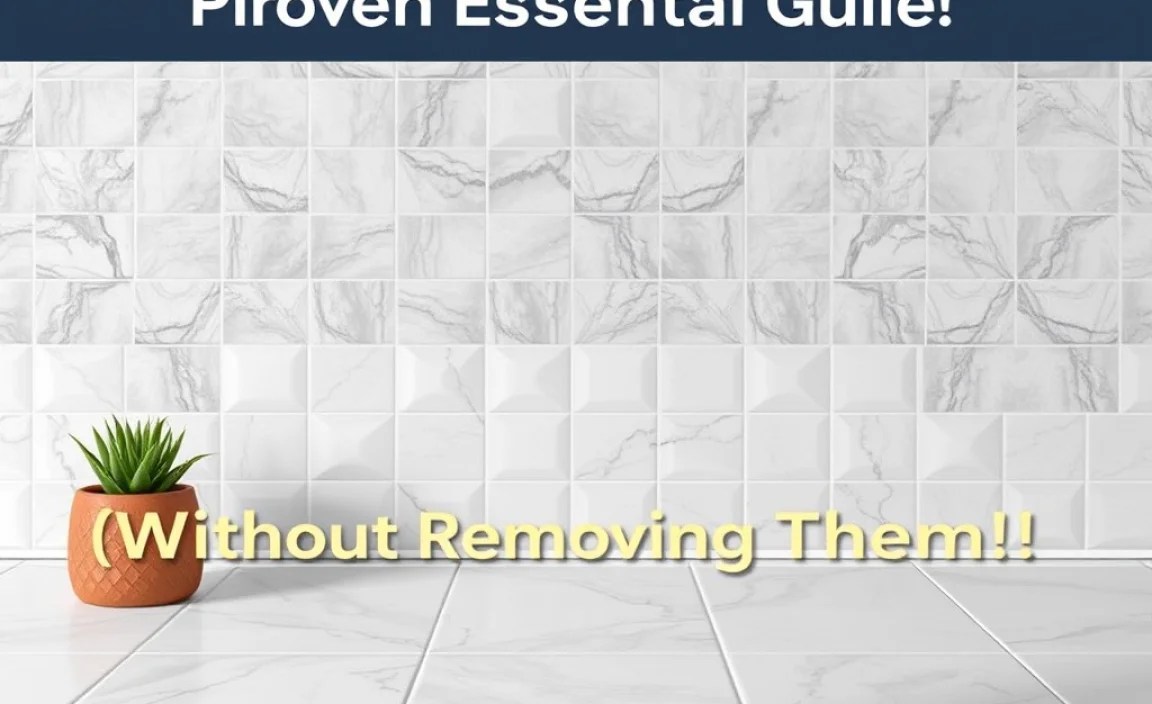
Sometimes, a tile might feel loose but hasn’t actually broken or come off. You can often fix this without the mess of removing and replacing it.
Step 1: Assess the Looseness
Gently rock the tile. If it moves easily and there’s a gap underneath where you can see light or feel a void, it’s a good candidate for this repair. If it’s completely detached, you’ll need to follow the replacement steps above.
Step 2: Inject Adhesive
Carefully and slowly try to thread a thin nozzle (often attached to specialized tile adhesive tubes) or a putty knife under the edge of the loose tile. The goal is to get a small amount of tile adhesive or even a strong, flexible construction adhesive underneath. Squeeze in just enough to fill the void without it oozing out the sides.
Step 3: Secure the Tile
Once the adhesive is applied, press the tile down firmly to spread the adhesive. You might need to tape it in place to keep it from shifting while the adhesive cures. Use painter’s tape to secure the tile to the surrounding tiles.
Step 4: Clean and Cure
Wipe away any excess adhesive that might have squeezed out. Allow the adhesive to cure completely as per the product instructions, which can range from a few hours to a couple of days. Once cured, remove the tape, and the tile should be securely re-adhered.
Repairing Small Chips and Cracks
For minor cosmetic damage like small chips or hairline cracks, you might not need to replace the whole tile.
Step 1: Clean the Damaged Area
Use a soft brush and some water to clean out the chip or crack. You want to remove any dust or debris so the filler adheres well.
Step 2: Choose Your Filler
There are several options:
- Epoxy Tile Repair Kit: These kits come with a filler and often a color-matching system. They are durable and waterproof.
- Tile Crack Filler: Special fillers designed for ceramic and porcelain.
- Color-Matched Grout: For very fine hairline cracks, sometimes a small amount of well-matched grout can be used.
Step 3: Apply the Filler
Follow the instructions for your chosen filler. Typically, you’ll use a small putty knife or a specialized applicator to carefully fill the chip or crack. Don’t overfill. You want it to be flush with the tile surface.
Step 4: Smooth and Cure
Use a damp cloth or sponge to gently smooth the filler while it’s still wet, ensuring it’s even with the tile. Let the filler cure completely. Once cured, you may need to lightly buff the area to blend it in.
Table: Common Tile Problems and Solutions
Here’s a quick reference for identifying and fixing typical tile issues:
| Problem | Severity | Likely Cause | Recommended DIY Solution |
|---|---|---|---|
| Cracked Tile | Minor to Major | Impact, settling, improper installation | Replace tile. |
| Loose Tile | Minor | Deteriorated adhesive, water damage | Inject adhesive or re-adhere. If severely damaged, replace tile. |
| Missing Tile | Major | Breakage, water damage | Demolish surrounding grout, remove base material, replace tile and grout. |
| Chipped Edge | Minor | Impact, wear and tear | Repair with epoxy filler or color-matched grout. |
| Cracked Grout | Minor | Deterioration, expansion/contraction | Remove old grout, re-grout. |
| Stained Grout | Minor | Spills, lack of sealing | Clean with grout cleaner, re-seal. |
Maintaining Your Tiles for Longevity
Prevention is always better than cure! Regular maintenance can save you a lot of repair work down the line.
- Regular Cleaning: Sweep or vacuum your tiled floors daily and mop with a pH-neutral cleaner weekly. Avoid abrasive cleaners that can scratch the surface or damage grout.
- Wipe Up Spills Immediately: Liquids, especially acidic ones like wine or juice, can stain grout and even the tile surface over time.
- Check Grout: Periodically inspect your grout lines for cracks or crumbling. Address small issues before they become major problems.
- Re-seal Grout: Most grout needs to be sealed every 6-12 months, depending on traffic and moisture exposure. A good sealant is your grout’s best friend against stains and water damage.
- Be Mindful of Heavy Objects: Avoid dropping heavy items on tiles, as this is a primary cause of cracks.
When to Call a Professional
While DIY tile repair is rewarding, there are instances where professional help is the smarter choice.
- Extensive Damage: If you have multiple tiles that are broken, loose, or missing, especially over a large area.
- Suspected Water Damage: If you see signs of water pooling, mold, mildew, or if tiles feel soft or mushy, there might be underlying structural damage that needs professional assessment.
- Foundation Issues: If you suspect your home’s foundation is settling, causing tile problems, this is a serious structural issue.
- Complex Materials: Working with natural stone tiles (like marble or granite) or very delicate mosaic tiles can be trickier and might benefit from professional expertise.
- Lack of Confidence or Time: If you’re not comfortable with the process or simply don’t have the time, hiring a professional ensures the job is done correctly and efficiently.
Conclusion
You’ve learned the essentials of how to fix tiles DIY! From replacing a cracked tile to securing a loose one and even touching up small chips, you now have the knowledge and confidence to tackle these common home repairs. Remember to prioritize safety, gather your tools, and follow the steps carefully.
DIY tile repair is not only cost-effective but incredibly rewarding. Each successful repair builds your skills and your confidence as a homeowner. So, the next time you spot a damaged tile, don’t feel daunted. You’ve got this! Keep practicing, keep learning, and enjoy the satisfaction of a job well done, knowing your home’s tiled surfaces are looking their best thanks to your efforts.
Frequently Asked Questions (FAQ)
Q1: How do I find an exact tile match for a replacement?
Try to find any leftover tiles from your original installation. If that’s not possible, visit the store where the tiles were purchased. If they’re no longer available, look for similar styles at tile showrooms or hardware stores. Bring a photo or even a small piece of the original tile if you can.
Q2: What’s the difference between tile adhesive and grout?
Tile adhesive (like thin-set mortar or mastic) is what sticks the tile to the surface (floor or wall). Grout is the material that fills the gaps between tiles, holding them together and preventing dirt and moisture from getting underneath.
Q3: Can I repair a tile with a large crack?
For safety and structural integrity, it’s best to replace a tile with any significant crack. Small hairline cracks can sometimes be repaired with filler, but a large crack often means the tile is compromised and could break further.
Q4: How long does tile adhesive take to dry?
Drying times vary by product. Most tile adhesives require at least 24 hours to cure before you can walk on them or apply grout. Always check the specific product’s instructions for accurate drying and curing times.
Q5: Is it okay to use wood glue to fix loose tiles?
No, wood glue is not suitable for tile repair. It’s not designed to withstand moisture, temperature changes, or the weight and pressure tiles endure. Always use adhesives specifically made for tiles.
Q6: How do I avoid damaging adjacent tiles during repair?
Work slowly and deliberately. Use a grout saw to carefully remove grout without digging into the next tile. When prying out a broken tile, use a thin chisel and tap gently. If you’re unsure, you can protect nearby tiles by taping them with painter’s tape.
