Fix Vent DIY: Genius Effortless Fixes – Your quick guide to simple solutions! Don’t let a faulty vent disrupt your home’s comfort or energy efficiency. This guide offers easy, step-by-step repairs for common vent problems, empowering you to tackle them with confidence. Simple tools and clear instructions make these DIY fixes attainable for everyone.
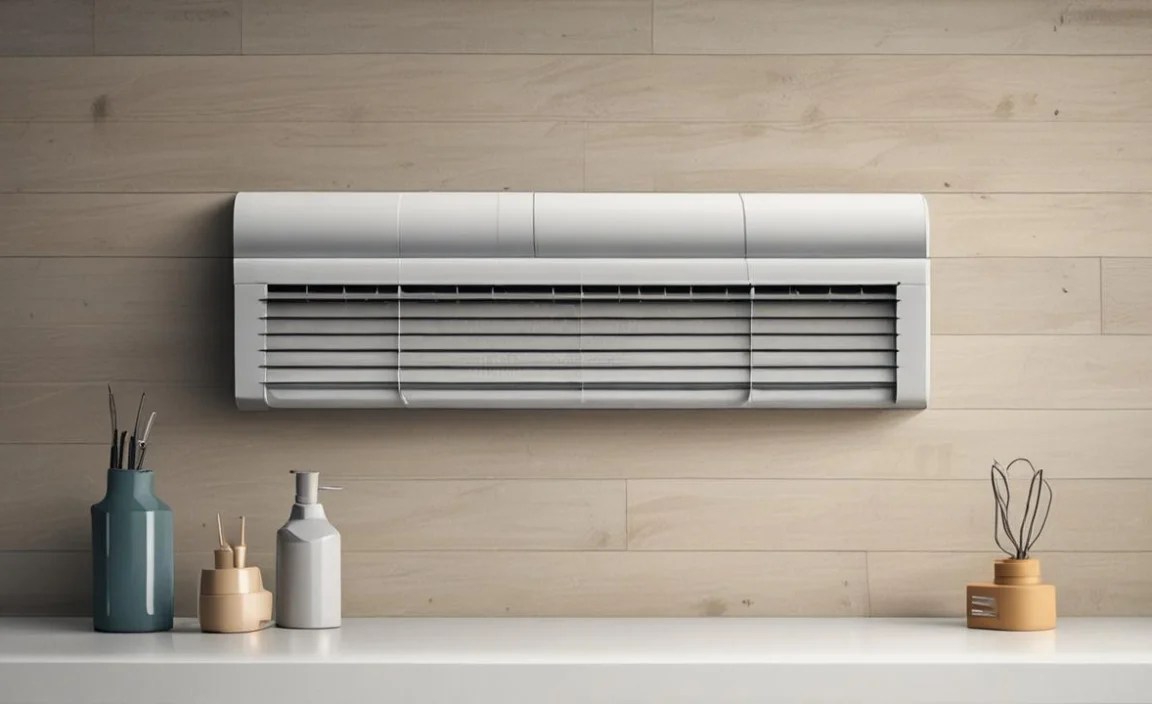
Vents are the unsung heroes of your home’s heating, cooling, and ventilation systems. When they aren’t working right, you notice it quickly. Maybe one room feels stuffy while another is freezing, or you hear strange noises. These aren’t just minor annoyances; they can lead to wasted energy and a less comfortable living space. The good news is that many vent issues are surprisingly easy to fix yourself! You don’t need to be a seasoned pro to get your home back in perfect balance. We’ll walk you through common vent problems and their simple, effective DIY solutions.
- Genius Effortless DIY Vent Fixes
Vents are the gateways for your home’s climate control, playing a crucial role in keeping every room comfortable and your energy bills in check. When they’re not performing their best, it’s like having a traffic jam in your home’s air system. Fortunately, many common vent problems are straightforward fixes that any homeowner can handle with a few simple tools and our easy-to-follow guidance. Let’s get your home breathing easy again!
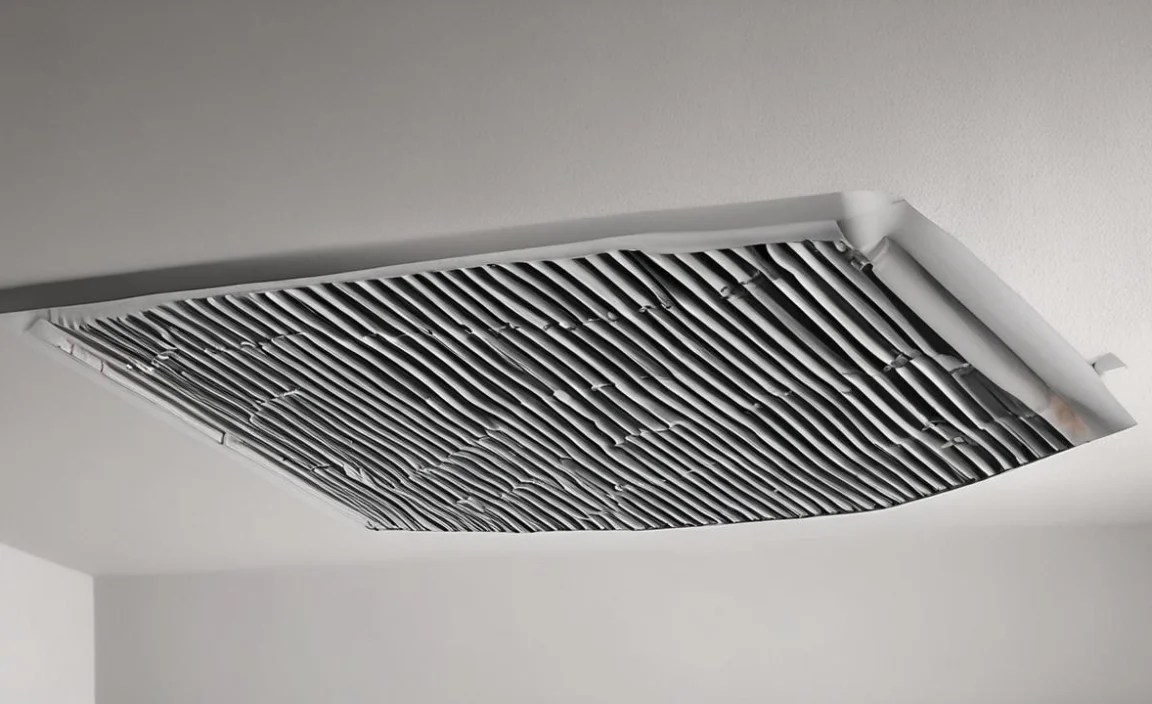
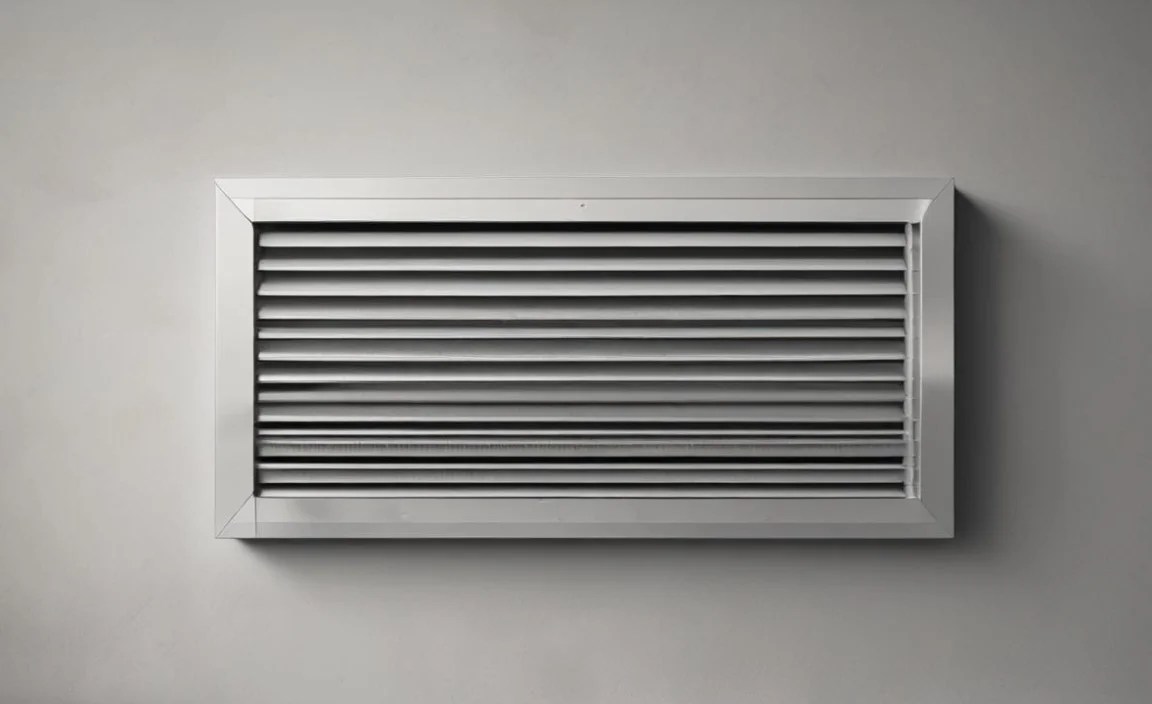
1. The Clogged Vent: Restoring Airflow with Ease
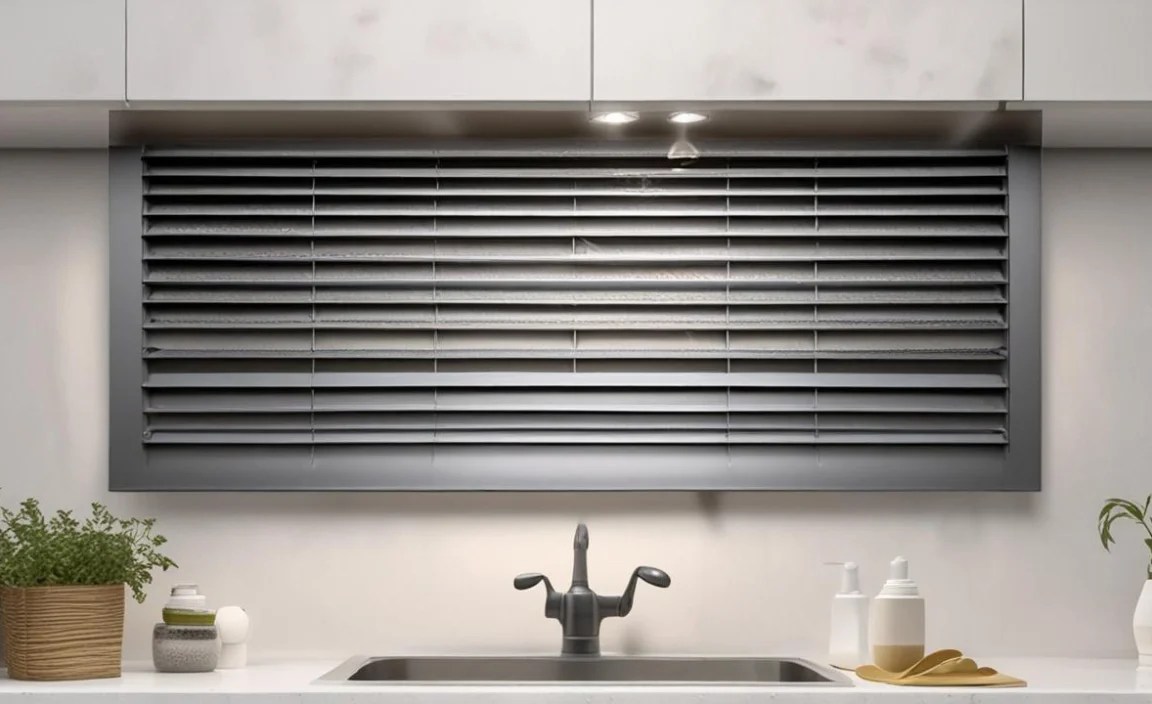
This is perhaps the most common vent issue and also the easiest to fix! A clogged vent means dust, pet hair, dirt, and debris have accumulated, blocking the free flow of air. This not only reduces the effectiveness of your heating and cooling but can also impact indoor air quality and strain your HVAC system.
Why It Happens:
- Natural accumulation of dust and fibers from carpets and upholstery.
- Pets shedding fur.
- Lack of regular cleaning.
- Items placed too close to vents.
Signs Your Vent is Clogged:
- Significantly reduced or no airflow from one or more vents.
- A visible layer of dust, lint, or debris on the vent grille.
- Your HVAC system seems to be running longer than usual.
- Uneven temperatures between rooms.
Tools You’ll Need:

- Vacuum cleaner with hose attachment (crevice tool is helpful)
- Stiff brush or old toothbrush
- Damp cloth
- Screwdriver (if vent cover needs removal)
- Gloves (optional, for dusty jobs)
- Safety glasses (optional, to protect eyes from dust)
Step-by-Step Fixing Process:
- Turn Off Your HVAC System: Before you begin, locate your thermostat and set it to “Off.” For extra safety, you can turn off the power to your HVAC system at the circuit breaker. This prevents any accidental bursts of air or debris from being circulated.
- Remove the Vent Cover (if necessary): Many floor and wall vents can simply be lifted or pried gently open. For more secure vents, you might find screws. If so, use the appropriate screwdriver to remove them and set them aside. Keep track of them!
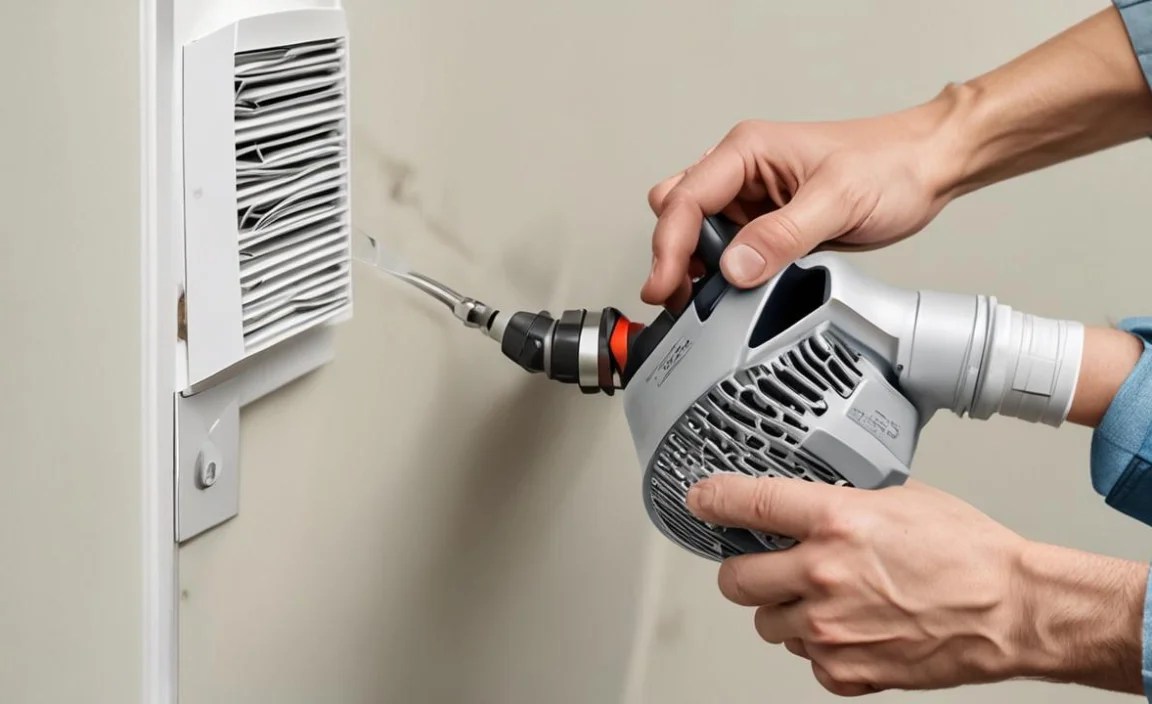
- Initial Debris Removal: Use your vacuum cleaner’s hose attachment to thoroughly clean the surface of the vent grille. Get into all the nooks and crannies.
- Deep Cleaning the Vent Shaft: This is where the real work happens.
- For shallow vents, the crevice tool on your vacuum is excellent. Angle it to reach as far down as possible.
- For deeper vents, or if the vacuum alone isn’t enough, use your stiff brush or old toothbrush to dislodge stubborn dust and debris. Brush downwards towards the opening.
- Follow up with the vacuum again to suck out the loosened debris.
Pro Tip: Some people use a flexible dryer vent brush or a specialized vent cleaning tool that attaches to a drill for deeper cleaning. Always be gentle to avoid damaging ductwork.
- Wipe Down the Cover: If you removed the vent cover, take this opportunity to wipe it down with a damp cloth to remove any lingering dust.
- Reassemble: Place the clean vent cover back into position. If it was screwed in, reinsert and tighten the screws. Don’t overtighten.
- Restore Power: Turn your HVAC system back on at the thermostat or circuit breaker.
- Test: Feel the airflow from the vent. It should be noticeably stronger and freer.
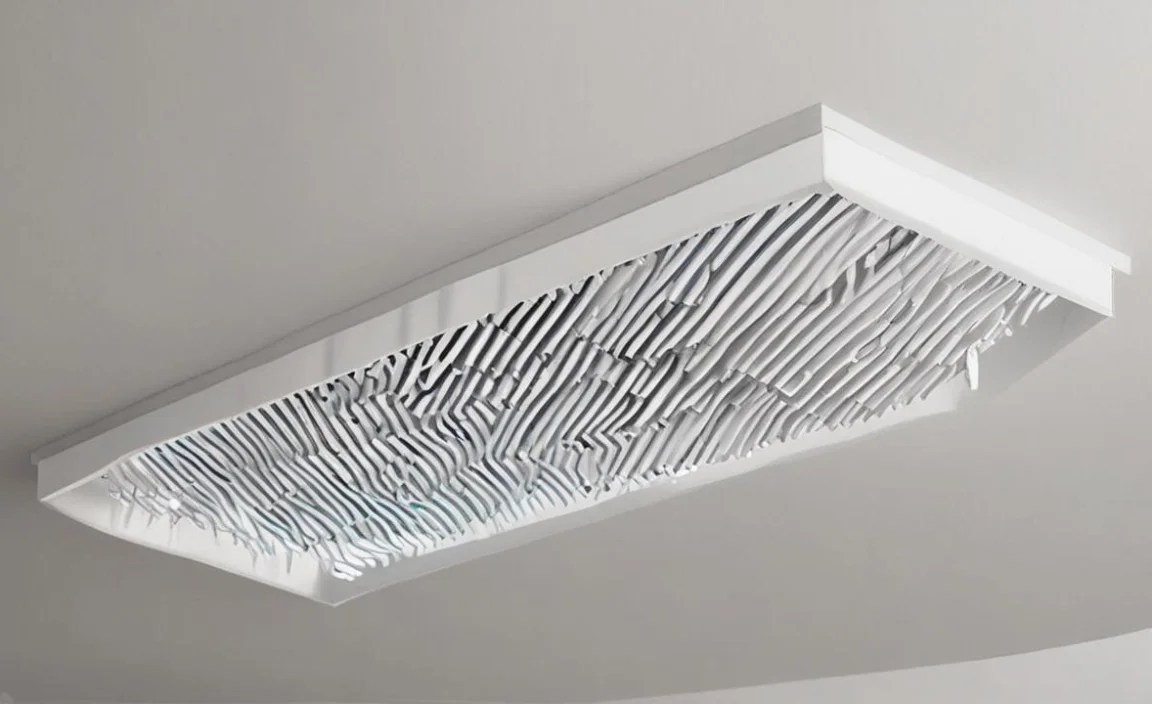
2. The Loose Vent Cover: Securing a Wobbly Fixture

A vent cover that is loose, wobbly, or hanging off isn’t just unsightly; it can also let in dust and debris from wall cavities and potentially allow conditioned air to escape, reducing efficiency.
Why It Happens:
- Screws loosening over time due to vibrations from the HVAC system.
- Improper initial installation.
- Wear and tear on housing or mounting tabs.
Signs Your Vent Cover is Loose:

- The vent cover rattles when air is flowing.
- The cover shifts or moves easily when touched.
- Gaps between the cover and the wall/floor, allowing dust infiltration.
Tools You’ll Need:
- Screwdriver (Phillips head or flat head, depending on your screws)
- Replacement screws (if old ones are stripped or missing)
- Wall anchors or putty (for more persistent looseness)
- Gloves (optional)
Step-by-Step Fixing Process:

- Turn Off HVAC: Always a good safety first step. Switch your thermostat to “Off.”
- Assess the Looseness: Gently try to wiggle the vent cover. Where is it loose? Are the screws missing, stripped, or just not tightened enough?
- Tighten Existing Screws: If screws are present and appear intact, use your screwdriver to tighten them. Work slowly and evenly. Do not overtighten, as this can strip the screw holes or crack the vent cover.
- Replace Stripped Screws: If a screw head is stripped (the slots are worn down), it won’t grip the screwdriver. You might be able to carefully remove it with pliers. Plan to replace it with a new screw of the same size.
- Address Stripped Screw Holes: If the screw turns but doesn’t tighten (the hole in the wall or ductwork is too large), you have a stripped hole.
- For walls: You can try inserting a wooden matchstick or toothpick into the hole with a little wood glue, then re-insert the screw. Alternatively, use a suitable wall anchor.
- For metal ductwork (rare for covers but possible): You might need a slightly larger screw, or consider a specialized metal anchor if available.
- Secure Loose Tabs (for vents with clips): Some vents use clips or tabs that fit into slots. Ensure these are properly seated. If a tab is broken, you might need to replace the entire vent cover.
- Reassemble (if cover was removed): If you removed the cover entirely, reattach it and secure any screws.
- Restore Power and Test: Power your HVAC back on and check if the vent cover is now stable.
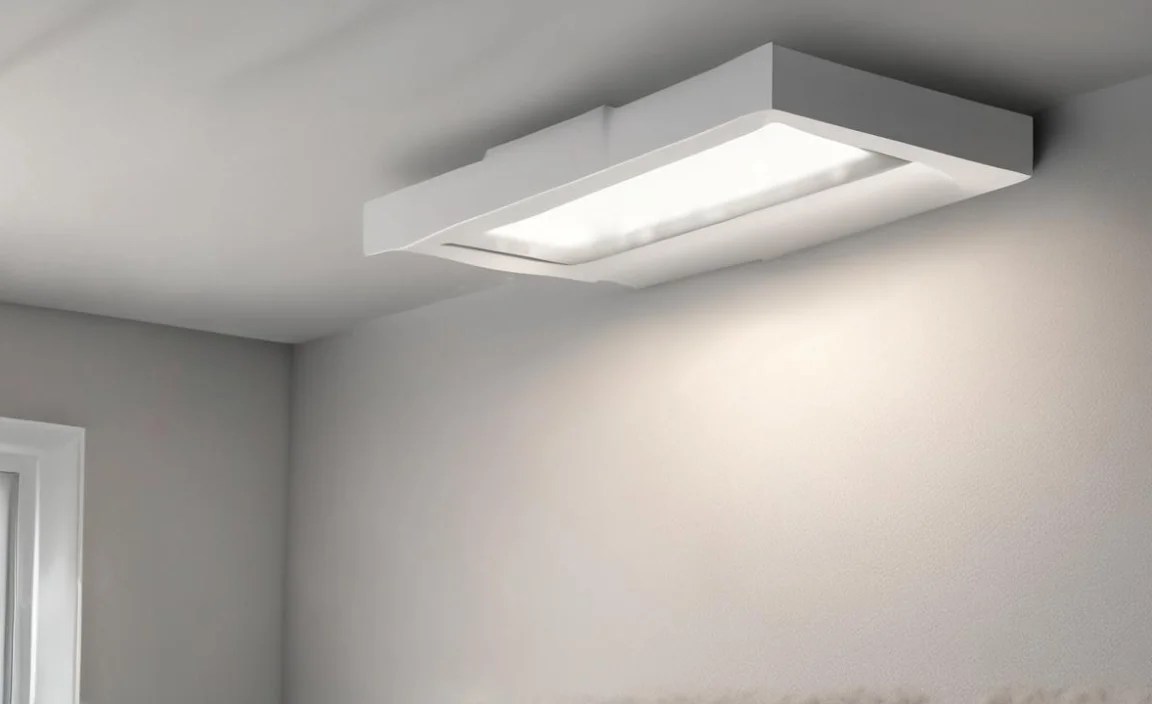
3. Air Leaks Around Vents: Sealing Drafts for Efficiency

Leaks around the edge of your vent where it meets the wall, floor, or ceiling can allow conditioned air to escape into unconditioned spaces (like attics or crawl spaces) or pull unconditioned air into your home. This wastes energy and compromises comfort.
Why It Happens:
- Shrinkage of building materials over time.
- Settling of the house.
- Improper sealing during initial construction.
- Gaps widened by temperature fluctuations.
Signs of Air Leaks:

- Feeling drafts near vents.
- Visible gaps or cracks around the vent frame.
- Higher-than-usual energy bills.
- Dust or cobwebs accumulating in gaps around the vent.
Tools You’ll Need:
- Caulking gun
- Acoustical sealant or painter’s caulk (choose a flexible type)
- Putty knife or razor blade (for cleaning old sealant)
- Damp cloth (for cleanup)
- Screwdriver (if cover removal is needed)
- Appropriate safety gear (gloves, eye protection)
Step-by-Step Fixing Process:
- Turn Off HVAC: Ensure your system is off at the thermostat or breaker.
- Inspect the Area: Carefully examine the perimeter of the vent where it meets the surrounding surface (drywall, wood floor, etc.). Look for any cracks, gaps, or areas where the seal has failed.
- Clean the Area: Use a putty knife or razor blade to gently scrape away any old, loose caulk, dust, or debris from the gap. A clean surface ensures the new sealant adheres properly. Wipe the area clean with a damp cloth.
- Prepare the Sealant: If using a caulk tube, carefully cut the tip to create a small opening. You want a bead of sealant that matches the size of the gap.
- Apply Sealant: Load the caulk gun. Place the tip of the caulk tube at the beginning of the gap. Apply steady, even pressure to the caulk gun trigger, moving it along the gap to create a continuous bead of sealant. Aim to fill the entire gap without creating an excessive blob.
- For very small gaps: A good quality interior latex caulk (like painter’s caulk) is usually sufficient.
- For larger gaps or areas that might experience more movement: Consider using an acoustical sealant. This is more flexible and durable.
- The U.S. Department of Energy recommends sealing air leaks as a critical step in home energy efficiency. You can learn more about these efforts at Energy.gov’s Air Sealing Guide.
- Smooth the Sealant (Optional but Recommended): For a neater finish, lightly wet your finger or a damp cloth and gently run it over the freshly applied caulk bead. This smooths it out and pushes it into the gap. Be careful not to smear it too much.
- Allow to Cure: Let the sealant dry according to the manufacturer’s instructions. This can range from 30 minutes to several hours. Avoid touching it during this time.
- Restore Power and Test for Drafts: Once cured, turn your HVAC system back on. Check the area around the vent for any persistent drafts. You may also notice improved comfort and potentially lower energy bills over time.
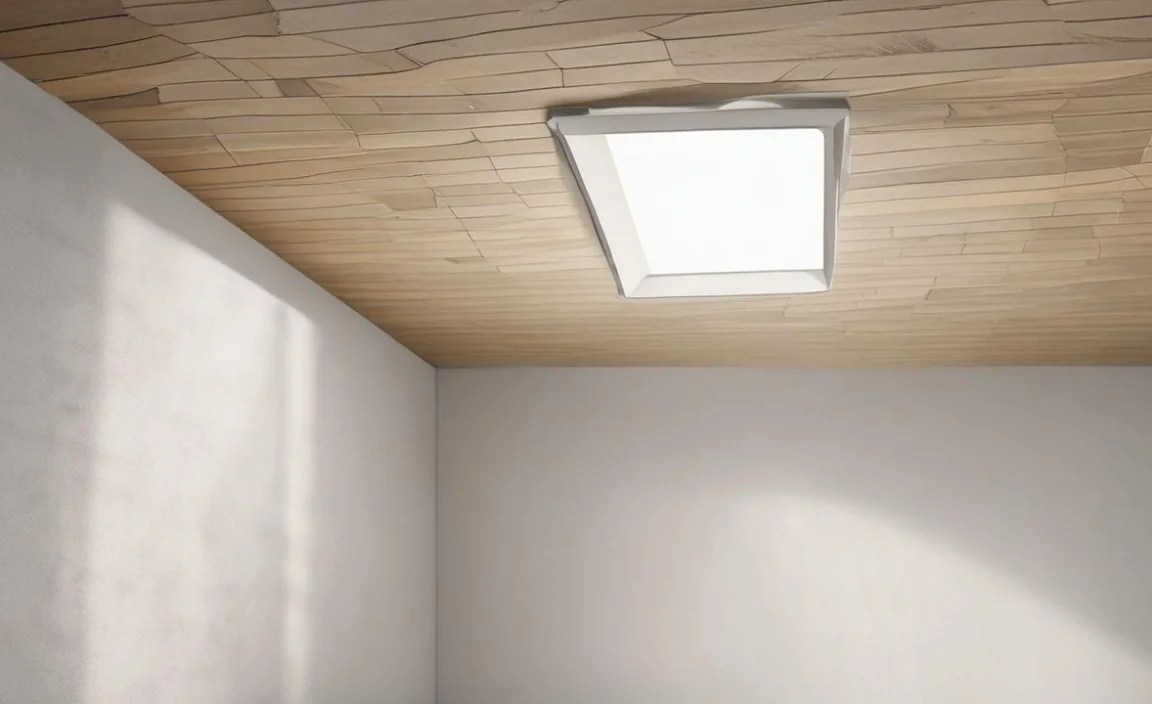
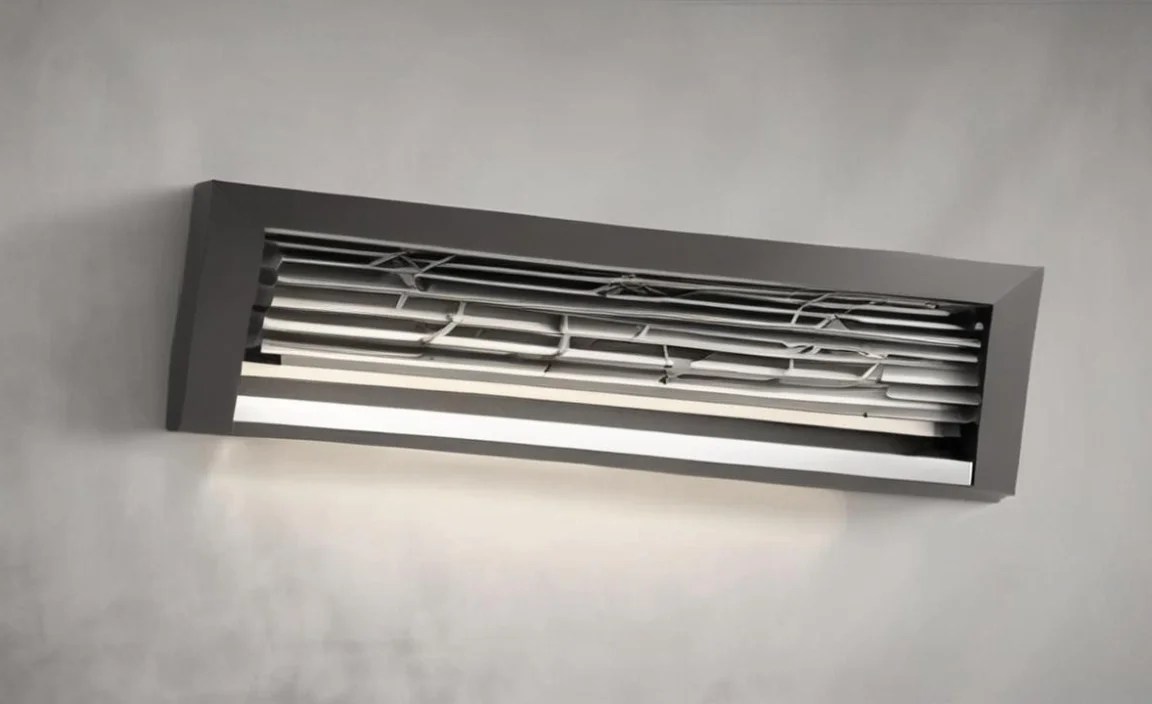
4. Sticky or Sluggish Louvers/Dampers: Restoring Smooth Operation

Some vents, especially those in walls or ceilings for HVAC systems, have adjustable louvers or internal dampers that control airflow direction or volume. You might find these stiff, difficult to move, or stuck completely.
Why It Happens:
- Accumulated dust and grime causing friction.
- Minor corrosion on metal parts.
- Paint or debris getting into the moving parts.
- Physical stress or damage.
Signs Louvers/Dampers are Sticky:

- Difficulty adjusting the louvers with your hand or a tool.
- The damper inside doesn’t move freely when you try to adjust it.
- Uneven airflow that you can’t correct by adjusting the vent.
Tools You’ll Need:
- Vacuum cleaner with hose attachment
- Small brush (like an old toothbrush)
- Lubricant (e.g., WD-40, silicone spray, or graphite lubricant)
- Clean cloths
- Screwdriver and pliers (if cover removal is needed)
- Safety glasses
Step-by-Step Fixing Process:
- Turn Off HVAC: Always start by disabling your HVAC system.
- Access the Mechanism:
- For Louvers: Ensure the vent cover is removed if necessary. You’ll want direct access to the individual slats and their pivot points.
- For Internal Dampers: These are often controlled by a lever or knob accessible through the vent grille. Sometimes, you may need to remove the vent cover and potentially the damper assembly itself for better access. If a damper is deep within the ductwork, this might become a job for a professional.
- Clean Thoroughly: Use the vacuum with a crevice tool and a small brush to remove all visible dust, dirt, and debris that might be impeding movement. Pay attention to the edges of the louvers or the damper blade and its pivot points.
- Apply Lubricant:
- Spray a small amount of your chosen lubricant directly onto the pivot points of the louvers or the moving parts of the damper.
- If lubricating louvers, concentrate on the points where each slat connects to the frame and its neighbours.
- Wipe away any excess lubricant with a clean cloth to prevent drips.
Important Note on Lubricants: For HVAC systems, use lubricants that are safe for plastics and metals. Silicone spray is often a good choice as it doesn’t attract as much dust as oil-based lubricants. WD-40 can work but is more of a degreaser; a silicone spray is usually better for long-term lubrication. For sensitive areas, graphite lubricant can be effective. ASHRAE (American Society of Heating, Refrigerating and Air-Conditioning Engineers) provides guidelines on HVAC system maintenance, emphasizing proper materials and procedures, though specific DIY lubricant recommendations are rare.
- Work the Mechanism: After applying lubricant, gently move the louvers or damper back and forth several times. This helps the lubricant penetrate and distribute evenly, breaking up any grime or minor corrosion.
- Clean Up Excess: Use a clean cloth to wipe away any lubricant that has squeezed out. You don’t want excess product attracting more dirt.
- Reassemble and Test: Reattach any removed vent covers. Turn your HVAC system back on and test the louvers or damper. They should now move much more freely.
Frequently Asked Questions
-
What are the most common vent problems a DIYer can fix?

Common DIY-friendly vent issues include clogged vents, loose vent covers, minor air leaks, and jammed louvers. These typically don’t require specialized tools or extensive knowledge to repair.
-
How do I know if my vent is just dirty or if there’s a bigger problem?
If you notice reduced airflow, strange smells, or a buildup of visible dust and debris, it’s likely a cleaning job. If you’ve cleaned it and there’s still no airflow, or if you hear unusual mechanical noises, it might be a more complex issue requiring professional attention.
-
Can fixing my vents actually save me money?
Absolutely! Properly functioning vents ensure your HVAC system works efficiently. When air can flow freely and your system isn’t working overtime to compensate for blockages or leaks, you’ll see lower energy bills.
-
What safety precautions should I take when working with vents?
Always turn off your HVAC system at the thermostat or breaker before starting any work. Wear gloves and eye protection, especially if dealing with dust or sharp edges. Be cautious of electrical components if you’re working near them.
-
How often should I clean or inspect my home’s vents?
It’s a good practice to visually inspect and clean accessible vents (like those in floors and walls) at least every few months. This includes your air return vents, which are crucial for system efficiency.
-
What’s the difference between a vent and a register?
In simple terms, a vent is an opening that allows air to pass through. A register is a type of vent that includes a damper (a valve to control airflow) and a grille or cover. For DIY purposes, the terms are often used interchangeably when referring to the visible part in your room.