
Understand essential faucet terms in construction with this beginner’s guide. Learn about common parts like cartridges, aerators, and spouts to confidently identify, repair, or install faucets. Demystify plumbing jargon and gain practical knowledge for your next home project.
Ever stared at a faucet and wondered what all those different parts are called? It’s like trying to read a foreign language when you’re just trying to fix a leaky handle or pick out a new fixture. This can feel frustrating, especially when you’re ready to tackle a DIY project or when a plumber uses terms you don’t understand. Don’t worry! This guide will break down the confusing world of faucet anatomy into simple, easy-to-grasp terms. We’ll help you build confidence, one part at a time, so you can handle your home’s plumbing needs like a pro. Let’s dive in and make those faucet parts familiar!
The Anatomy of a Faucet: A Beginner’s Breakdown

When we talk about faucets, we’re usually referring to the fixture that controls the flow of water in our kitchens, bathrooms, and sometimes laundry rooms. While they may seem simple, faucets are made up of several key components that work together harmoniously. Understanding these parts isn’t just for plumbers; it’s incredibly useful for any homeowner looking to perform basic maintenance, fix a drip, or even make an informed purchase at the hardware store.
Think of your faucet as a small, intricate machine. Each piece has a specific job, and when one part isn’t functioning correctly, the whole system can suffer. By learning the names and functions of these parts—from the spout where the water emerges to the internal mechanisms that control temperature and flow—you’ll be much better equipped to diagnose problems and communicate effectively with professionals. Let’s start exploring these essential components.
Key Faucet Components Explained
Let’s walk through the most common parts of a faucet. We’ll explain what each part does in plain English, so you’ll feel more comfortable identifying them and understanding their role.
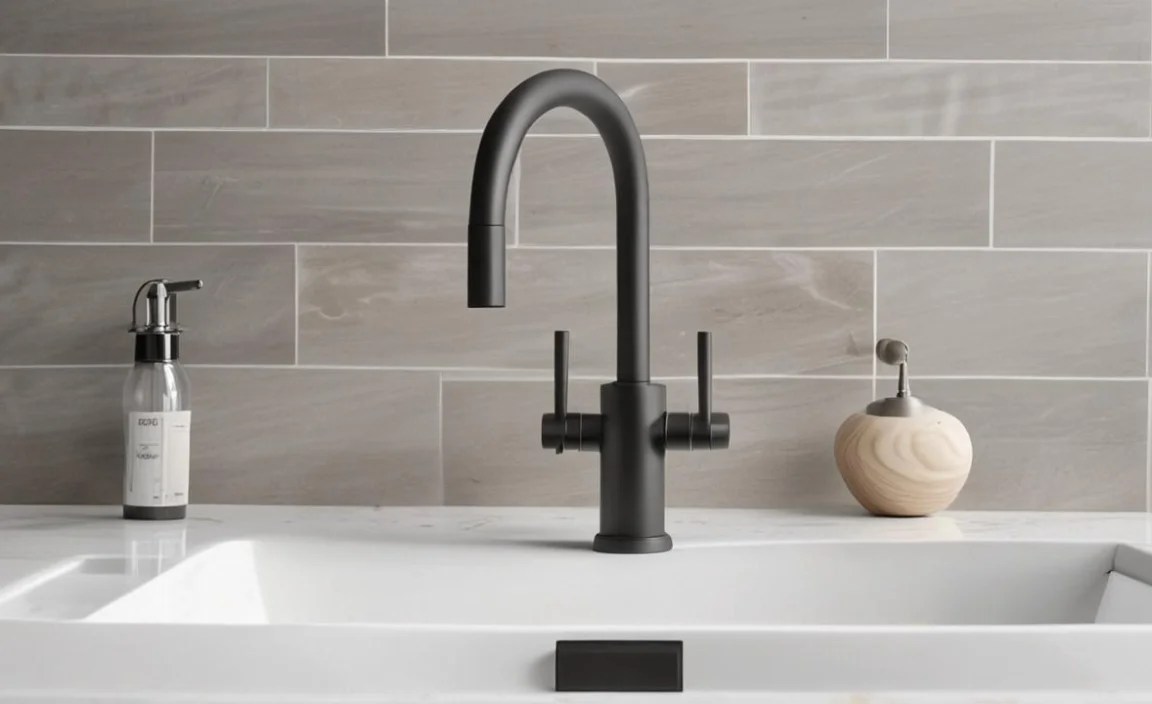
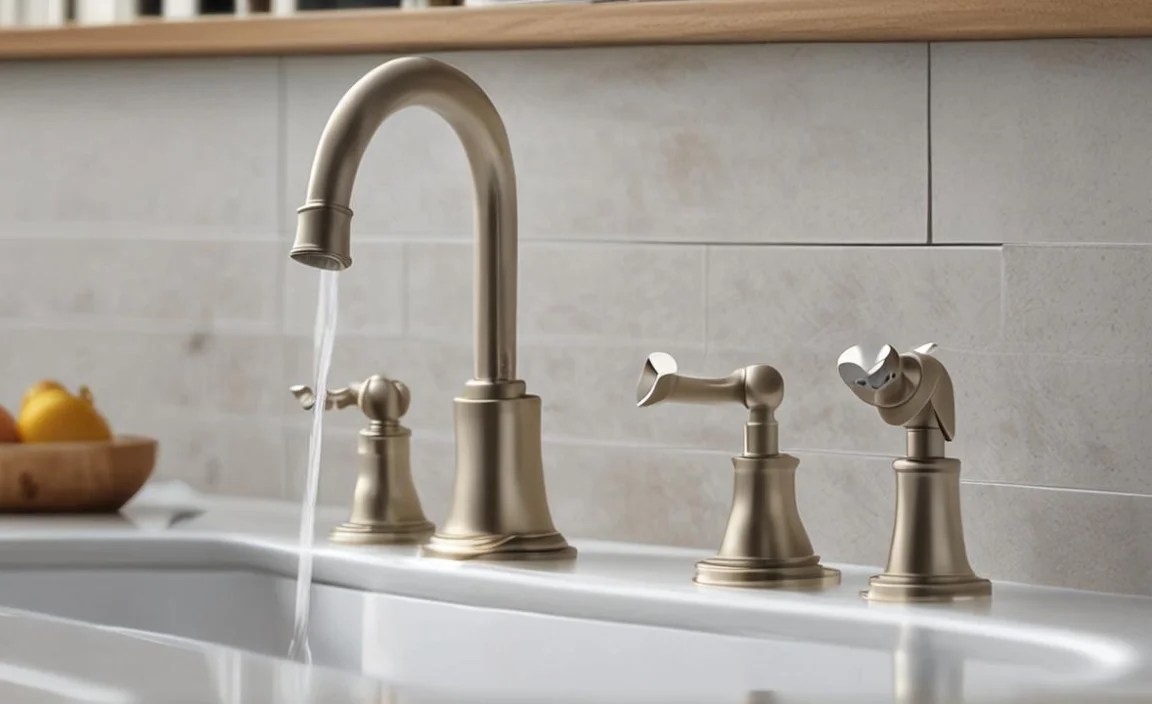
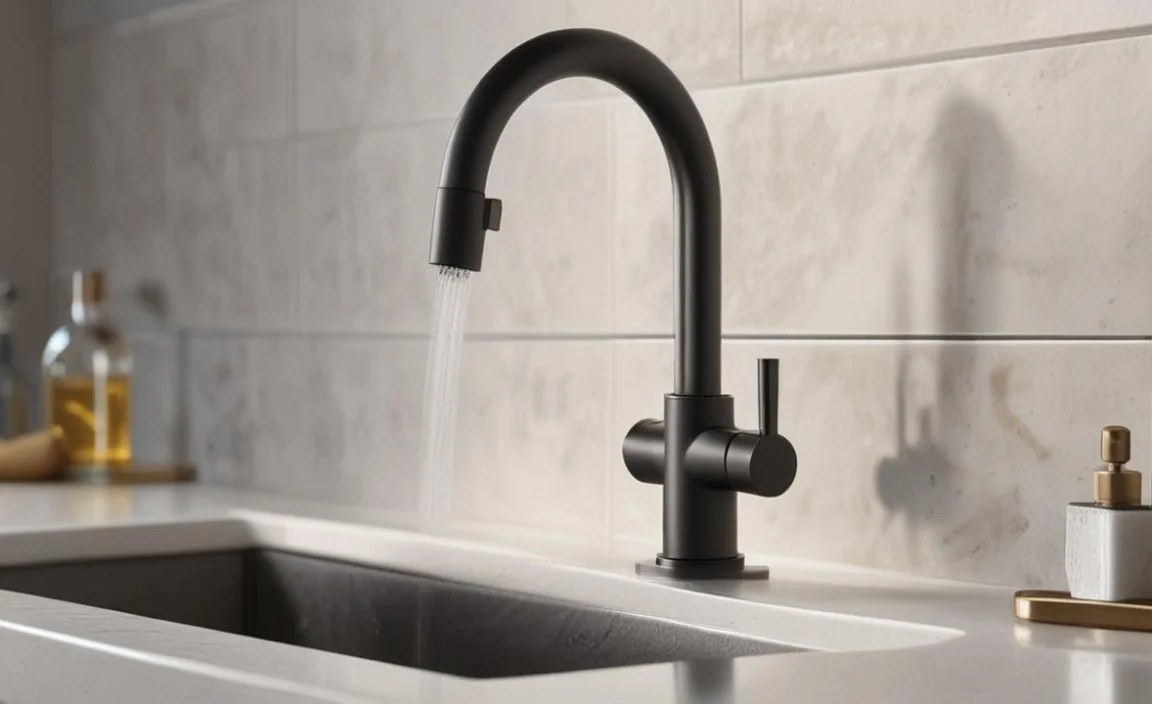
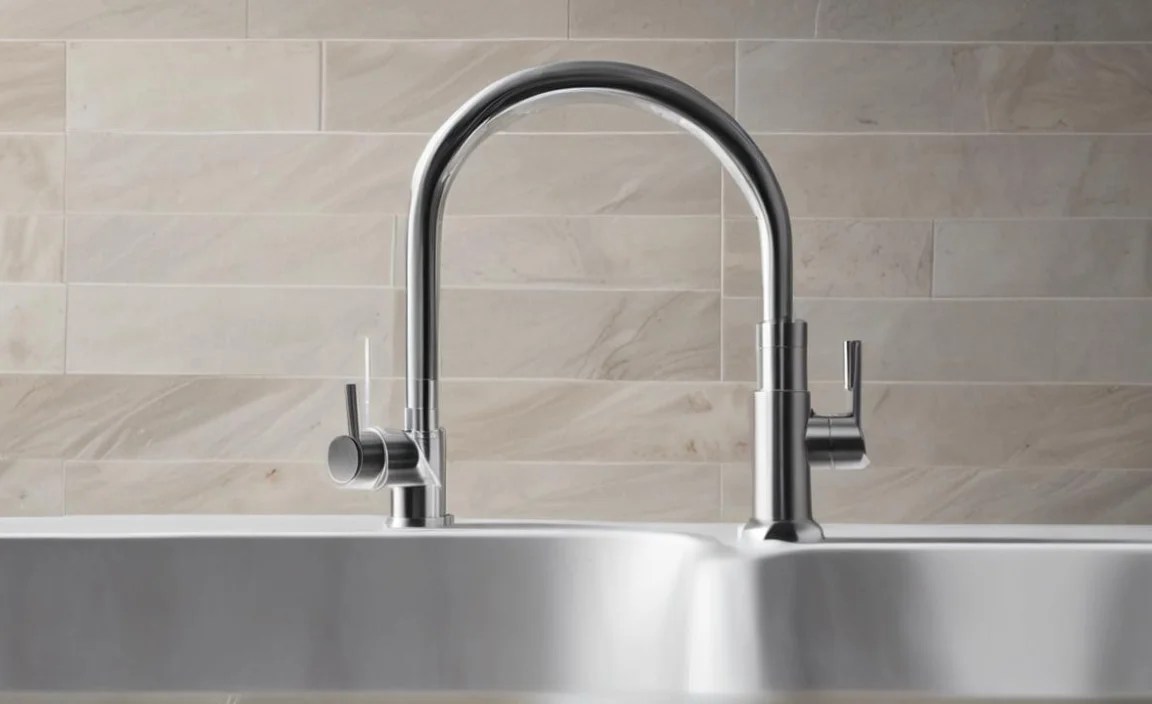
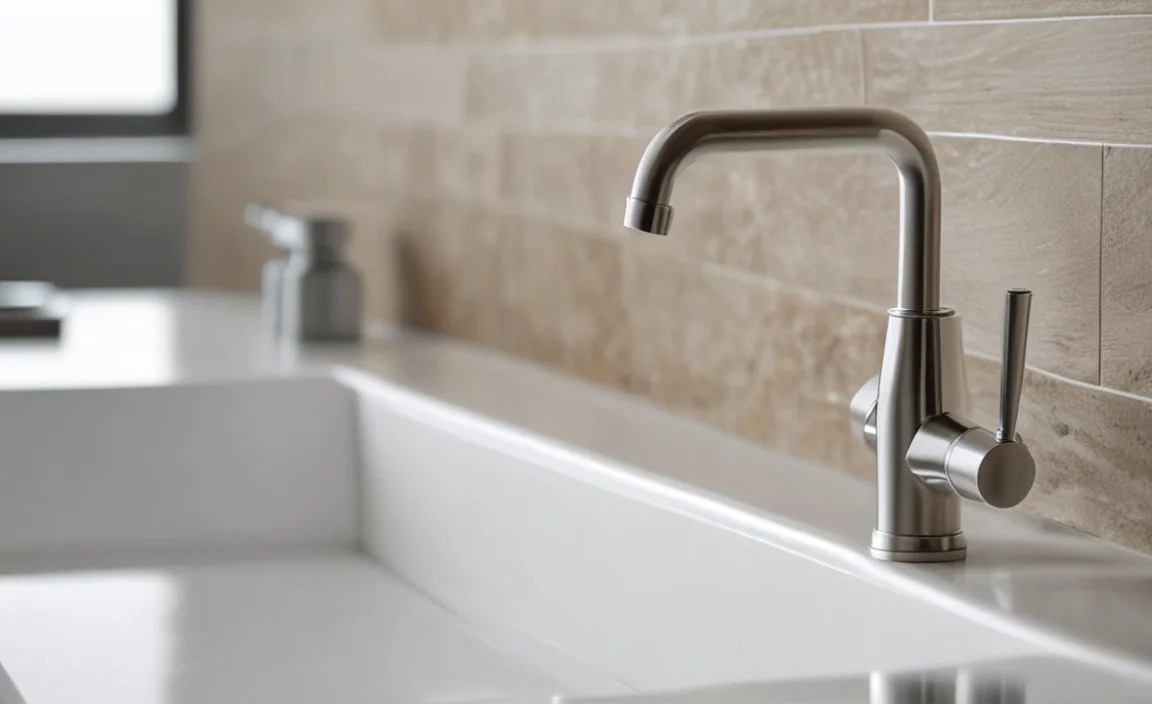
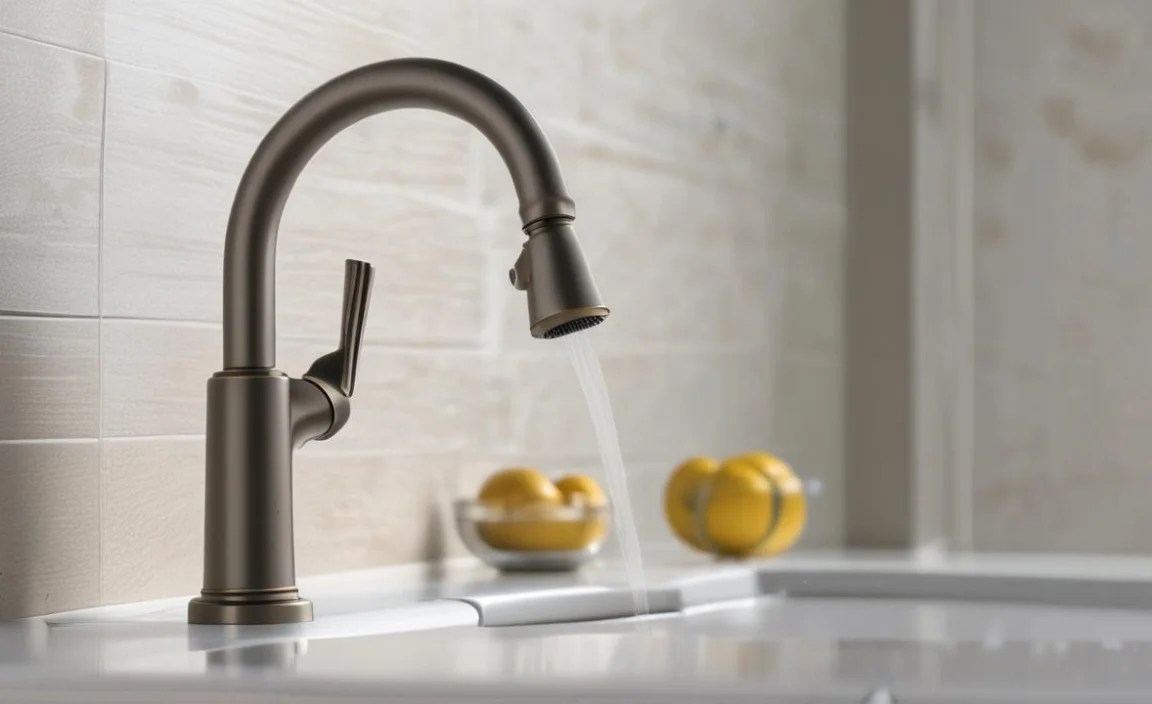
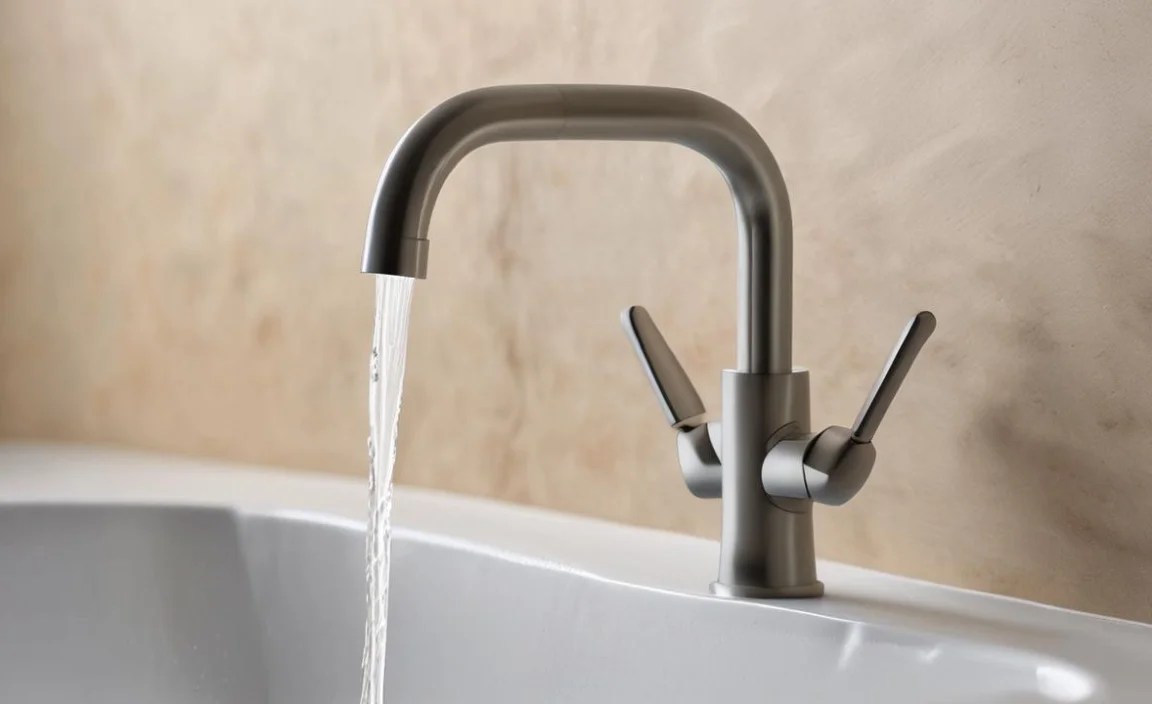
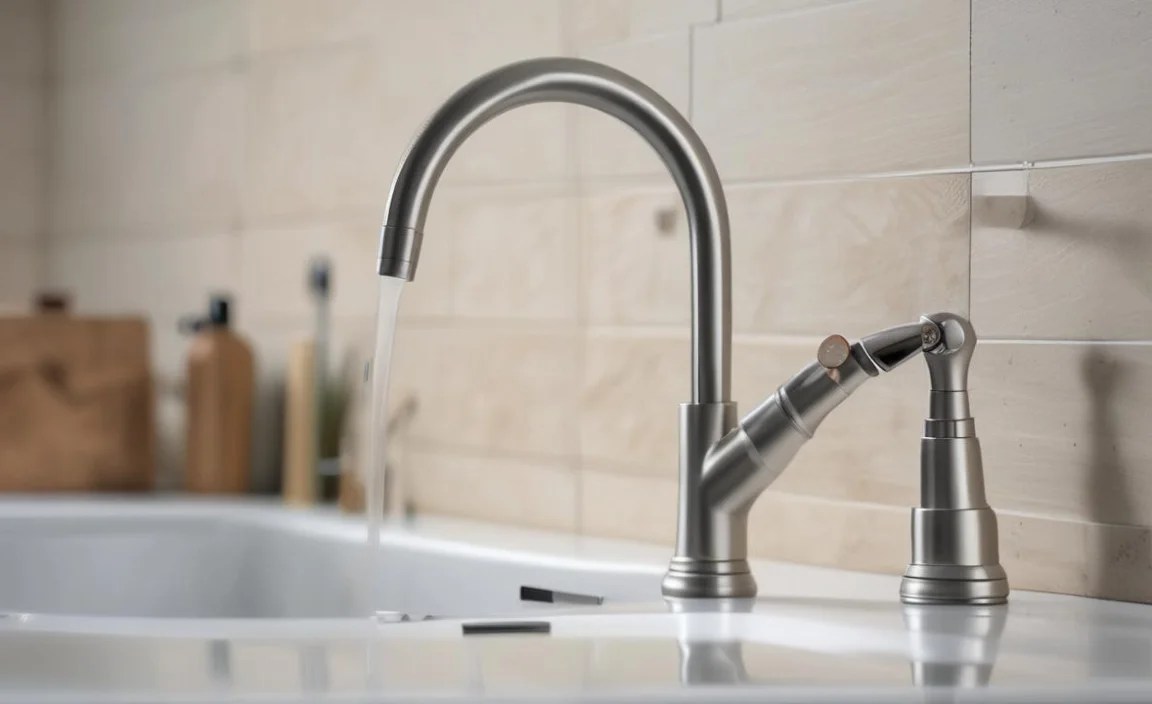
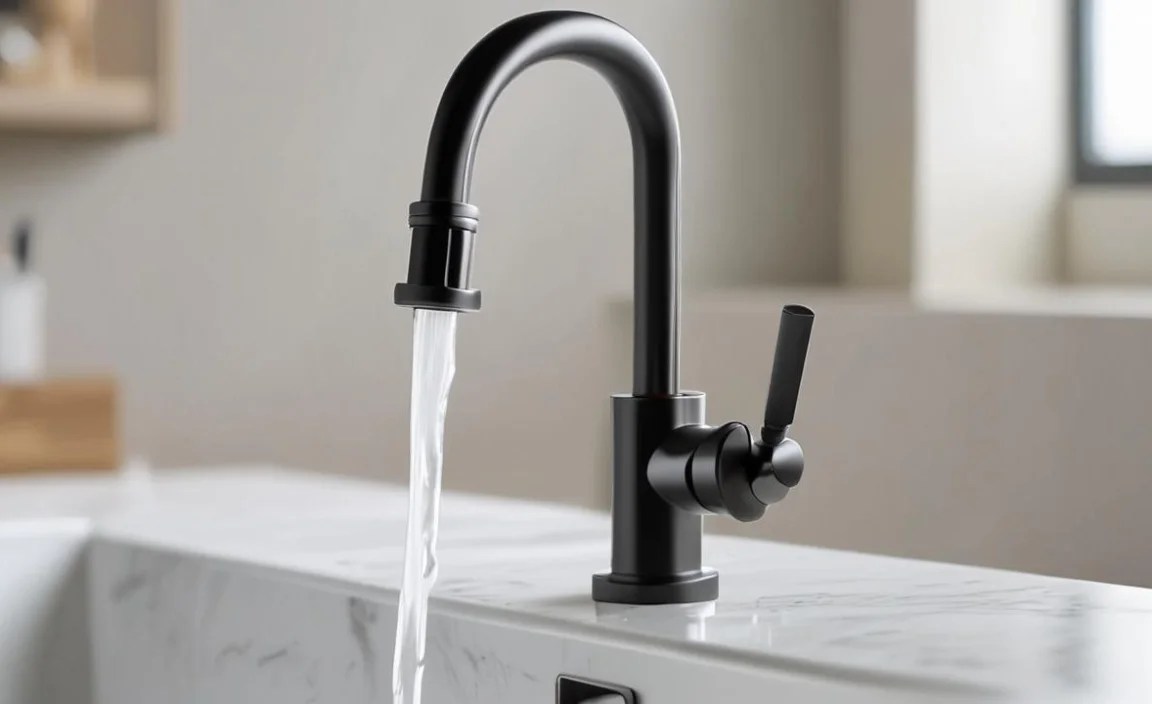
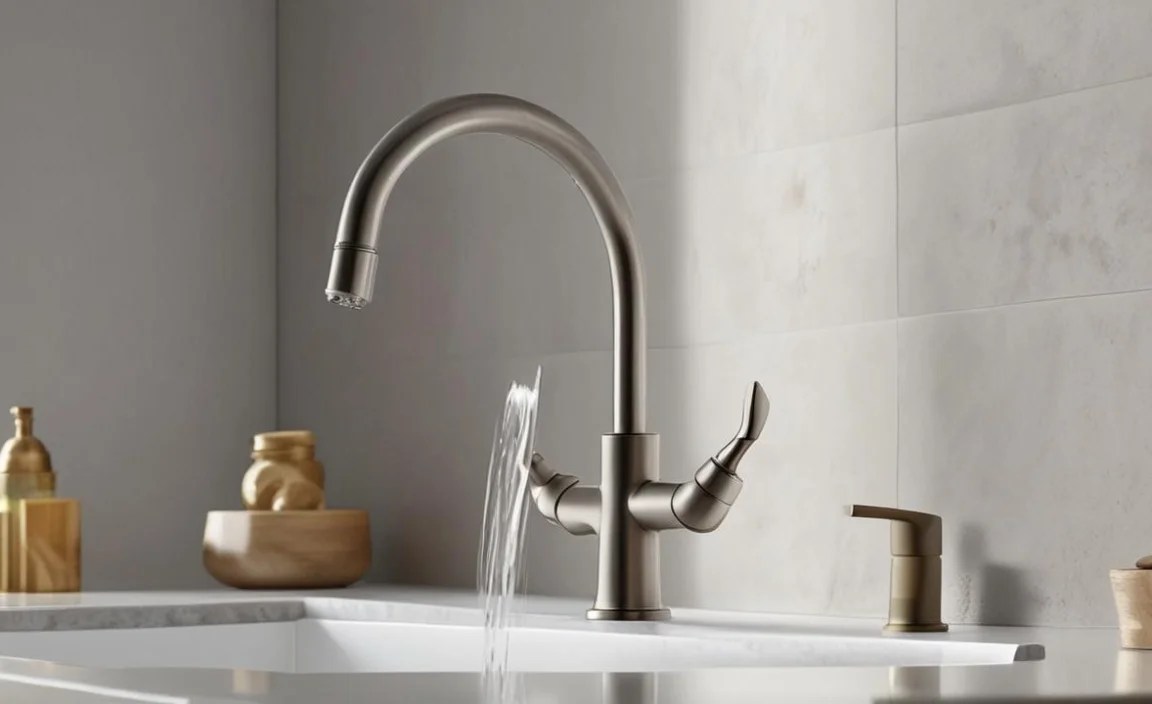
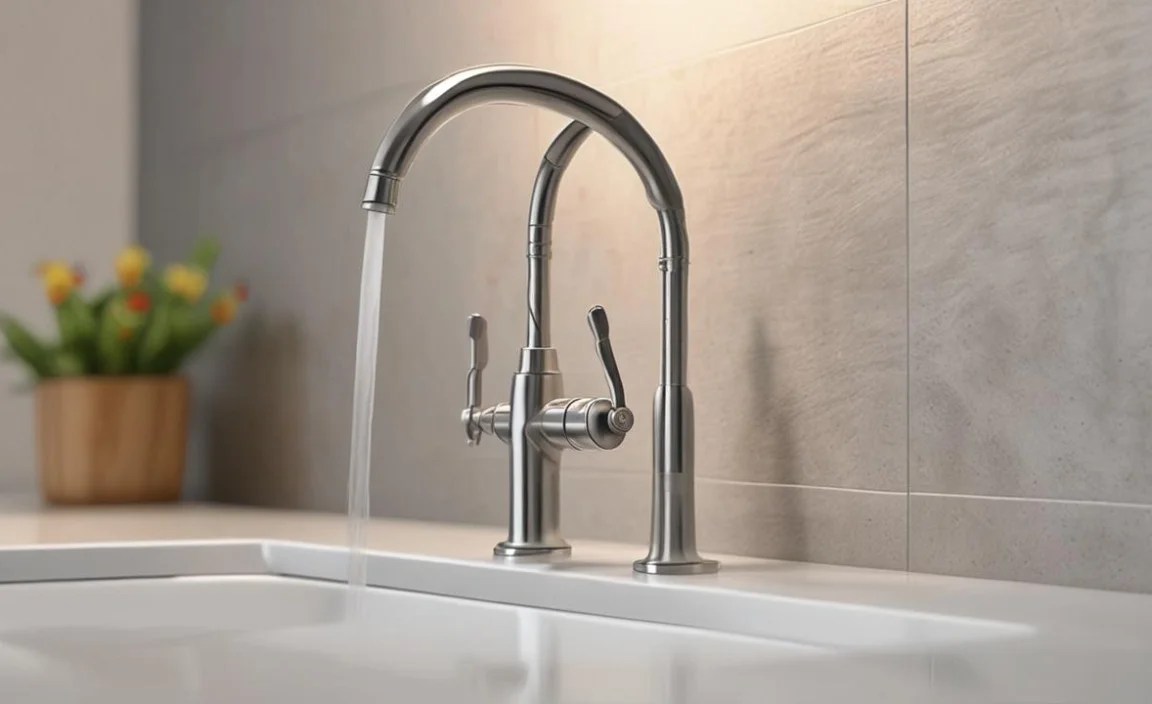
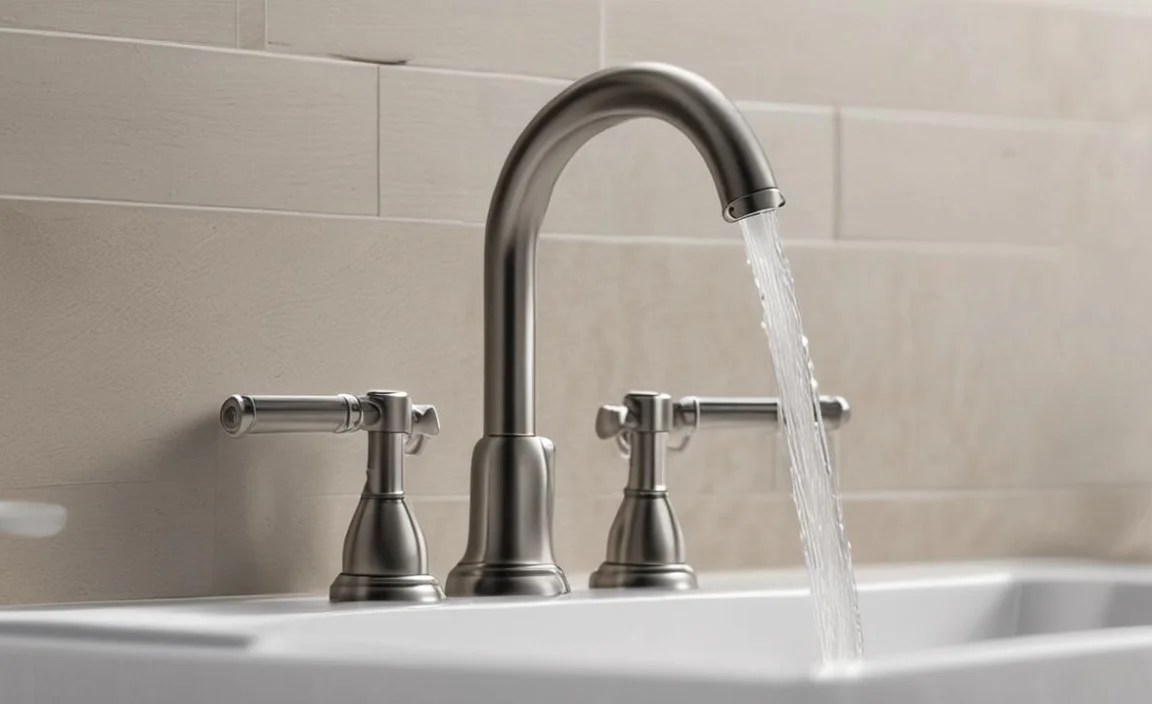
1. The Spout
This is the most visible part of the faucet, directing the water into the sink or basin. Spouts come in various shapes and sizes, like:
- Arc Spout: Features a high curve, offering more clearance below for filling large pots or washing bulky items.
- Pull-down/Pull-out Spout: These spouts have a flexible hose that allows you to extend the nozzle beyond the sink area, making it easier to clean the sink or reach different areas.
- Standard Spout: A more traditional, straight or gently curved spout found in many basic faucet designs.
The spout’s design can significantly impact the faucet’s functionality and aesthetics.
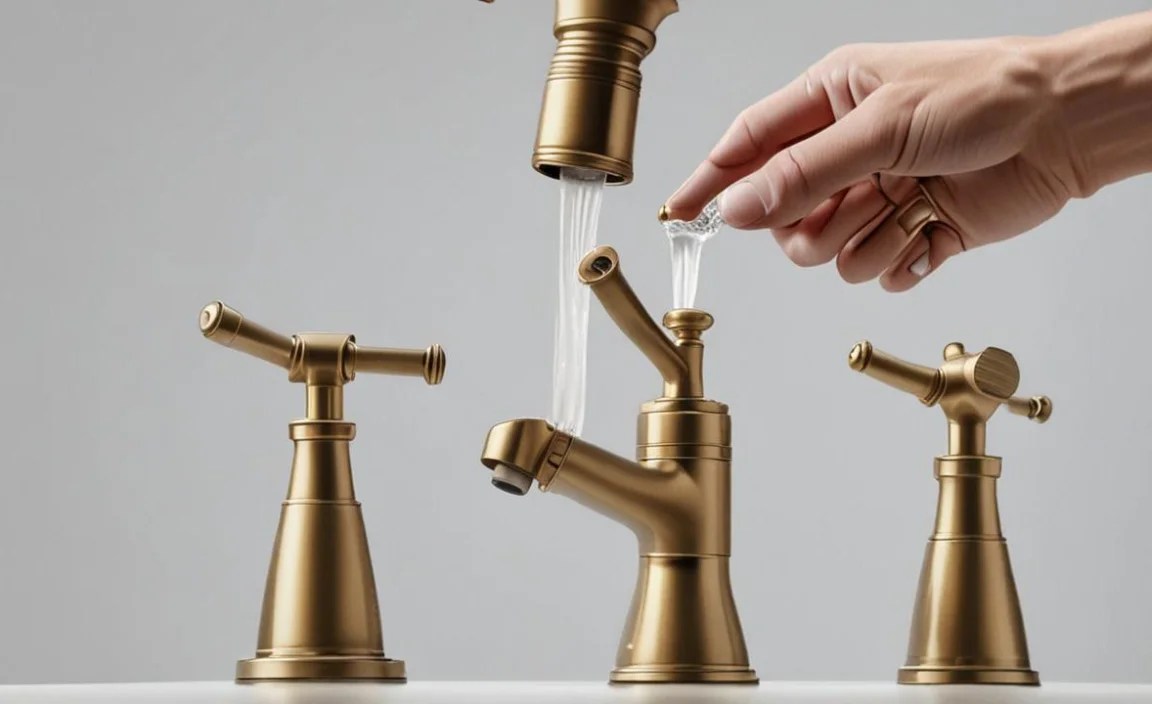
2. The Aerator
Often overlooked, the aerator is a small, screw-on cap at the tip of the spout. It’s usually a small metal or plastic component that contains a screen and a flow-restricting device. Its primary job is to mix air into the water stream. This does a few things:
- Reduces splashing: By creating a more controlled, bubbly stream.
- Conserves water: By limiting the flow rate without sacrificing perceived pressure.
- Improves stream quality: Making the water feel softer and more voluminous.
If your water pressure seems weak or the stream is erratic, the aerator is often the culprit, either being clogged or needing a simple replacement. You can usually unscrew it by hand or with a pair of pliers (use a cloth to protect the finish).
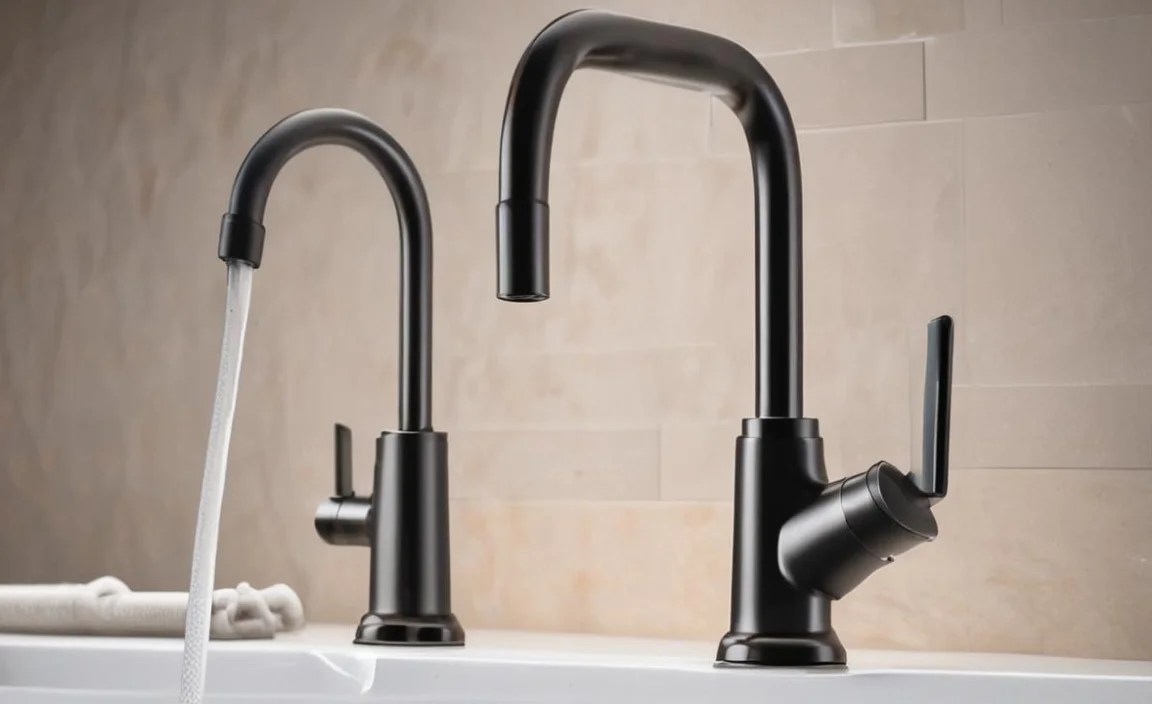
3. The Handle(s)
These are what you interact with to turn the water on and off, and to control the temperature. Faucets typically have one of two handle configurations:
- Single-Handle Faucet: Features one lever that you move up and down for volume control and left and right for hot and cold temperature adjustment.
- Double-Handle Faucet: Has two separate handles, one for hot water and one for cold. You turn each handle independently to control flow and temperature mixing.
The design of the handle can range from a simple knob to an elegant lever, depending on the faucet’s style.
4. The Valve (and Cartridge)

This is the heart of the faucet, the internal mechanism that controls the flow and temperature of the water. The type of valve used determines how the faucet operates and how it’s repaired.
- Compression Valve: An older, traditional type. These use rubber washers that get compressed against a valve seat to stop water flow. They are common in older homes and can be prone to leaks if the washer wears out.
- Ball Valve: Found in many single-handle faucets. These use a slotted metal or plastic ball inside the faucet body to regulate water flow and temperature.
- Cartridge Valve: The most common type in modern faucets. A cartridge is a self-contained unit that houses all the valve components. When you move the handle, it adjusts the position of the cartridge to control water. If a cartridge fails, you typically replace the entire unit. This is a very common part to replace when fixing a leaky faucet.
- Ceramic Disc Valve: A sophisticated and durable type of cartridge that uses two ceramic discs that slide against each other to control water flow. These are known for their longevity and smooth operation.
Understanding your faucet’s valve type is crucial for any repair. For more on valve types, the ENERGY STAR program offers insights into water-efficient faucet designs, which are often tied to the type of valve used.
5. The Escutcheon (or Flange)
This is a decorative plate or shield, often circular, that sits behind the faucet handles and spout. Its main purpose is to cover the hole in the sink or countertop where the faucet is mounted. It provides a finished look and also helps to protect the surface from water damage.
6. The Body
This is the main structural component of a faucet that houses all the internal workings and connects the spout, handles, and supply lines. Faucet bodies are typically made from brass, stainless steel, or zinc alloys, with finishes like chrome, brushed nickel, or matte black applied over the top.
7. The Supply Lines/Hoses
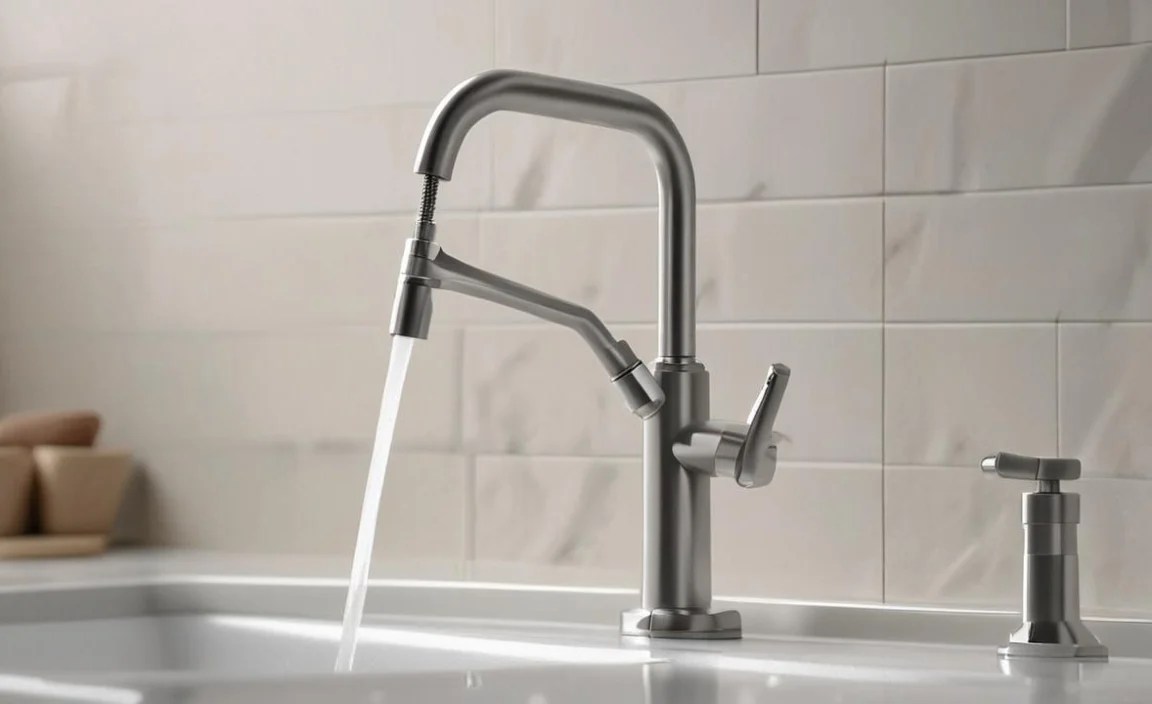
These are the flexible hoses or rigid pipes that connect the faucet’s internal plumbing to your home’s main water supply (hot and cold water valves). They are usually made of braided stainless steel or reinforced plastic. Ensuring these are securely connected and free of leaks is vital for preventing water damage.
8. The O-Ring
Small, rubber rings that create a watertight seal around various parts of the faucet, especially where a spout meets the body or where different components connect. O-rings come in different sizes, and if one wears out or breaks, it can cause leaks, often around the base of the spout.
9. The Seat and Spring (in older faucets)

In older compression faucets, the seat is the point where the washer presses down to stop water flow. The spring helps push the washer down. If these are worn or damaged, the faucet will likely leak. These are less common in modern cartridge or disc faucets.
Faucet Types and Their Unique Terms
Beyond individual parts, faucets are often categorized by their type and how they are installed. Here are some common terms you might encounter:
Mounting Types:
- Deck-Mounted Faucet: Installed directly onto the sink or countertop, with the base of the faucet resting on the deck. This is the most common type for kitchen and bathroom sinks.
- Wall-Mounted Faucet: Installed on the wall behind the sink. This is often used for aesthetic reasons or when the sink design doesn’t allow for deck mounting.
- Centerset Faucet: A common bathroom faucet design where the handles and spout are all mounted on a single unit, typically with a 4-inch spread between the handles.
- Widespread Faucet: Features separate components for the spout and each handle. These are usually installed on sinks with a larger (typically 8-inch) spread.
Popular Faucet Styles You’ll See:

While not strictly parts, understanding these styles helps in recognizing faucet designs and their intended use:
- Kitchen Faucet: Usually taller and more feature-rich (e.g., pull-down sprayers, pot fillers) to accommodate kitchen tasks.
- Bathroom Faucet: Typically smaller and sleeker, designed for sinks and utility. The Federal Trade Commission (FTC) provides consumer information about plumbing fixtures, which can be helpful when making purchasing decisions.
- Tub/Shower Faucet: Controls water flow to both the tub spout and the showerhead, often with a diverter to switch between the two.
- Utility Faucet: A more basic, durable faucet often found in garages, basements, or laundry rooms, designed for heavy-duty use.
Common Faucet Problems and Corresponding Parts
Knowing the parts can help you troubleshoot issues. Here’s a quick look at common problems and which parts are usually involved:
| Problem | Likely Part(s) Causing Issue | Brief Explanation |
|---|---|---|
| Leaky Faucet (drip from spout) | Cartridge, O-rings, Washer (in compression faucets), Valve Seat | Worn-out or damaged internal seals prevent the faucet from shutting off completely. |
| Leaky Faucet (around handle) | O-rings, Cartridge Seals | A seal failure where the handle connects to the faucet body or internal cartridge. |
| Low Water Pressure | Aerator, Supply Lines, Cartridge | Clogged aerator is most common. Can also be a kinked supply line or a clogged valve within the cartridge. |
| Sputtering Water | Aerator | Often due to a clogged aerator or air entering the system. |
| Loose Handle | Set Screw, Handle Nut | The screw that secures the handle to the valve stem may have loosened. |
| Water Temperature Issues | Cartridge, Mixing Valve (in older systems) | The mechanism controlling hot and cold water mix is failing. |
Regularly checking and cleaning your faucet’s aerator can prevent many low-pressure issues. If you notice a persistent drip, identifying the type of valve is your first step to a successful repair. For guidance on identifying faucet types and parts, resources like American Water Works Association (AWWA) often publish maintenance guides that, while technical, can be browsed for diagrams and core principles.
DIY Faucet Maintenance: Getting Started
Now that you’re familiar with faucet terminology, let’s look at how you can use this knowledge for basic DIY tasks.
1. Changing an Aerator
This is one of the easiest upgrades or fixes you can do.
- Gather your tools: Usually, just your hands, maybe a pair of adjustable pliers and a soft cloth.
- Turn off the water: Locate the shut-off valves under the sink for both hot and cold water and turn them clockwise until they stop. Turn the faucet on to drain any remaining water.
- Remove the old aerator: Most screw off counter-clockwise. If it’s tight, use the cloth-covered pliers to avoid scratching the finish.
- Clean or replace: If you’re cleaning, soak the old aerator in vinegar to remove mineral buildup. If replacing, ensure you buy an aerator with the correct thread size and type (male vs. female threads).
- Install the new aerator: Screw it on clockwise by hand until snug, then give it a tiny extra turn with pliers if needed.
- Turn water back on: Slowly open the shut-off valves and check for leaks.
2. Replacing a Faucet Cartridge
This is a common repair for leaky faucets.
- Identify your faucet brand and model: This is CRUCIAL for getting the right replacement cartridge. Look for a brand name. If unsure, take a picture and visit the manufacturer’s website or a good hardware store.
- Turn off the water: Locate and shut off the hot and cold supply valves under the sink.
- Remove the handle: Most handles are held on by a decorative cap that pops off, revealing a screw (often a Phillips head) or a small set screw on the side or back of the handle. Remove the screw and lift off the handle.
- Expose the cartridge: You might see a retaining clip, nut, or screws holding the cartridge in place. Remove these carefully.
- Remove the old cartridge: This can sometimes be tricky. Many cartridges pull straight up, but some may need a gentle twist or special tool. Your faucet manual or manufacturer’s website should show how.
- Install the new cartridge: Ensure it’s oriented correctly (there are usually notches or guides) and push it firmly into place.
- Reassemble: Reinstall any retaining clips, nuts, or screws, then reattach the handle.
- Test: Turn the water supply back on slowly and check for leaks, then test the faucet’s operation.
For detailed instructions specific to your faucet model, consulting the This Old House website or similar DIY resources can provide visual guides and video tutorials.
3. Dealing with Sprays and Sprayer Heads
If your kitchen faucet has a pull-down or pull-out sprayer that’s not working correctly, it’s often the sprayer head itself or a diverter issue.
- Sprayer Head Issues: If the sprayer is clogged, mineral buildup might be the cause. Many sprayer heads can be unscrewed and soaked in vinegar for cleaning. If it’s leaking or broken, you’ll need to purchase a replacement sprayer head that is compatible with your faucet model.
- Hose Connection: Ensure the hose connecting to the sprayer head is secure. Sometimes, a loose connection can cause leaks.
- Diverter Valve: This is a small valve inside the faucet body that directs water to either the spout or the sprayer. If the sprayer doesn’t work or water comes from both at once, the diverter might be faulty. This is usually a more involved repair, often requiring cartridge replacement or removal of internal components.
Tools You Might Need for Faucet Work
Having the right tools makes any DIY project smoother and safer. For basic faucet maintenance, here are a few essentials:
- Adjustable Wrench: For loosening or tightening nuts and fittings.
- Pliers (Slip-joint or Channel-lock): Useful for gripping and turning various parts.
- Screwdriver Set: Both Philips head and flathead are usually needed for handle screws.
- Allen Wrench Set: For faucet handles secured with a set screw.
- Plumber’s Tape (Teflon Tape): Used to seal threaded pipe connections, preventing leaks.
- Basin Wrench: A specialized tool for tightening or loosening nuts in tight spaces, often behind the sink basin.
- Soft Cloth: To protect faucet finishes from tool marks.
- Bucket and Towels: For catching any water spills during disassembly.
You can find reliable tool guides and recommendations on sites like Popular Mechanics, which often review and feature essential DIY toolkits.
Frequently Asked Questions About Faucet Parts
Q1: What is the most common part to fail in a faucet?

A1: The most common part to fail is usually the faucet cartridge or the rubber washers and O-rings within it. These wear out over time due to regular use and mineral buildup, leading to drips and leaks.
Q2: How do I know which type of faucet cartridge I need?

A2: The best way is to identify your faucet’s brand and model number, which is often printed on the faucet itself or in your home’s documentation. You can then search for replacement cartridges specific to that model or brand. Taking the old cartridge to a hardware store can also help match it.
