
Ready to upgrade your bathroom by installing a new bathtub yourself? You can absolutely achieve a professional-looking result with the right preparation and clear, step-by-step guidance. This guide breaks down the process into easy-to-follow actions, making “install bathtub DIY” a manageable and rewarding project for any homeowner. Let’s get started!
DIY Bathtub Installation: Your Step-by-Step Guide

Are you dreaming of a spa-like bathroom retreat, starting with a brand-new bathtub? The thought of installing it yourself might seem daunting, but with a little planning and the right approach, it’s a perfectly achievable DIY project. Many homeowners feel intimidated by plumbing and building tasks, but I’m here to show you that installing a bathtub is simpler than you think.
This guide is designed for beginners. We’ll walk through each stage, from choosing the right tub to the final sealing, using simple language and focusing on safety. You won’t need to be a master plumber to succeed. We’ll cover everything you need to know to confidently tackle this upgrade and enjoy your beautiful new bathtub.
Why Install a Bathtub Yourself?
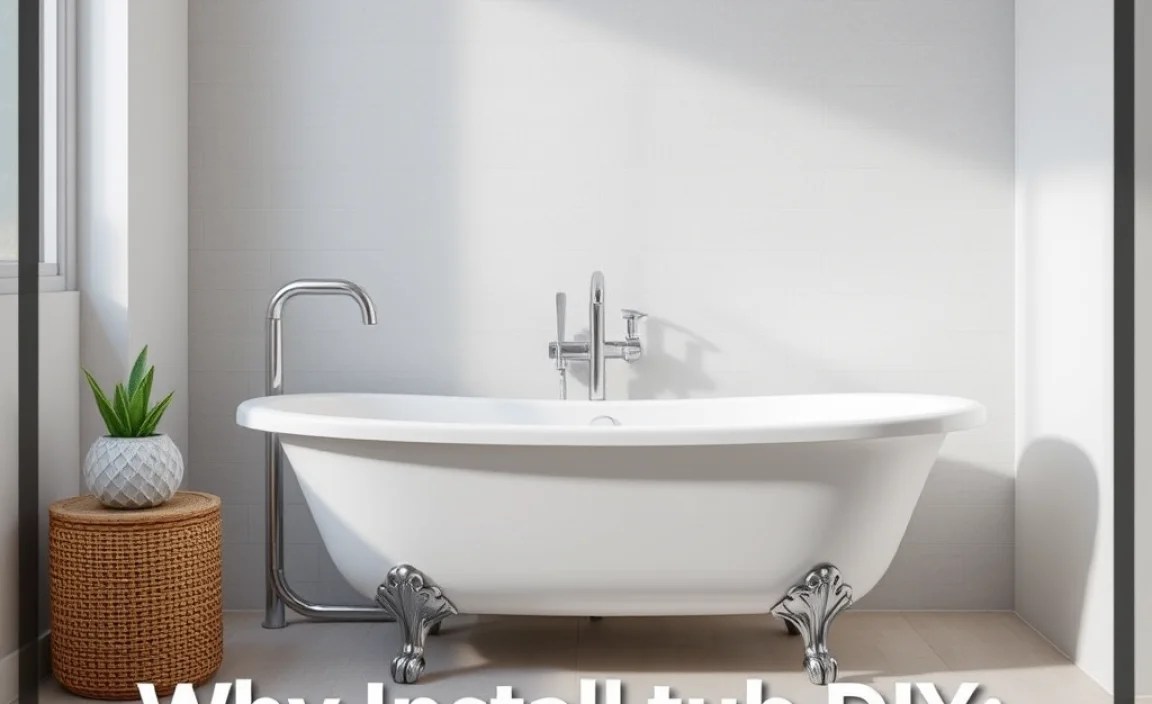
Choosing to install a bathtub as a DIY project offers several compelling benefits. Firstly, the most significant advantage is the substantial cost savings. Hiring professional plumbers and installers can add a considerable amount to the overall bathroom renovation budget. By doing it yourself, you eliminate labor costs, allowing you to allocate more funds towards higher-quality materials or other bathroom enhancements.
Beyond the financial aspect, there’s immense personal satisfaction in completing a project of this scale. It’s a chance to gain new skills, build confidence in your abilities, and truly make your home your own. Plus, you have complete control over the process. You can choose the exact materials, the timing, and ensure every detail meets your standards. This hands-on approach ensures a result you’ll be proud of for years to come.
Choosing Your Bathtub Type
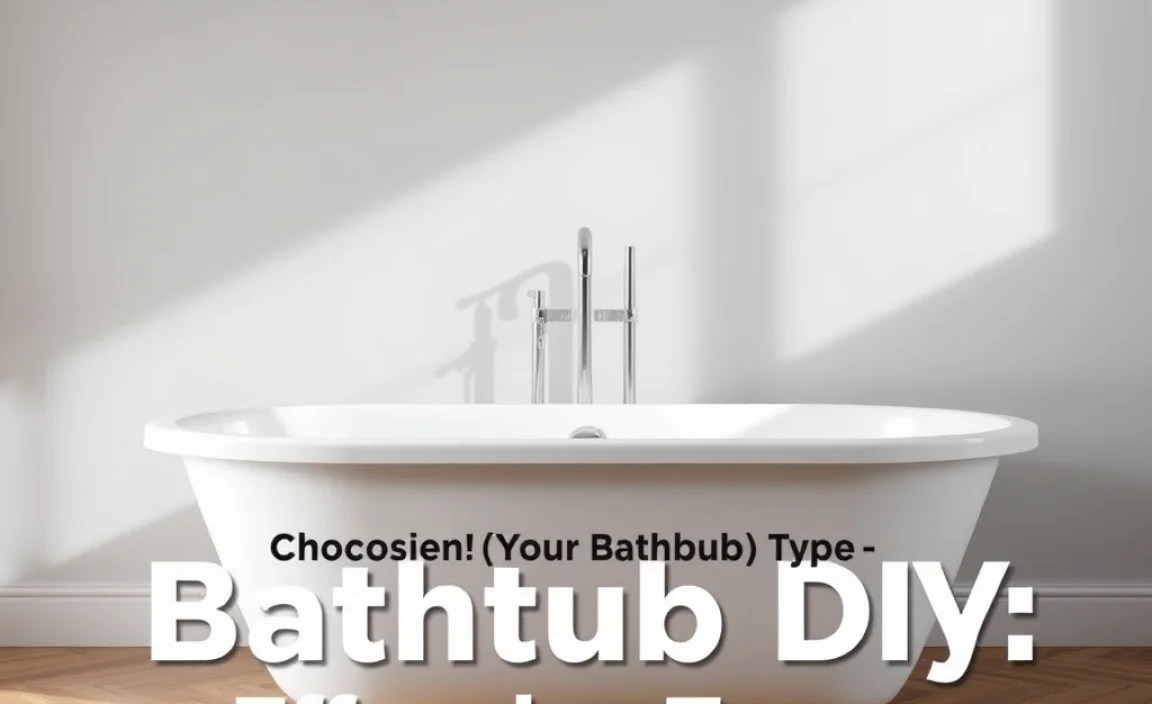
Before you can install a bathtub, you need to select the right one for your space and needs. There are several common types, each with its own characteristics:
- Alcove Bathtubs: These are the most common type, designed to fit into a three-walled nook. They typically have a built-in front apron and are available in various materials like acrylic, fiberglass, and cast iron. They are generally the easiest for DIY installation due to their standard sizing and common configurations.
- Drop-in Bathtubs: Also known as undermount or self-rimming tubs, these are placed into an existing deck or frame, with the rim resting on the surface. They offer a more integrated look and their installation can be simpler as the rough plumbing is often accessed from below or through a surrounding deck.
- Freestanding Bathtubs: These tubs sit on their own, not relying on any walls for support. They are a statement piece and come in various styles, from claw-foot classics to modern, sleek designs. Installation can be more complex as they require a dedicated space and often need specialized plumbing setups, including floor drains and raised faucet configurations.
- Corner Bathtubs: Designed to fit snugly into a corner, these tubs are great for maximizing space in larger bathrooms. They often have a triangular or curved shape and can be either drop-in or freestanding.
Gathering Your Tools and Materials
Having the right tools and materials ready before you start is crucial for a smooth installation. Skipping this step can lead to frustrating delays and potential mistakes. Here’s a comprehensive list to get you prepared:
Essential Tools:
- Measuring tape
- Level (4-foot recommended)
- Pry bar
- Utility knife
- Caulking gun
- Adjustable wrenches (two)
- Pipe wrench
- Plumber’s putty
- Screwdriver set (Phillips and flathead)
- Safety glasses
- Work gloves
- Bucket
- Drop cloths or old sheets
- Stud finder
- Hacksaw or reciprocating saw (if removing an old tub)
- Drill and assorted drill bits
Key Materials:
- Your new bathtub
- Drain assembly kit (ensure it’s compatible with your tub and brand)
- Overflow plate and screws
- Faucet and showerhead (if replacing)
- Plumbing pipe and fittings (as needed for connections)
- Solvent cement and primer (for PVC pipes)
- Thread seal tape (Teflon tape)
- Silicone caulk (kitchen and bath grade)
- Shims (wood or plastic)
- Substrate material (e.g., cement board, if rebuilding the base)
- Support materials (e.g., gravel, lumber, if needed for support – check tub manufacturer instructions carefully)
Step-by-Step Bathtub Installation Process
Now that you have your materials and tools, it’s time to get to work. This guide assumes you are installing a standard alcove bathtub in a place where a tub already exists or plumbing is accessible. If you are installing in a completely new location or a different tub type, some steps might vary.
Step 1: Prepare the Area and Remove the Old Tub (If Applicable)
Before anything else, protect your bathroom. Lay down drop cloths or old sheets to cover the floor and any nearby fixtures to prevent damage from tools or debris. Clear the area of any unnecessary items.
If you’re replacing an old tub, this is the most labor-intensive part.
- Shut off the water supply to the bathtub. This is usually found under the sink or at the main water shut-off valve for the house. Turn on the faucet to drain any residual water from the pipes.
- Disconnect the old drain and overflow. You might need a specialized tub drain wrench for this. It’s often easier to access the drain from below if you have a basement or crawl space, but you can also work from above.
- Remove the surrounding wall material. You’ll likely need to cut away drywall or tile to expose the mounting flanges of the old tub. A utility knife or reciprocating saw can be useful here. Be cautious not to cut into any pipes or wiring behind the walls.
- Carefully pry the old tub loose. Once all connections are severed and walls are cut back, gently use a pry bar to loosen the tub from the studs. If it’s a heavy tub (like cast iron), you may need help to lift and remove it.
Step 2: Inspect and Prepare the Subfloor and Studs
With the old tub out, now is the perfect time to inspect the subfloor and wall studs. Look for any signs of water damage, rot, or mold. If you find any compromised areas, they must be repaired before proceeding. In some cases, you might need to add additional support for the new tub, especially if it’s heavier than the old one or if the manufacturer recommends it. Consult your new tub’s installation manual for specific support requirements. For instance, some acrylic tubs require a bed of mortar or a gravel base for optimal support.
Ensure the studs are plumb and true. Any gaps between the tub flange and the studs will be an issue. You may need to shim the studs to create a solid level surface for the new tub to attach to.
Step 3: Install the New Bathtub Drain and Overflow
This is a critical plumbing step. Most new bathtubs come with a rough opening for the drain and overflow, but you’ll need to install the actual drain assembly.
- Apply plumber’s putty around the underside of the drain flange.
- Screw the drain flange into the bottom of the tub. For tubs without pre-threaded holes, you’ll connect it to the drain shoe underneath with a rubber gasket and nut.
- Install the overflow plate on the inside of the tub, using the provided gasket and screws. Ensure it seals tightly.
- Connect the overflow pipe assembly to the tub’s overflow opening. Some systems have a pipe that connects directly to the drain shoe.
Note: Always refer to your specific drain assembly kit’s instructions, as drain types can vary. For plumbing connections to your main waste line, if you’re not comfortable with soldering copper or gluing PVC pipes, this is where hiring a plumber for just this part might be a cost-effective solution to ensure a watertight seal and compliance with local codes. You can learn more about safe plumbing practices from the EPA here.
Step 4: Position and Secure the Bathtub
Carefully maneuver the new bathtub into its alcove. This is often a two-person job due to the tub’s size and weight.
- Test the fit first. Ensure it sits evenly on the subfloor and doesn’t rock excessively. Use shims where needed to level it perfectly. A level tub is crucial for proper drainage and to prevent stress on the fixture.
- Align the tub’s mounting flanges with the studs. The horizontal flange at the top of the tub should rest against the wall studs.
- Secure the tub to the studs. Use appropriate screws (usually provided with the tub or recommended by the manufacturer) to fasten the tub to the studs through the mounting flange. Ensure screws are snug but don’t overtighten, which could crack the tub material, especially with acrylic or fiberglass.
Step 5: Connect the Faucet and Drain Plumbing
If you are installing new faucets or shower controls, do it now. This typically involves connecting the hot and cold-water supply lines to the faucet valve body and then attaching the spout and shower arm.
For the drain, connect the tub’s drain assembly to the house’s waste pipe. This usually involves a P-trap and a connection to the main drain line. Ensure all connections are tight and sealed properly with thread seal tape or solvent cement as appropriate for the pipe material (like PVC or copper). A common setup is shown in the diagram below:
| Component | Function | DIY Considerations |
|---|---|---|
| Drain Flange & Shoe | Collects water from tub bottom and directs it to waste pipe. | Ensure a watertight seal with putty/gasket. |
| Overflow Plate & Pipe | Prevents tub from overflowing by directing excess water to waste pipe. | Needs a good seal to prevent leaks behind the wall. |
| P-Trap | Prevents sewer gases from entering the bathroom by trapping water. | Must be installed correctly with a vent. |
| Waste Pipe Connection | Connects P-trap to the main house drainage system. | Requires proper fittings and sealing. Crucial for preventing leaks. |
If you’re working with PVC pipes, you’ll need PVC cleaner/primer and solvent cement. Ensure you follow the manufacturer’s instructions for proper curing times. For metal pipes, fittings are often threaded and sealed with thread seal tape.
Step 6: Test for Leaks
This is a critical step before you seal everything up.
- Plug the drain with a stopper or rag.
- Fill the tub with several inches of water.
- Inspect all visible connections underneath the tub for any drips or leaks. Check the drain assembly, overflow connection, and waste pipe connections.
- Check the faucet and shower controls for leaks as well.
- If you find leaks, drain the tub, dry the area, and re-tighten or re-seal the offending connection.
Once you’re confident there are no leaks, drain the tub completely.
Step 7: Install Wall Surround and Finish (If Applicable)
Now that the tub is securely in place and leak-free, you can finish the walls. If you removed drywall or tile, you’ll need to replace it. Many DIYers opt for a prefabricated bathtub wall surround system, which can be easier to install than tiling. Follow the manufacturer’s instructions carefully for installing the surround or for retiling the area. Ensure the surround or tile meets the tub lip to create a watertight barrier.
Step 8: Caulk and Seal
This is the final step to ensure a watertight seal between the tub and the walls.
- Clean the area thoroughly where the tub meets the wall. Ensure it’s dry.
- Apply a continuous bead of silicone caulk around the entire perimeter where the tub lip meets the wall. Use a quality kitchen and bath caulk that is mildew-resistant.
- Smooth the caulk bead with your finger, a caulk tool, or a damp cloth to create a neat, professional-looking seal.
Caulking prevents water from seeping behind the tub into the wall cavity, which can cause significant damage. Don’t skip this step!
Maintenance and Care for Your New Tub
Once your new bathtub is installed, proper care will keep it looking great and functioning well. The maintenance needs will vary slightly depending on the material of your tub (acrylic, fiberglass, cast iron, etc.).
General Care Tips:
- Daily Cleaning: Wipe down the tub after each use to prevent soap scum buildup.
- Weekly Cleaning: Use a mild, non-abrasive cleaner and a soft cloth or sponge for a more thorough cleaning. Avoid harsh chemicals or abrasive scrubbers that can scratch the surface of acrylic or fiberglass tubs. For cast iron tubs, you can use slightly more abrasive cleaners, but still be mindful of the enamel.
- Stain Removal: For tough stains, consult the manufacturer’s recommendations. Often, a paste of baking soda and water can help lift stains without damaging the surface.
- Drain Maintenance: Periodically check and clean the drain to prevent clogs. Running hot water down the drain can help dissolve minor soap and hair buildup.
- Caulk Inspection: Annually inspect the caulk around the tub. Reapply caulk if it appears cracked, peeling, or mildewed.
A great resource for understanding common plumbing issues and maintenance is the Federal Trade Commission’s guide on home plumbing problems.
Troubleshooting Common DIY Installation Issues
Even with careful planning, you might encounter a few hiccups. Here’s how to tackle some common problems:
The Tub Isn’t Level:
This is a common issue. Use your level to identify high or low spots. Add shims (wood or plastic) under the tub rim or base until it sits perfectly level. Ensure these shims are securely placed and will provide stable support.
Leaks at the Drain or Overflow:
This usually means the seal isn’t tight. Turn off the water, drain the tub, and reapply plumber’s putty or ensure the gasket is seated correctly. For connections to the waste pipe, check that all fittings are properly sealed with the correct material (tape, glue, etc.).
Tub Rubbing Against Walls:
If the tub is too snug against one wall and you can’t fit the opposite wall properly, it might indicate improper framing or a slightly out-of-square alcove. You might need to adjust shims, trim a small amount of wall material, or slightly adjust how the tub is seated. Always double-check your measurements before cutting.
Difficult Plumbing Connections:
If you encounter old, corroded pipes or confusing pipe configurations, this might be the point to call a professional plumber. While DIY is great, major plumbing issues or code compliance can be tricky.
Frequently Asked Questions (FAQs)
Q1: How long does it typically take to install a bathtub DIY?
The time can vary significantly based on your experience, the type of tub, and whether you’re replacing an old one. For experienced DIYers, a simple alcove tub replacement might take 1-2 days. For beginners, especially if removing an old tub and dealing with unexpected issues, it could take 2-3 days or even a weekend.
Q2: What are the biggest risks of installing a bathtub myself?
The primary risks involve water damage from improper sealing of plumbing connections (drain, overflow, supply lines). Other risks include structural damage if the tub isn’t properly supported, and personal injury from lifting heavy tubs or using tools incorrectly.
Q3: Do I need a plumber to install a bathtub?
Not necessarily! For basic alcove tub installations where plumbing already exists and is in good condition, many DIYers can manage it. However, if you’re relocating plumbing, dealing with complex pipework, or are unsure about local plumbing codes, hiring a plumber for the critical connections is a wise investment to prevent future costly leaks.
