
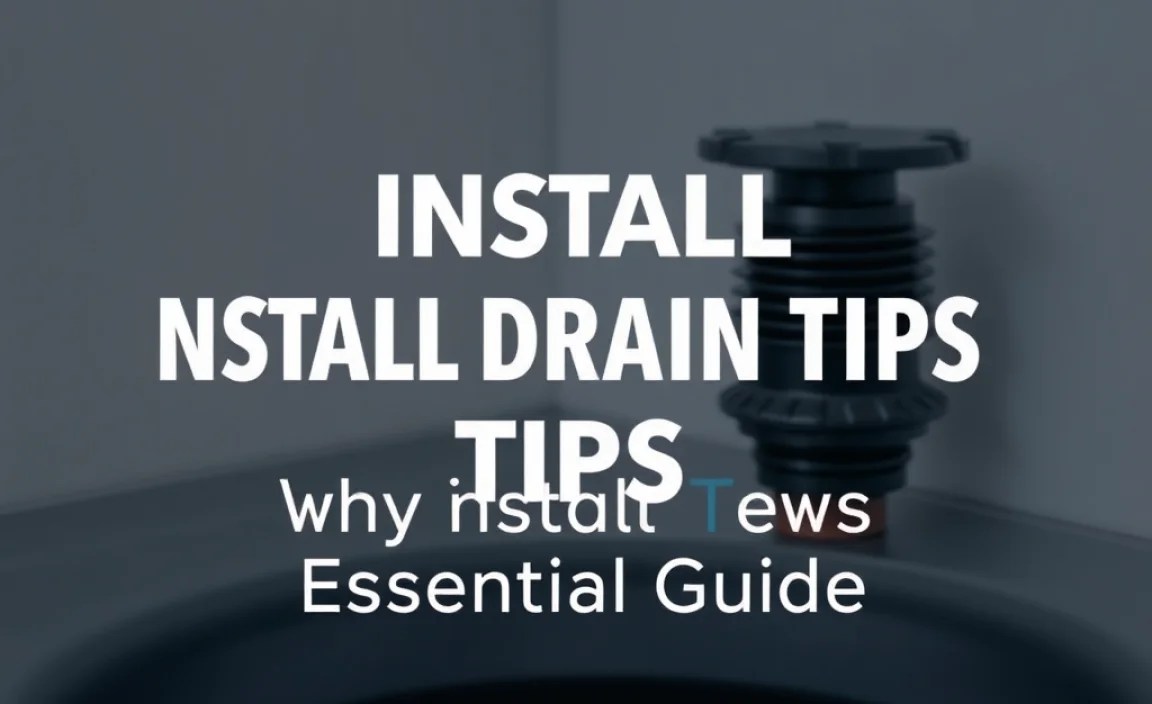
Quick Summary: Installing drain tips is a straightforward DIY task that enhances your sink’s functionality and appearance. Follow these simple steps, gather basic tools, and you’ll successfully upgrade your drains for better water flow and a cleaner look in under an hour.
Ever struggled with a slow-draining sink or noticed an unsightly drain that’s seen better days? You’re not alone! Many homeowners find themselves wanting to upgrade their drain stoppers and Strainer assemblies but feel intimidated by the process. The good news is that installing new drain tips, also known as drain stoppers or strainers, is a surprisingly simple DIY project.
With a few common tools and this easy-to-follow guide, you can transform your sinks, giving them a fresh look and improved performance. We’ll walk you through everything, from choosing the right drain tip to the final tighten. Get ready to boost your bathroom and kitchen’s appearance and functionality!
Why Install New Drain Tips?
Drain tips, or drain assemblies, are more than just decorative caps. They play a crucial role in how your sink functions. Over time, existing drain tips can suffer from a variety of issues. They might become discolored, stained, or even corroded, looking quite unappealing. More importantly, they can malfunction. Mineral buildup or bending can cause them to leak, preventing your sink from holding water properly, or they can get stuck, making it impossible to drain.
Sometimes, the stopper mechanism itself breaks, leaving you with a drain that’s either always open or permanently closed. Beyond fixing problems, upgrading your drain tips is also a fantastic way to refresh the look of your bathroom or kitchen without a major renovation. Modern drain tips come in a wide variety of styles and finishes, from brushed nickel to matte black, allowing you to personalize your space.
Common Drain Tip Problems
- Slow Draining: Hair, soap scum, and other debris can clog the drain opening or the stopper mechanism, hindering water flow.
- Leaking: A worn-out or improperly sealed drain assembly can allow water to seep out even when the stopper is engaged.
- Stuck Stopper: The lifting mechanism can become corroded or jammed, making it difficult or impossible to open or close the drain.
- Corrosion & Discoloration: Metal drain tips can rust, tarnish, or discolor, impacting the aesthetic appeal of your sink.
- Damage: Physical damage, like a bent strainer basket or broken pop-up lever, can render the drain unusable.
Benefits of Upgrading
- Improved Aesthetics: A new, stylish drain tip can instantly elevate the look of your vanity or kitchen sink.
- Enhanced Functionality: Modern drain tips often have better sealing mechanisms and easier-to-use stoppers.
- Better Water Flow: A clean, well-functioning drain ensures water empties quickly and efficiently.
- Hygiene: Newer drain tips are often easier to clean and less prone to collecting grime.
- Preventative Maintenance: Replacing an old, potentially failing drain assembly can prevent water damage or more costly repairs down the line.
Choosing the Right Drain Tip

Before you dive into installation, picking the correct drain tip is essential. There are several types and considerations to keep in mind:
Types of Sink Drains
Most bathroom sinks and kitchen sinks use one of two main types of drain assemblies:
- Pop-Up Drains: These are common in bathroom sinks. They feature a lever on the back of the faucet that controls a rod, which lifts or pushes down a stopper in the drain.
- Strainer Drains (or Strainer Basket Drains): These are typically found in kitchen sinks and may also be used in utility sinks or some bathroom designs. They usually consist of a removable basket that catches food debris or a simpler stopper that plugs the drain. Some strainer drains have lift-and-turn stoppers, while others might have push-down stoppers.
Materials and Finishes
Drain tips come in various materials and finishes to match your fixtures:
- Brass: Durable and corrosion-resistant, often plated with other finishes.
- Stainless Steel: Excellent for resistance to corrosion and staining, a popular choice for kitchens.
- Plastic (ABS): Affordable and lightweight, often used in the internal parts of drain assemblies or for less visible applications.
- Finishes: Common finishes include chrome (shiny and silver), brushed nickel (matte silver), oil-rubbed bronze (dark, warm tones), and matte black. Ensure the finish matches your faucet and other hardware.
Compatibility Check
The most critical step is ensuring your new drain tip will fit your existing sink and plumbing. Most standard sinks use common drain sizes, but it’s always best to do a quick check:
- Drain Opening Size: Measure the diameter of your sink’s drain opening. Standard bathroom sink drains are usually around 1 1/4 inches in diameter, while kitchen sinks are often 3 1/2 inches.
- Overflow Hole: Check if your sink has an overflow hole (a small hole near the top rim of the sink bowl). If it does, you’ll need a drain assembly that accounts for it. Some pop-up drains have a mechanism that works with the overflow, while others might not. Non-overflow sinks require a drain without this feature.
- Plumbing Connections: Most drain tips connect to standard plumbing pipes using threaded connections. Ensure the new drain assembly has compatible threading.
Pro Tip: Take a picture of your current drain assembly and the area around it before heading to the hardware store. This can be incredibly helpful for store staff when trying to find the right replacement.
Tools and Materials You’ll Need

Gathering your tools beforehand makes the installation process smooth and efficient. Here’s a typical list for installing a new drain tip:
Essential Tools:
- Adjustable Wrench or Pliers: For loosening and tightening large nuts on the underside of the sink.
- Plumber’s Putty or Silicone Sealant: Used to create a watertight seal between the drain flange and the underside of the sink. Check the drain tip’s instructions; some come with a built-in gasket and may not require additional sealant.
- Bucket or Towels: To catch any residual water in the drainpipe when you remove the old assembly.
- Safety Glasses: Always protect your eyes from drips or falling debris.
- Gloves: To keep your hands clean and provide a better grip.
- Screwdriver (Phillips or Flathead): May be needed for some pop-up drain linkages.
- Pipe Wrench (Optional): For stubborn connections, though an adjustable wrench is usually sufficient.
Materials:
- New Drain Tip Assembly: Make sure it’s compatible with your sink type (bathroom/kitchen) and has the correct finish and size.
- Thread Seal Tape (Teflon Tape): For sealing threaded connections where specified by the manufacturer.
Step-by-Step Guide: Installing a Bathroom Sink Pop-Up Drain

This section covers the most common type of sink drain: the pop-up drain found in bathrooms.
Step 1: Prepare the Area and Remove Old Drain
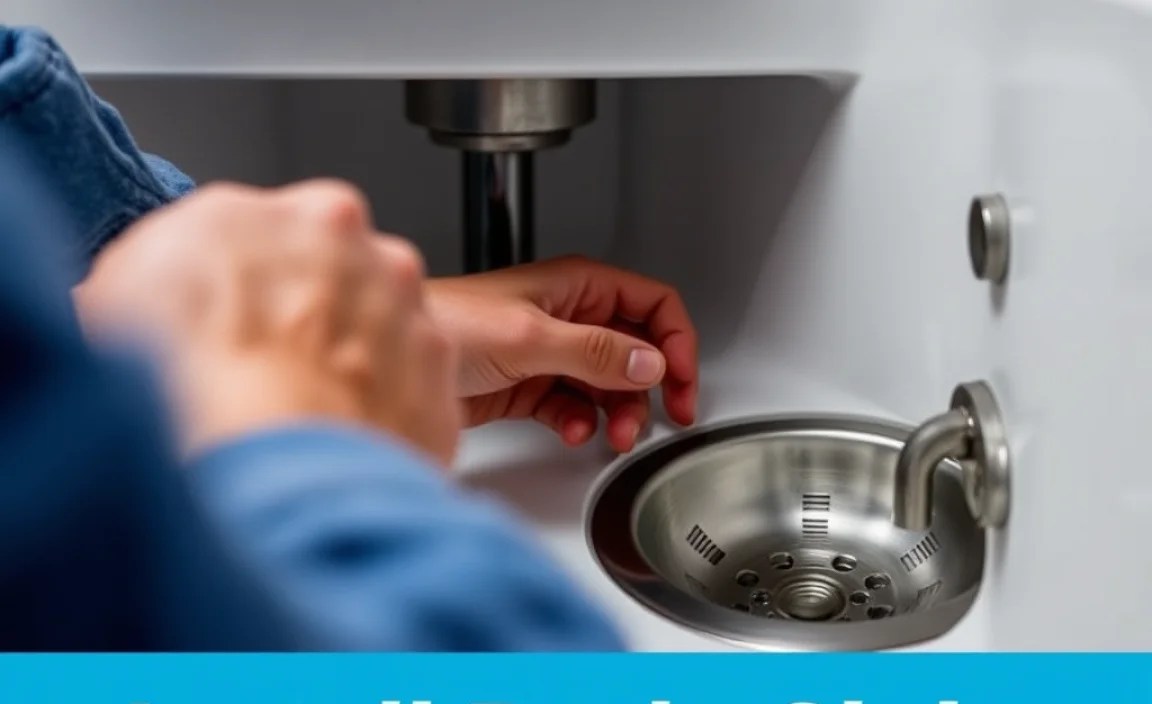
Start by clearing out the cabinet space under the sink. Place your bucket or towels directly underneath the drainpipe to catch any water. Now, let’s tackle the old drain. You’ll typically find a large nut or a set of slip nuts connecting the drain tailpiece to the P-trap (the U-shaped pipe). Use your adjustable wrench or pliers to loosen these nuts. Once loose, slide the P-trap down and away from the drain tailpiece. You might need to wiggle it a bit or unscrew a flange if it’s directly connected.
Next, focus on the drain assembly itself, which sits in the sink. Look under the sink where the drain pipe extends. You’ll see a large nut holding the drain flange in place against the sink basin. Loosen and remove this nut. You may also need to disconnect the pop-up linkage – this is usually a horizontal rod that connects to the vertical lift rod coming down from the faucet. There might be a clip or a screw holding it. Once this is disconnected, the old drain assembly should be loose enough to pull out from the top of the sink.
Safety First: Make sure the water supply to the faucet is turned OFF before you start working. While you’re not directly working with the water supply lines here, it’s a good habit for any sink work.
Step 2: Clean the Sink Drain Opening
With the old drain removed, take this opportunity to thoroughly clean the sink drain opening. Use a rag or an old toothbrush to remove any gunk, soap scum, or mineral deposits. If you’re using plumber’s putty, ensure the area is dry. If you’re using silicone sealant, make sure it’s clean for a good bond.
Step 3: Install the New Drain Flange and Gasket
Your new drain tip usually comes in a few parts: the drain flange (the visible part inside the sink), a rubber gasket or O-ring, and a large mounting nut. For pop-up drains, the flange itself is where water enters. The new drain flange often has a surface designed for plumber’s putty or may come with a foam gasket for sealing.
- Plumber’s Putty Method: Roll a rope of plumber’s putty about 1/2 inch thick and place it around the underside of the new drain flange.
- Gasket Method: If your new drain comes with a rubber or foam gasket, ensure it’s properly seated on the underside of the flange, or slide it onto the drain body if that’s how it’s designed.
Carefully insert the new drain flange into the sink’s drain opening from the top. From underneath the sink, slide the rubber gasket (if not already on the flange) and then the mounting nut onto the threaded tailpiece of the drain. Hand-tighten the nut securely. If you used plumber’s putty, some will squeeze out around the flange. You can wipe this excess away neatly with a damp cloth or your finger.
Next, use your adjustable wrench to snug up the mounting nut. Don’t overtighten, as this could crack the sink or damage the seal, but make sure it’s firm enough to create a good seal. The flange should not move when pressed from above.
Step 4: Attach the Drain Tailpiece and P-Trap
The drain tailpiece is the vertical pipe extending down from the drain flange assembly. Attach any necessary components of the new drain outlet pipe as per the manufacturer’s instructions. Once assembled, reconnect the P-trap to the new drain tailpiece. Ensure the slip nuts are threaded on correctly and hand-tighten them first. Then, use your wrench to tighten them about a quarter to a half turn. Again, avoid overtightening.
External Resource: For a comprehensive understanding of plumbing basics including P-traps, explore resources from the U.S. Environmental Protection Agency (EPA) WaterSense program, which often covers efficient plumbing fixtures and their installation.
Step 5: Install the Pop-Up Stopper Mechanism
This is where the “pop-up” functionality comes to life. The new drain assembly will have a horizontal rod with a ball or clevis attached, which inserts into the drain tailpiece. The goal is to connect this rod to the vertical lift rod that comes down from your faucet.
First, insert the horizontal pop-up rod through its opening in the drain tailpiece. Gently push it in until it connects with the stopper that sits inside your drain. You might need to jiggle it to get it aligned. Then, take the vertical lift rod (that’s attached to your faucet handle) and connect it to the horizontal rod. This is typically done with a pivoting clip or a nut. Adjust the position of the horizontal rod so that when the lift rod is fully down, the stopper is closed, and when it’s fully up, the stopper is open. You might need to reposition the nut on the lift rod or adjust the clevis on the horizontal rod to get the perfect travel.
Tip: Test the pop-up mechanism several times to ensure it opens and closes smoothly and effectively seals the drain. Minor adjustments to the rod positions may be needed.
Step 6: Test for Leaks
The moment of truth! Close the drain stopper and fill the sink with a few inches of water. Let it sit for a few minutes to check for any leaks around the drain flange on top and at all the connections underneath (tailpiece to drain, tailpiece to P-trap). Also, check the pop-up linkage pathway. If you find any drips, identify the source. Usually, it’s a loose connection that needs a slight tightening or a poor seal that might require resealing with plumber’s putty or silicone.
Drain the sink and check all connections again. Once you’re satisfied that there are no leaks, clean up your tools and enjoy your new, functional drain!
Installing a Kitchen Sink Strainer Drain
Kitchen sink drains, or strainer drains, are often simpler to install. Here’s how:
Step 1: Remove the Old Strainer
As with the bathroom sink, place a bucket or towels under the drain. Loosen the large retaining nut holding the strainer assembly to the underside of the sink. This might be a metal nut or a plastic one, and it connects the strainer body to the tailpiece. Once loose, remove the nut and the rubber gasket below it. The old strainer assembly should then lift out from the top of the sink.
Step 2: Clean the Sink Opening
Thoroughly clean the drain opening in the kitchen sink. Remove any food debris, grease, or putty residue.
Step 3: Install the New Strainer Basket and Body
Your new kitchen sink strainer will typically include a strainer body, a rubber gasket, a friction ring (often made of fiber or plastic), a backup washer, and a large retaining nut. Many also include a new tailpiece that connects directly to the strainer body.
- Strainer Gasket: Apply plumber’s putty or place the new rubber gasket onto the underside of the strainer flange (the part that sits in the sink).
- Insert Strainer: Insert the strainer flange into the sink drain from the top.
- Assemble Underneath: From under the sink, slide the rubber gasket (if not already on), followed by the friction ring, then the backup washer, and finally the large retaining nut onto the threaded body of the strainer.
- Tighten: Hand-tighten the nut first. Then, use your adjustable wrench or pliers to tighten it securely. You want a good seal, but avoid overtightening that could damage the sink. The strainer flange in the sink should be firmly seated and not rotate.
- Attach Tailpiece: If your new strainer came with a tailpiece, attach it to the bottom of the strainer body per the manufacturer’s instructions. Thread any necessary nuts and gaskets.
Step 4: Reconnect Plumbing
Connect your P-trap and any other associated plumbing to the new tailpiece you just installed. Tighten slip nuts by hand and then snug them with a wrench (about a quarter to half turn). Make sure the washers are correctly seated.
Step 5: Test for Leaks
Run water into the sink and check all connections for leaks. Pay close attention to the connection between the strainer body and the sink, and all the connections under the sink. Tighten any leaking connections slightly. Once you’re confident there are no leaks, place the strainer basket into the sink opening.
For a reliable guide on plumbing terms and common parts, the International Association of Plumbing and Mechanical Officials (IAPMO) often has educational materials that can be beneficial for understanding different components.
Common Drain Tip Installation Scenarios & Troubleshooting
Even with clear instructions, you might encounter specific situations. Here’s a look at some common scenarios and how to handle them.
Scenario 1: My sink has no overflow hole. What drain tip do I need?
If your sink lacks an overflow hole (a small semicircular or circular opening near the top of the sink basin), you need a drain assembly specifically designed for non-overflow sinks. The pop-up mechanism in overflow drains typically uses the overflow hole to function. For non-overflow sinks, you’ll usually use a simpler stopper or a strainer basket that simply plugs the drain. Using an overflow-style drain on a non-overflow sink will result in water leaking out the overflow hole when the sink is filled.
Scenario 2: The new drain is leaking from the top flange.
This usually means the seal is compromised. Ensure you’ve used enough plumber’s putty or that the rubber gasket is correctly seated and intact. If you used putty, scrape away the excess that squeezed out and check if the nut has been adequately tightened to press the flange firmly against the sink. If the leak persists.
