
Install a drain without a plumber! Yes, it’s totally achievable with the right tools and a clear, step-by-step guide. This simple DIY project empowers you to handle common drain installations, saving you time and money. Get ready to tackle this task with confidence!
Dealing with a leaky or old drain can be a homeowner’s headache. You might think you need a professional plumber for every drip and clog, but some drain installations are surprisingly straightforward. This doesn’t require a degree in plumbing, just a willingness to learn and a few basic tools. We’ll walk you through everything you need to know, from picking the right drain to sealing it up tight.
You’ll feel a sense of accomplishment as you see your new, perfectly installed drain working flawlessly. Forget the stress and expense! This guide is designed for beginners, breaking down each step into easy-to-follow instructions. Let’s dive in and make your drain installation project a resounding success!
Why You Can Install a Drain Yourself (And When to Call a Pro)

The idea of “installing a drain” might sound daunting, conjuring images of complex pipework and tricky connections. However, many common drain installations, especially those in sinks, showers, or bathtubs, involve pre-fabricated components that are designed for relatively simple assembly. Think of it like building with advanced Lego bricks – the pieces are meant to fit together with clear instructions.
Several factors make this a DIY-friendly project:
- Standardized Parts: Most modern drains and their associated fittings are standardized. This means a drain kit bought from a hardware store is designed to connect with common plumbing waste pipes.
- Clear Instructions: Drain kits usually come with detailed diagrams and instructions, making the process visual and easier to follow.
- Limited Complexity: For basic sink or shower drain replacements or installations in new fixtures, the scope of work is usually limited to connecting a few pieces. You’re typically not rerouting major plumbing lines.
- Cost Savings: Plumbers charge for their time and expertise. By doing it yourself, you can significantly reduce the cost associated with the project, especially for a simple drain.
- Empowerment: Successfully completing a DIY plumbing task like this builds confidence and equips you with valuable skills for future home maintenance.
Despite the DIY-friendliness, it’s crucial to know when to call in a professional. If your project involves:
- Major pipe rerouting or new plumbing lines to be installed.
- Complex P-trap configurations for specific venting requirements.
- Issues with old, corroded, or non-standard existing pipes that might break during removal.
- Persistent leaks after your installation attempt (sometimes a sign of underlying issues).
- Installation in a load-bearing wall or where structural integrity is a concern.
Understanding Drain Components: Your Essential Toolkit
Before we get our hands dirty, let’s get acquainted with the key players in a typical drain system. Knowing these parts will make the installation process much smoother and less confusing. We’re focusing on common sink and shower drains that are most accessible for DIYers.
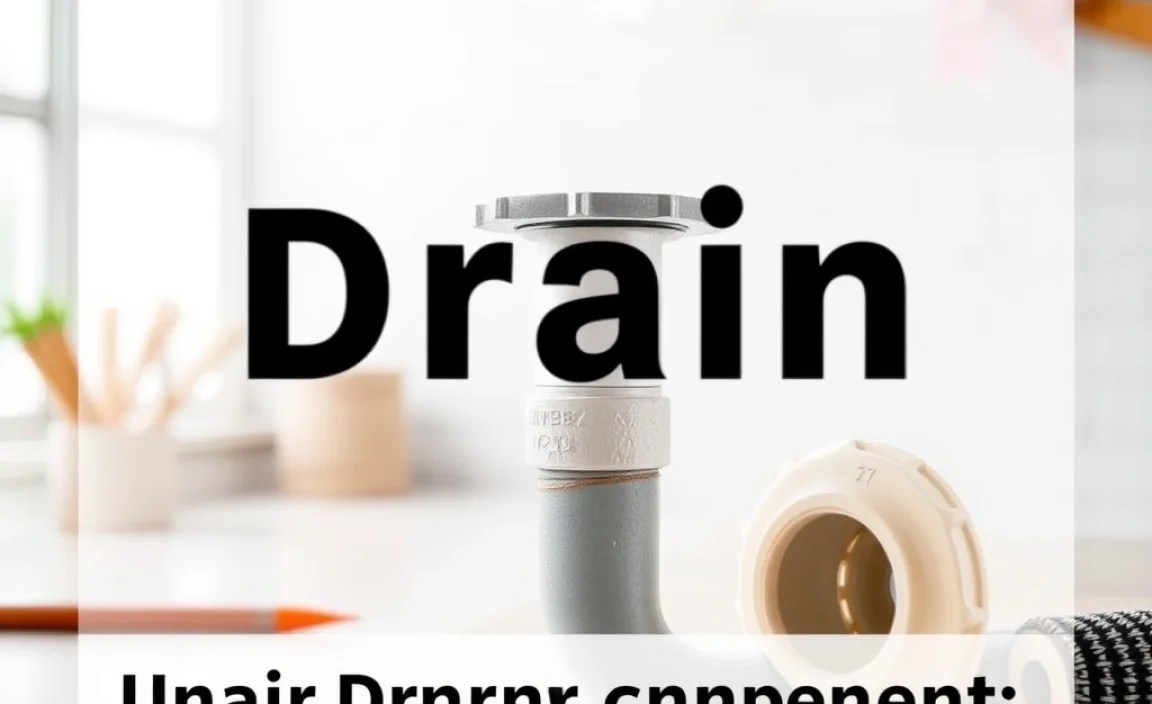
The Drain Assembly Itself
This is the part you see!
- Drain Flange/Strainer: The visible part sitting in your sink or shower floor. It has holes to let water through while catching debris. It’s usually made of metal (chrome, brushed nickel, stainless steel) and screws into the drain body.
- Drain Body/Tailpiece: This is the pipe that connects the flange to the trap. It’s often a simple threaded pipe or a unit that combines the body and tailpiece.
The Water Trap
This is a critical component designed to prevent sewer gases from entering your home. It holds a small amount of water, creating a seal.
- P-Trap: The most common type. It’s a U-shaped pipe that holds water.
- Trap Arm: The horizontal pipe connecting the P-trap to the waste (drain) line.
Connecting Pieces and Seals
These are the unsung heroes that make everything watertight.
- Slip Nuts and Washers: These are plastic or metal nuts and rubber or plastic rings that create a watertight seal on threaded pipe connections, especially on P-traps. They are designed to be hand-tightened, sometimes with a slight nudge from a tool.
- Plumber’s Putty or Silicone Sealant: Used to create a waterproof seal between the drain flange and the surface of the sink or shower base.
- Waste Coupling: A fitting that connects the drain tailpiece to the P-trap.
The Waste Pipe (Drain Line)
This is the existing pipe in your wall or floor that your new drain assembly will connect to. For most DIY drain installations, you’ll be connecting to an existing stub-out or a coupling already in place.
Tools You’ll Need for a Smooth Installation

Gathering your tools before you start is key to a successful and frustration-free installation. You don’t need a professional plumber’s arsenal, just a few common household items:
| Tool | Purpose | Why it’s important |
|---|---|---|
| Adjustable Wrench (or Pipe Wrench) | Tightening and loosening slip nuts and connections. | Essential for securing most threaded fittings. Use with caution on plastic parts. |
| Screwdriver (Phillips and Flathead) | Removing old drain components or securing some flange designs. | You’ll often find screws holding older strainers or parts of the assembly. |
| Plumber’s Putty or Silicone Sealant | Creating a watertight seal under the drain flange. | Prevents water from seeping between the sink/shower and the drain. Plumber’s putty is common for sinks, while silicone is often preferred for showers. |
| Bucket | Catching water from old pipes. | Even a “drained” pipe will have residual water. |
| Rag or Old Towels | Wiping up spills and cleaning surfaces. | Keeps your work area tidy and prevents water damage. |
| Safety Glasses | Protecting your eyes. | Essential for any DIY work where debris or unexpected drips might occur. |
| Gloves (Optional but Recommended) | Keeping hands clean and protected. | Helps with grip and protects your hands from grime and old caulk. |
| Tailpiece Extender or New Tailpiece (if needed) | Extending a short pipe or replacing a damaged one. | Sometimes the existing pipe isn’t the right length to connect to your new drain assembly. |
| Hacksaw or PVC Pipe Cutter (if modifying pipes) | Cutting PVC pipes to size. | Only needed if you have to adjust the length of existing drain pipes. A PVC cutter gives a cleaner cut. |
Step-by-Step Guide: Installing Your New Drain

Ready to get started? Follow these sequential steps for a successful drain installation. We’ll assume you’re replacing an old drain or installing a new one in a pre-existing setup.
Step 1: Preparation and Safety First
Before you touch anything, ensure you’re safe and prepared.
- Turn Off Water (If Applicable): For a sink, turn off the hot and cold water supply valves under the sink. While not strictly necessary for just the drain, it’s a good habit. For a shower/tub drain, there’s no direct water valve to turn off for the drain itself, as it’s connected to your home’s main waste line.
- Clear the Area: Remove everything from under the sink or around the shower drain. Place them elsewhere to avoid damage or obstruction.
- Place Your Bucket: Position your bucket directly beneath the P-trap and any other pipe connections you’ll be working with. This will catch any residual water.
- Don Your Safety Gear: Put on your safety glasses and gloves.
Step 2: Remove the Old Drain Assembly
This is where we begin dismantling the old system.
- Remove the Stopper/Strainer: Sometimes, the stopper can simply be lifted out. If it’s a pop-up drain, you might need to reach under the sink and disconnect a lever mechanism. For strainer drains, some might screw out from the top, or be held in place by the drain body from underneath.
- Loosen the P-Trap Connections: Underneath the sink or near the shower drain assembly, you’ll see threaded connections (usually with large slip nuts) leading to the P-trap. Use your adjustable wrench to loosen these nuts. Turn them counter-clockwise. You might need to hold one pipe steady with another wrench if it tries to twist with the nut.
- Remove the P-Trap: Once the nuts are loose, carefully detach the P-trap. Be ready for water to spill into your bucket.
- Remove the Drain Body/Tailpiece: With the P-trap removed, you can now access the drain body that extends from the sink basin or shower floor. Look for a large nut (waste coupling) directly beneath the sink/shower where the drain body meets the trap assembly. Loosen this nut with your wrench. From above, unscrew the drain flange/strainer if it allows. If it doesn’t unscrew, you might need to break the seal of plumber’s putty or sealant underneath it using a utility knife or putty knife.
- Clean the Opening: Once the old drain is out, thoroughly clean the opening where the new drain will go. Scrape away any old putty, caulk, or debris. A clean surface is crucial for a good seal.
Step 3: Install the New Drain Flange and Body
Now we install the visible part and its connection.
- Prepare the Sealant: Take a generous amount of plumber’s putty or silicone sealant. For sinks, plumber’s putty is often rolled into a long rope about ¼ to ½ inch thick. For showers, a bead of waterproof silicone sealant around the underside of the flange is common. Check the recommendations for your specific drain kit or fixture material.
- Apply Sealant: Apply the putty rope or silicone bead evenly to the underside of the new drain flange/strainer rim. Ensure it creates a continuous seal.
- Insert the Flange: Carefully press the new drain flange/strainer down into the sink or shower opening. If using putty, some will squeeze out around the edges once it’s seated. Wipe away the excess.
- Secure from Below: From underneath, slide the rubber gasket, then the washer, and finally the large waste coupling nut onto the threaded drain body (which is attached to the flange). Hand-tighten the nut as much as you can.
- Tighten the Waste Coupling: Use your adjustable wrench to tighten the waste coupling nut a quarter to half turn more. Don’t overtighten, especially with plastic threads, as this can strip them or crack the fixture. The flange should be held firmly and evenly.
- Clean Excess Sealant: Once tightened, go back to the top side and wipe away any excess plumber’s putty that squeezed out. If you used silicone, ensure a clean bead.
Step 4: Connect the P-Trap
Re-installing the trap to complete the drainage path.
- Position the P-Trap: Align the P-trap with the drain body’s tailpiece and the waste pipe stub-out. You might need to loosen the slip nuts on the trap’s arms to allow for adjustment.
- Attach the P-Trap: Slide the rubber washer and then the slip nut onto the tailpiece of the drain body. Hand-tighten the nut. Repeat for the connection to the waste pipe stub-out.
- Adjust and Tighten: Ensure the P-trap is correctly positioned. It should not be stressed or at an awkward angle. Tighten both slip nuts hand-tight, then use your adjustable wrench to snug them up another quarter to half turn. Again, avoid overtightening plastic fittings.
Step 5: Test for Leaks and Finish Up
The moment of truth!
- Run Water: Turn on the water supply (if applicable) and let water run into the sink or shower. Fill the basin or let the shower run for a few minutes.
- Inspect for Leaks: While the water is running and after it has drained, carefully check all the connections you made (underneath the sink/shower, at the P-trap). Look and feel for any drips or moisture.
- Tighten If Necessary: If you find a small leak, try tightening the offending slip nut slightly (again, a quarter turn is often enough). If the leak persists, you might need to disassemble that connection, check the washer for damage or proper seating, and reassemble.
- Final Cleanup: Once you’re confident there are no leaks, clean up your tools and work area.
Troubleshooting Common Issues

Even with the best preparation, sometimes things don’t go perfectly. Here are a few common hiccups and how to fix them:
- Persistent Leaks:
- Cause: Overtightened/undertightened nuts, damaged washers, debris on sealing surfaces, or a crack in a fitting.
- Fix: Disassemble the leaking connection. Inspect the rubber washer for cracks or deformities; replace if necessary. Clean both pipe ends and the fitting threads thoroughly. Reassemble, ensuring the washer is seated correctly. Tighten gradually. If a component is cracked, it needs replacement. For sink flanges, ensure the plumber’s putty or silicone formed a complete seal.
- Strainer/Flange Won’t Seal:
- Cause: Uneven sink/shower surface, inadequate plumber’s putty/sealant, or overtightened flange that warped the fixture.
- Fix: Ensure the surface where the flange seats is clean and relatively flat. Apply a generous, even rope of putty or bead of silicone. When tightening the waste coupling nut from below, tighten it evenly. If you notice the flange moving or tilting, stop and adjust.
- Drain is Slow After Installation:
- Cause: Debris lodged in the P-trap itself, or the trap arm is partially blocked. This is less common immediately after installation unless debris was pushed into the pipe during the process.
- Fix: Disassemble the P-trap and pour water through it into a bucket to check flow. Clean out any debris. After reassembly, run hot water down the drain for a few minutes to help flush any remaining gunk. If the problem persists, the blockage might be further down the line, requiring a drain snake to clear. Consult resources on using a drain snake from the EPA WaterSense program for water conservation tips, which can indirectly relate to proper drainage efficiency.
- Difficulty Disconnecting Old Pipes/Fittings:
- Cause: Overtightened connections, corrosion, or years of buildup.
- Fix: Sometimes a gentle tap with a rubber mallet can shock a stuck fitting loose. A penetrating lubricant (like WD-40, though be cautious with plastic) can help, but let it sit for a while. Lastly, if you’re sure the old part needs to be removed and you have access, you might carefully cut plastic pipes with a hacksaw or PVC cutter, being mindful not to damage the existing plumbing line you’ll connect your new drain to.
Maintaining Your New Drain
Once your new drain is installed and working beautifully, a little regular maintenance will keep it that way and prevent future headaches.
- Regular Cleaning: Occasionally run hot water down your drains to help prevent grease and soap scum buildup.
- Catch Debris: Use a sink strainer or shower drain cover to catch hair and food particles. Clean these strainers regularly. This is the easiest way to prevent clogs!
- Avoid Harsh Chemicals: While tempting for clogs, harsh chemical drain cleaners can damage your pipes and seals over time. Opt for natural methods like baking soda and vinegar, or a drain snake for more stubborn blockages.
- Check for Leaks Periodically: Especially in the first few weeks after installation, make a habit of quickly looking under sinks and around shower drains for any signs of moisture.
For more in-depth advice on drain maintenance and preventing clogs.
