
Yes, you can absolutely install pipes yourself with DIY! This essential guide breaks down the process into simple, manageable steps, demystifying pipe installation for beginners. We cover everything from choosing the right materials to making secure connections, ensuring your DIY plumbing project is safe, reliable, and successful. Get ready to gain newfound confidence in your home maintenance skills!
Leaky pipes or the need to reroute plumbing can feel like a homeowner’s worst nightmare. The good news is that installing or replacing pipes doesn’t have to be a job exclusively for the pros. With the right guidance, tools, and a bit of patience, even beginners can tackle this task successfully. This guide is here to walk you through every step, from understanding basic pipe types to making clean, watertight connections. We’ll keep things simple, safe, and straightforward, so you can get your plumbing project done right.
Why Install Your Own Pipes? The DIY Advantage

Taking on a DIY pipe installation project can be incredibly rewarding, offering both financial savings and a significant boost in your home maintenance confidence. It’s about more than just fixing a leak; it’s about understanding your home’s systems and empowering yourself with practical skills.
- Cost Savings: Hiring a plumber can be expensive, especially for larger projects. By doing it yourself, you eliminate labor costs, which can be a substantial portion of the total bill.
- Skill Development: Every DIY project adds to your toolkit of knowledge. Learning to install pipes will equip you with valuable plumbing skills that can be used for future repairs and upgrades.
- Control and Customization: You get to control the pace and the materials used. This allows for customized solutions that perfectly fit your needs, whether it’s adding a new sink or rerouting existing lines.
- Satisfaction: There’s a unique sense of accomplishment that comes from successfully completing a challenging DIY task.
Understanding Your Plumbing: Pipe Types and Materials

Before you start cutting or connecting, it’s crucial to know what you’re working with. Different pipes serve different purposes and are made from various materials. Choosing the right type of pipe is the first step towards a successful installation.
Common Pipe Materials
| Pipe Material | Description | Typical Uses | Pros | Cons |
|---|---|---|---|---|
| Copper Pipe | Durable, corrosion-resistant metal pipe. Comes in rigid and flexible forms. | Hot and cold water supply lines, refrigerant lines. | Long-lasting, resistant to high temperatures and pressure, recyclable. | Can be expensive, requires soldering or specialized fittings, can corrode in certain water conditions. |
| PVC Pipe (Polyvinyl Chloride) | A rigid plastic pipe, commonly white or gray. Requires adhesive for connections. | Drain, waste, and vent (DWV) systems, cold water supply in some applications. | Inexpensive, lightweight, easy to cut and assemble, resistant to corrosion. | Not suitable for hot water (can deform), can become brittle with UV exposure. |
| CPVC Pipe (Chlorinated Polyvinyl Chloride) | A type of PVC that can withstand higher temperatures. Similar installation to PVC. | Hot and cold water supply lines. | Handles hot water, easy to install, relatively inexpensive. | Can be more brittle than copper, requires specific primers and cements. |
| PEX Pipe (Cross-linked Polyethylene) | A flexible plastic pipe, often red for hot water and blue for cold. Uses crimp or clamp fittings. | Hot and cold water supply lines, radiant heating systems. | Flexible, easy to run through walls and around obstacles, resistant to freezing, doesn’t corrode. | UV sensitive (needs protection), requires specialized tools for connections. |
| Galvanized Steel Pipe | Steel pipe coated with zinc. Older material, threaded connections. | Older water supply lines (less common now for new installations). | Strong and durable when new. | Prone to rust and corrosion over time, interior can clog with sediment, difficult to work with. |
Choosing the Right Pipe for Your Project
For most modern DIY water supply projects, PEX is a top choice due to its flexibility and ease of use. For drainage, PVC is the standard. Always check your local building codes, as they may specify the approved materials for your area. You can find information on plumbing codes from the International Code Council (ICC), which develops model codes widely adopted in the United States.
Essential Tools for Pipe Installation
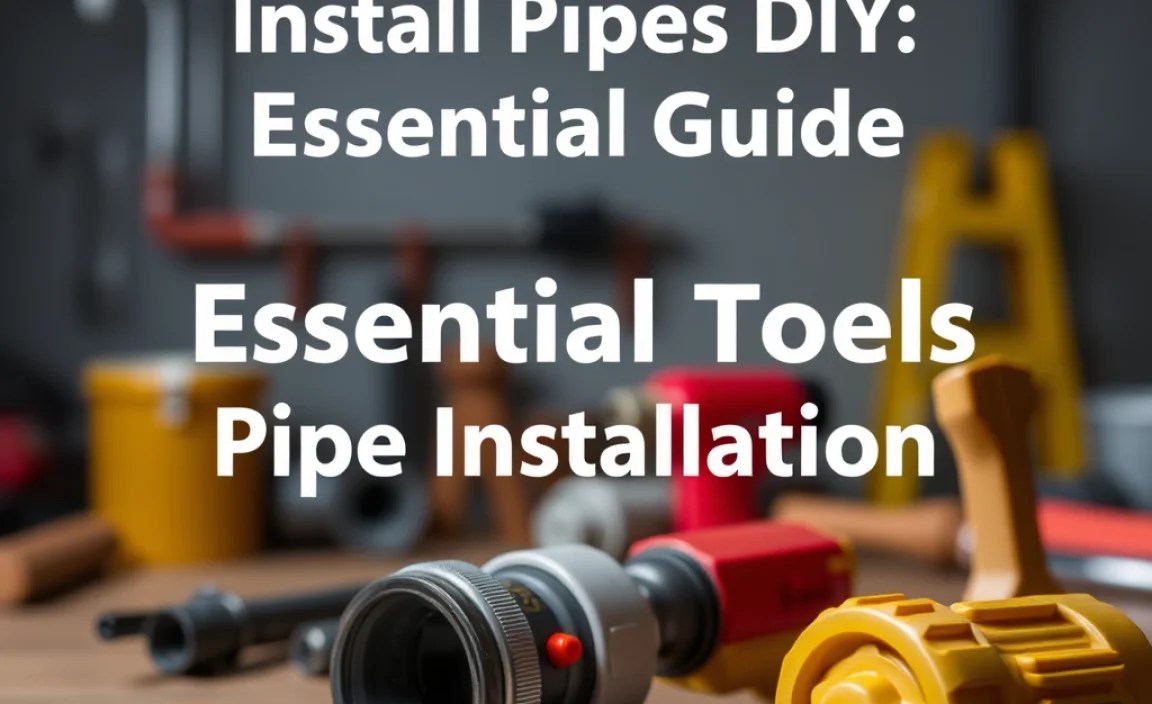
Having the right tools makes all the difference. Here’s a list of common tools you’ll likely need. Don’t worry if you don’t have them all; many can be rented or are part of beginner tool kits.
- Pipe Cutter: For making clean, straight cuts on pipes. The type of cutter depends on the pipe material (e.g., tubing cutter for copper and PEX, a saw for PVC).
- Measuring Tape: For accurate length measurements.
- Marker or Pencil: To mark cut lines.
- Deburring Tool: To smooth the inside and outside edges of cut pipes, ensuring a good seal.
- Specific Fittings: Couplings, elbows, tees – these connect pipes or change direction. Ensure they match your pipe material and size.
- For Copper:
- Propane Torch (if soldering)
- Solder and Flux (if soldering)
- Rings or Compression Fittings (if not soldering)
- Sandpaper or Emery Cloth (for cleaning pipe ends before soldering)
- For PVC/CPVC:
- PVC Primer and Cement (PVC-specific or CPVC-specific)
- For PEX:
- PEX Crimp Tool or Clamp Tool
- PEX Rings (copper crimp rings or stainless steel clamps)
- PEX Cutter (often integrated into the tool set)
- Adjustable Wrenches or Pipe Wrenches: For tightening threaded connections.
- Bucket and Rags: For catching any residual water and cleaning up.
- Safety Gear: Safety glasses, work gloves.
Step-by-Step: How to Install Pipes DIY

Let’s get down to business! This guide focuses on PEX and PVC installation, as they are the most common and beginner-friendly DIY options. Always adapt these steps to the specific material you are using.
Step 1: Plan Your Layout and Shut Off Water
Before making any cuts or connections, you need a clear plan. Sketch out where the pipes will run. Consider:
- The path of least resistance.
- Avoiding sharp bends if possible.
- Ensuring proper slope for drainage pipes (a slight downward angle away from fixtures).
- Locating all necessary fittings (elbows, tees, couplings).
Crucially, shut off the main water supply to your home. Open the lowest faucet in your house to drain any remaining water from the pipes.
Step 2: Measure and Cut Your Pipes
Measure the distance between your connection points. For PEX and PVC, it’s often best to cut the pipe slightly longer than you think you need, then trim it down for a perfect fit.
- For PVC/CPVC: Use a PVC cutter or a hacksaw for a clean, straight cut.
- For PEX: Use a specific PEX cutter for a clean, square cut.
After cutting, use a deburring tool to smooth both the inside and outside edges of the pipe. This is vital for a good seal, especially with PVC/CPVC.
Step 3: Prepare and Connect the Pipes
This is where the installation method varies significantly by material.
Connecting PVC/CPVC Pipes (using Cement)
- Dry Fit: Assemble the pipes and fittings without glue to ensure everything fits correctly. Mark the alignment of the pipe and fitting with a marker.
- Apply Primer: Apply PVC primer (usually purple) to both the outside of the pipe end and the inside of the fitting socket. The primer cleans and softens the plastic for a better bond. Work quickly.
- Apply Cement: Immediately after priming, apply a layer of PVC cement to the same areas. Use enough to cover, but not so much that it pools excessively.
- Assemble: Insert the pipe into the fitting with a slight twisting motion until it bottoms out. Hold it firmly for about 30 seconds to prevent push-out.
- Wipe Excess: Wipe away any excess cement from the outside of the joint.
- Cure: Allow the pipes and fittings to cure according to the cement manufacturer’s instructions before turning the water back on. This can range from a few hours to 24 hours. Improper curing is a common cause of leaks.
For a helpful visualization, the Plastic Pipe Institute (PPI) offers extensive technical resources, including installation guides for their materials.
Connecting PEX Pipes (using Crimp or Clamp System)
- Slide on the Ring: Slide a PEX ring onto the end of the PEX pipe.
- Insert Fitting: Insert the PEX fitting securely into the pipe.
- Position the Ring: Slide the ring down over the fitting barb until it is snug against the fitting.
- Crimp or Clamp:
- Crimp Tool: Position the crimp tool jaws over the ring and squeeze handles firmly until the tool stops.
- Clamp Tool: Position the clamp jaws over the ring and squeeze handles firmly.
- Check: Ensure the ring is evenly distributed around the pipe and fitting. Some tools have indicators to verify a proper crimp/clamp.
PEX offers a lot of flexibility, allowing you to bend it around corners without fittings in many cases, reducing the number of connections needed. This flexibility makes it a favorite for DIYers.
Connecting Copper Pipes (using Compression Fittings – Beginner Friendly)
Compression fittings are a great DIY choice for copper as they don’t require soldering.
- Clean the Pipe: Ensure the end of the copper pipe is clean and free of burrs.
- Slide on Nut and Ring: Slide the compression nut onto the pipe, followed by the compression ring (ferrule). The tapered end of the ring should face the fitting.
- Insert Fitting: Push the copper pipe firmly into the fitting.
- Tighten Nut:
- Hand-tighten the compression nut onto the fitting.
- Using a wrench, tighten the nut an additional 1/2 to 1 full turn. Follow the fitting manufacturer’s recommendations for the exact amount of tightening. Do not overtighten.
Note: For soldered copper, the process involves cleaning, applying flux, fitting together, heating with a torch, and applying solder. This requires more practice and specific safety precautions.
Step 4: Test for Leaks
Once all your connections are made and any cement has cured (or fittings are tightened), it’s time for the moment of truth.
- Turn Water On Slowly: Slowly turn the main water supply back on. Listen for any unusual noises.
- Inspect Joints: Carefully inspect every joint and connection for drips or leaks.
- Check After an Hour: Let the system sit under pressure for at least an hour and re-inspect for any slow leaks.
If you find a leak, immediately shut off the water and address the faulty connection. This might involve re-gluing, re-crimping, or re-tightening.
Tips for a Professional Finish
Even though you’re doing it yourself, a few tips can help your work look and perform like a pro.
- Support Your Pipes: Use pipe hangers or straps to support pipes at appropriate intervals. This prevents sagging and reduces stress on the joints. The Building Science Information website has valuable insights into proper support systems for various building elements, including plumbing.
- Avoid Kinks (PEX): If using PEX, try to avoid tight bends that can kink the pipe. Use a PEX bending tool or a large radius to maintain water flow.
- Proper Slope for Drains: Ensure drain pipes have a consistent downward slope to allow water and waste to flow freely. Aim for about 1/4 inch of fall per foot of pipe run.
- Clean Work Area: A tidy workspace helps prevent mistakes and keeps small parts from getting lost.
- Read Manufacturer Instructions: Always adhere to the specific instructions provided by the pipe and fitting manufacturers.
Common Beginner Mistakes and How to Avoid Them
Learning from others’ experiences is key to DIY success. Here are a few pitfalls to watch out for:
- Not Shutting Off Water Properly: Always double-check that the water is off and drain the lines before starting.
- Using the Wrong Type of Pipe/Fittings: Ensure your materials are rated for the specific job (e.g., hot water vs. cold water, supply vs. drain).
- Improperly Prepared Pipe Ends: For PVC/CPVC, inadequate priming or cementing is a frequent cause of leaks. For copper, incomplete cleaning before soldering can lead to poor joints. For PEX, ensure the ring is correctly positioned and the tool is used properly.
- Over-tightening or Under-tightening: Both can lead to leaks or damaged fittings. Follow torque or turn instructions carefully.
- Not Allowing Adequate Cure Time: Rushing the process after gluing PVC/CPVC is a recipe for disaster.
- Ignoring Local Codes: Building codes exist for safety and functionality. Make sure your installation complies.
Conclusion
Installing pipes yourself is a achievable DIY project that can save you money and build your confidence as a homeowner. By understanding the different pipe materials, gathering the correct tools, and carefully following the step-by-step process, you can successfully complete your plumbing tasks. Remember to always prioritize safety, plan thoroughly, and double-check your work for leaks. With this guide, you’re well on your way to mastering essential plumbing skills and keeping your home in top condition.
Frequently Asked Questions (FAQ)
Q1: What is the easiest pipe to install for DIY?
PEX is often considered the easiest for DIY water supply lines due to its flexibility, resistance to freezing, and simple connection methods (crimp/clamp). For drain lines, PVC is very straightforward.
Q2: Do I need a permit to install pipes myself?
Depending on your local regulations and the scope of the project (e.g., replacing a small section of pipe vs. a full renovation), you might need a permit. Always check with your local building department.
Q3: How do I connect PEX to copper or existing galvanized pipes?
You’ll need special transition fittings. For example, PEX-to-copper adapters are available, often using crimp or clamp connections on the PEX side and sweat (soldering) or compression on the copper side.
Q4: What’s the difference between PVC and CPVC?
CPVC is essentially PVC that has undergone an additional chlorination process, making it capable of withstanding higher temperatures. PVC is generally used for drain, waste, and vent (DWV) systems, while CPVC is suitable for hot and cold potable water supply lines.
Q5: Can I reuse old copper pipes?
While copper is durable, old pipes can accumulate mineral deposits, have pinhole leaks, or show signs of corrosion. It’s generally recommended to replace old, degraded copper pipes rather than trying to reuse them for potable water supply.
Q6: How much slope do drain pipes need?
For standard drain, waste, and vent (DWV) systems, a minimum slope of 1/4 inch per linear foot is typically recommended. For larger pipes or specific applications, this might vary, so consult plumbing codes or professional resources.
