
Installing pipes doesn’t have to be difficult! With the right preparation, simple tools, and this step-by-step guide, even beginners can confidently install pipes for various home projects, ensuring a secure and leak-free result.
Welcome, DIYers! Ever looked at a network of pipes and thought, “That seems way too complicated for me”? You’re not alone. Many homeowners feel intimidated by plumbing. But what if I told you that installing pipes can actually be straightforward and even satisfying? With the right approach and a bit of know-how, you can tackle this task yourself, saving money and gaining valuable skills. This guide is designed to break down the process into easy-to-follow steps, making pipe installation accessible to everyone.
We’ll cover everything from understanding different pipe types to making clean cuts and achieving watertight connections. Forget the stress; let’s get your pipes installed the easy way. Read on to discover just how manageable this project can be!
Understanding Your Piping Project: What You Need to Know

Before you even think about cutting a single piece of pipe, it’s crucial to have a clear picture of your project. Are you running a new water line, extending a drain, or perhaps installing a simple irrigation system? The type of project will dictate the materials you use and the methods you employ. It’s like planning a road trip – you wouldn’t just hop in the car without knowing your destination or the best route, would you? The same applies here. A little planning upfront saves a lot of headaches later.
Understanding the purpose of the pipe is your first step. Is it for potable water, which needs to be safe for drinking, or is it for waste disposal, where durability and flow are key? Knowing the answer helps you choose the right material. We’ll explore the most common types you’ll encounter.
Choosing the Right Pipe Material
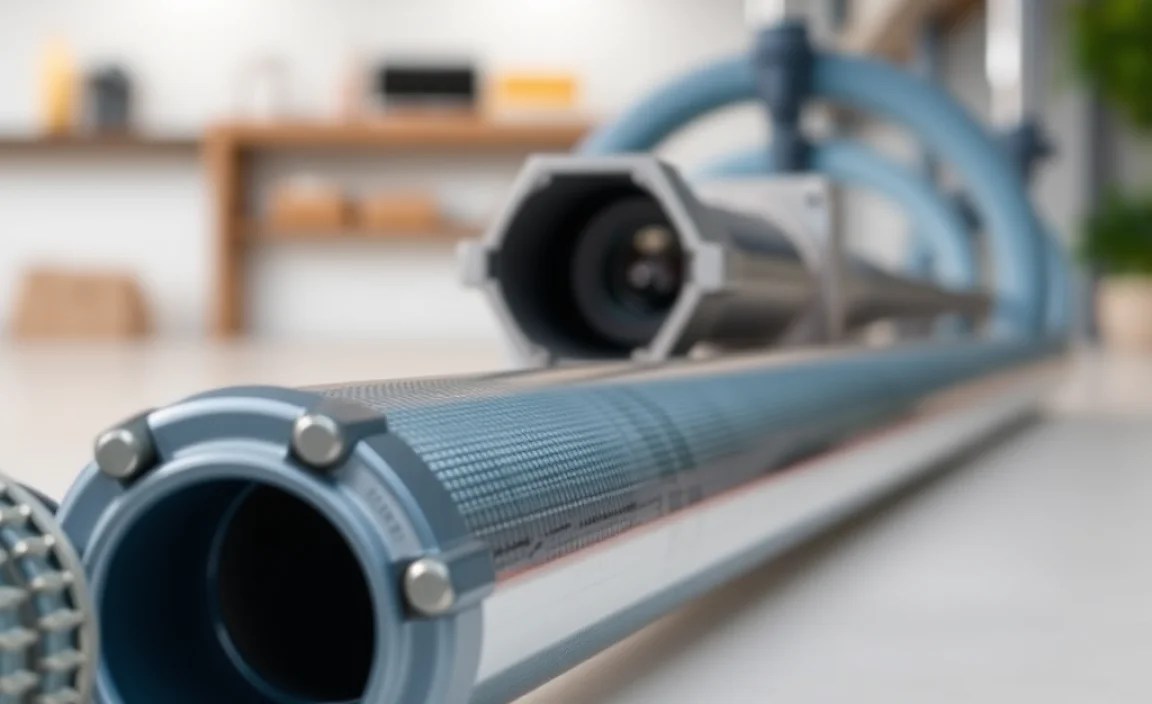
The world of piping offers a variety of materials, each with its own strengths and ideal uses. For beginners, it’s best to stick with common, easy-to-work-with options. Here are a few you’ll likely encounter:
- PVC (Polyvinyl Chloride): This is your go-to for drain, waste, and vent (DWV) systems. It’s lightweight, inexpensive, and very easy to cut and join using solvent cement. It’s ideal for cold water applications but not recommended for hot water or pressurized supply lines.
- CPVC (Chlorinated Polyvinyl Chloride): Much like PVC, but it can handle hot water, making it suitable for both hot and cold water supply lines. It’s slightly more expensive than PVC but still relatively easy to work with, typically using a specific CPVC primer and cement.
- PEX (Cross-linked Polyethylene): A flexible plastic tubing that has become incredibly popular for water supply lines. It’s resistant to freezing and bursting, easy to bend around corners (reducing fittings), and connects using crimp, clamp, or push-to-connect fittings, which many find simpler than traditional methods.
- Copper: A classic choice for water supply lines. It’s durable, corrosion-resistant, and can handle high temperatures and pressures. However, it requires soldering or compression fittings, which can be a bit more challenging for absolute beginners, though still achievable with practice.
For your first few projects, I highly recommend sticking with PVC for drain lines or PEX for supply lines. They offer the most forgiving learning curve and require fewer specialized tools.
Essential Tools for Pipe Installation
Having the right tools makes any job easier and safer. For installing pipes, you don’t need a massive toolbox, but a few key items will be indispensable. Investing in good quality tools will pay off in the long run with better results and less frustration.
Must-Have Tools:
- Pipe Cutter: This is crucial for making clean, straight cuts. For PVC and CPVC, a ratcheting plastic pipe cutter or a multi-material tubing cutter works wonders. For copper, a specific copper pipe cutter is best.
- Measuring Tape: Essential for accurate measurements to ensure your pipes fit perfectly.
- Fitting Brush or Deburring Tool: After cutting, you need to clean the inside and outside edges of the pipe. A fitting brush (for PVC/CPVC) and a deburring tool (for copper or to smooth plastic edges) are vital for proper solvent welding or connection.
- Primer and Solvent Cement (for PVC/CPVC): These are used to chemically weld PVC and CPVC pipes and fittings together. Ensure you get the correct type for the plastic you are using (PVC cement for PVC, CPVC cement for CPVC).
- Pliers (Various Types): Slip-joint pliers and channel locks are useful for holding pipes or fittings steady. For PEX, you’ll need specific crimping or clamping tools if you opt for those connection methods.
- Safety Glasses: Always protect your eyes, especially when cutting pipes or working with solvents.
- Gloves: Protect your hands from primer, cement, or sharp edges.
- Marker: For marking cut lines on your pipes.
- Level: Important for ensuring pipes are installed with the correct slope for drainage or are straight for supply lines.
Depending on your chosen pipe material and connection method, you might need additional specialized tools. For instance, PEX systems might require a PEX crimping tool or a PEX expansion tool. Copper requiring soldering will need a torch, flux, and solder.
Step-by-Step Guide: Installing Pipes Like a Pro

Now that you’re familiar with the basics – understanding your project and gathering your tools – let’s get down to the actual installation. We’ll focus on PVC and PEX as they are most beginner-friendly.
Step 1: Measure Twice, Cut Once
This old adage is especially true in plumbing. Carefully measure the distance between your connection points. If you’re connecting to an existing pipe or fitting, dry-fit the pieces first to ensure you have the exact length needed. Remember to account for the depth the pipe will insert into a fitting – this is usually indicated by a depth mark on the fitting itself.
Use your marker to draw a straight, clean line around the pipe where you intend to cut. A square can help ensure your line is perfectly perpendicular to the pipe’s length.
Step 2: Making the Cut
For PVC and CPVC, use your plastic pipe cutter. Place the pipe in the cutter, ensuring the blade is on your marked line. Tighten the cutter and rotate it around the pipe, or use a ratcheting action. You might need to tighten and cut a few times to get through the pipe cleanly. The goal is a cut that is square and burr-free.
For PEX, a sharp PEX cutter or a tubing cutter will work well. Make a clean, straight cut. PEX is flexible, but a clean cut is still important for a good seal.
If using copper, a dedicated copper pipe cutter is highly recommended for a clean, square cut without deforming the pipe. Ensure the cutting wheel bites into the copper as you rotate the tool.
Step 3: Preparing the Pipe and Fitting
This step is critical for a leak-proof connection, especially with PVC and CPVC.
- For PVC/CPVC:
- Use a fitting brush or a clean cloth to remove any dust or debris from the ends of the pipe and the inside of the fitting socket.
- Use a deburring tool or a clean utility knife to lightly chamfer (bevel) the outside edge of the pipe end. This helps the pipe slide smoothly into the fitting and prevents the cement from being scraped off.
- Apply primer to both the outside of the pipe end (the part that goes into the fitting) and the inside of the fitting socket. The primer cleans and softens the plastic, preparing it for the cement. Work in a well-ventilated area as primers and cements have strong fumes.
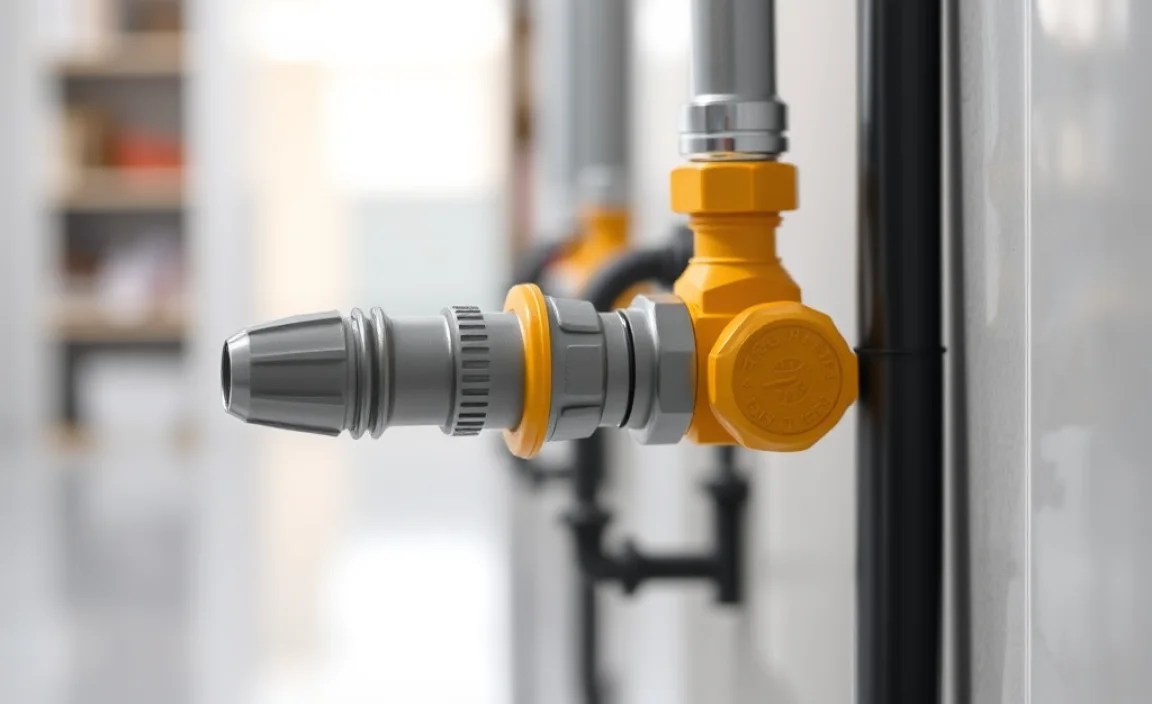
- For PEX (with push-to-connect fittings like SharkBite):
- Ensure the cut end of the PEX tubing is clean and square.
- There’s no need for primer or cement here. The fitting has internal O-rings and teeth that create the seal.
- For PEX (with crimp/clamp fittings):
- Ensure the PEX tubing is cut cleanly and is the correct size for the fitting.
- Slide the crimp or clamp ring onto the PEX tubing according to the ring manufacturer’s instructions (some go on before the fitting, others after).
Step 4: Applying Solvent Cement (for PVC/CPVC)
Work quickly once primer is applied, as it dries fast. Apply a liberal, even coat of the appropriate solvent cement (PVC cement for PVC, CPVC cement for CPVC) to the outside of the pipe end and the inside of the fitting socket. Apply it in a rotary motion.
Immediately after applying the cement, insert the pipe into the fitting with a quarter-turn twist. Push the pipe in until it bottoms out in the fitting socket. Hold it firmly in place for about 30-60 seconds while the cement sets. This “set time” is crucial to prevent the pipe from pushing back out of the fitting.
Wipe away any excess cement that squeezes out with a clean cloth.
Step 5: Connecting PEX Tubing
Push-to-Connect Fittings (e.g., SharkBite):
- Mark the insertion depth on the PEX tubing with the tool provided or a marker.
- Push the PEX tubing straight into the fitting until you feel it seat firmly and reach the depth mark. The fitting’s internal mechanism will grab the pipe and seal it.
- To remove, you’ll need a special disconnect clip that fits around the pipe and pushes against the fitting collar.
Crimp or Clamp Fittings:
- Once the fitting is inserted into the PEX tubing (ensure it’s fully seated), use the appropriate crimping or clamping tool to secure the ring onto the tubing over the fitting’s barb.
- Follow the tool manufacturer’s instructions for the number of crimps or the pressure required.
A great resource for understanding PEX connections can be found on sites like pex-a-home.com, which offers detailed guides on various connection types.
Step 6: Letting it Cure and Testing for Leaks
For PVC/CPVC: This is perhaps the most nerve-wracking part for beginners! Curing times for PVC and CPVC cement vary depending on temperature, humidity, and the type of cement used. It’s always best to check the cement manufacturer’s instructions on the can. Generally, you should allow at least a few hours before turning on water under pressure, and ideally 24 hours for a full cure.
For PEX with push-to-connect fittings: These connections seal immediately, so you can test them once all connections are made and physically secure. However, it’s still good practice to wait a short while and check everything again.
Testing: Once the cure time is complete, slowly turn on the water supply to your newly installed pipes. Inspect every joint and fitting closely for any signs of dripping or leaks. Have a dry cloth ready to wipe down the joints and catch even the smallest of leaks. Follow the EPA’s guidelines on water system maintenance for broader context on checking your plumbing.
If you find a leak:
- PVC/CPVC: Unfortunately, if a glued joint leaks, it often needs to be cut out and re-done. This is why proper preparation and application of cement are so critical.
- PEX (push-to-connect): If a leak occurs, try to reseat the pipe firmly. If it persists, the fitting or tubing might be faulty, or debris could be in the fitting. You may need to disconnect and reconnect, or replace the fitting.
- PEX (crimp/clamp): A leak usually means the ring wasn’t properly secured, or the tubing wasn’t fully inserted. The ring will need to be cut off, and the connection redone.
Don’t be discouraged if you have a small leak on your first try – it’s part of the learning process! Just address it calmly and methodically.
Common Pipe Installation Scenarios and Tips
Let’s look at a couple of common situations where you might find yourself installing pipes and offer some specific tips to make it even easier.
Scenario 1: Installing a Simple PVC Drain Line
Drain pipes need to slope slightly to allow gravity to move waste water away. The standard slope is typically 1/4 inch per foot. This means for every foot of horizontal pipe, it should drop 1/4 inch.
- Tip 1: Use a Level with Slope Measurement: Many standard levels have a 1:40 (roughly 1/4 inch per foot) slope indicator built-in. Use this as you install your pipe runs.
- Tip 2: Plan Your Fittings Carefully: Avoid using too many 90-degree elbows in a row, as this can restrict flow. Use sweeping 90s or two 45-degree elbows to create gentler turns.
- Tip 3: Dry-Fit Everything: Before you apply any primer or cement, assemble the entire drain line section without glue. Ensure it fits perfectly, that the slope is correct, and that all connections are snug. This is your last chance to easily make adjustments.
- Tip 4: Venting is Important: For drain systems, proper venting is crucial to prevent siphoning water from traps and allowing drains to work efficiently. Ensure your design includes appropriate vent pipes or connections to existing vents, following local building codes. The International Code Council (ICC) provides comprehensive building codes that include plumbing regulations.
Scenario 2: Extending a PEX Water Supply Line
PEX offers flexibility that can save you a lot of trouble, especially in tight spaces.
- Tip 1: Embrace the Flexibility: PEX can often be bent around obstacles, eliminating the need for elbows. Use a PEX bending tool or gently bend it by hand (but avoid kinking – if a kink occurs that you can’t remove, cut it out and use a coupling). The minimum bend radius for PEX is usually noted by the manufacturer.
- Tip 2: Push-to-Connect Fittings are Your Friend: For beginners, push-to-connect fittings are incredibly fast and simple. They eliminate the need for specialized tools and the risk of solder leaks (for copper) or cement fumes. Just ensure the pipe is pushed in fully.
- Tip 3: Support the Tubing: While flexible, PEX should still be supported to prevent sagging and undue stress on fittings. Use PEX support clamps or straps at appropriate intervals as recommended by PEX manufacturers.
- Tip 4: Know Your Water Pressure: PEX is rated for specific water pressures and temperatures. Ensure your chosen PEX type and fittings are suitable for your home’s water pressure. For most residential applications, PEX-A, PEX-B, or PEX-C tubing with appropriate fittings will suffice.
Troubleshooting Common Pipe Installation Issues
Even with careful planning and execution, you might encounter hiccups. Knowing how to troubleshoot can save your project.
Issue: Leaks at Joints
- Cause: Insufficient primer/cement, pipe not fully inserted, excess primer/cement scraped off during insertion, fitting or pipe is damaged, or improper curing time.
- Solution: For glued joints, the faulty section often needs to be cut out and re-done. For PEX slip fittings, ensure the pipe is fully seated and that no debris is hindering the seal. Recrimp/reclamp PEX if the ring wasn’t secured properly.
Issue: Difficulty Inserting Pipe into Fitting
- Cause: Pipe end is not chamfered, fitting is damaged, or insufficient primer (for glued joints).
- Solution: Ensure the pipe end is properly chamfered with a deburring tool. If using PVC/CPVC, ensure you’re using enough primer to soften the plastic slightly. If the fitting seems damaged, replace it.
Issue: Pipe Cuts are Not Square or Have Burrs
Cause: Skipping the proper cutting tool, using a dull blade, or not being careful during the cut.
Solution: Always use a dedicated pipe cutter for the material you’re working with. For pipes that won’t seat properly due to a bad cut, recut the pipe before proceeding. Smooth any remaining burrs with a deburring tool or fine-grit sandpaper.
