
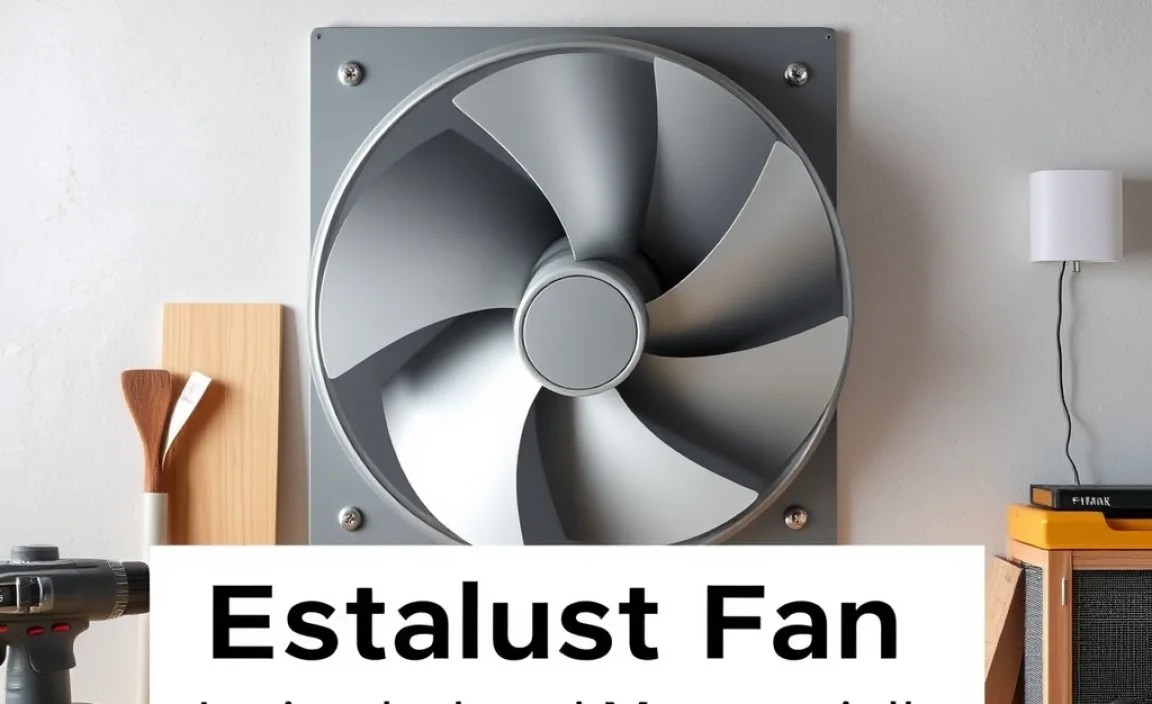
Proper installation of an exhaust fan in construction is crucial for ventilation and air quality. This guide provides clear, step-by-step instructions for beginners, covering essential tools, safety tips, and common challenges to ensure a successful DIY project.
When building or renovating, ensuring good airflow is super important. An exhaust fan does just that – it pulls out stale air, moisture, and odors, keeping your home fresh and healthy. It might sound tricky, but installing one is totally doable, even if you’re new to DIY projects. This guide breaks down the entire process into easy steps. We’ll walk you through everything, from picking the right fan to making sure it’s properly installed. Get ready to boost your home’s ventilation!
Why Install an Exhaust Fan During Construction?

Imagine spending hours in a tightly sealed room with no fresh breeze. That’s where an exhaust fan steps in! Especially during construction, when there are often dust, fumes, and a lot of moisture from materials like drywall and paint, an exhaust fan is your best friend. It’s not just about making things smell good; it’s about maintaining a healthy living environment.
Here’s why having one installed during the construction phase makes a huge difference:
- Air Quality Improvement: Construction sites can be dusty and full of volatile organic compounds (VOCs) from paints, glues, and building materials. An exhaust fan removes these airborne irritants, creating a safer environment for workers and future occupants.
- Moisture Control: New construction often involves materials that release moisture as they cure. Exhaust fans help vent this excess humidity, preventing the growth of mold and mildew, which can cause structural damage and health problems later on.
- Odor Elimination: From the smell of new carpet to lingering paint fumes, construction can create a cocktail of unpleasant odors. An exhaust fan ensures these smells are quickly removed.
- Worker Comfort: A well-ventilated construction site is a more comfortable and productive one. Exhaust fans help regulate temperature and reduce stuffiness, especially in enclosed spaces.
- Code Compliance: Many building codes require adequate ventilation in specific areas like bathrooms and kitchens. Installing an exhaust fan during construction ensures you meet these requirements from the start.
Choosing the Right Exhaust Fan for Your Project

Not all exhaust fans are created equal. Picking the right one ensures it does its job effectively without being a nuisance (think loud noises!).
Types of Exhaust Fans
There are a few main types you’ll encounter, each suited for different needs:
- Ceiling Mount Fans: These are the most common type. They install directly into the ceiling and vent air through the attic and out the roof or a side wall. Great for bathrooms and kitchens.
- In-Line Fans: These fans are housed in the ductwork, often in the attic or crawl space. They are quieter because the motor is further away from the living space. They are powerful and can be used to vent multiple areas.
- Wall Mount Fans: Less common for new construction, these are typically installed in an external wall.
- Window Fans: While simple, these are generally not suitable for permanent installation during construction due to sealing and security issues.
Key Features to Consider
When selecting a fan, look for these specifications:
- CFM (Cubic Feet per Minute): This measures how much air the fan can move. For bathrooms, a common recommendation is 1 CFM per square foot of bathroom area. For kitchens, you’ll need a higher CFM, often around 100-150 CFM or more, depending on the stove type. The U.S. Department of Energy has guidelines on energy efficiency for various appliances.
- Sones: This measures how noisy the fan is. Lower sones mean a quieter fan. Look for fans with 1.0 sone or less for a more peaceful environment.
- ENERGY STAR® Certified: These fans are more energy-efficient, saving you money on electricity bills in the long run.
- Duct Size Compatibility: Ensure the fan’s duct connector matches the ductwork size you plan to use (typically 3-inch or 4-inch ducts).
- Features: Some fans come with built-in lights, heaters, humidity sensors, or motion sensors, adding extra functionality.
Essential Tools and Materials
Before you start, gather everything you need. Having your tools ready makes the installation process smooth and efficient.
Tools You’ll Need:
- Safety Gear: Safety glasses, work gloves, dust mask.
- Measuring Tape: For precise positioning.
- Pencil or Marker: For marking cutouts.
- Utility Knife or Drywall Saw: For cutting drywall.
- Screwdriver Set (Phillips and Flathead): For mounting and electrical connections.
- Wire Strippers/Cutters: For electrical wiring.
- Pliers: For gripping and manipulating wires.
- Fish Tape or Wire Puller: To pull electrical wires through walls or ceilings.
- Caulk Gun and Sealant: To seal ductwork and fan housing.
- Reciprocating Saw or Oscillating Tool (Optional): For cleaner cuts in drywall or wood.
- Stud Finder: To locate ceiling joists for secure mounting.
- Ladder: Ensure it’s stable and rated for your weight.
Materials You’ll Need:
- Exhaust Fan Unit: Your chosen fan.
- Ducting: Flexible or rigid ducting, appropriate for the fan and local codes. Look for materials like aluminum or galvanized steel.
- Duct Clamps or Tape: To secure the ducting.
- Electrical Wire: The correct gauge and type for your local electrical code (typically 14-gauge or 12-gauge NM-B wire).
- Wire Nuts: For making secure electrical connections.
- Vent Hood/Termination Kit: For the exterior exit point of your ductwork.
- Screws and Fasteners: Appropriate types for mounting the fan and any brackets.
Step-by-Step Installation Guide

Here’s how to install your exhaust fan. Remember to always prioritize safety and disconnect power before working with electricity.
Step 1: Plan the Location and Duct Run
Decide exactly where the fan will be placed. It’s usually best to center it in the room or area it needs to ventilate, like above a shower or a stove. Mark the center of your chosen spot. Then, plan the path for the ductwork. It needs to go from the fan housing to an exterior wall or the roof, making sure it avoids joists, beams, or any other obstructions. Aim for the shortest, most direct route possible to ensure efficiency.
Consider airflow dynamics. For bathrooms, a common placement is over the source of moisture, like a shower stall or bathtub. For kitchens, it should be directly over the cooking surface. It’s often helpful to consult architectural plans if available, as they will show joist locations and potential pathways.
Step 2: Cut the Opening for the Fan
Once you’ve chosen the spot, use your stud finder to ensure there are no obstructions like pipes or wires directly above or below your marked location. Hold the fan’s template (if provided) or measure the fan housing against the ceiling and trace an outline. Use a drywall saw or utility knife to carefully cut along this line. Go slowly to ensure a clean cut. Remove the cut piece of drywall. This opening is where the fan unit will sit.
Tip: Before cutting, it’s wise to check for ceiling joists. If the opening falls directly under a joist, you might need to adjust the fan placement slightly or use a flush-mount fan housing designed to fit within joist spaces. Many modern fans come with adjustable hangers that can straddle joists.
Step 3: Install the Fan Housing
Insert the exhaust fan housing into the opening you just cut. Most fan housings have tabs or brackets that allow you to secure them to ceiling joists or through them. Use screws to firmly attach the housing to the joists. If the housing doesn’t sit flush, you might need to adjust it or use shims. Ensure it’s level and secure, as it will support the weight of the fan and the ductwork.
Some fans are designed to be installed from below the joists, using special telescoping housings that expand to fit the space. Others might require you to access the joist space from above (e.g., through an attic) to secure the housing properly. Always follow the manufacturer’s specific instructions for their model.
Step 4: Run the Ductwork
Connect one end of your chosen ducting (flexible or rigid) to the fan housing’s exhaust outlet. Secure it with a duct clamp or foil tape to prevent air leaks. Then, run the ductwork from the fan housing to your exterior venting location. If running through an attic, ensure the duct is supported and not kinked or crushed. If running through walls, this is often the most challenging part and may require drilling holes through studs. Use appropriate connectors and sealants for any joints in the duct run.
Important considerations for ductwork:
- Duct Material: Use smooth, rigid ducting whenever possible, especially for longer runs, as it offers less resistance to airflow than flexible ducting.
- Duct Size: Match the duct diameter to the fan outlet. Using a smaller duct will restrict airflow and reduce efficiency.
- Elbows: Minimize the number of sharp bends or elbows in the duct run. Each elbow reduces airflow. If an elbow is necessary, use a smooth, long-radius type.
- Insulation: In unconditioned spaces like attics or crawl spaces, insulating the ductwork helps prevent condensation and heat loss/gain, improving efficiency.
- Slope: Ensure ductwork slopes slightly downwards towards the exterior vent to prevent any condensate from backing up into the fan housing.
For more detailed guidance on ducting, you can refer to resources from organizations like ASHRAE (American Society of Heating, Refrigerating and Air-Conditioning Engineers), which provide standards for mechanical ventilation.
Step 5: Install the Exterior Vent Hood
At the point where the ductwork exits your building (roof or exterior wall), install a vent hood. This prevents rain, snow, and pests from entering the duct system. Cut an appropriate-sized hole in the exterior surface if needed. Secure the vent hood with screws, ensuring it’s properly sealed to the building’s exterior to prevent water intrusion. Connect the ductwork to the vent hood, again sealing the connection securely.
A properly installed vent hood is critical for the longevity of your system and the protection of your home’s interior. Ensure it has a rain shield and a backdraft damper to prevent air from flowing back into the duct when the fan is off.
Step 6: Wire the Exhaust Fan
This is where you’ll be working with electricity. Make sure the power to the circuit you’re working on is OFF at the breaker box. If you’re unsure about electrical work, it’s best to hire a qualified electrician. The fan will need to be connected to your home’s electrical system. Typically, you’ll run a power cable (e.g., 14/2 or 12/2 NM-B cable) from the fan location to a power source, like a junction box or switch. Use wire strippers to expose the ends of the wires (black for hot, white for neutral, and bare copper for ground). Connect these wires to the corresponding wires in the fan housing using wire nuts. Double-check all connections are secure.
Wire nuts should be the correct size for the number and gauge of wires being joined. Gently tug on each wire after securing it with a wire nut to ensure it’s tight. For a fan controlled by a wall switch, run the power cable to the switch location first, then from the switch to the fan. This setup allows you to manually turn the fan on and off.
Referencing the National Electrical Code (NEC) can provide proper guidelines for safe electrical installations.
Step 7: Install the Fan Motor and Grille
Carefully lift the fan motor and light assembly. Most fans are designed to simply clip or slide into the housing you installed earlier. Gently place the fan motor into the housing and secure it according to the manufacturer’s instructions. This might involve some screws or a twist-and-lock mechanism. Once the motor is in place, attach the decorative grille and cover. These are usually attached with screws or spring clips.
Ensure the grille is flush with the ceiling and sits evenly. This is the part that will be visible in your finished room, so make sure it’s installed neatly.
Step 8: Test the Fan
Turn the power back on at the breaker box. Test the fan by turning it on at the switch. Check for proper operation – you should feel air being drawn in and expelled. For fans with other features (lights, heaters), test those as well. If anything doesn’t work, turn the power off immediately and recheck your wiring connections and installation steps.
A simple way to test airflow is by holding a tissue or a small piece of paper near the grille. It should be drawn towards the fan. If you have a manometer, you can also test static pressure to ensure optimal duct system performance.
Common Installation Challenges and How to Solve Them
Even with the best plans, you might run into a few snags. Here are some common issues and how to handle them:
Challenge: Incorrect Fan Sizing (CFM Too Low)
Problem: The fan runs, but it doesn’t seem to clear the air effectively. This usually means the fan isn’t powerful enough for the space.
Solution: Re-evaluate your space’s size and the fan’s CFM rating. For future installations, use online CFM calculators or the rule of thumb (1 CFM per square foot for bathrooms). If this is a new install, you might need to replace the fan with a higher CFM model and adjust ducting if necessary.
Challenge: Noisy Operation (High Sones)
Problem: The fan is louder than you expected, making it annoying to use.
Solution: This is often due to choosing a fan with a high sone rating. For new installations, always prioritize fans with lower sone values (1.0 or below). If you already have a noisy fan, consider installing a silencer in the ductwork or replacing the fan unit with a quieter model. Ensure the fan is securely mounted, as vibrations can also cause noise.
Challenge: Ductwork Leaks or Kinks
Problem: You notice reduced airflow, or you can feel air escaping from the duct connections.
Solution: All duct connections should be sealed with foil tape or appropriate sealant. Kinks in flexible ducting significantly restrict airflow; try to straighten them or use smoother bends. If the duct run is too long or has too many bends, it can also reduce airflow, requiring a more powerful fan or a re-design of the duct path.
Challenge: Electrical Hiccups
Problem: The fan doesn’t turn on, or the circuit breaker trips.
Solution: This almost always points to an electrical issue. TURN OFF POWER IMMEDIATELY. Double-check that the breaker is on. Re-examine your wiring connections using wire nuts, ensuring they are tight and correct (hot to hot, neutral to neutral, ground to ground). If the breaker trips repeatedly, there might be a short circuit that requires professional diagnosis.
Table: Common Exhaust Fan Problems and Solutions
| Problem | Cause | Solution |
|---|---|---|
| Fan is too loud | High sone rating, loose mounting, kinks in ductwork | Choose low-sone fans, ensure secure mounting, straighten/replace ducting |
| Poor airflow | Underpowered fan (low CFM), duct leaks, restricted duct (kinks, too small) | Select higher CFM fan, seal duct connections, ensure smooth/properly sized duct run |
| Fan doesn’t turn on | No power, incorrect wiring, faulty fan motor | Check breaker, verify all wiring connections, test continuity (if skilled) or hire an electrician |
| Mold or mildew around vent | Duct not properly sealed, improper exterior termination, no slope for drainage | Seal all duct joints, ensure exterior vent is functional, check duct slope |
| Humidifier smells | Moisture buildup in fan or ductwork, dirty fan blades | Clean fan and ductwork, ensure proper ventilation to prevent moisture accumulation |
