
Quick Summary: Regularly maintaining your vents ensures optimal airflow, improves air quality, and extends your HVAC system’s life. This guide offers simple, actionable steps for cleaning and inspecting all types of vents, making upkeep easy for any homeowner.
Dealing with vents that seem a bit neglected can be a common household puzzle. You might notice dust bunnies gathering, faint musty smells, or simply wonder if your air is flowing as it should. It’s easy to overlook these essential parts of your home’s ventilation system, but giving them a little attention can make a big difference. Don’t worry, it’s not complicated! This guide is here to break down how to easily maintain your vents, helping your home feel fresher and your heating and cooling systems work better. Let’s get started on making vent maintenance simple and stress-free.
Why Vent Maintenance Matters More Than You Think

Think of your vents as the lungs of your home. They’re responsible for breathing in fresh air and circulating conditioned air throughout your living space. When these pathways get clogged or blocked, it’s like trying to breathe through a stuffy nose – inefficient and unpleasant. Regular vent maintenance isn’t just about looks; it’s a crucial part of a healthy and efficient home environment.
Boost Your Indoor Air Quality
Dust, pet dander, pollen, and other airborne particles love to settle in vents. When your system kicks on, these particles can get blown back into your rooms. Keeping vents clean means less of this stuff circulating, leading to cleaner air for you and your family to breathe. This is especially important for those with allergies or respiratory sensitivities. For more on indoor air quality, the EPA offers great resources.
Improve HVAC System Efficiency
A blocked vent forces your heating, ventilation, and air conditioning (HVAC) system to work harder. Imagine trying to push air through a clogged straw – it requires a lot more effort. This extra strain can lead to increased energy bills and, over time, can cause premature wear and tear on your system, resulting in costly repairs or replacements. Conversely, clean vents allow air to flow freely, enabling your system to operate at its peak efficiency.
Prevent Potential Problems
Clogged vents can sometimes lead to bigger issues. In heating systems, restricted airflow can cause the heat exchanger to overheat, which can be a safety hazard. In cooling systems, excessive airflow restriction can cause the evaporator coil to freeze up. Regular cleaning helps prevent these more serious and potentially dangerous situations.
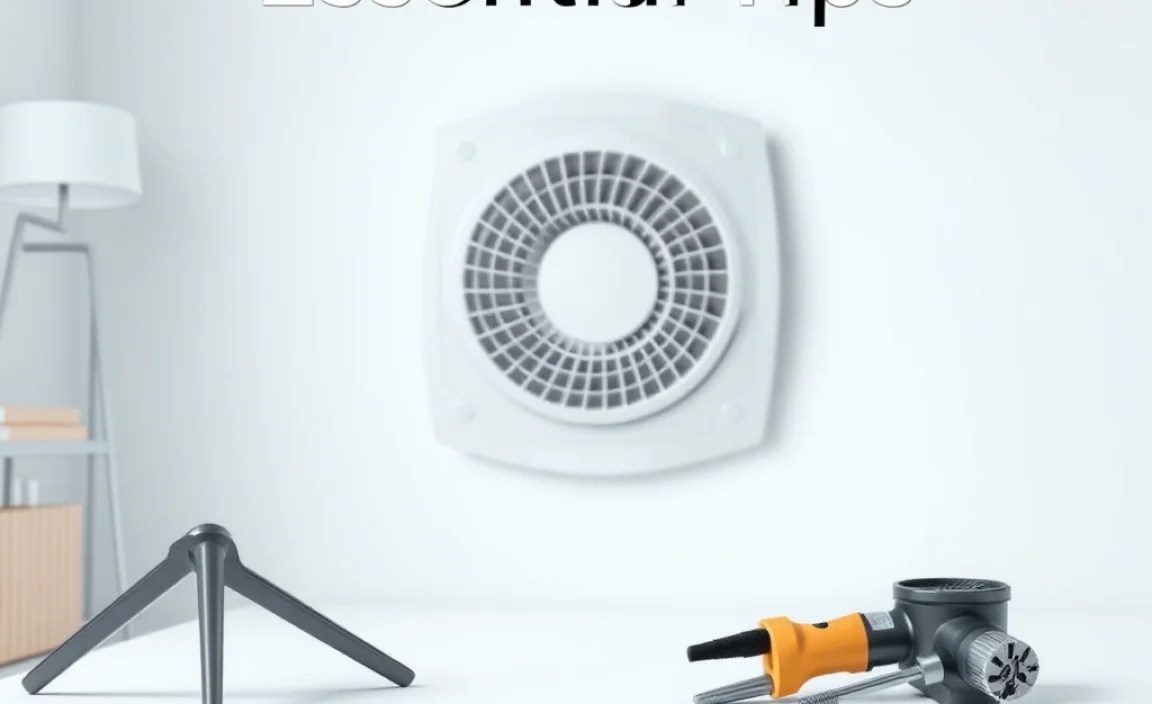
Understanding Your Home’s Vents

Before we dive into cleaning, let’s quickly identify the types of vents you’ll commonly find in your home. Knowing what you’re working with makes the maintenance process much smoother.
Supply Vents
These are the vents that blow the conditioned air (warm or cool) into your rooms. They typically have louvers or grilles that can be adjusted. You’ll feel air blowing out of them when your HVAC system is running.
Return Vents
These are the vents that pull air from your rooms back into the HVAC system to be re-conditioned. They are usually larger than supply vents and often have a simpler grille design without adjustable louvers. You won’t feel air blowing out of them; instead, you’ll feel a suction effect.
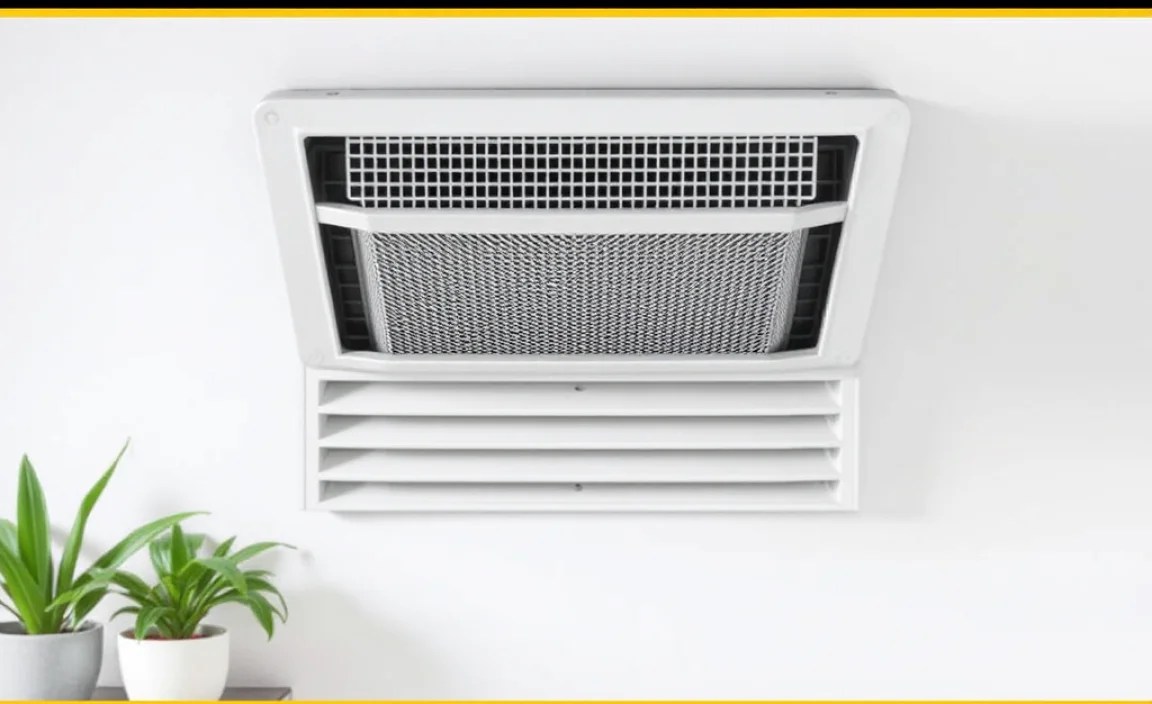
Exhaust Vents
Found in areas like bathrooms, kitchens, and laundry rooms, these vents remove moist or contaminated air from your home. They are crucial for preventing mold, mildew, and lingering odors. Common examples include bathroom fans and kitchen range hoods.
Essential Tools for Vent Maintenance
You don’t need a vast array of complex tools to keep your vents in top shape. Here’s a simple list of items that will make the job easier and more effective:
- Vacuum Cleaner with Hose Attachment: A crevice tool and a brush attachment are incredibly useful for getting into the grilles and ducts.
- Microfiber Cleaning Cloths: Excellent for dusting surfaces and wiping away fine particles.
- Soft Brush or Dusting Wand: A long-handled brush or a specialized vent brush can reach deeper into grilles.
- Screwdriver (if needed): Some vent grilles are screwed in place for easier, more thorough cleaning.
- Gloves: To keep your hands clean.
- Dust Mask: Recommended, especially if you have allergies or are dealing with significant dust buildup.
- Ladder or Stool: For reaching ceiling or high wall vents safely.
Step-by-Step Guide to Maintaining Vents
Maintaining your vents can be broken down into a few simple, repeatable steps. You can tackle these tasks seasonally or as needed, depending on your home environment.
1. Safety First!
Before you start, ensure your HVAC system is turned OFF at the thermostat. For an extra layer of safety, you can also turn off the power to your HVAC system at the breaker box. This prevents the system from suddenly kicking on while you’re working on the vents.
Important Note: If you are uncomfortable working on a ladder or with any part of this process, it’s always best to call a qualified HVAC professional.
2. Inspecting the Vents
Take a moment to visually inspect each vent. Look for:
- Obvious obstructions (furniture, rugs, large dust piles).
- Visible damage to the grille or surrounding area.
- Signs of mold or water stains (which could indicate a more serious issue with your ductwork or HVAC unit).
3. Cleaning the Vent Grilles
Most of the visible dust and debris collects on the vent grilles. Here’s how to clean them:
- Remove Loose Debris: Use your vacuum cleaner with the brush attachment to gently remove surface dust and cobwebs from the grille.
- Deep Cleaning (if necessary): For stubborn grime, you might need to remove the grille. Most grilles are attached with a few screws or clips. Carefully unscrew or unclip them.
- Wipe down the grille with a damp (not wet) microfiber cloth. Mild soap and water can be used for tougher dirt, but ensure the grille is completely dry before reattaching.
- If the grille is metal, avoid harsh cleaners that could cause rust or damage the finish.
- Clean Inside the Vent Opening: Once the grille is removed, use your vacuum’s crevice tool to carefully clean as far into the vent opening as you can reach. Be gentle to avoid damaging any internal components. A long, flexible brush can also help dislodge dust from the louvers or ductwork opening.
- Reattach Grilles: Once clean and dry, carefully reattach the grilles. Ensure they are secure.
4. Cleaning Ducts (Surface Level)
While a professional duct cleaning is a separate service, you can do some basic cleaning of exposed ductwork if accessible.
- If you have access to any larger sections of ductwork (often visible in basements or attics), use a long-handled brush or a dusting wand to remove dust from the surfaces.
- Vacuum any loose debris you dislodge.
Reminder: For a thorough cleaning of your entire duct system, it’s best to consult a professional. According to the National Air Duct Cleaners Association (NADCA), professional cleaning removes contaminants and can improve system performance.
5. Cleaning Exhaust Vents
Exhaust vents, like those in bathrooms and kitchens, often have covers that can be removed for cleaning. These can accumulate grease, lint, and dust, which can affect their performance and potentially become a fire hazard.
- Bathroom Exhaust Fans: Gently remove the cover (usually clipped or screwed on). Wipe down the fan grille with a microfiber cloth. If accessible, carefully vacuum any dust from the fan blades and housing. Ensure the fan is completely dry before reattaching the cover.
- Kitchen Range Hoods: These often have metal mesh filters that should be cleaned regularly. Check your appliance manual for specific instructions, but most can be washed with hot, soapy water. Some filters are dishwasher safe. Clean the exterior of the hood with an appropriate kitchen cleaner. Ensure any electrical components are kept dry.
6. Check for Blockages
Periodically, especially before seasonal changes (like turning on your heat for the first time in fall), do a quick check to ensure no furniture, curtains, or other items are blocking the airflow from any of your vents. Even small obstructions can impact efficiency.
Vent Maintenance Frequency: A Practical Schedule
How often should you perform these tasks? It depends on your home, but here’s a general guideline:
| Task | Frequency | Notes |
|---|---|---|
| Visual Inspection of All Vents | Monthly | Check for obvious obstructions or damage. |
| Surface Cleaning of Vent Grilles | Every 2-3 Months | Vacuuming and wiping down. |
| Deeper Cleaning (Removing Grilles) | Every 6 Months | Or as needed if build-up is visible. |
| Cleaning Exhaust Vent Covers & Filters | Monthly (kitchen) / Quarterly (bathroom fans) | Crucial for performance and preventing issues. |
| Check for Blockages | Seasonally (before heating/cooling season) | Ensure furniture or decor aren’t hindering airflow. |
Factors That Might Increase Cleaning Frequency:
- If you have pets that shed a lot.
- If anyone in the household suffers from allergies or asthma.
- If you live in a dusty environment or have recent construction nearby.
- If you notice a decline in airflow or unusual smells.
Beyond the Grille: Checking Your HVAC Filter
While you’re focusing on vents, it’s an opportune time to check your HVAC system’s air filter. A dirty air filter is one of the biggest culprits behind poor airflow and reduced efficiency. A clean filter is essential for protecting your HVAC system and ensuring the air circulating through your vents is as clean as possible.
Most HVAC systems have a filter located near the air handler or furnace, often in a slot that the return air grille feeds into. Check your system’s manual for the exact location. Replacing or cleaning your filter according to the manufacturer’s recommendations (typically every 1-3 months) will significantly contribute to good vent performance.
The U.S. Department of Energy emphasizes that regular filter changes are one of the simplest ways to improve energy efficiency for your cooling system.
Troubleshooting Common Vent Issues
Even with regular maintenance, you might encounter a few common problems. Here’s a quick troubleshooting guide:
Issue: Weak Airflow from a Vent
- Possible Cause: Blocked grille, disconnected ductwork, closed damper, or a dirty air filter.
- Solution: Clean the vent grille. Check for furniture blocking it. Ensure the damper (if accessible) is open. Replace the HVAC filter. If the problem persists, it might be a more serious ductwork issue requiring professional help.
Issue: Strange Odors from Vents
- Possible Cause: Mold or mildew in ductwork, dead pests, or a dirty filter.
- Solution: Replace the HVAC filter. Clean accessible parts of the vent and surrounding ductwork. If the odor is persistent or smells like burning, turn off your HVAC system immediately and call a professional.
Issue: Making Noise from Vents
- Possible Cause: Loose grille, debris inside the duct, or loose internal components.
- Solution: Ensure the grille is securely fastened. Use a flashlight to look for obvious debris. If the noise is consistent or concerning, it’s best to have an HVAC technician inspect the system.
Issue: Drafts or Air Leaks Around Vents
- Possible Cause: Poor sealing between the vent and the wall/ceiling.
- Solution: For minor leaks, you can often use caulk or weatherstripping to seal around the vent frame. If the leak is significant or you suspect it’s coming from the ductwork itself, a professional inspection is recommended.
When to Call a Professional
While most vent maintenance is DIY-friendly, there are times when only a professional can help:
- Suspected Mold or Mildew Growth: If you see significant mold or smell strong musty odors, it could indicate a larger problem within your ductwork or HVAC unit that requires professional remediation.
- Major Airflow Problems: If cleaning vents and changing filters doesn’t resolve weak or uneven airflow issues, there might be a problem with your ductwork (leaks, collapses, blockages) or the HVAC unit itself.
- Unusual Noises or Smells: Any persistent, unusual, or concerning noises (like grinding, rattling, or hissing) from your vents or HVAC system warrants a professional inspection. Similarly, odd smells, especially those that are chemical or burning in nature, should be addressed immediately.
- Damage to Ductwork: If you discover visible damage, corrosion, or collapsing sections of ductwork, these repairs are best left to HVAC professionals.
- Difficult-to-Access Areas: Some ductwork and vent systems are complex and may require specialized tools or knowledge to access and clean safely.
FAQ: Your Vent Maintenance Questions Answered
Q1: How often should I clean my vents?
A1: It’s good to do a quick visual check and vacuuming of your vent grilles monthly. For deeper cleaning, aim to remove and wash grilles every 3-6 months, or more often if you have pets or allergies.
Q2: Can I clean my air ducts myself?
A2: You can clean the accessible parts of exposed ductwork and the vent openings. However, a professional duct cleaning service is recommended for a thorough cleaning of your entire system. They have specialized equipment to remove.
