
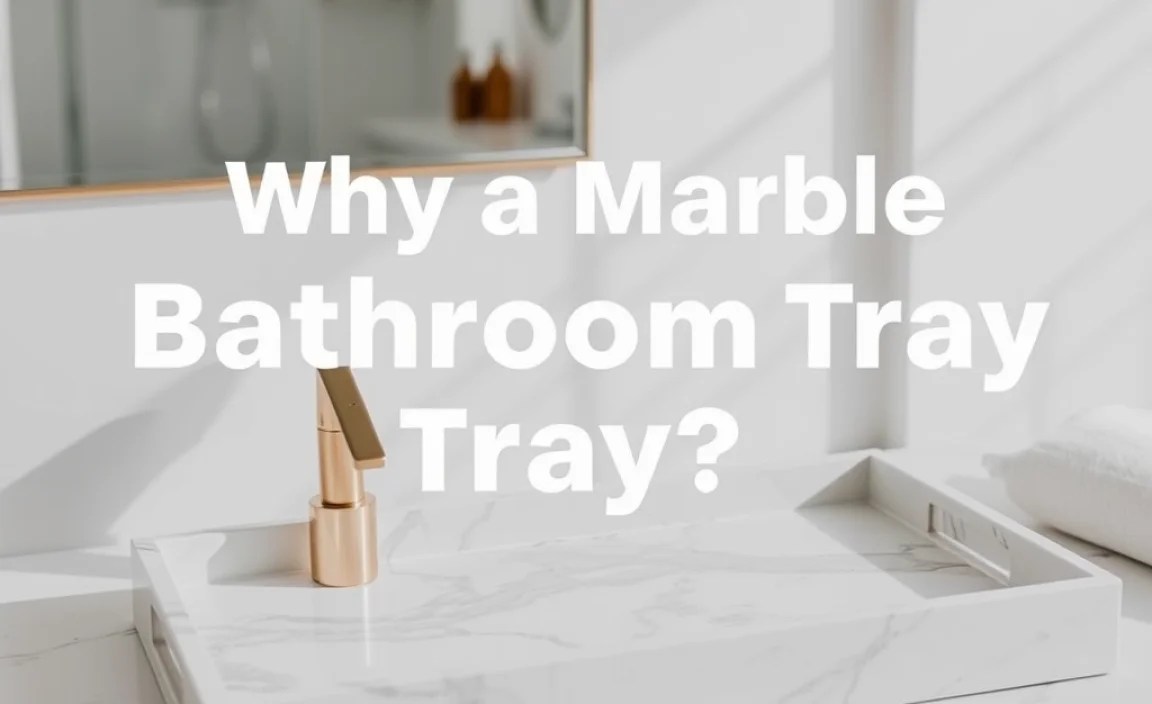
Transform your bathroom with a chic marble tray for less! This DIY project is easy, budget-friendly, and adds a touch of luxury to your space. Get ready to organize in style!
Are your bathroom counters cluttered? Do you dream of a spa-like feel but wince at the price of marble accessories? You’re not alone! Many of us struggle to keep our bathrooms tidy and stylish without breaking the bank. The good news is, achieving that elegant marble look is totally doable with a simple DIY project. We’ll guide you through creating your own stunning marble bathroom tray, step-by-step. Get ready to impress yourself with what you can create!
This project is all about making your bathroom feel a little more luxurious and a lot more organized. Imagine neatly arranged toiletries, a nice candle, and your favorite hand soap, all resting on a beautiful marble tray. It’s the perfect way to elevate your daily routine without a high price tag. Let’s dive in and learn how to make this happen!
Why a Marble Bathroom Tray?
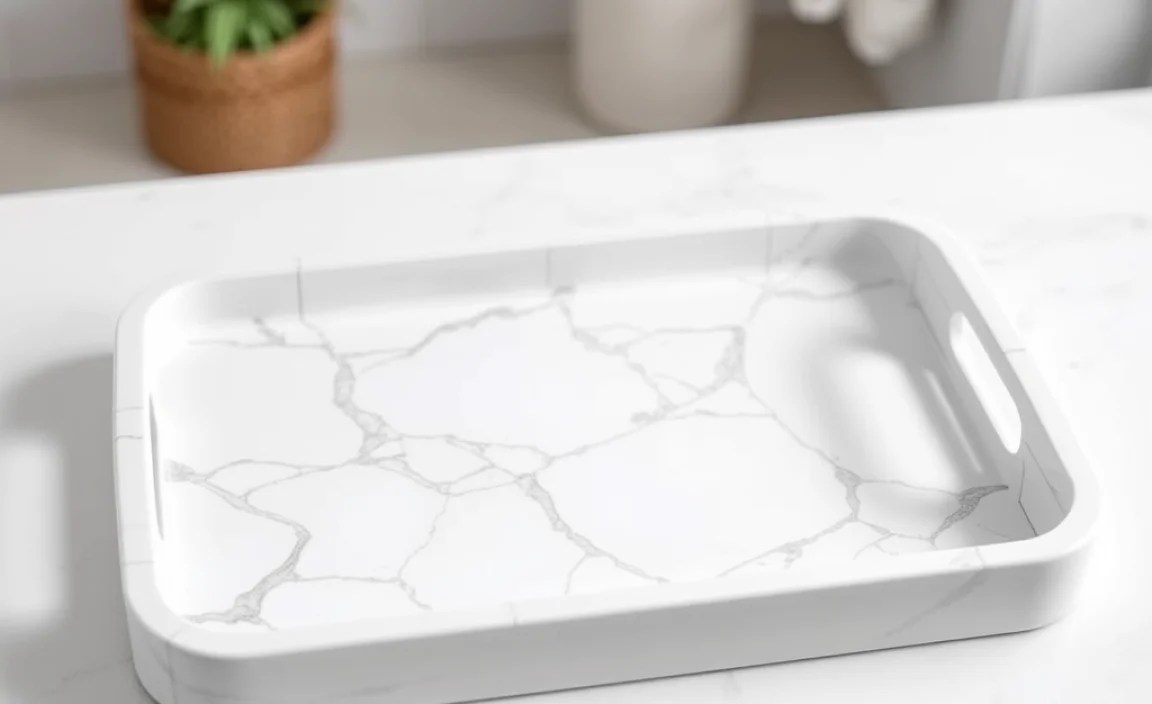
Marble has long been a symbol of elegance and timeless style. Its natural veining and cool, smooth finish instantly elevate any space. In the bathroom, a marble tray offers a sophisticated way to:
- Organize essentials: Keep your sink area tidy by corralling items like lotions, perfumes, soap dispensers, and small décor.
- Protect surfaces: A tray can shield your vanity from water rings and soap scum.
- Add a touch of luxury: It instantly makes your bathroom feel more like a high-end spa.
- Display décor: It creates a stylish base for decorative items like a small plant, a candle, or a framed photo.
While genuine marble can be quite expensive, especially for pre-made trays, a DIY approach allows you to capture that aesthetic without the hefty cost. We’ll be focusing on an affordable and easily accessible method that mimics the look of real marble beautifully.
Our Genius DIY Approach: Faux Marble Magic

The secret to our affordable marble tray is a clever use of materials. Instead of heavy, costly slabs of stone, we’ll be using readily available items and a bit of creative technique to achieve a convincing marble look. This method is perfect for beginners because it’s forgiving and doesn’t require specialized tools or skills. Think less rock quarry, more crafting table!
We’ll leverage materials that are easy to cut, paint, and seal, all while giving the illusion of authentic marble. This is where creativity meets affordability to produce a truly custom piece for your home.
Materials You’ll Need
Gathering your supplies is the first exciting step. Don’t worry if some of these items aren’t in your toolbox already; they are generally inexpensive and widely available at craft stores, hardware stores, or online. Here’s your shopping list:
- Base Material: A piece of MDF (Medium-Density Fiberboard) or thick plywood cut to your desired tray size (e.g., 12″ x 8″ or 18″ x 10″). You can have this cut at most hardware stores.
- “Marble” Paint: White or off-white acrylic craft paint.
- Veining Paint: Gray or black acrylic craft paint (for the marble veins).
- Adhesive: Wood glue or a strong craft adhesive if attaching side pieces.
- Sealer: A clear acrylic sealant or polyurethane spray (matte or satin finish is usually best).
- Optional Side Pieces: Thin strips of wood (like lath or trim) if you want your tray to have raised edges.
- Primer: A good quality primer for wood or MDF.
- Brushes: Various sizes – a larger brush for base coats, and smaller, finer brushes or even a feather for creating veins.
- Sponge or Cloth: For dabbing and blending.
- Sandpaper: Fine-grit (around 220 grit) for smoothing.
- Protective Gear: Gloves and a well-ventilated area for painting and sealing. A drop cloth or old newspaper to protect your work surface.
- Optional Feet: Small furniture feet (felt, rubber, or decorative) to lift and protect your vanity.
Choosing the right dimensions for your tray depends on where you plan to place it and what you intend to store. Measure your vanity space before heading out for supplies!
Tools You’ll Need
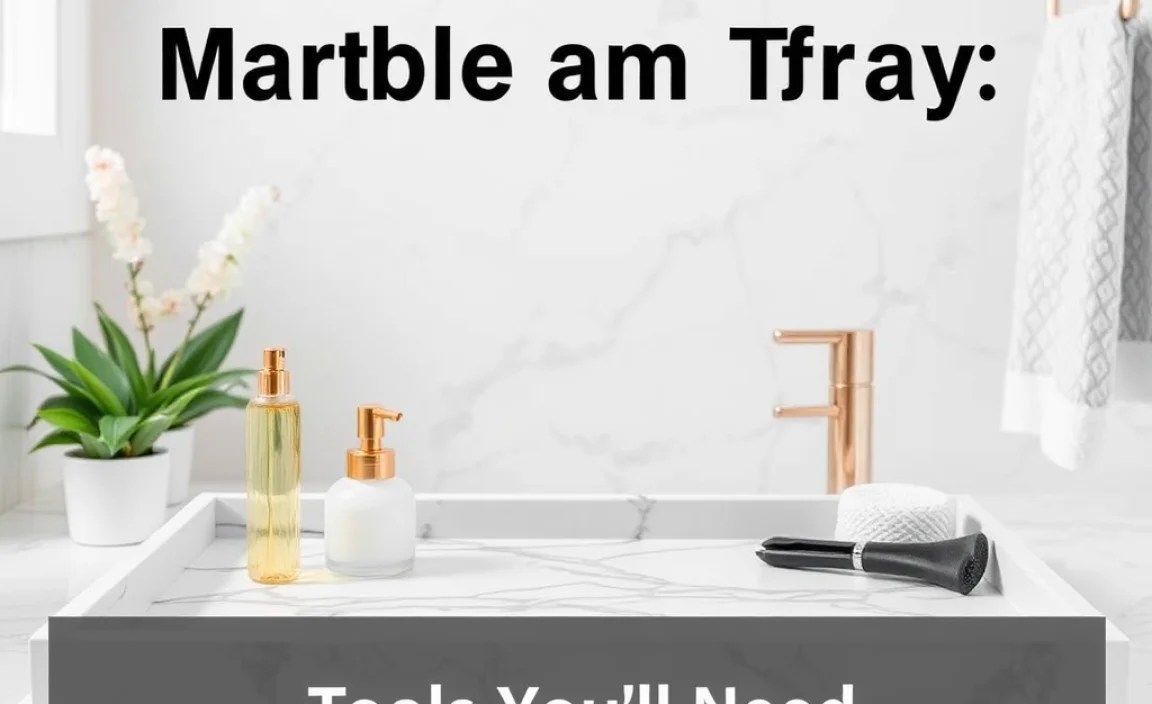
For this project, you won’t need a workshop full of power tools. Most tasks can be accomplished with basic hand tools or items you might already have around the house.
- Measuring tape
- Pencil
- Saw (if you need to cut your MDF/plywood, or if the hardware store can’t do it for you)
- Clamps (if attaching side pieces)
- Gloves
- Drop cloth or newspaper
Step-by-Step Guide: Creating Your DIY Marble Tray

Let’s get crafting! Follow these steps carefully, and you’ll have a beautiful, custom marble tray in no time. Remember to work in a well-ventilated area and wear gloves to protect your hands.
Step 1: Prepare Your Base and Sides
If you opted for side pieces to create a more contained tray, you’ll want to attach them now. Measure and cut your thin wood strips to fit the perimeter of your MDF or plywood base. Apply wood glue to the edges of the base and press the wood strips into place. Use clamps to hold them securely while the glue dries completely. Once dry, lightly sand any rough edges.
If you’re not adding sides, you can skip this part and move straight to preparing the base.
Step 2: Prime the Surface
Sand the entire surface of your MDF or plywood base (and the attached side pieces, if applicable) with fine-grit sandpaper. This helps the primer and paint adhere better. Wipe away any dust with a dry cloth. Apply a thin, even coat of primer. Let it dry completely according to the manufacturer’s instructions. You might need a second coat for full coverage, especially on MDF.
Priming is a crucial step for a smooth, professional finish. It seals the porous material and provides a uniform surface for your paint.
Step 3: The “Marble” Base Coat
Once the primer is dry, it’s time for the base color. Apply a coat of your white or off-white acrylic paint. Use a roller or a wide brush for a smooth, even finish. Allow this coat to dry completely. Lightly sand any imperfections and wipe away dust. Apply a second coat if necessary to ensure solid coverage. The goal here is a clean, consistent white surface to work on.
Step 4: Creating the Marble Veins
This is where the magic happens! You’ll use your gray or black paint to create the characteristic veining of marble. There are several techniques for this, so feel free to experiment on a piece of scrap material first.
- Thin Lines: Thin down your gray or black paint slightly with water until it’s a milky consistency. Use a very fine brush (or even a toothpick or a peacock feather for a natural look!) to draw thin, irregular lines across the white base. Don’t make them too perfect; marble veins are organic and often branch out or fade.
- Dabbing Technique: Dip a corner of a small sponge or a crumpled paper towel into your veining paint. Lightly dab it along where you want subtle vein marks.
- Feather Method: For a softer, more blended vein, you can use a feather. Dip the tip of the feather into the paint and gently drag it across the surface.
The key is subtlety and variation. Start light; you can always add more. Let some veins be bold, while others are faint and wispy. Overlap some lines to create depth. Don’t be afraid to make mistakes – “happy accidents” can often look very realistic!
For more inspiration on creating realistic marble effects, check out this helpful tutorial video. (Note: This is a placeholder link example. For a real article, you’d link to a relevant DIY video on YouTube.)
Step 5: Blending and Refining
Once you’ve drawn your initial veins, you’ll likely want to soften and blend them to make them look more natural, like real marble. While the paint is still wet (or slightly tacky), use a slightly damp sponge or a soft, dry brush to gently blur the edges of the veins. You can also use a clean, dry brush to drag through thicker vein areas, pulling the paint to create a more organic flow.
This step is about creating depth and making the veins appear embedded within the surface, rather than just painted on top. Work carefully and add or blend until you’re happy with the look.
Step 6: Sealing Your Masterpiece
Once your paint is completely dry (give it at least 24 hours to be safe), it’s time to seal your tray. This step is crucial for protecting your handiwork from moisture and wear. Apply several thin coats of your clear acrylic sealant or polyurethane spray. Make sure to follow the product’s instructions regarding drying times between coats. Apply in a well-ventilated area, holding the can at the recommended distance.
A good sealant will provide a durable, protective finish that mimics the smooth feel of real marble. You can choose a matte, satin, or even a slight gloss finish depending on your preference.
Step 7: (Optional) Adding Feet
If you want to give your tray a more finished look and prevent it from scratching your vanity surfaces, you can add small furniture feet. Turn the tray upside down and mark where you want the feet placed (usually near the corners). Attach them with a strong adhesive or screws, depending on the type of feet you chose. Ensure they are evenly placed so the tray sits flat.
Comparing DIY Faux Marble vs. Real Marble
Making your own faux marble tray offers distinct advantages, especially for beginners and budget-conscious individuals. Here’s a quick comparison:
| Feature | DIY Faux Marble Tray | Real Marble Tray |
|---|---|---|
| Cost | Low (materials often under $30-$50) | High (can range from $100 to $500+ depending on size and marble type) |
| Skill Level | Beginner-friendly, no special tools required | Requires specialized tools and expertise for cutting, polishing, and installation. DIY can be challenging. |
| Customization | Easy to customize color, vein pattern, size, and shape. | Limited customization options; you work with available stone. |
| Weight | Lightweight and easy to move. | Very heavy, can be difficult to reposition. |
| Durability & Maintenance | Good, especially with a strong sealant. May require touch-ups over time. Susceptible to strong acids/solvents. | Porous, requires sealing to prevent stains. Can etch or chip if not cared for properly. Very heavy and can crack. |
| Aesthetic Appeal | Can be very convincing with practice. Mimics the look. | Authentic, luxurious, and unique. Natural variations are part of its charm. |
As you can see, the DIY faux marble option provides a fantastic balance of affordability, creative control, and ease of execution, making it a winning choice for most home decorators.
Tips for Success and Variations
Here are some extra pro-tips to ensure your DIY marble tray turns out beautifully:
- Practice First: Before you paint your actual tray, grab a piece of scrap cardboard or wood and practice your vein-making technique. This will help you get a feel for the paint consistency and brush strokes.
- Layering is Key: Don’t try to get the perfect vein in one go. Layering thin washes of gray or black over dry white base coats, and then softly blending, can create a much more realistic depth.
- Think About Color: While white and gray are classic, you can experiment with other color palettes. A black base with white or gold veins, or an off-white with subtle gold flecks, can also look incredibly chic.
- Consider the Finish: For a more modern look, a satin or matte finish sealant often works best. If you prefer a high-gloss, luxurious feel, a high-gloss polyurethane is an option, but it can show fingerprints more easily.
- Get Inspired by Real Marble: Look at photos of real marble slabs online. Notice the patterns, the way the veins branch and feather out, and the subtle variations in color. This will help you replicate the organic nature of natural stone.
- Different Base Materials: While MDF/plywood is cost-effective, you could also adapt this technique to a sturdy picture frame base, a wooden serving tray, or even a smooth stone tile for a different effect.
For those interested in the science behind sealing and protecting surfaces, materials like polyurethane have been extensively studied for their protective qualities. Resources from organizations like the Federal Emergency Management Agency (FEMA) touch on material durability and protective coatings in different environmental contexts, offering insights into why sealants are so important.
Troubleshooting Common Issues
Even with the best intentions, DIY projects can sometimes hit a snag. Here are a few common issues and how to fix them:
- Paint Looks Too “Painted”: If your veins look too artificial, try blending them more with a slightly damp sponge or soft brush. Sometimes, adding a very thin, translucent wash of white paint over the veins can soften them further and make them recede into the base color.
- Veins are Uneven: If you have a streak or an area you dislike, don’t panic! Once the paint is dry, you can often lightly sand over the uneven area and reapply a smooth base coat. Then, try painting the veins again, focusing on more organic flow.
- Paint is Too Thick/Thin: Adjust your paint consistency with a tiny bit of water. For veins, you want it thin enough to flow but not so thin that it just washes away. For the base coat, aim for a smooth, creamy consistency.
- Uneven Sealing: Ensure you shake your spray sealant very well and apply it in thin, even coats from the recommended distance, moving your hand continuously. If you get drips or runs, you might need to let it dry completely and very lightly sand the affected area before reapplying.
Frequently Asked Questions (FAQ)
Q1: How large should my DIY marble bathroom tray be?
A: The ideal size depends on your needs and space. Common sizes range from 8×10 inches for holding a soap dispenser and hand lotion, to 12×18 inches for a larger display with multiple items. Measure your vanity or shelf space first!
Q2: Can I use real marble contact paper instead of painting?
A: Yes, absolutely! Marble-look contact paper or vinyl wrap is another incredibly easy and affordable DIY option. Ensure you apply it carefully to avoid air bubbles for a smooth finish. It’s a great alternative if painting isn’t your strength.
Q3: Is this faux marble durable enough for a bathroom?
A: With proper priming and sealing using a good quality acrylic sealant or polyurethane, your faux marble tray will be quite durable for bathroom use. It should withstand daily moisture and cleaning. However, avoid harsh chemicals or abrasive scrubbers, just as you would with real marble or other lacquered surfaces.
Q4: How do I clean my DIY marble tray?
A: To clean your tray, use a soft, damp cloth. For tougher spots, a mild soap and water solution is usually sufficient. Rinse with a clean, damp cloth and dry thoroughly to prevent water spots. Avoid abrasive cleaners, bleach, or strong solvents.
Q5: What if I don’t like the look of my veins?
A: The beauty of DIY is you can often fix things! If you’re unhappy with the veins, let the paint dry completely, then lightly sand the surface smooth. You can then re-prime and start the painting process again, perhaps trying a different technique or color for your veins.
Q6: Can I make this tray waterproof?
A: While the sealing process makes the tray water-resistant, it’s not entirely waterproof in the way a sealed tile might be. It’s designed to hold items on it rather than being submerged. The sealant protects the paint and base material from regular bathroom moisture and spills.
