
Quick Summary: Removing cabinet tips involves carefully detaching them from their hinges. The easiest methods typically involve a screwdriver to loosen pivot screws or specific clips, depending on the cabinet hardware. Always work slowly and methodically to avoid damage.
Hey there, DIYers! Ever found yourself staring at a cabinet door, wondering how on earth to get those little “tips” off? You know, those small, often overlooked pieces that connect your cabinet door to the cabinet frame? It’s a common little puzzle, especially when you’re upgrading hardware, painting, or just need to make a repair. Don’t worry, it’s not as tricky as it might seem! We’re going to walk through some simple, effective ways to remove cabinet tips, so you can tackle this task with confidence. Get ready to make your cabinets look brand new!
Understanding Cabinet Tips: What They Are and Why You Might Remove Them

Cabinet tips, often referred to by their more technical names like “overlay” or “hinge tips,” are essentially the connecting points between your cabinet door and the cabinet frame. They’re a crucial part of the cabinet hardware system, dictating how the door sits and opens. While they might seem minor, they play a big role in the overall look and function of your cabinetry.
So, why would you need to remove them? A few common reasons come to mind:
- Hardware Update: The most frequent reason is upgrading your cabinet hardware. Maybe you’re tired of the old knobs or pulls and want a modern look. Removing the old tips allows you to install new ones seamlessly.
- Painting or Refinishing: If you’re giving your cabinets a fresh coat of paint or a full refinish, removing the doors entirely, and sometimes the tips, makes for a much cleaner and more professional finish.
- Repair Work: Sometimes, a hinge might be damaged or a tip could be loose, causing the door to sag. Removing the tip is often the first step in diagnosing and fixing such issues.
- Deep Cleaning: For an extra thorough clean, especially if you have older cabinets, removing doors can give you access to nooks and crannies you might otherwise miss.
No matter your reason, understanding how these tips work is key to removing them without causing any damage. We’ll break down the most common types and the best ways to handle each.
Tools You’ll Likely Need
Before we dive into the “how-to,” let’s gather our tools. Having the right equipment makes any DIY job smoother and safer. For removing cabinet tips, you generally won’t need a huge arsenal. Here’s a quick rundown of what’s usually helpful:
Essential Tools:
- Screwdrivers: A Phillips head screwdriver is almost always a must-have. A flathead screwdriver can also be handy for prying or working with certain types of screws. Having a set with various sizes is a good idea.
- Pliers: Needle-nose pliers can be useful for gripping small parts or gently pulling components.
- Safety Glasses: Always protect your eyes, especially when working with small parts that could fly off.
- Small Container or Tray: To keep all those tiny screws and parts organized so you don’t lose them.
- Soft Cloth or Rag: To protect surfaces from scratches while you work.
Optional, but Helpful:
- Drill with Screw Bits: For faster screw removal, if you’re comfortable using one.
- Putty Knife or Thin Pry Tool: For gently leveraging stubborn parts, if needed.
- Work Gloves: For a better grip and to protect your hands.
Having these on hand will prepare you for most cabinet tip removal scenarios. Remember, the key is to work patiently and methodically.
Method 1: The Screw-Driven Detach

This is by far the most common method because many cabinet doors are attached using screws. You’ll find these on various types of hinges, from older styles to more modern inset hinges. The “tip” in this context usually refers to the part of the hinge that screws directly into the cabinet frame or the door itself.
Here’s how to tackle it:
- Identify the Screws: Open the cabinet door wide so you have clear access to the hinge mechanism. Look for screws that attach the hinge plate to the cabinet frame or the hinge arm to the door. Sometimes, there are two screws holding the entire hinge to the door, and then other screws that mount the hinge plate to the cabinet. We’re looking for the ones that, when removed, will allow the door to separate from the cabinet frame.
- Choose the Right Screwdriver: Match your screwdriver tip to the screw head. A good fit prevents stripping the screw, which can turn a simple job into a frustrating one.
- Loosen and Remove: Gently turn the screws counter-clockwise. If the screws are tight, apply a little steady pressure. If you’re removing the door from the cabinet frame, you’ll typically loosen the screws that attach the hinge mounting plate to the cabinet. If you’re removing the hinge from the door, you’ll loosen the screws holding the hinge arm to the door’s edge.
- Support the Door: As you loosen the final screws, be prepared to support the weight of the cabinet door. Have a soft cloth or a helper ready to catch it if needed.
- Store Hardware Safely: Once the screws are out, carefully detach the door. Place all screws and any detached hinge parts into your labeled container. This is crucial if you plan to reattach them later.
This method is straightforward, but always be mindful of the screw type. Some might have decorative caps that need to be pried off first. For those, a thin flathead screwdriver or a putty knife often does the trick with gentle pressure.
Method 2: The Clip-On Connection
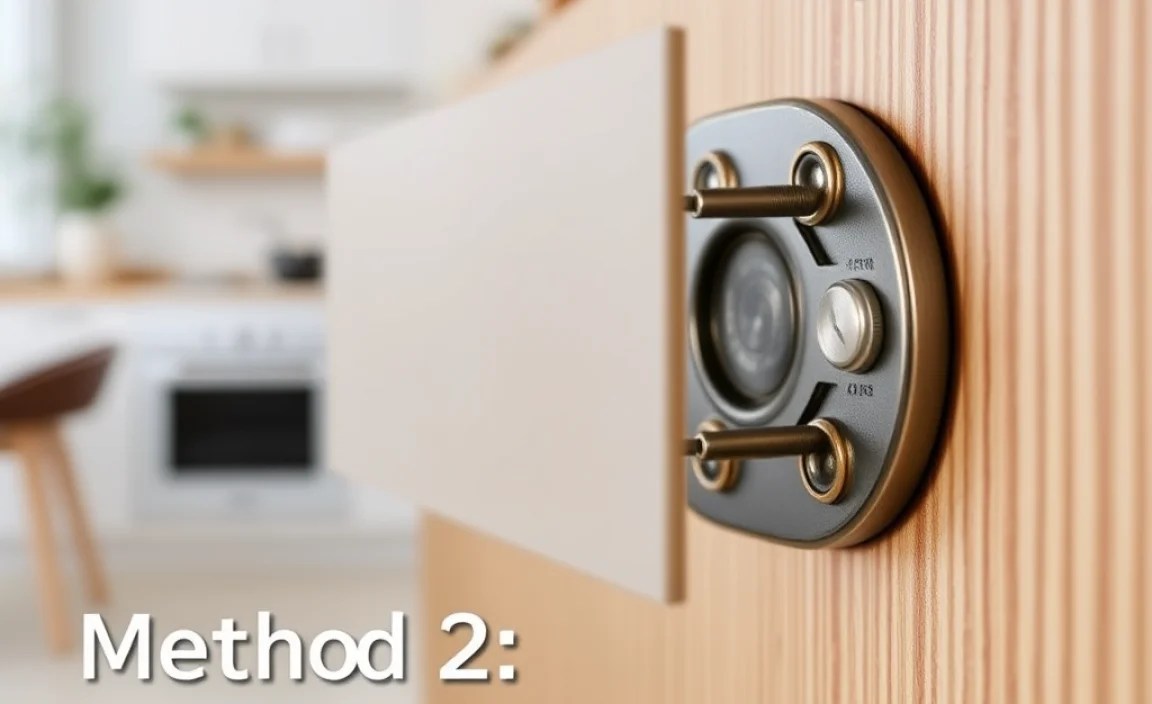
Some modern cabinet hinges feature a “clip-on” or “quick-release” mechanism. These are designed for convenience, allowing you to remove cabinet doors without needing any tools at all, or just a simple push. The “tip” here refers to the entire hinge assembly that clips onto a mounting plate.
Here’s how to find and use this feature:
- Examine the Hinge: Open the cabinet door fully and look closely at the hinge where it connects to the cabinet frame. You’re looking for a lever, a button, or a small tab, often on the back or underside of the hinge arm.
- Locate the Release Mechanism: This mechanism is what allows the hinge cup (the part attached to the door) to detach from the mounting plate (the part attached to the cabinet frame) without unscrewing. It might be a small plastic lever, a metal button, or a spring-loaded clip.
- Engage the Release:
- Lever Type: You’ll usually need to push a small lever forward or backward with your thumb or a finger. This disengages the clip.
- Button Type: Some hinges have a button you press. This often releases a spring-loaded arm.
- Push-to-Release: Less common, but some might require you to push the door towards the cabinet while simultaneously pressing in on a specific point.
- Pull the Door Away: Once the clip is disengaged, you should be able to gently pull the cabinet door straight out or slightly away from the cabinet frame.
- Listen for a Click: A successful release is often accompanied by a soft “click” sound.
- Repeat for Other Hinges: Most cabinet doors have at least two hinges, so you’ll need to repeat this process for each one.
These clip-on hinges are fantastic for DIYers because they simplify the removal process significantly. If you can’t find the release, consult your cabinet manufacturer’s website or look for the hinge brand printed on the hardware itself. Knowing the exact hinge model can often lead you to helpful installation and removal guides.
Method 3: The Integrated Mount System
Another type of hardware you might encounter is the integrated mount system. Here, the hinge is designed as a single unit, and the “tip” is essentially part of this integrated piece that screws into both the door and the cabinet frame, or a specialized mounting plate. The key here is often a slightly different approach to loosening the primary connection.
Let’s look at how this usually works:
- Identify the Main Attachment Points: Like the screw-driven detach method, you’ll be looking for screws. However, in integrated systems, these screws might be holding a single, more robust hinge piece in place. Often, these screws are on the side of the hinge that attaches to the cabinet frame, and they secure a mounting plate that the hinge arm slides or clips onto, or separate screws for the hinge cup in the door.
- Check for Adjustment Screws: Some integrated hinges have small adjustment screws that, when loosened, can release tension or allow the hinge arm to slide out of its mounting bracket. These are distinct from the main mounting screws.
- Loosen Primary Mounting Screws: Focus on the screws that secure the hinge’s main mounting plate to the cabinet frame. These are usually the primary “detachment” point for removing the door.
- Apply Gentle Leverage (If Necessary): If the hinge is a bit snug in its mounting plate, and you’ve loosened all screws, you might need a very gentle nudge. A thin, plastic pry tool or the edge of a flathead screwdriver (carefully placed to avoid marring the wood) can sometimes help ease it free once the main screws are out. However, this should be a last resort. The goal is for the screws to do the work.
- Consider the Hinge Type: Some integrated systems might have a specific release button or lever, similar to clip-on hinges, but built into a more substantial, single-piece hinge. Always inspect the entire hinge for any obvious signs of a release mechanism.
Integrated systems prioritize a clean look and robust function. While they might seem more complex, the removal is typically still screw-based, focusing on the primary attachment points. Patience and careful observation are your best friends here.
Special Considerations and Troubleshooting
Even with the best methods, sometimes things don’t go perfectly smoothly. Here are a few common issues and how to handle them:
- Stripped Screws: If a screw head is damaged and your screwdriver can’t get a grip, don’t panic. You can try using a rubber band placed over the screw head before inserting the screwdriver for extra grip. If that doesn’t work, screw extractors (available at any hardware store) are designed specifically for this problem. You drill a small pilot hole into the stripped screw, then use the extractor bit to grip and remove it. For more on damaged screw removal, resources like This Old House offer detailed guides.
- Stuck Cabinet Doors: If a door feels like it’s glued shut after loosening screws, check if there are any hidden clips or perhaps some dried paint or adhesive holding it. Gently try to wiggle the door. If you suspect paint, a utility knife can carefully score the paint line around the hinge area.
- Identifying Unknown Hardware: If you’re unsure about your hinge type, take clear photos of the hinge from multiple angles and search online. Many manufacturers have manuals or video tutorials available. Searching for “cabinet hinge identification” can also yield useful results.
- Protecting Your Finishes: Always use a soft cloth or rag under your tools when working near painted or finished surfaces. This prevents accidental scratches or dents. For delicate finishes, consider using painter’s tape around the working area.
- Door Sagging After Removal: If you’re removing a door for repair and it’s sagging, it’s often due to worn hinges or loose mounting holes. Addressing these issues might involve tightening screws, using longer screws, or even wood filler and redrilling if the holes are too worn.
Remember, the goal is to remove the tips without damaging your cabinets or hardware. Take your time, be methodical, and don’t force anything. If something feels wrong, stop and re-evaluate.
Comparing Cabinet Tip Removal Methods
To help you decide which method is best for your situation, here’s a quick comparison:
| Method | Difficulty | Tools Required | Best For | Pros | Cons |
|---|---|---|---|---|---|
| Screw-Driven Detach | Easy to Moderate | Screwdriver, Pliers (optional) | Most common, older hinges, inset doors | Universal applicability, good control | Can strip screws, requires precise screwdriver fit |
| Clip-On Connection | Very Easy | None (often hand-operation) | Modern overlay doors, quick-release hinges | Fast, tool-free, no risk of stripped screws | Only works on specific hinge types, mechanism can be overlooked |
| Integrated Mount System | Moderate | Screwdriver, Pry tool (optional) | Single-piece hinges, Sleek designs | Strong and stable hardware, often designed for easy adjustment | Can be less intuitive, requires identifying main mounting screws |
Understanding these differences will help you approach your specific cabinet hardware with the right mindset and tools. The most important takeaway is to identify your hinge type first, as this will dictate the most efficient and safe removal process.
Conclusion
Removing cabinet tips, or more accurately, detaching cabinet doors from their hinges, doesn’t have to be a daunting task. Whether you’re dealing with simple screw-on hinges, the quick convenience of clip-on systems, or the integrated designs of modern hardware, understanding the mechanism is key. By gathering the right tools, working patiently.
Frequently Asked Questions about Removing Cabinet Tips
Here are some common questions beginners have when tackling cabinet tip removal:
How do I know which type of cabinet hinge I have?
Look closely at how the hinge attaches to the door and the cabinet. If it’s a single piece that screws into both, it’s likely integrated. If you see two plates (one on the door, one on the cabinet) connected by an arm, it’s usually a standard screw-on. If you see a lever or button on the hinge arm, it’s probably a clip-on. Often, the brand name can be found on the hinge itself.
Can I remove cabinet doors without removing the tips?
Sometimes, you can remove the entire door by unscrewing the hinge from the cabinet frame, leaving the hinge attached to the door. This is common with standard screw-on hinges. However, with some integrated or clip-on styles, removing the “tip” or hinge from the door might be necessary or part of the designed removal process.
What if my cabinet tips are painted over?
If your tips are painted over, you might need to score the paint line around the screws or the hinge body with a sharp utility knife. This breaks the paint seal and allows you to loosen the components. Be very careful not to cut into the wood or damage the paint finish elsewhere.
How do I reattach cabinet doors after removing the tips?
Reattachment is often the reverse of removal. For screw-on hinges, align the hinge plate on the cabinet and reinsert the screws. For clip-on hinges, align the hinge cup with the mounting plate and push until it clicks securely. Ensure all screws are snug but not overtightened, which can strip the wood.
Is there a risk of damaging my cabinets when removing tips?
Yes, there is always a small risk, especially if you use excessive force or the wrong tools. Take your time, use the correct screwdriver, support the door’s weight, and protect adjacent surfaces with a cloth. If a screw is stubborn, don’t force it; look for alternative release mechanisms or consult a guide for that specific hinge type.
Do all cabinet doors have “tips” that need removal?
The term “cabinet tips” can be a bit colloquial. You might be referring to the entire hinge, or just a specific part of it. Most cabinet doors have hinges that attach them to the cabinet frame, and these attachments are what you’ll be loosening or detaching. The goal is to separate the door from the cabinet.
Where can I find replacement cabinet tips or hinges?
You can find replacement hardware at most home improvement stores like Home Depot or Lowe’s, as well as online retailers like Amazon. If you know the brand and model of your existing hinge, you can often order exact replacements. For some older cabinets, you might need to search specialty hardware suppliers. Resources such as the Cherry Wood catalog can help identify various styles for inspiration or replacement.
