
Quick Summary: Need to remove old caulk? This guide breaks down how to easily remove caulking near you, whether it’s around windows, tubs, or sinks. We’ll cover the best tools and simple steps to get a clean, fresh surface every time, making your DIY projects a breeze.
Dealing with old, cracked, or moldy caulk can be a real eyesore and even lead to bigger problems like water damage. You’ve likely searched “remove caulking near me” because you’re ready for a change and want that smooth, clean look back. Don’t worry, removing caulk might sound tricky, but it’s a straightforward DIY task. With the right approach and a few simple tools, you can tackle this project confidently. We’ll walk you through everything you need to know, from gathering your supplies to making sure the area is perfectly prepped for new caulk. Let’s get that old caulk gone and prepare for a fresh, waterproof seal!
Why Removing Old Caulk is Crucial

Old caulk doesn’t just look bad; it loses its effectiveness over time. When caulk cracks, peels, or shrinks, it creates tiny gaps. These gaps are perfect entry points for water, which can seep into walls, under tiles, or around windows. This hidden moisture can lead to mold growth, wood rot, and costly structural damage. By regularly removing and replacing old caulk, you’re actively protecting your home from these potential issues. It’s a simple maintenance step that saves you a lot of money and headaches down the road.
Think of it like this: caulk is the unsung hero of your home’s waterproof barriers. It seals up those little spaces where water might try to sneak in, especially in high-moisture areas like bathrooms and kitchens. When it’s doing its job, you don’t even notice it. But when it starts to fail, that’s when problems begin. So, keeping your caulk in good condition is a key part of home upkeep.
Gathering Your Caulking Removal Toolkit

Before you start tugging at that old sealant, it’s important to have the right tools. Using the wrong items can make the job harder and increase the risk of scratching surfaces. Fortunately, most of the tools you’ll need are common household items or inexpensive at your local hardware store.
Here’s what you should have on hand:
- Utility Knife or Caulk Removal Tool: This is your primary tool for cutting and scraping away the bulk of the caulk. Specialized caulk removal tools often have different blade shapes to get into tight corners.
- Putty Knife or Scraper: A flat-edged putty knife is excellent for prying and scraping stubborn caulk residue from flat surfaces.
- Pliers: Needle-nose pliers or regular pliers can be useful for gripping and pulling away small, loosened pieces of caulk.
- Gloves: Protect your hands from sharp tools and any lingering caulk residue.
- Safety Glasses: Essential for protecting your eyes from flying debris.
- Screwdriver (Flathead): Can be handy for scraping or prying in a pinch.
- Heat Gun or Hair Dryer: Sometimes, gently warming the caulk can make it more pliable and easier to remove.
- Household Cleaner or Degreaser: For cleaning the area afterward.
- Rags or Paper Towels: For cleaning up.
- Trash Bag: To collect all the removed caulk.
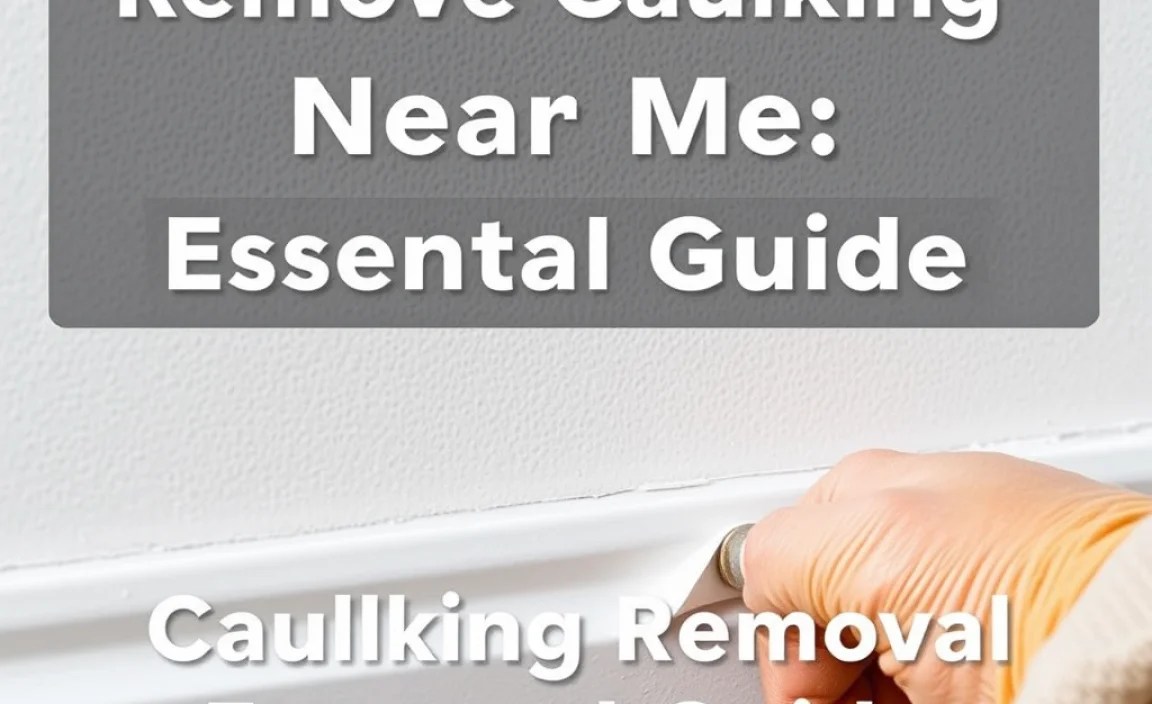
Step-by-Step Guide to Removing Caulking
Ready to get started? Follow these steps for a clean, caulk-free surface. We’ll break it down so you can feel confident at each stage.
Step 1: Prepare Your Workspace
First things first, let’s make sure the area is safe and ready. Remove any items that might get in the way, like toiletries from the bathroom counter or decorative items near a window. If you’re working in a shower or tub, you might want to lay down an old towel or drop cloth on the floor to catch debris and prevent tracking mess around your home. This also helps protect your flooring.
Step 2: Score the Caulk
This is where your utility knife or caulk removal tool comes in. You want to run the blade along both edges of the caulk line. This breaks the seal between the caulk and the surface it’s attached to. Be careful not to press too hard, especially if you’re working with softer materials like plastic or drywall, as you could damage the surface. The goal is to cut through the caulk itself, not into the material underneath.
Here’s a little trick: try to angle your blade slightly away from the surface you want to protect (like your countertop or tub edge). This helps ensure you’re only cutting the caulk bead and not accidentally gouging the material. For a tight corner, a caulk removal tool with a pointed edge can be very effective.
Step 3: Pry and Pull the Caulk
Once you’ve scored both sides of the caulk bead, it’s time to start removing it. Insert your putty knife or the scraping end of your caulk tool under the edge of the caulk. Gently work it along the seam, trying to lift and peel away the caulk. You might find that some sections come off easily in long strips, while others are more stubborn.
If you’re dealing with a particularly tough section, try using your pliers to grip a loose end and pull it away. For areas where the caulk is very thin or brittle, you might need to use your utility knife to shave off small pieces. Take your time here; patience is key to avoiding damage.
Step 4: Address Stubborn Residue
Even after pulling away the bulk of the caulk, you’ll likely have small bits and pieces of residue left behind. These can be tricky. Use your putty knife or scraper to carefully dislodge these remaining fragments. For edges, a flathead screwdriver can sometimes be useful for scraping. If you’re struggling with a particular spot, you can try a gentle heat source.
Using a Heat Source: A hairdryer on a medium setting or a heat gun on a low setting can warm up old caulk, making it softer and more pliable. Hold the heat source a few inches away from the caulk and move it back and forth for about 30 seconds to a minute. Then, try scraping again. Be cautious with heat guns, as they can become very hot and damage delicate surfaces like vinyl or painted wood. Always test in an inconspicuous area first and keep the heat gun constantly moving to avoid overheating one spot.
Here’s a quick look at common caulk types and their removal quirks:
| Caulk Type | Removal Tips | Common Locations |
|---|---|---|
| Latex (Water-Based) | Easiest to remove when wet. If dry, score and scrape. Can sometimes be softened with water. Dries hard and paintable. | Interior trim, non-wet areas of bathrooms/kitchens. |
| Silicone | Tougher to remove. Score deeply. Pliable when warm. Often leaves a sticky residue. Will not paint. | Bathtubs, showers, sinks, windows, kitchens. |
| Acrylic Latex with Silicone | Easier than pure silicone. Score and scrape. Can be painted. | Versatile, found similar to pure latex but in wetter areas. |
| Polyurethane | Very durable and hard. Requires significant scoring and scraping. Can be sanded if needed. Will paint. | Exterior joints, windows, doors, some heavy-duty interior applications. |
Step 5: Clean the Area Thoroughly
Once all the visible caulk and residue are gone, it’s time for a good cleaning. This is crucial for ensuring the new caulk adheres properly. Use a household cleaner or a degreaser to wipe down the entire area where the caulk was removed. Pay extra attention to any grease, soap scum, or dust.
For areas like bathrooms, a diluted bleach solution or a mold and mildew cleaner can be effective if you notice any discoloration or suspect mold growth. Make sure the area is completely dry before applying new caulk. Moisture is the enemy of a good caulk job, so allow ample drying time. You can speed this up with a fan or by opening a window for ventilation. A clean, dry surface is essential for a lasting seal.
According to the U.S. Environmental Protection Agency (EPA), proper preparation of surfaces before sealing or painting is a key step in ensuring the longevity and effectiveness of finishes and sealants, which directly applies to ensuring good adhesion for new caulk.
Special Considerations for Different Surfaces
The method you use might need slight adjustments depending on the surface you’re working with. Being mindful of the material will help you avoid damage and achieve the best results.
Around Tubs and Showers
These areas are often prone to mold and mildew. Silicone caulk is commonly used here because of its water resistance. When removing it, be especially careful not to cut into the grout or tiles. Use a plastic putty knife if you’re concerned about scratching ceramic or porcelain. Acetone (nail polish remover) can sometimes help dissolve stubborn silicone residue, but test it in an inconspicuous spot first, as it can damage some finishes or plastics. Ensure the area is thoroughly dried after cleaning, as residual moisture can encourage mold growth under the new caulk.
Around Sinks and Countertops
Similar to tubs, you’ll want to protect your countertop material. For laminate or solid surface countertops, a plastic scraper is your best bet. If you have a granite or stone countertop, be very cautious not to scratch the surface. Pliers can be helpful for pulling up larger pieces of caulk from these areas. After removal, a good degreaser will help remove any soap or grease residue before you re-caulk. For stainless steel sinks, use a non-abrasive cleaner to avoid scratching.
Around Windows and Doors
The type of window or door frame will dictate your approach. For wood frames, you can be a bit more assertive with a metal putty knife, but still, avoid gouging the wood. If the frame is painted, score the caulk carefully to avoid peeling off the paint. For vinyl or aluminum window frames, use plastic tools to prevent scratches. Any old painter’s caulk might be brittle and easier to chip away. Ensure the gap between the window/door and the frame is clean and dry.
The International Code Council (ICC) provides standards for building materials and construction, which indirectly relates to the importance of proper sealing around windows and doors for energy efficiency and weatherproofing.
Tips for a Smoother Caulking Removal Process
Want to make this job even easier? Here are a few pro tips:
- Work in Sections: Don’t try to remove all the caulk at once. Tackle one area at a time, like one side of a tub surround or one window.
- Heat is Your Friend (Sometimes): As mentioned, warming up stubborn caulk can make a big difference.
- Keep Your Blades Sharp: A dull blade will require more pressure and is more likely to slip, potentially causing injury or damage.
- Don’t Rush: This isn’t a race. Taking your time will result in a cleaner finish and less risk of accidental damage.
- Clean Tools as You Go: Caulk residue can build up on your tools. Wiping them down periodically with a rag helps maintain efficiency.
- Have Plenty of Rags: You’ll be surprised how many rags you go through to clean up all the residue and debris.
When to Consider Professional Help
While removing caulk is a very achievable DIY task, there are times when calling in a professional might be the best option. If you’re dealing with extensive water damage that has caused mold or rot, a professional remediation service is necessary before any new sealing can be done. Also, if you have very delicate or expensive surfaces that you’re afraid of damaging, a seasoned professional can ensure the job is done without incident.
Another situation where professionals shine is when accessibility is difficult, such as in very high or hard-to-reach areas, or if you have a significant amount of caulk to remove across multiple rooms. They have specialized tools and experience that can make quick work of even the toughest jobs. For most homeowners, however, this guide provides all the information needed to successfully remove caulk themselves.
Conclusion
You’ve now got a clear roadmap to tackle that old, unsightly caulk. Removing caulk might seem like a small task, but it’s a fundamental step towards maintaining a clean, healthy, and protected home. By gathering the right tools, following these simple steps, and being mindful of the surfaces you’re working on, you can achieve professional-looking results without the professional price tag. Remember, careful preparation leads to a better outcome, whether you’re applying new caulk, paint, or grout.
Don’t let old caulk compromise your home’s integrity or aesthetics any longer. With this guide, you have the knowledge and confidence to remove it effectively and efficiently. So, grab your tools, put on your safety glasses, and get ready to transform those worn-out seams into a foundation for a fresh, clean look. Happy DIYing!
Frequently Asked Questions About Removing Caulk
Q1: How do I remove caulk without damaging the surface?
A1: Use sharp, specialized tools like a caulk removal tool or a utility knife with a fresh blade. Score along both edges of the caulk first. Then, use a putty knife, gently prying. Be mindful of the surface material; use plastic tools for delicate finishes and avoid excessive force. Warming stubborn caulk can also reduce the need for aggressive scraping.
Q2: What is the best tool for removing old caulk?
A2: A dedicated caulk removal tool is often the most efficient, as it’s designed with specific blades for cutting and scraping. However, a sharp utility knife and a flat putty knife are also very effective and commonly used.
Q3: How long does it take to remove caulk?
A3: The time varies greatly depending on the amount of caulk, its type (silicone can be trickier), and how well it adhered. A small section, like around a sink, might take 15-30 minutes. Removing caulk around an entire bathtub or shower could take an hour or more.
Q4: Can I use a power tool to remove caulk?
A4: While some oscillating multi-tools with scraper attachments can be used, extreme caution is advised. Power tools can easily damage surrounding surfaces if not used very carefully. For most DIYers, manual tools offer better control and safety.
Q5: What should I do if the caulk is painted over?
A5: Painted caulk is tougher. You’ll need to score through the paint and caulk layer. A utility knife is essential here. You might need to make multiple passes. Be patient, as it will likely come off in smaller pieces. Sometimes, gently warming the painted caulk can help soften it.
Q6: How do I clean up caulk residue?
A6: After removing the bulk of the caulk, use a putty knife or scraper to lift remaining bits. A good household cleaner or degreaser is then used to remove any sticky residue. For silicone residue, sometimes mineral spirits or a specialized silicone caulk remover can help, but always test first.
Q7: Where can I find these tools?
A7: You can find utility knives, putty knives, pliers, gloves, and safety glasses at most hardware stores, home improvement centers (like Lowe’s or Home Depot), and even many general retailers. Specialized caulk removal tools are primarily found at hardware stores and home improvement centers.
