
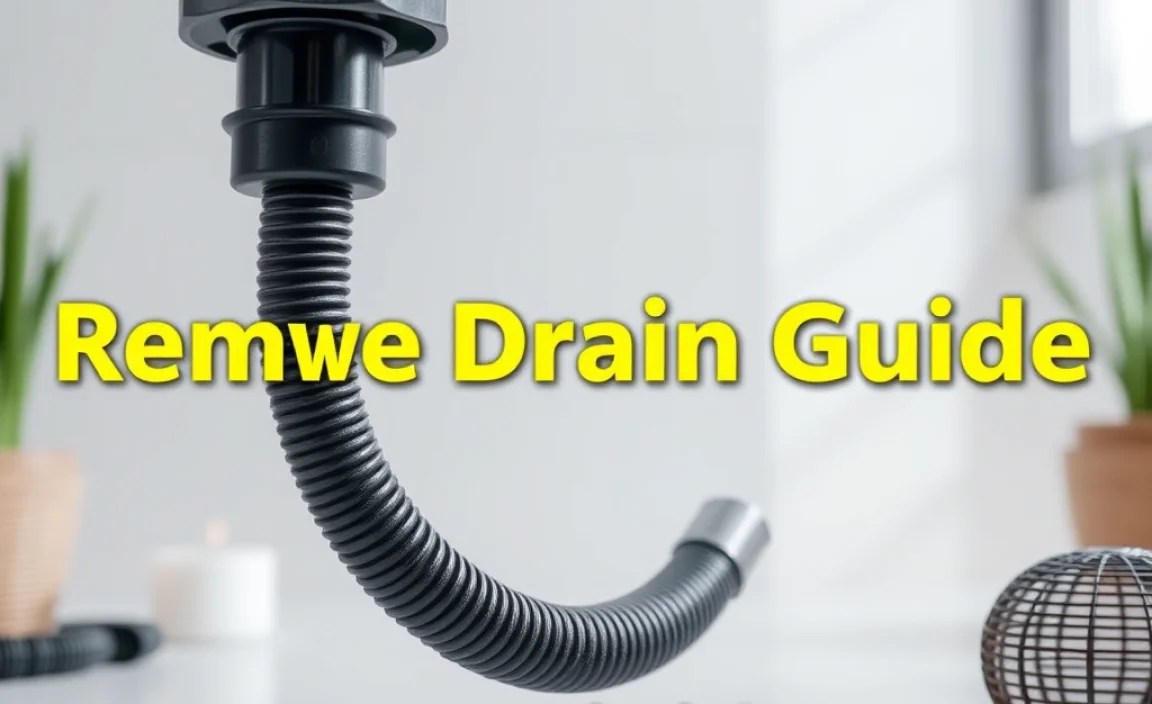
Looking to remove a drain guide with ease? This guide provides essential, beginner-friendly tips and step-by-step instructions, along with helpful tools and safety advice, to ensure a smooth and successful drain guide removal process.
Having a drain that’s sluggish or completely blocked is frustrating for any homeowner. It disrupts daily routines and can even lead to more significant plumbing issues if left unaddressed. Often, the culprit is something lodged in the drain, and sometimes, the drain guide itself can be part of the problem or simply in the way when you need to clear a blockage. This guide is here to help you tackle drain guide removal confidently. We’ll break down the process into simple, manageable steps, so you can get your drains flowing freely again without stress.
Understanding Your Drain Assembly
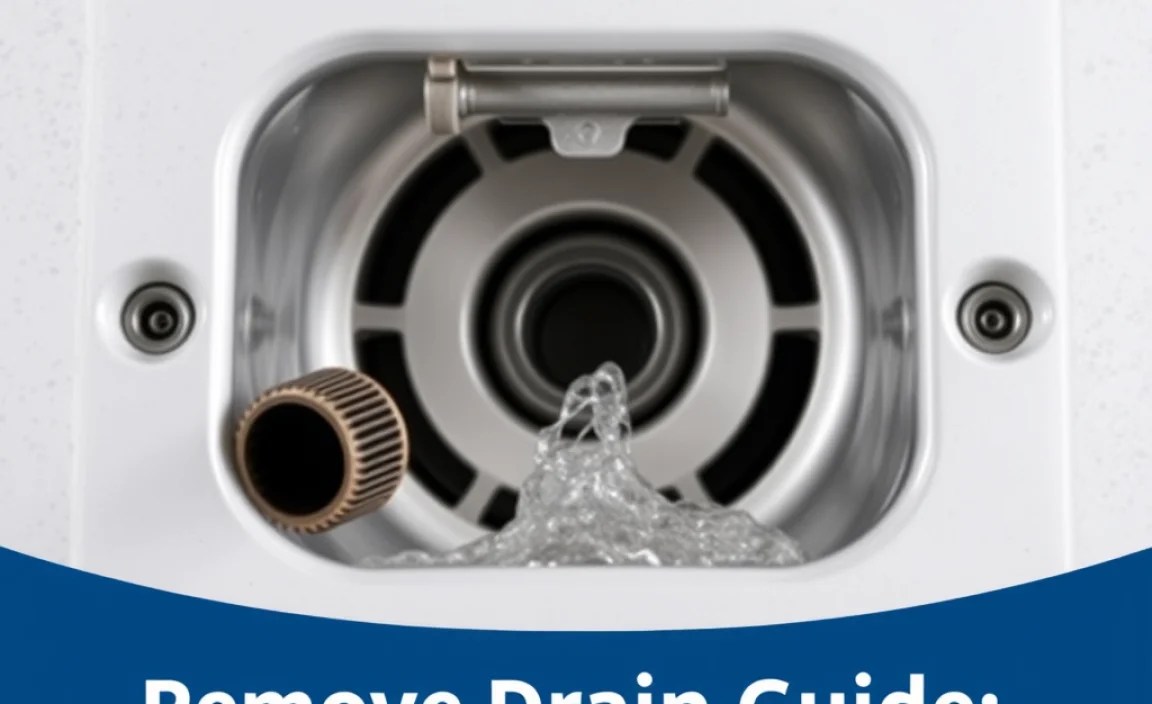
Before we dive into removing the drain guide, it’s helpful to know what you’re dealing with. A standard sink or bathtub drain assembly has several parts that work together. The drain guide, often a small metal or plastic piece, is typically located directly under the drain opening. Its main purpose is to help channel water more effectively into the drainpipe and can also prevent larger items from falling into the drain and causing blockages.
Knowing these parts helps you understand how the drain works and what you might encounter when you start the removal process. For instance, some drain guides are screwed in, while others might be held in place by friction or a tight seal. We’ll cover how to identify and handle each type.
Why You Might Need to Remove a Drain Guide

There are several common reasons why you might need to remove a drain guide:
- Clearing Stubborn Blockages: Sometimes, debris gets caught directly around or under the drain guide, preventing you from reaching it with a plunger or drain snake. Removing the guide can grant you better access.
- Performing Deep Cleaning: For a thorough cleaning of the drainpipe itself, removing the guide allows you to get further down into the pipe to scrub away grime and buildup.
- Replacing a Worn-Out Drain Part: If the drain guide itself is damaged, rusted, or no longer functioning correctly, you’ll need to remove it to replace it with a new one.
- Upgrading Fixtures: When installing a new drain assembly or sink, the old drain guide will need to be removed as part of the process.
- Dealing with Odors: Sometimes, unpleasant odors emanate from trapped debris under the drain guide. Removing it for cleaning can solve this issue.
Essential Tools for Drain Guide Removal
Having the right tools makes any DIY job easier and safer. For removing a drain guide, you’ll likely need a few common household items and possibly a specialized tool.
Basic Tools:
- Screwdriver Set: A set with various sizes and types (Phillips head, flathead) is crucial. Many drain guides are secured with screws.
- Pliers: Needle-nose pliers are excellent for gripping small parts, and slip-joint pliers can be useful for more significant grip.
- Adjustable Wrench: This versatile tool can help turn nuts or other fasteners if your drain guide is part of a larger assembly that needs loosening.
- Bucket or Container: To catch any residual water or debris that might fall when you remove the guide.
- Gloves: Protect your hands from grime, potential sharp edges, and any harsh chemicals you might have used previously.
- Old Towels or Rags: For cleaning up spills and wiping down parts.
Specialized Tools (May be needed depending on drain type):
- Drain Wrench or Drain Pliers: These tools are specifically designed to grip and turn drain flanges and guides, especially those with a more unusual shape or that are stuck tight.
- Drain Removal Tool: Some modern drain assemblies come with proprietary tools for easy removal. Check your fixture’s manual if you have one.
- Plumbing Putty Knife or Scraper: Useful for breaking a seal if the drain guide is glued or sealed in place with plumber’s putty.
It’s always a good idea to have a flashlight handy to get a clear view of the drain assembly, especially in dimly lit areas like under a sink.
Step-by-Step Guide: How to Remove a Drain Guide

Let’s walk through the process of removing a drain guide. Remember, patience is key, and always prioritize safety.
Step 1: Prepare Your Workspace and Safety
Before you begin, take a moment to prepare. If you’re working in a bathroom or kitchen sink, lay down old towels or rags around the drain to catch any drips. Place a bucket directly underneath the drain assembly (if working on a sink) to collect water and debris.
Safety First! Always wear protective gloves. If you’ve recently used chemical drain cleaners, ensure the area is well-ventilated, and be extra cautious, as residues can be irritating.
Step 2: Identify the Type of Drain Guide and its Fastening Mechanism
Look closely at your drain guide. Most common types include:
- Screw-in Guides: These will have visible screws, usually on the top surface or around the edge of the guide.
- Push-in or Friction-Fit Guides: These might not have visible fasteners and are often held in place by a snug fit or a seal.
- Guides as Part of a Larger Flange: Sometimes, the “guide” is simply the inner lip of the main drain flange, and you’ll need to remove the entire flange assembly.
Step 3: Removing Screw-In Drain Guides
This is the most common type.
- Locate the Screws: Using your flashlight, identify the screws holding the drain guide in place. There are typically two to four screws.
- Select the Correct Screwdriver: Choose a screwdriver that fits snugly into the screw head to prevent stripping.
- Unscrew Carefully: Turn the screws counter-clockwise to loosen them. If a screw is tight or difficult to turn, try applying gentle, steady pressure rather than forcing it. Sometimes, a drop of penetrating oil can help if they’re rusted.
- Remove the Screws: Once loosened, carefully remove the screws and keep them in a safe place so they don’t get lost.
- Lift Out the Guide: With the screws removed, the drain guide should lift free. If it’s stuck, try gently prying under the edge with a flathead screwdriver or putty knife. Be careful not to scratch the sink or tub surface. Sometimes, wiggling it slightly can help release it.
Step 4: Removing Push-in or Friction-Fit Drain Guides
These can be a little trickier as they lack obvious fasteners.
- Grip the Guide: Use a pair of pliers (slip-joint pliers or drain pliers are best) to get a firm grip on the edge of the drain guide.
- Twist and Pull: Gently twist the guide while simultaneously pulling upwards. The twisting motion can help break any existing seal or friction.
- Pry if Necessary: If twisting and pulling doesn’t work, you may need to carefully use a flat-bottomed screwdriver or a putty knife to gently work around the edge, loosening its grip. Try to pry from different spots to avoid damaging the drain opening.
- Be Patient: These can sometimes be quite snug. If it feels like you’re forcing it too much, pause and reassess. You don’t want to damage the surrounding drain opening.
Step 5: Removing Drain Guides Integrated with the Flange
In some designs, the drain “guide” is simply the integral lip of the main drain drain flange.
- Identify the Flange’s Connection: You’ll need to access the underside of the sink or tub drain. You’ll see a large nut or locking ring holding the drain assembly in place.
- Loosen the Lock Nut: Using an adjustable wrench or a specialized drain wrench, loosen this nut by turning it counter-clockwise. This will release the entire drain assembly, including the flange and its integral guide.
- Remove the Assembly: Once the nut is loose, you should be able to pull the entire drain assembly down and out from above.
- Separate if Needed: If you only need to remove the flange part, you may be able to unscrew it from the drain tailpiece once it’s out.
Step 6: Dealing with Stuck or Rusted Guides
If your drain guide seems impossible to budge, don’t despair. Here are some tips:
- Penetrating Oil: Apply a rust-penetrating lubricant (like WD-40 or a similar product) around the edges of the guide and let it sit for 15-30 minutes. This can help break down corrosion.
- Heat (with caution): In metal drains, a bit of heat from a hairdryer or heat gun (used sparingly and carefully) can expand the metal slightly, helping to loosen the seal. Be cautious not to overheat or damage surrounding materials like plastic pipes or seals.
- Tapping: Gently tap around the edges of the drain guide with the handle of your screwdriver or a rubber mallet. This vibration can sometimes break the bond holding it in place.
- Professional Help: If after trying these methods it’s still stuck, it might be time to call a plumber. Forcing it too hard could cause damage that’s more expensive to repair.
Reassembly and Prevention
Once you’ve successfully removed the drain guide, whether for cleaning or replacement, proper reassembly is crucial.
For Temporary Removal (Cleaning/Access):
- Ensure the area under the guide and the guide itself is clean and free of debris.
- Carefully place the guide back into its position.
- If it was screwed in, reinsert and tighten the screws firmly but avoid overtightening, which can strip the threads or crack the guide/sink.
- If it was a friction fit, press it firmly back into place. You might need to wiggle it to ensure a snug fit.
- Run water to test for leaks and proper drainage.
For Replacement:
- Choose the Right Replacement: Make sure your new drain guide or drain assembly is compatible with your sink or tub.
- Use Plumber’s Putty or Sealant: When installing a new drain flange or assembly, it’s often recommended to use plumber’s putty or a silicone sealant around the flange to create a watertight seal against the sink or tub surface. Check the manufacturer’s recommendations for your new part.
- Follow Installation Instructions: If your new part came with specific instructions, follow them carefully.
- Tighten Securely: Ensure all screws and nuts are tightened appropriately to create a secure and leak-free installation.
Preventative Maintenance:
To avoid needing to remove your drain guide frequently for blockages, incorporate these habits:
- Use Drain Covers/Strainers: These catch hair and larger debris before they reach the drain guide and pipe. Regular cleaning of strainers is key.
- Avoid Pouring Grease Down Drains: Grease solidifies and causes major clogs. Dispose of it in the trash.
- Regular Flushing: Periodically pour hot water down your drains to help melt away soap scum and minor accumulations.
- Enzyme Drain Cleaners: Consider using environmentally friendly enzyme-based drain cleaners monthly to naturally break down organic matter. You can learn more about safe drain maintenance from the U.S. Environmental Protection Agency’s WaterSense program, which offers tips on conserving water and maintaining plumbing systems.
Troubleshooting Common Issues
Even with the best guides, DIY projects can sometimes encounter hiccups. Here are some common issues and how to address them:
Issue: Drain Guide Still Won’t Budge
Solution: Double-check if you’ve missed any screws or if it’s a different type of flange holding it in. If it’s a stubborn metal fitting, consider a specialized drain wrench, sometimes called a “sink wrench” or “tub drain wrench” which offers better leverage and grip.
Issue: Stripped Screw Heads
Solution: If a screw head becomes rounded or stripped, you can try using a screw extractor kit, which is available at most hardware stores. Alternatively, you might be able to use locking pliers to grip the head and turn it, or for a last resort before calling a pro, file a new slot into the screw head with a hacksaw. For more on dealing with stripped screws, resources like This Old House offer detailed tutorials.
Issue: Damaged Drain Opening or Sink Surface
Solution: If you accidentally scratch or damage the sink or tub, depending on the material (porcelain, acrylic, stainless steel), you might be able to repair it with a touch-up kit. For larger damage, consult a professional repair service or consider replacing the fixture.
Issue: Ongoing Leaks After Reassembly
Solution: This usually means the seal isn’t tight or is improperly made. Check that all connections are snug. If you used plumber’s putty, ensure it was applied correctly and the flange was seated properly. For metal pipes, ensure threaded connections are tight and, if necessary, use a bit of pipe thread sealant tape (PTFE tape). If it’s a continuous leak at the flange, you may need to disassemble again and reapply sealant.
When to Call a Professional Plumber
While most drain guide removals are manageable for a DIYer, there are times when it’s best to hand the job over to a professional. Consider calling a plumber if:
- You’ve tried multiple methods, and the drain guide is still firmly stuck.
- You’re uncomfortable working with plumbing or lack the necessary tools.
- You suspect the issue is with more than just the drain guide, such as a deeper pipe blockage or pipe damage.
- You’ve damaged a part of the drain assembly or fixture and need it repaired or replaced correctly.
- You’ve used harsh chemicals and are concerned about safety or the integrity of your pipes.
- You’re dealing with older, potentially brittle fixtures that could easily break.
A professional plumber has the experience, specialized tools, and knowledge to diagnose and fix the problem efficiently and safely, preventing further damage to your plumbing system.
Conclusion
Successfully removing and reassembling a drain guide doesn’t have to be a daunting task. By understanding the different types of drain guides, having the right tools on hand, and following these step-by-step instructions carefully, you can confidently tackle this common home maintenance chore. Remember to prioritize safety by wearing gloves and preparing your workspace. Whether you’re clearing a stubborn clog, performing a deep clean, or replacing a worn-out part, these tips will equip you.
Frequently Asked Questions About Removing a Drain Guide
Q1: How do I know if my drain guide can be removed?
A1: Most drain guides are designed to be removed for cleaning or replacement. Look for visible screws on top, or if there are no screws, it’s likely a friction-fit or part of a larger flange that can be unscrewed from below.
Q2: What’s the difference between a drain guide and a drain stopper?
A2: A drain stopper (like a pop-up stopper or a plug) is what you use to block the drain hole to fill it with water. A drain guide is typically a more permanent fixture located just under the drain opening, helping to direct water and prevent large debris from entering the drainpipe.
Q3: Can I use a regular wrench to remove a drain guide?
A3: For guides held by screws, a screwdriver set is usually sufficient. If the guide is part of a larger flange assembly secured by a nut, an adjustable wrench or a specialized drain wrench is typically needed. Regular pliers might work for some friction-fit guides, but specific drain pliers offer better grip.
Q4: Is plumber’s putty always necessary when reassembling a drain?
A4: Plumber’s putty or a silicone sealant is generally recommended to create a watertight seal between the drain flange and the sink or tub surface. Always check the installation instructions for your specific drain assembly to confirm the correct sealing method.
Q5: My drain guide is plastic. Can I still use heat to remove it?
A5: Use extreme caution with heat on plastic components. Plastic can melt or deform very easily. A hairdryer on a low setting, held at a distance, might help slightly, but it’s often safer to rely on gentle prying and lubrication for plastic parts. Avoid direct flame or high heat.
Q6: How tight should I screw in the new drain guide when replacing it?
A6: Tighten screws firmly enough to create a secure seal and prevent leaks, but avoid overtightening. Overtightening can strip the screw threads, crack the drain guide, or even damage the sink or tub material.
