
Quick Summary:
Effortlessly remove pipes with our proven method! This guide breaks down the process into simple, safe steps. By preparing correctly and using the right techniques, you can easily disconnect and remove pipes without hassle, saving time and preventing common DIY frustrations. Get ready to conquer your plumbing tasks with confidence!
Dealing with pipes can sometimes feel a bit daunting, right? Whether you’re upgrading your bathroom, fixing a leaky section, or just tidying up, knowing how to remove pipes easily is a skill that saves a lot of headaches. Many homeowners put off small plumbing jobs because they’re unsure of the process or worried about making a mess. The good news is, with the right preparation and a few simple tools, removing pipes is completely manageable, even for beginners. This guide is here to walk you through a proven, effortless method that demystifies pipe removal. We’ll cover everything you need to know, step-by-step, so you can tackle this task with confidence and achieve a clean, successful outcome. Let’s get started on making your home maintenance tasks simpler!
Understanding Pipe Removal: Why It Matters
Pipe removal is a fundamental skill in home maintenance and DIY projects. It’s often a necessary step when you need to replace old plumbing, reroute lines, or simply clear out an area for renovations. While the idea of cutting or disconnecting water lines might seem intimidating, understanding the basic principles makes it far less so. The key to an “effortless” removal lies in proper planning and execution. This means knowing what type of pipes you’re dealing with, having the right tools ready, and most importantly, ensuring the water supply is safely shut off. This proactive approach prevents leaks, water damage, and unnecessary stress. By learning this skill, you empower yourself to handle common plumbing tasks, saving on professional fees and gaining valuable DIY experience.
Essential Tools for Effortless Pipe Removal
Before you even think about touching a pipe, gathering the right tools is crucial. Having the proper equipment ensures the job is not only easier but also safer. We’re going to focus on the most common tools you’ll likely need for a straightforward pipe removal. These are generally accessible at any hardware store and are good additions to any home toolkit. Remember, using the right tool for the job is a cornerstone of DIY success and safety.
Here’s a list of tools that will make removing pipes a breeze:
- Pipe Wrench (or two): Essential for gripping and turning pipes, especially for older threaded connections. Having two allows you to brace one side while turning the other.
- Adjustable Wrench: Useful for various connection types and for holding fittings steady.
- Pipe Cutter: This is your best friend if you need to cut through metal or plastic pipes cleanly. There are different types for different pipe materials (copper chopper, PVC pipe cutter).
- Bucket or Basin: To catch any residual water that might be in the pipes after shutting off the main supply.
- Rags or Towels: For wiping up spills and keeping your work area clean.
- Safety Glasses: Absolutely vital to protect your eyes from debris or anything that might shoot out.
- Work Gloves: To protect your hands from sharp edges and provide a better grip.
- Pliers (various types): Channel locks or slip-joint pliers can be handy for various gripping and prying tasks.
- Screwdriver Set: Sometimes pipes are held in place by brackets secured with screws.
- Utility Knife: For cutting away old sealant or other obstructions.
- Sturdy Ladder or Step Stool: If pipes are located in hard-to-reach places.
Choosing the Right Wrench
When dealing with threaded pipe connections, a pipe wrench is indispensable. Unlike an adjustable wrench that grips with flat jaws, a pipe wrench has serrated, toothed jaws designed to bite into a pipe’s round surface, providing superior grip. This biting action is what allows you to apply the necessary torque to loosen stubborn connections. For most common household plumbing, a 10-inch or 14-inch pipe wrench is a good starting point. Having a second, slightly larger pipe wrench can be incredibly helpful. One wrench can hold the pipe or fitting stationary while the other turns the nut or coupling you’re trying to loosen. This prevents strain on the pipework elsewhere in your system and makes the process significantly easier.
Different Cutters for Different Pipes
The method of cutting pipes depends heavily on the material. For metal pipes (like copper or galvanized steel), a pipe cutter is ideal. These tools work by tightening a wheel against the pipe and rotating the cutter around it. The wheel gradually cuts through the pipe wall, creating a clean, precise cut. For plastic pipes (like PVC or PEX), a dedicated PVC pipe cutter or even a fine-toothed saw can be used. A PVC cutter provides a straight, burr-free cut, which is important for ensuring proper joint sealing if you were to reconnect them. Using the wrong cutter can crush or irregularly cut the pipe, making subsequent work more difficult or impossible.
Step-by-Step: The Proven Effortless Pipe Removal Method
Now that you’re equipped with the right tools, let’s get to the actual process. Following these steps carefully ensures a safe and successful pipe removal. Remember, patience is key in DIY projects, especially plumbing.
Step 1: Shut Off the Water Supply
This is the MOST CRITICAL step. Before you do anything else, you must shut off the main water supply to your house. Locate your main water shut-off valve. This is often found in the basement, crawl space, utility closet, or where the water line enters your home. Turn the valve clockwise to shut off the flow. If you are only working on a specific fixture or section of pipe that has its own shut-off valve (like under a sink), you can use that. However, for complete removal, the main valve is the safest bet.
After shutting off the valve, open the lowest faucet in your house and the faucet you plan to work on to drain any remaining water from the pipes. This relieves pressure and minimizes water spills.
Step 2: Prepare Your Workspace
Lay down old towels, newspapers, or a drop cloth beneath the area where you’ll be working. Place a bucket or basin directly under the pipes you intend to disconnect. This will catch any residual water that inevitably drips out, preventing a mess and protecting your floors or surfaces. Ensure you have good lighting in the area. If you’re working in a tight or dark space, a headlamp or portable work light can be very helpful.
Clear the area of any unnecessary items, tools, or clutter. You want enough space to move around freely and safely. This preparation might seem tedious, but it significantly smooths the process and makes cleanup much easier.
Step 3: Identify the Type of Pipe and Connection
Before you start applying force, take a moment to look closely at the pipes you need to remove. Are they made of copper, PVC (plastic), PEX (flexible plastic), or galvanized steel? How are they connected? Common connections include threaded fittings, compression fittings, soldered joints (for copper), or glued joints (for PVC). Your approach will differ based on these factors.
- Threaded Connections: These usually involve a male (threaded end) and female (threaded opening) fitting, often sealed with pipe dope or Teflon tape.
- Compression Fittings: These use a nut and a ferrule (a ring) to create a watertight seal. They are common on flexible supply lines.
- Soldered Joints: Typical for copper pipes, these use solder to fuse the pipe to a fitting. This requires a torch and special techniques to break.
- Glued Joints (Solvent Weld): Common for PVC, these use a primer and cement to fuse the pipe and fitting together.
For most beginner-friendly removals, you’ll likely encounter threaded or compression fittings, or perhaps simple glued joints on PVC. We’ll focus on those. If you have soldered copper, it might be a good idea to consult a professional or a more advanced guide, as it involves heat and specific techniques.
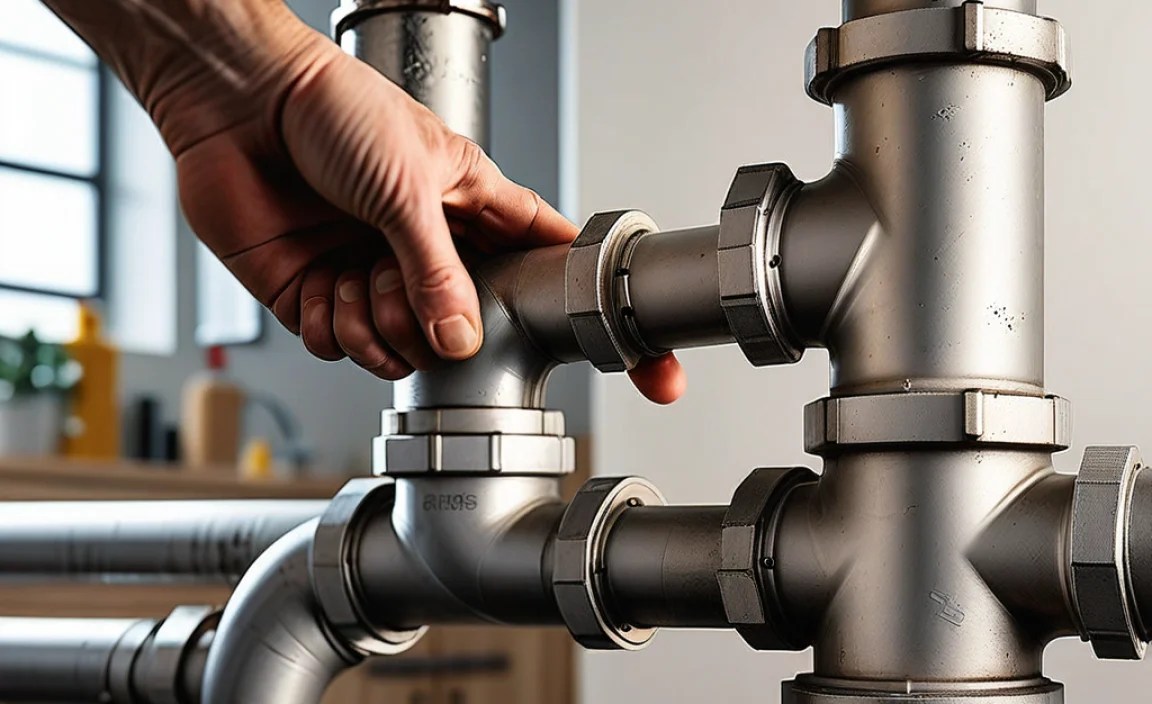
Step 4: Loosen the Connections
This is where your wrenches come into play. For threaded connections, use your pipe wrenches. Place one wrench on the pipe or fitting you want to hold steady and the other on the nut or coupling you wish to turn. Turn the second wrench counter-clockwise (lefty-loosey) to loosen the connection. If it’s very tight, apply steady, firm pressure rather than sudden jerks. A little bit of penetrating oil applied to the threads can help loosen stubborn connections, but give it some time to work. Ensure you are turning in the correct direction—most connections loosen by turning counter-clockwise when viewed from the end of the fitting you are turning.
For compression fittings, you’ll typically loosen a nut. Again, use a wrench to hold any part of the fitting that shouldn’t turn, and another wrench to loosen the nut. Once the nut is loose, you might need to gently wiggle or pry the pipe out of the fitting. Be careful not to damage the fitting itself if you plan to reuse it.
For glued PVC joints, this step is different. If the pipe is simply inserted into a fitting, you might be able to twist and pull it apart if the glue hasn’t fully cured, or if the joint was poorly made. However, most glued joints are permanent. If you need to remove a section of PVC that’s glued end-to-end, you’ll often need to cut it (see Step 5).
Step 5: Cut the Pipes (If Necessary)
If the pipes are not easily disconnected with wrenches (e.g., they are glued, corroded, or you need to remove a specific section), cutting is the next step. Ensure the water is off and the area is drained as much as possible.
For Metal Pipes (Copper, Galvanized Steel): Use a pipe cutter. Position the cutter around the pipe at your desired cut point. Tighten the cutter’s screw slightly, then rotate the cutter around the pipe. You may need to tighten the screw a bit more after each full rotation. Continue this process until the pipe is cleanly severed. Small metal shavings might be produced, so be mindful of where they fall.
For Plastic Pipes (PVC, PEX): A PVC pipe cutter or a fine-toothed handsaw will work effectively. For PEX, specialized PEX cutters are best, as they make a clean, square cut. Ensure your cut is straight for a clean removal. If you’re cutting PEX, be aware it can spring back, so hold it firmly.
Always wear safety glasses when cutting pipes. After cutting, you might need to use a file or emery cloth to deburr the cut edges, especially on plastic pipes, to ensure smooth handling and prevent accidental cuts.
| Pipe Material | Recommended Cutting Tool | Key Considerations |
|---|---|---|
| Copper | Tubing Cutter (Copper) | Ensure a clean, burr-free cut. May require slight deburring. |
| Galvanized Steel | Tubing Cutter (Steel) or Reciprocating Saw with metal blade | Can be tough; steady pressure is needed. |
| PVC | PVC Pipe Cutter or Fine-Tooth Handsaw | Cut straight for best results. Deburr edges. |
| PEX | PEX Cutter or Sharp Utility Knife | Clean, square cut is essential for fittings if rejoining. |
Step 6: Remove the Pipes
Once connections are loosened or pipes are cut, carefully remove the sections. Wiggle them gently to free them from fittings. If the pipe is stubborn, a gentle prying motion with a flathead screwdriver or a small pry bar might help (be cautious not to damage surrounding materials). If you cut a section out, you can often then work the remaining pipe sections away from their respective fittings.
If there’s still water trapped in the pipe, let it drain into your bucket. You might need to reposition the bucket as you work. Once the pipe sections are free, you can dispose of them properly.
Step 7: Clean Up the Area
After the pipes are removed, take a moment to clean up. Wipe down any wet surfaces, collect your tools, and dispose of waste materials appropriately. Check the area for any potential leaks or drips, even though the water should be off. This ensures you haven’t missed anything and leaves your workspace tidy for the next step in your project.
Proper cleanup not only makes your job look more professional but also prevents potential safety hazards like slips or trips. It’s the final, satisfying step to completing the pipe removal task.
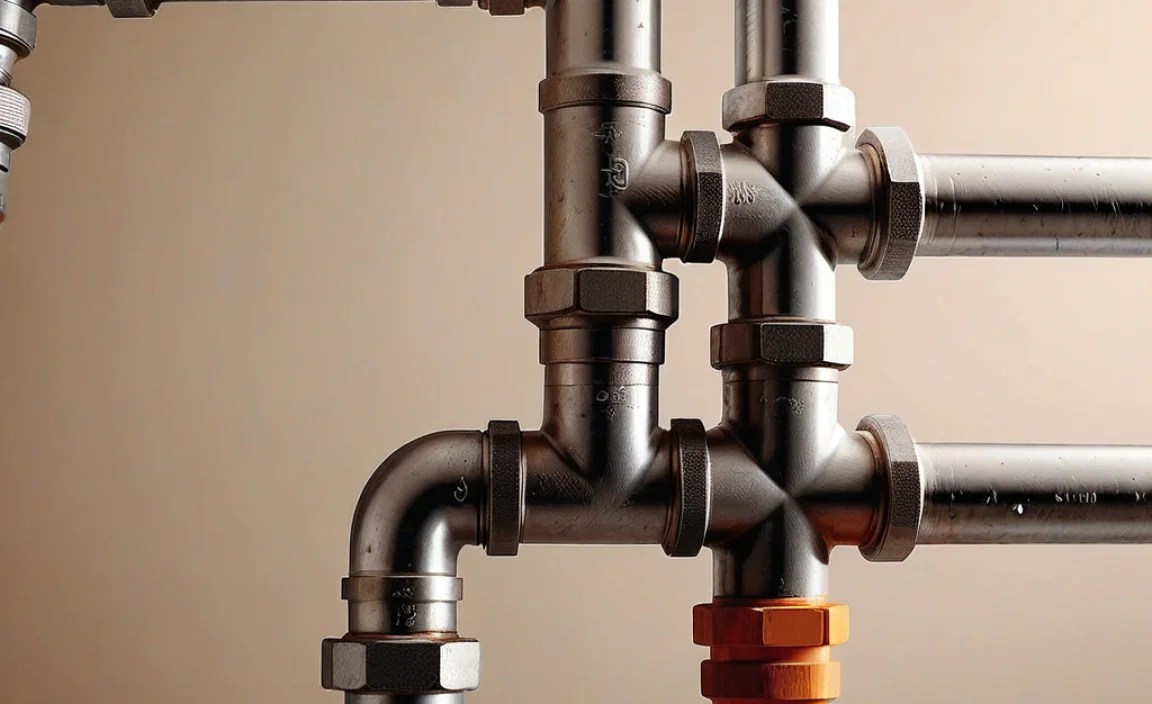
Types of Pipe Connections and How They Affect Removal

Understanding the diversity of pipe connections is key to a truly easy removal. While many home DIYers will encounter standard threaded or compression fittings, knowing about other types can help you identify potential challenges or decide if a job is best left to a professional.
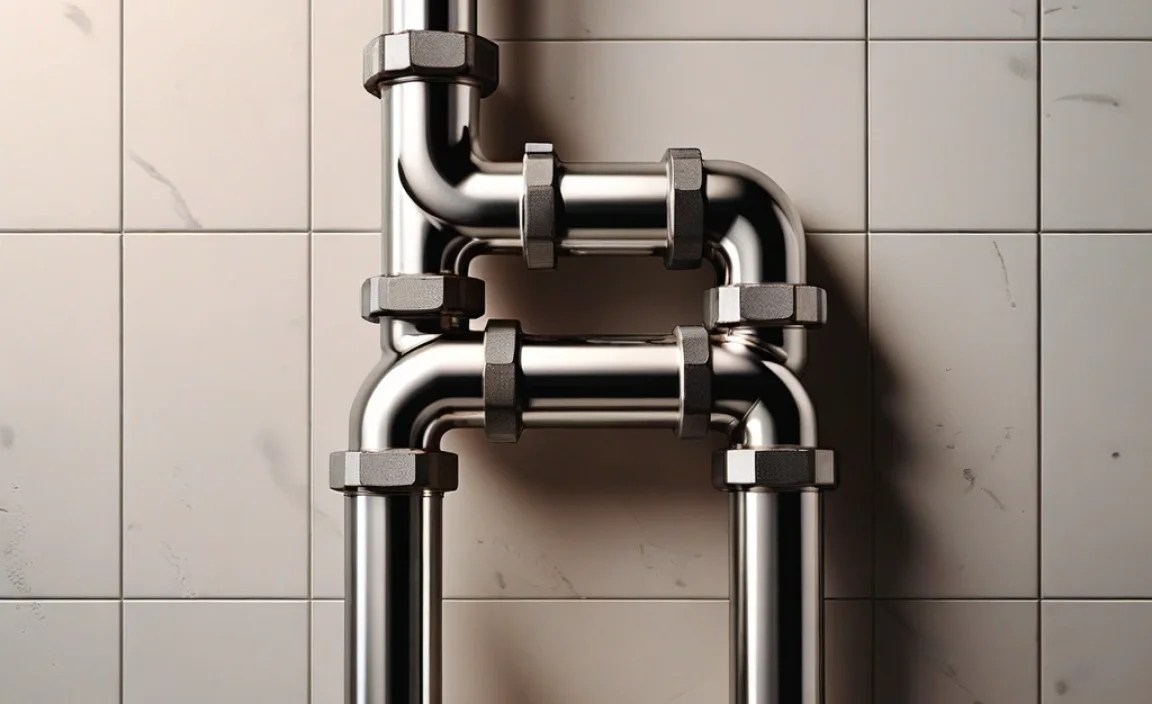
Threaded Connections
These are very common, especially in older homes, for galvanized steel or brass pipes. They rely on interlocking threads to create a tight seal, often enhanced by pipe dope or Teflon tape. Removing them usually involves using two pipe wrenches to unscrew one fitting from another. The main challenge here is corrosion; galvanized steel pipes can rust together, making them incredibly difficult to separate. Sometimes, a bit of heat from a propane torch can help expand the outer fitting slightly, aiding separation, but this should be done with extreme caution in a well-ventilated area, away from flammable materials.
Compression Fittings
Often found on flexible supply lines for faucets and toilets, compression fittings use a nut that, when tightened, squeezes a ferrule (a metal ring) onto the pipe and into the fitting’s body, creating a watertight seal. To remove, you simply loosen the nut, usually with an adjustable wrench. The ferrule might be stuck on the pipe, and you may need to use pliers or a specialized ferrule-removal tool to get it off if you plan to reuse the pipe. These are generally very straightforward to disconnect.
Solvent Weld (Glued) Joints
Primarily used for PVC and ABS plastic pipes, these joints are created by applying a primer and then a solvent cement that chemically fuses the pipe and fitting together. Once glued, these joints are permanent. Removing them usually means cutting the pipe on either side of the joint or fitting. You cannot simply twist or pull glued joints apart. For this reason, if you’re replacing a section of PVC and the pipes are already glued in place, you’ll likely need to cut out the old section and then use new fittings and cement to install the replacement, ensuring you leave enough pipe exposed for the new fittings.
Soldered Joints
Copper pipes commonly use soldered joints. This involves heating the joint with a torch and melting solder, which is drawn into the gap between the pipe and fitting by capillary action. To remove a soldered joint, you need to reheat it with a torch until the solder melts, then you can pull the pipe out of the fitting or cut the pipe. This process requires careful handling of heat and is often best left to those with experience unless you’re comfortable working with torches and high temperatures. Building Science Corporation provides excellent resources on plumbing systems, which can offer deeper dives into various connection types if you’re curious.
Mechanical Couplings (e.g., SharkBite)
Push-to-connect fittings, like SharkBite, are designed for quick installation and, importantly, for easy removal. They consist of a special O-ring seal and gripping teeth. To disconnect, you typically need a specific insertion/release tool or a slip-on tool that fits around the pipe and pushes the release collar to disengage the pipe. These push-to-connect systems offer a user-friendly experience for both installation and removal, often eliminating the need for wrenches or cutting in many scenarios.
Troubleshooting Common Pipe Removal Issues
Even with the best preparation, you might encounter a snag. Here are a few common problems and how to solve them:
- Stubbornly Tight Fittings: Apply penetrating oil (like WD-40) and let it sit for 30 minutes to a few hours. Gentle tapping with a hammer on the fitting (not the pipe) can also help break the bond. If still stuck, consider applying heat to the outer fitting (carefully!), but be aware this can damage certain pipe types or nearby materials.
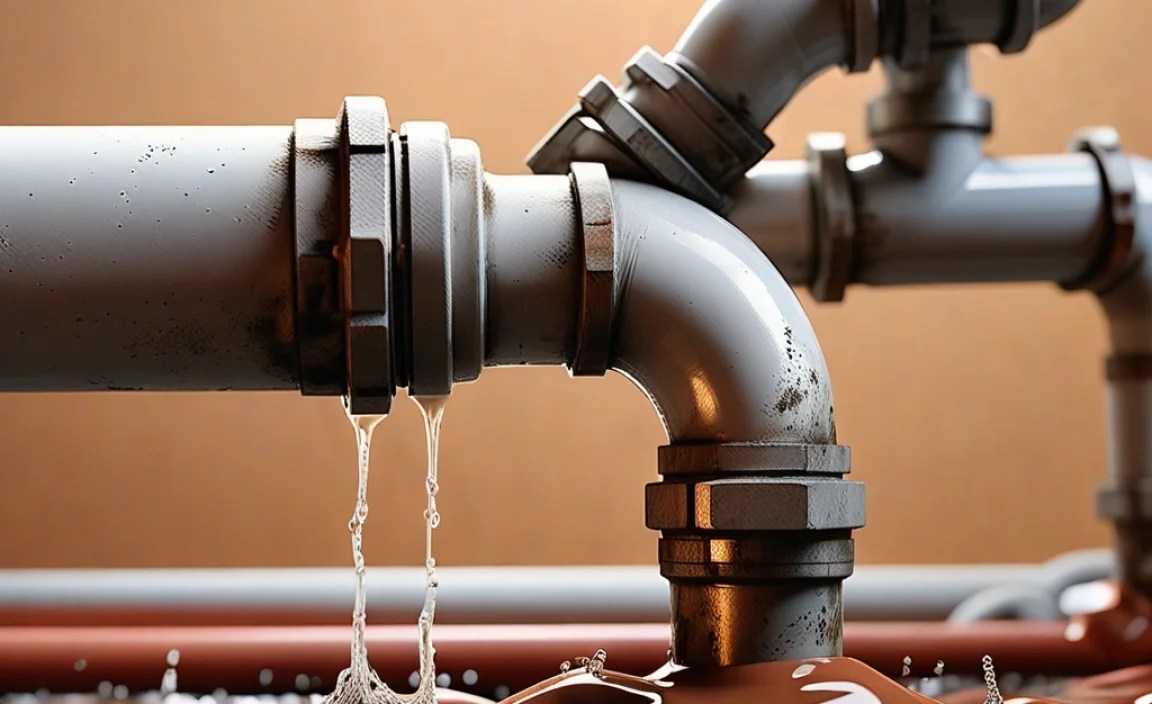
- Leaking After Shut-Off: Ensure your main valve is fully closed. If it’s an old gate valve, it might be failing. Try closing it further or consider replacing it. Also, make sure you’ve opened a faucet to relieve pressure and drain residual water.
- Damaged Pipe or Fitting: If a fitting breaks or a pipe gets mangled, you’ll need to assess if it can be repaired or if a section needs to be cut out and replaced. For beginners, if significant damage occurs, it might be
