
Don’t stress about finding someone to “remove toilet near me.” This essential guide breaks down how to safely and efficiently tackle toilet removal yourself, saving you time and money. We’ll cover everything from necessary tools to the step-by-step process, ensuring you’re prepared for a successful DIY project.
Dealing with an old toilet can be a common and often frustrating home maintenance task. Whether you’re upgrading to a new, more water-efficient model or simply need to replace a damaged fixture, knowing how to remove a toilet is a valuable skill. Many people search for “remove toilet near me” hoping to find prompt professional help, but the good news is, this is a project many homeowners can comfortably manage with the right guidance. This guide will walk you through the entire process, making it simple and stress-free. We’ll break down what you need and how to do it safely, step-by-step.
Getting ready for toilet removal might seem a little daunting at first, especially if you’re new to DIY projects. However, with a clear understanding of the steps involved and the right tools, you can achieve a clean and successful removal. We’ll equip you with the knowledge to approach this task with confidence. So, let’s dive into what you’ll need to gather and how to get started on this essential home maintenance task.
Why You Might Need to Remove a Toilet

There are several common reasons why a homeowner might need to remove a toilet. Understanding these can help you prepare for the task or decide if it’s time for your own removal project.
- Upgrades and Renovations: The most frequent reason is upgrading to a new toilet. Modern toilets are often more water-efficient, saving on utility bills, and come in updated styles. Renovating a bathroom, even if the toilet isn’t being replaced, might require its temporary removal to access plumbing or floor work.
- Repairs and Leaks: If your toilet is leaking from the base, the tank, or the flush mechanism, sometimes the most effective repair involves removing the entire unit to get a clear view of the problem and replace faulty seals or parts. A persistent leak can lead to water damage and mold growth, making prompt removal crucial.
- Replacing a Damaged Fixture: Cracks in the porcelain, a faulty flush, or significant wear and tear can all necessitate the replacement of the entire toilet. It’s often more cost-effective and efficient to remove the old one and install a new one in one go.
- Floor or Subfloor Issues: If you discover problems with your bathroom floor or the subfloor beneath the toilet, such as water damage or rot, removing the toilet is the first step to addressing these underlying issues. Accessing the subfloor is impossible without lifting the toilet.
- Moving or Relocating: If you’re selling your home and want to take a favorite toilet with you, or if you’re undertaking a major remodel that involves moving plumbing fixtures, you’ll need to remove the existing toilet.
Tools and Materials You’ll Need
Having the right tools makes any DIY job smoother and safer. For toilet removal, you won’t need an excessive amount of tools, but having these essentials on hand will be a game-changer.
Essential Tools:
- Adjustable Wrench or Pliers: For disconnecting the water supply line.
- Putty Knife or Scraper: To help break the seal between the toilet and the floor.
- Bucket and Old Towels/Rags: To catch residual water and clean up spills.
- Gloves: To protect your hands from dirt and germs.
- Safety Glasses: Essential for protecting your eyes from any debris.
- Screwdriver (Flathead and Phillips): For removing the bolts securing the tank to the bowl and the base to the floor.
- Utility Knife: Can be helpful for cutting through old caulk around the base.
- Pry Bar (small): Might be needed to gently lift the toilet if it’s stuck.
- Stiff Brush or Sponge: For cleaning up any remaining water or debris.
- Trash Bags or a Wheelbarrow: For disposing of the old toilet.
Materials:
- New Wax Ring (if you plan to reinstall or install a new toilet immediately): This is crucial for creating a watertight seal.
- Plumber’s Putty or Sealant (optional, depending on installation): For securing the new toilet.
- Rag or Towel: To stuff into the drainpipe opening to prevent odors and sewer gas from escaping.
A word on safety: Always wear gloves and eye protection. Toilets can be heavy and awkward to handle, so consider having a helper, especially when lifting. If you’re unsure about any step, consulting a professional is always a wise choice.
Step-by-Step Guide to Removing a Toilet

Follow these straightforward steps to successfully remove your old toilet. We’ve aimed to make each instruction clear and easy to understand for beginners.
Step 1: Turn Off the Water Supply

This is the most crucial first step. Locate the shut-off valve, usually found on the wall behind the toilet near the floor. Turn the valve clockwise until it stops. This will shut off the water supply to the toilet. If you can’t find a valve or it won’t turn, you may need to shut off the main water supply for your entire house and then open the lowest faucet in your home to drain some of the water from the system. Once the valve is off, flush the toilet to drain most of the water from the tank and bowl. You’ll want to remove any remaining water from the tank.
Step 2: Empty the Toilet Bowl and Tank

After flushing, use your sponge or a cup and your bucket to remove as much water as possible from the toilet tank and the bowl. Pour the removed water into the bucket. The less water you leave in the system, the lighter the toilet will be and the less mess you’ll make when you move it. Be thorough here, as even a little residual water can make a big difference in weight and potential spills.
Step 3: Disconnect the Water Supply Line

Using your adjustable wrench or pliers, carefully loosen the coupling nut that connects the water supply line to the bottom of the toilet tank. Be prepared for a small amount of water to drip out – have your bucket and rags ready. Once the nut is loose, you can pull the supply line away from the tank. Don’t yank on the line; be gentle and methodical.
Step 4: Remove the Toilet Tank
Most toilet tanks are secured to the toilet bowl with two or more bolts, usually located at the bottom of the tank. You’ll find these bolts under plastic caps or covers. Use your screwdriver to loosen and remove these bolts. You might need an assistant to support the tank as you remove the last bolt. Once the bolts are out, carefully lift the tank straight up and away from the bowl. Place it on the floor or a sturdy surface, perhaps on some old towels to protect it and your floor. If you are immediately installing a new toilet, you can set the old tank aside. If not, consider wrapping it in plastic to prevent dust and debris from entering.
Step 5: Remove the Toilet Base Bolts and Caulk

Look at the base of the toilet where it meets your floor. You’ll likely see two plastic caps covering bolts. Pry these caps off with a flathead screwdriver or your putty knife. Use your screwdriver or wrench to loosen and remove these bolts. If the toilet is caulked around the base, carefully run your utility knife around the edge to break the seal. This step can sometimes be tricky if the caulk is old and hardened.
Step 6: Lift and Remove the Toilet

This is the part where you might need that helper! Grab hold of the toilet bowl firmly, one person on each side if possible. Gently rock the toilet back and forth to help break the seal between the wax ring and the floor. Once you feel it loosen, lift the entire unit straight up and off the floor. Be prepared for the toilet to be heavier than you expect. Immediately try to place a rag or towel into the open drainpipe (the flange) to prevent sewer gases from entering your home and to stop anything from falling into the pipe. According to the U.S. Environmental Protection Agency (EPA), choosing water-efficient toilets can significantly reduce water usage, so consider this when planning your replacement!
Step 7: Clean the Flange Area
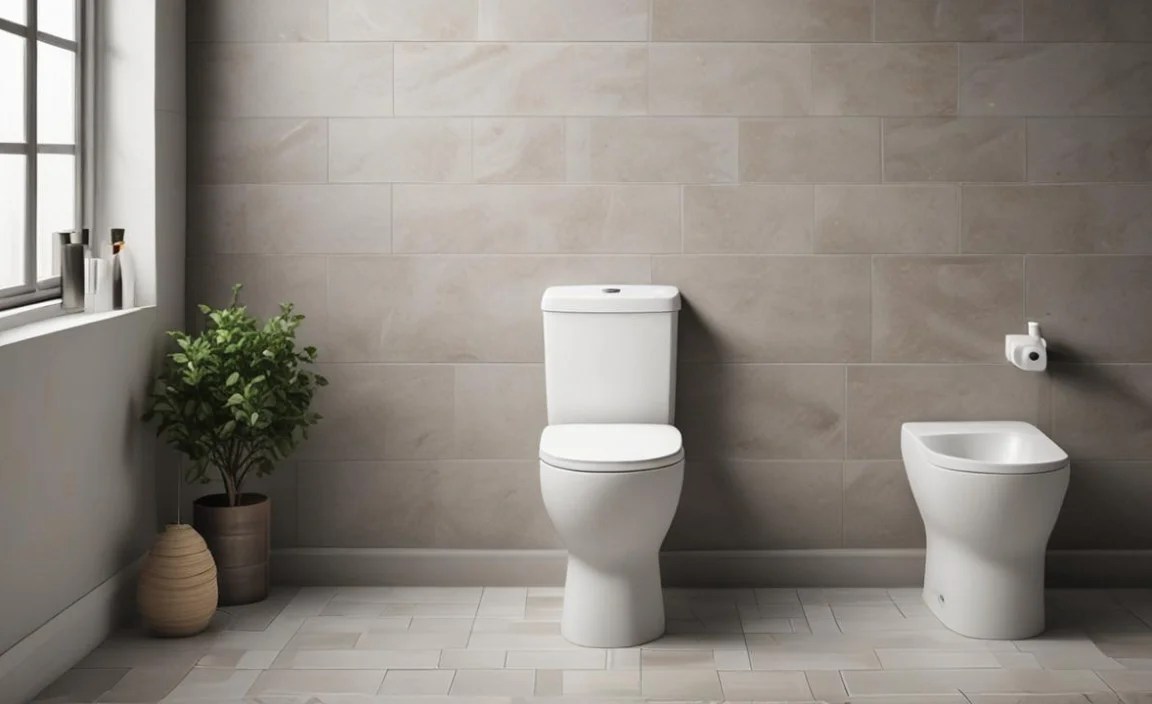
With the toilet removed, you’ll see the exposed flange and the old wax ring. Use your putty knife or scraper to carefully remove all the old wax and any debris from the flange and the floor around it. Ensure the flange is clean and relatively smooth. This is essential for a good seal with the new toilet or if you’re reinstalling the same one after repairs.
Step 8: Transport and Dispose of the Old Toilet

Carefully move the old toilet to its disposal location, typically your trash bin if allowed in your area, or a local waste disposal center. Toilets are heavy and contain porcelain, so check with your local waste management services for specific disposal instructions. Some municipalities may require special handling or have limits on bulk item pickup. You might need to transport it to a landfill or recycling center.
What to Do with the Old Toilet

Disposing of an old toilet responsibly is important. Here are a few options to consider:
- Trash Collection: Many municipal trash services allow you to place old toilets out for bulk item pickup. Check your local sanitation department’s website or call them to understand their specific rules regarding size limits, pickup days, and any preparation needed.
- Landfill or Transfer Station: If your regular trash service doesn’t accept toilets, you can usually take them directly to a local landfill or transfer station. There might be a fee associated with dropping off bulky items.
- Recycling Centers: Some areas have specialized recycling centers that accept porcelain and ceramic items. While less common, it’s worth investigating if you’re looking for the most environmentally friendly disposal method.
- Donation or Sale (if in good condition): If the toilet is still functional and in good cosmetic condition, you might be able to donate it to a Habitat for Humanity ReStore or sell it through online marketplaces. However, for most DIY removals, the toilet is typically being replaced due to age or damage, making donation unlikely.
Remember to handle the toilet carefully during transport to avoid breaking it further, which can create sharp edges.
Reinstalling or Installing a New Toilet

If your goal is to install a new toilet, preparation is key. A clean, properly functioning flange is crucial for a watertight seal. When installing a new toilet, always start with a new wax ring. The flange should be in good condition, without cracks or significant damage. If the flange is broken, it will need to be repaired or replaced, which is a job often best left to a plumber unless you have experience. You can find detailed instructions on installing a new toilet in many home improvement guides or manufacturer manuals, but the basic process involves placing the new wax ring onto the flange or the new toilet’s base, carefully lowering the toilet onto the flange, and then securing it with the floor bolts.
When to Call a Professional

While removing a toilet is a manageable DIY task for many, there are situations where calling a professional plumber is the smarter choice.
- Unfamiliarity with Plumbing: If you’re not comfortable with any aspect of the process, especially dealing with water shut-off or potential leaks, a professional can ensure it’s done correctly and safely.
- Damaged or Corroded Pipes: If you suspect that the pipes or the flange are corroded, rusted, or damaged, it’s best to have a plumber assess and repair them before proceeding.
- Stubborn Fixtures: If the toilet is severely stuck to the floor or if the bolts are rusted and won’t budge, a plumber has the specialized tools and experience to handle these situations without causing further damage.
- Major Renovations: If your toilet removal is part of a larger bathroom renovation that involves rerouting plumbing or extensive floor work, a plumber can coordinate their efforts with other trades.
- Lack of Time or Help: If you’re short on time or don’t have someone to help you lift the heavy toilet, hiring a professional is a practical solution.
Searching for a “remove toilet near me” service will connect you with licensed plumbers who can handle the job efficiently and correctly, giving you peace of mind.
Common Toilet Removal Mistakes to Avoid

Even with a guide, beginners can sometimes make a few common errors. Being aware of these can help you steer clear of them.
- Not Turning Off the Water Properly: This is the most common mistake, leading to water spills. Always double-check the shut-off valve is fully closed and flush the toilet before proceeding.
- Not Draining the Toilet Completely: Leaving too much water in the tank or bowl makes the toilet much heavier and increases the risk of spills when you lift it.
- Forcing the Toilet Loose: If the toilet is stuck, don’t force it with excessive strength, as you could damage the floor or the toilet itself. Try gentle rocking or using a pry bar carefully.
- Damaging the Flange: The flange is critical for a good seal. Be gentle when removing the old wax ring and cleaning the flange to avoid cracks or bends. A damaged flange will require professional repair.
- Not Blocking the Drainpipe: Failing to cover the exposed drainpipe can allow unpleasant sewer gases into your home or the risk of objects falling into the drain. Always use a rag or old towel.
- Not Having Help for Lifting: Toilets are surprisingly heavy. Attempting to lift one alone can lead to back strain or dropping the toilet, causing damage.
Paying attention to these details will make the process much smoother and safer.
Understanding Toilet Flanges and Seals

The toilet flange is a crucial part of your toilet’s plumbing system. It’s a pipe fitting that connects the toilet to the drainpipe in the floor and anchors the toilet to the floor. Most toilet flanges are made of PVC, ABS, or cast iron and are designed to sit flush with the finished floor.
The Wax Ring
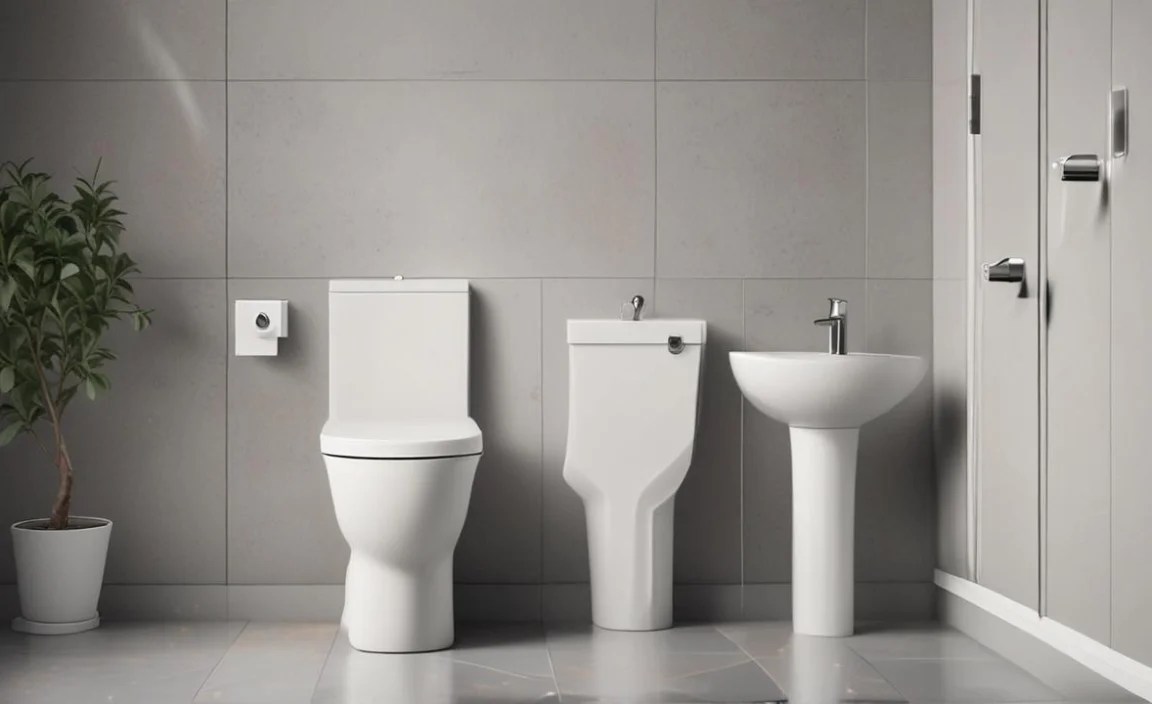
The wax ring, also called a wax seal or wax gasket, sits between the bottom of the toilet and the flange. Its primary purpose is to create a watertight and airtight seal. This seal prevents water from leaking out onto your floor when you flush and also stops sewer gases from entering your bathroom. When removing a toilet, this is the seal you break. When installing a new toilet, a fresh wax ring is essential for proper function.
There are different types of wax rings, including:
- Standard Wax Ring: The most common type, typically 3 inches in diameter.
- Extra-Thick Wax Ring: Used when the flange is slightly above or below the floor level, allowing for a greater range of adjustment.
- Wax-Free Seals: These are a more modern alternative to wax rings, often reusable and less messy. They create a seal using rubber or neoprene.
It’s important to ensure your flange is in good condition before installing a new toilet. Check for cracks, breaks, or if it’s loose. A damaged flange can lead to leaks and should be repaired by a qualified professional. You can learn more about plumbing basics and fittings from resources like Engineering Toolbox, which offers detailed information on various pipe and plumbing components.
Table: Toilet Removal Time vs. Professional Cost
To help you decide if DIY is the right path for you, consider the time investment versus the potential cost of hiring a professional.
| Task | Estimated DIY Time | Estimated Professional Cost (Removal Only) |
|---|---|---|
| Preparation & Water Shut-off | 15-30 minutes | Typically $100 – $300 (depending on location, complexity, and if it includes minor repairs or disposal) |
| Draining & Disconnecting | 15-20 minutes | |
| Lifting & Removing Toilet | 10-20 minutes (with helper) | |
| Cleanup & Disposal Prep | 20-40 minutes | |
| Total DIY (without surprises) | 1 – 1.5 hours | N/A (DIY cost is in tools, disposal fees) |
This table provides a general estimate. If you encounter unexpected issues like rusted bolts, damaged pipes, or a very difficult seal, the DIY time can increase significantly. Professional pricing can also vary widely based on your region and the contractor.
Frequently Asked Questions about Toilet Removal
Q1: Do I need a helper to remove a toilet?

A: While it’s possible for one person to remove a toilet, it’s highly recommended to have a helper. Toilets are heavier and more awkward to maneuver than they appear, and a second person can help lift, steady, and prevent injury or damage during removal. You can find many DIY enthusiast forums and guides across the web that emphasize the importance of a helper for this task.
Q2: How do I dispose of an old toilet?

