
Don’t let a faulty toilet disrupt your home! This repair toilet guide offers essential fixes for common problems like running toilets, weak flushes, and leaks. Learn simple DIY steps to save money and your sanity with clear instructions and helpful tips for beginners.
A running toilet can be a surprisingly common household annoyance. That constant phantom flush or slow trickle not only grates on your nerves but can also waste a significant amount of water, leading to higher utility bills. The good news is that most toilet repairs are straightforward and don’t require a plumbing degree. With a few basic tools and this guide, you can tackle these common issues with confidence. We’ll walk you through the essential fixes for your toilet, step-by-step, so you can get back to a quiet, efficient bathroom.
Why Toilet Repairs Matter

Toilets are hardworking fixtures in our homes. When they aren’t working correctly, it’s more than just an inconvenience. A leaking or constantly running toilet can be a silent drain on your resources. Imagine that consistent swoosh, not just wasting water, but also money – it adds up quickly! Beyond the financial impact, a malfunctioning toilet can also be a breeding ground for germs and can even lead to more serious water damage if left unaddressed. Taking charge of simple toilet repairs is a fundamental part of home maintenance that empowers you, saves you money, and keeps your home running smoothly.
When to Call a Professional
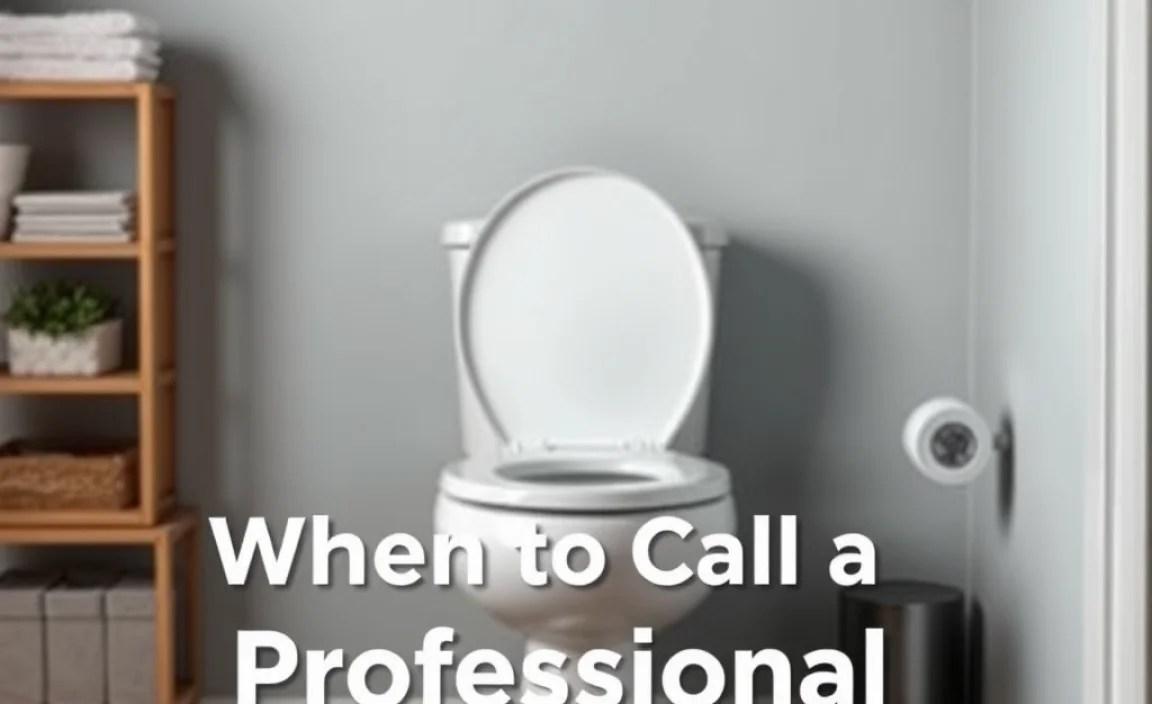
While many toilet issues are DIY-friendly, there are times when it’s best to call in a professional plumber. If you’re uncomfortable with any step, if the problem seems beyond a simple part replacement, or if you suspect a more complex issue like a broken wax ring seal or a cracked tank, it’s wise to get expert help. Plumbing can involve water lines and intricate mechanisms, and safety should always be your top priority. Professionals have the specialized tools and experience to diagnose and fix complex problems safely and efficiently. You can find qualified plumbers through resources like the National Association of Home & Plumbing Contractors (NAPHCC).
Essential Toilet Repair Tools

Before you begin any toilet repair, gathering the right tools will make the job much easier and safer. You don’t need a fully stocked professional toolbox, just a few common items.
- Adjustable Wrench: Essential for loosening or tightening nuts and bolts.
- Screwdriver Set (Phillips and Flathead): For various screws found in toilet mechanisms.
- Pliers (Groove Joint or Channel Lock): Useful for gripping and turning larger fittings.
- Bucket: To catch any residual water when disconnecting parts.
- Towels or Rags: For cleaning up spills and drying components.
- Gloves: To keep your hands clean and protected.
- Optional: Toilet Repair Kit: Many common parts are sold in convenient kits for specific issues (e.g., a “flapper kit”).
Common Toilet Problems and Their Fixes

Let’s dive into the most frequent toilet troubles and how you can fix them yourself.
Problem 1: The Ever-Running Toilet
This is perhaps the most common toilet complaint. You hear that water flowing constantly, even when no one has flushed. This usually points to an issue with the flapper or the fill valve.
Fixing a Leaky Flapper
The flapper is the rubber seal at the bottom of the tank that lifts when you flush and seals the bowl again after the water drains. If it’s worn out, warped, or not seating properly, water will leak from the tank into the bowl.
- Turn off the Water Supply: Locate the shut-off valve behind the toilet, usually on the wall near the floor. Turn it clockwise until it stops.
- Flush the Toilet: This will empty most of the water from the tank.
- Inspect the Flapper: Gently lift the old flapper. Check for any cracks, tears, or signs of wear. Make sure the chain attached to the flapper isn’t too tight or too loose.
- Clean the Seat: Wipe the rim where the flapper seals with a damp cloth. Sometimes, mineral deposits can prevent a good seal.
- Replace the Flapper (If Needed): If the flapper is damaged, remove the old one. Most flappers have a metal ring or hooks that connect to the overflow tube. Detach the old flapper and attach a new one, making sure the chain has a slight slack. You can purchase universal flappers at any hardware store.
- Turn the Water Supply back On: Slowly turn the shut-off valve counter-clockwise.
- Test: Listen to see if the running has stopped. Flush the toilet a few times.
Fixing a Faulty Fill Valve
The fill valve (also called the ballcock) is responsible for refilling the tank after a flush and shutting off the water when the tank is full. If it’s not shutting off properly, water will keep flowing into the tank and possibly out the overflow tube.
- Turn off the Water Supply: Locate and turn the shut-off valve clockwise.
- Flush the Toilet: To empty the tank.
- Identify the Fill Valve: It’s the tall, vertical assembly in the tank with a float attached.
- Adjust the Float: Many fill valves have an adjustable float. If the water level is too high, it will spill into the overflow tube. Look for a screw or clip on the float arm to lower it. Lowering the float slightly should cause the valve to shut off water at a lower level.
- Check the Valve for Leaks: If the float isn’t the issue, the fill valve itself might be worn out. You can often tell if water is seeping past the valve mechanism even when it’s supposed to be closed.
- Replace the Fill Valve: This is a more involved, but still manageable, DIY task.
- Turn off water and flush to empty tank.
- Disconnect the water supply line from the bottom of the tank.
- From inside the tank, unscrew the nut holding the fill valve to the tank.
- Lift out the old fill valve.
- Install the new fill valve according to the manufacturer’s instructions, ensuring it’s seated correctly and tightened. Reconnect the water supply line.
- Turn the Water Supply back On: Slowly turn counter-clockwise.
- Test: Listen for any running water and check the water level in the tank.
Problem 2: Weak Flush or Incomplete Flush
Does your toilet struggle to clear the bowl? This can be frustrating and lead to multiple flushes.
Possible Causes and Solutions:
- Low Water Level in the Tank: If the tank isn’t filling with enough water, there won’t be enough pressure to clear the bowl.
- Fix: Adjust the float on the fill valve to allow more water into the tank. The water level should typically be about an inch below the top of the overflow tube.
- Partially Closed Shut-Off Valve: If the water supply isn’t fully open, the tank won’t fill quickly or completely.
- Fix: Ensure the shut-off valve behind the toilet is turned completely counter-clockwise.
- Clogged Rim Jets or Rim Channels: Small holes under the rim of the bowl (rim jets) direct water into the bowl. If these are clogged with mineral deposits, the water flow will be weak. The rim channels also direct water.
- Fix: With the water supply off and tank empty (partially flush), use a small wire or thin screwdriver to carefully poke out debris from each jet. You can also use a cleaning brush like an old toothbrush. For stubborn mineral buildup, a solution of vinegar can help. Pour a cup of white vinegar into the overflow tube and let it sit for a few hours (or overnight). Then, turn the water back on and flush.
- Flapper Chain Too Long: If the chain connecting the flapper to the flush lever is too long, the flapper might not be lifting high enough or for long enough to allow a full volume of water to rush out.
- Fix: Shorten the flapper chain by hooking it to a higher link on the lever arm. Ensure there’s still a little slack so the flapper can close properly when the chain isn’t taut.
- Obstructed Siphon Jet (in the bowl): At the bottom of the bowl, there’s often a small hole (siphon jet) that helps initiate the siphon action that clears the bowl. If this is blocked, the flush will be weak.
- Fix: Turn off the water. With a stiff wire or a coat hanger, carefully clear any debris from this hole.
Problem 3: Leaking Around the Base of the Toilet
This is a more serious issue as it can cause water damage to your floor and subfloor. The most common cause is a failing wax ring seal between the toilet and the drainpipe.
Fixing a Leaky Base (Requires Tank and Bowl Removal):
This repair is a bit more involved and often requires replacing the wax ring. It’s a good candidate for calling a professional if you’re hesitant, but it is achievable with patience.
| Step | Action | Why? |
|---|---|---|
| 1. Turn Off Water & Empty Tank | Locate the shut-off valve and turn it clockwise. Flush to empty the tank. | Prevents water from flowing into the tank and bowl during repair. |
| 2. Disconnect Water Supply | Use an adjustable wrench to unscrew the flexible water supply line from the bottom of the tank. Have a bucket ready for residual water. | Completely separates the toilet from the water source. |
| 3. Remove Tank Bolts | Gently remove the nuts that secure the tank to the toilet bowl. These are usually at the bottom of the tank, under your access panel. | Allows the tank to be lifted off the bowl. |
| 4. Lift Off Tank | Carefully lift the tank straight up and off the bowl. Place it aside on a towel to prevent damage. | Exposes the toilet’s internal mechanisms and the base connection. |
| 5. Remove Bowl Bolts | Remove the decorative caps at the base of the toilet. Use a wrench to unscrew the nuts holding the toilet to the floor flange. You may need to gently rock the toilet to loosen them. | Frees the toilet bowl from the floor. |
| 6. Lift Off Bowl | Carefully lift the toilet bowl straight up and away from the floor flange. Note: Toilets are heavy and awkward. Get help if needed. | Provides access to the wax ring and floor flange. |
| 7. Remove Old Wax Ring | Scrape away the old wax ring from the bottom of the bowl and the floor flange using a putty knife or scraper. Dispose of the old wax. | Ensures a clean surface for the new seal. |
| 8. Install New Wax Ring | Place the new wax ring onto the floor flange or onto the bottom of the toilet bowl, following the manufacturer’s instructions. Ensure it’s centered. | Creates a watertight seal between the toilet and the drainpipe. You can find new wax rings at any home improvement store. For added security against leaks, consider a wax-free seal, available from some manufacturers. Visit CPSC’s safety alerts regarding plumbing parts for general awareness. |
| 9. Re-seat Toilet Bowl | Carefully lower the toilet bowl back onto the floor flange, aligning the bolt holes. Press down firmly to compress the new wax ring. | Establishes the seal with the drain. |
| 10. Re-secure Bowl Bolts | Replace the nuts on the floor bolts and tighten them, but do not overtighten, as this can crack the porcelain. | Secures the bowl to the floor. |
| 11. Re-attach Tank | Place the tank back onto the bowl, aligning the tank bolts. Secure with the nuts. | Reassembles the toilet. |
| 12. Reconnect Water Supply | Connect the water supply line to the tank and tighten. | Restores water flow. |
| 13. Turn Water On & Test | Slowly turn the shut-off valve counter-clockwise. Flush the toilet several times and check for leaks around the base. | Verifies the repair and checks for leaks. |
Problem 4: Toilet Wobbles
A wobbly toilet is not only annoying but can also indicate a loose connection or a problem with the floor flange.
Fixing a Wobbly Toilet
- Check the Floor Bolts: The nuts on the bolts at the base of the toilet might be loose. Try gently tightening them with an adjustable wrench. Be careful not to overtighten.
