
DIY vent repair is achievable for beginners. This guide covers easy fixes for common vent issues like drafts, noise, and leaks, empowering you to improve your home’s comfort and efficiency with simple tools and clear steps.
Hello there, fellow homeowner! Ever notice a draft coming from a vent when it shouldn’t, or perhaps hear a strange rattling sound? These little annoyances are super common and can make your home feel less cozy, while also costing you more on energy bills. The good news is, many vent problems are simple to fix yourself with a few basic tools and a bit of know-how. You don’t need to be a seasoned pro to tackle this!
This guide is here to walk you through essential DIY vent repairs. We’ll break down common issues and provide clear, step-by-step instructions that build your confidence. We’ll cover everything from sealing leaks to silencing squeaks, so you can enjoy a more comfortable and energy-efficient home. Ready to transform those little frustrations into satisfying DIY wins? Let’s get started!
Why Repairing Your Vents Matters

Your home’s ventilation system, including all those vents you see in your floors, walls, and ceilings, plays a huge role in its overall health and comfort. When these components aren’t working correctly, it’s more than just a minor inconvenience. It can lead to significant problems.
Properly functioning vents are crucial for:
Comfort: They help distribute heated and cooled air evenly throughout your home. A malfunctioning vent can lead to hot or cold spots, making certain rooms uncomfortable.
Energy Efficiency: Leaky or poorly sealed vents allow conditioned air to escape where it shouldn’t. This makes your heating and cooling systems work harder, driving up your energy bills. The U.S. Department of Energy estimates that leaky ducts can waste a significant amount of energy.
Air Quality: Vents are part of your home’s air circulation. If they are dirty, blocked, or leaking, it can impact the quality of the air you breathe, potentially circulating dust, allergens, or even mold.
Preventing Damage: In some cases, significant drafts or leaks can lead to moisture buildup, which can cause damage to your home’s structure over time.
Addressing vent issues is a practical way to improve your home’s performance and your family’s well-being.
Understanding Common Vent Problems
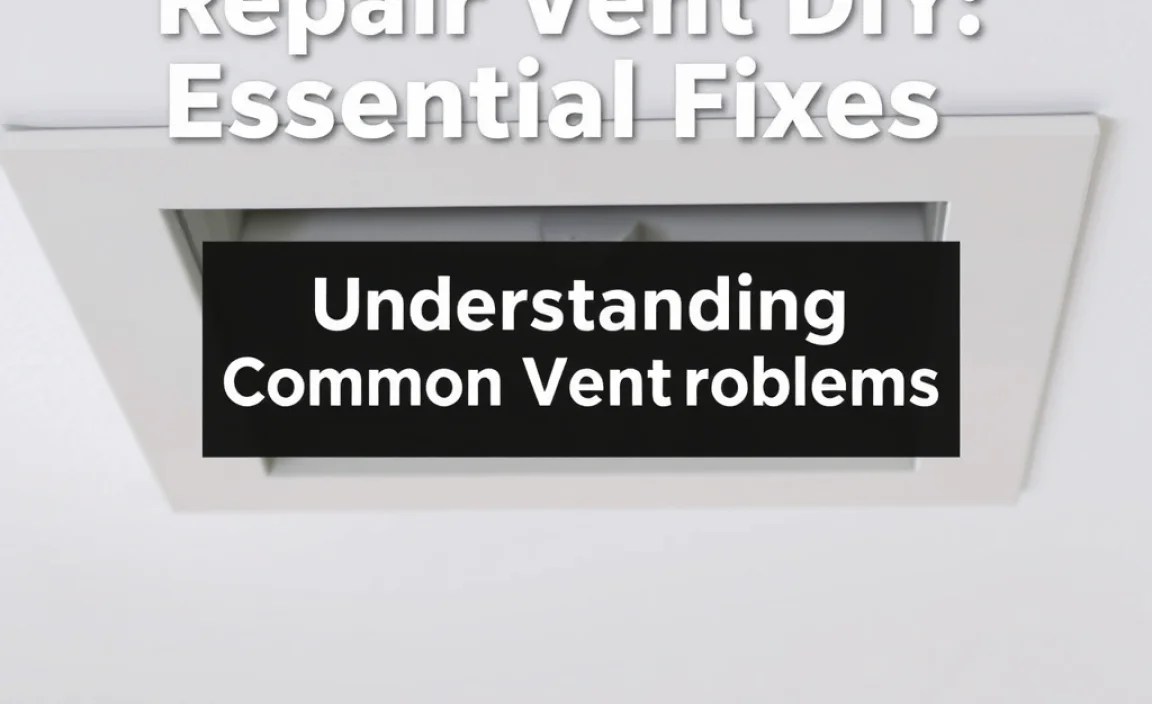
Before we dive into fixes, let’s identify what might be going wrong with your vents. Recognizing the symptoms is the first step to a successful repair.
Here are some common issues you might encounter:
- Drafts: You feel air moving from a vent when the HVAC system isn’t running, or air seems to be entering your home through vents that should only be pushing air out.
- Unusual Noises: Rattling, whistling, buzzing, or banging sounds coming from the vents or ductwork.
- Poor Airflow: Some vents blow much less air than others, or no air at all.
- Leaks and Cracks: Visible gaps, holes, or signs of damage around the vent cover or where the vent meets the wall/floor.
- Stale or Musty Odors: Bad smells emanating from the vents, often indicating a problem within the ductwork or the vent itself.
- Squeaking/Creaking: Especially common with metal vents or in response to temperature changes, this can be a sign of expansion and contraction.
Don’t worry if you see some of these! Most of them are straightforward to diagnose and fix with a little patience.
Essential Tools for Vent Repair
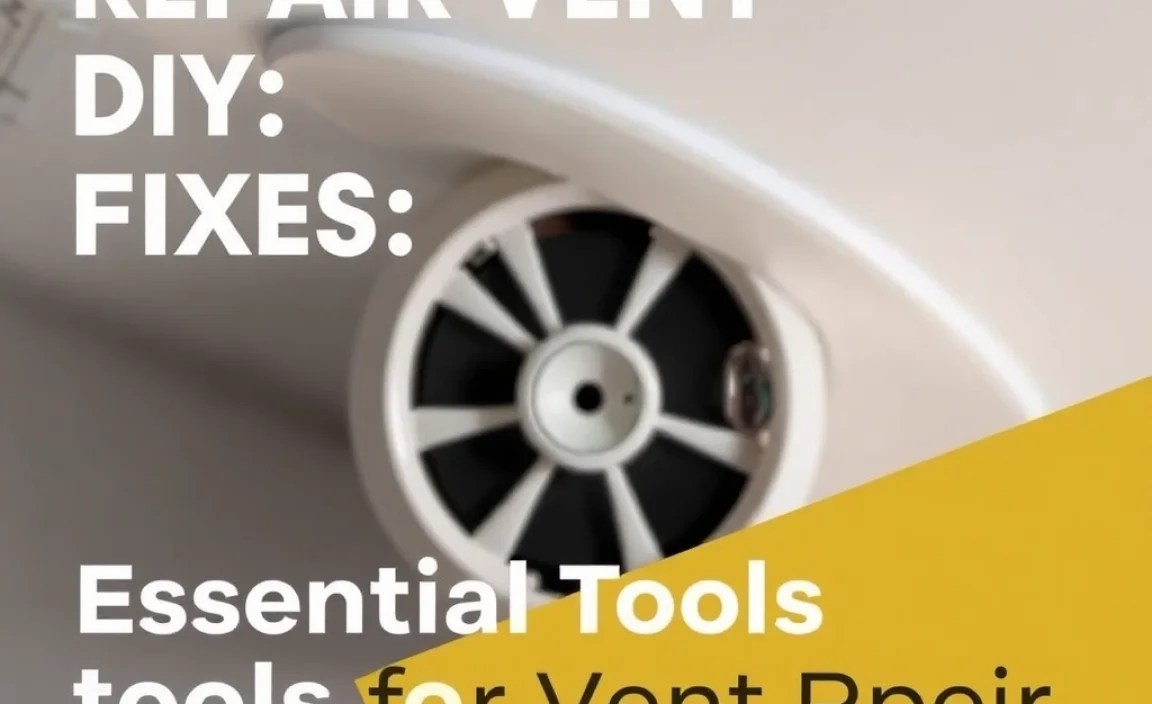
You won’t need a professional workshop for most vent repairs. Here’s a list of tools that will come in handy. Having these on hand will make your DIY vent repair projects much smoother.
Basic Tool Kit:
- Screwdriver Set: Both Phillips head and flathead screwdrivers are essential for removing and reinstalling vent covers.
- Caulk Gun: For applying caulk to seal small gaps and cracks.
- Utility Knife or Putty Knife: Useful for scraping away old caulk or gently prying things open.
- Tape Measure: For checking if vents or covers are standard sizes.
- Gloves: To protect your hands, especially if dealing with dusty ductwork.
- Safety Glasses: Always a good idea when working with tools.
- Flashlight: To see into dark corners or inside shallow ductwork.
- Vacuum Cleaner with Hose Attachment: For cleaning out dust and debris from vents.
- Paintbrush (small): For applying sealant or cleaning small areas.
- Duct Tape or Foil Tape (HVAC-rated): Essential for temporary or minor duct sealing.
- General Purpose Sealant/Caulk: For sealing around vent frames.
- Spray Lubricant (e.g., WD-40): For squeaking vent louvers.
For more involved repairs, you might consider:
- Stud Finder: To locate studs if you need to secure a loose vent box.
- Drywall Saw or Multi-tool: If a vent opening needs minor adjustment.
- Wire Brush: To clean off rust or debris from metal components.
Always ensure you have good lighting and a clear workspace. Safety first!
DIY Vent Repair: Step-by-Step Fixes
Let’s get down to business! Here are some common vent problems and how to fix them, explained in easy-to-follow steps.
1. Fixing Drafty Vents
Drafts are often caused by leaks in the vent itself or where the vent meets the wall, floor, or ceiling. This is a prime culprit for wasted energy.
Problem: Air leaking around the vent cover or frame.
This is usually due to poor sealing or an improper fit.
Tools Needed:
- Screwdriver
- Caulk gun
- All-purpose sealant or caulk
- Utility knife or putty knife
- Gloves and safety glasses
- Vacuum cleaner
Steps:
- Turn off your HVAC system: Safety first! Ensure your system is completely off before you start working.
- Remove the vent cover: Most vent covers are held on by screws. Carefully remove the screws and set them aside in a safe place. Gently pull the cover away from the wall or floor.
- Inspect the opening: Look for any gaps between the vent frame (the part that sits inside the wall/floor) and the surrounding surface. Also, check the vent cover itself for any cracks.
- Clean the area: Use your vacuum cleaner with the hose attachment to remove any dust or debris from around the opening and from the vent cover. If there’s old, cracked caulk, gently scrape it away with a utility knife or putty knife.
- Apply sealant: Load your caulk gun with the all-purpose sealant. Apply a continuous bead of caulk around the edge of the vent frame where it meets the wall or floor. Aim for a consistent, thin line. If the vent cover itself is damaged, you might need to use a suitable adhesive or consider replacing it.
- Reinstall the vent cover: Carefully place the vent cover back into position. If you applied caulk, you may need to gently press it to ensure it seals without squeezing out too much caulk.
- Secure the cover: Reinsert and tighten the screws. Don’t overtighten, as this can strip the screws or damage the drywall/plywood.
- Wipe up excess caulk: If any caulk squeezed out, wipe it clean with a damp cloth immediately while it’s still wet.
- Test: Once the caulk has dried (check the product’s instructions, usually a few hours), turn your HVAC system back on and check for drafts.
Problem: Drafts from within the ductwork (less common, requires more access).
If you can see into the ductwork through the vent opening and feel air coming from connections or seams, this is a more serious leak within the system.
Tools Needed:
- Screwdriver
- HVAC-rated foil tape or duct tape
- Gloves and safety glasses
- Flashlight
- Utility knife
Steps:
- Turn off HVAC system.
- Remove vent cover.
- Access ductwork: Look into the opening with a flashlight. You might be able to reach small leaks directly. For larger ducts or more extensive leaks, you might need to remove the vent box or even cut a small access panel (consider professional help for this).
- Clean the area: Ensure the surface around the leak is clean and dry.
- Apply tape: Cut a piece of HVAC-rated foil tape (this is better than standard duct tape for sealing ducts as it adheres better and withstands temperature changes). Carefully and firmly press the tape over the leak. For seams, overlap the tape by at least an inch. Cover the entire damaged area, ensuring a good seal.
- If you opened an access panel: You may need to seal the panel back in securely.
- Test: Turn the HVAC system back on and check for leaks.
Important Note: Extensive ductwork leaks, especially in attics or crawl spaces, are best handled by professionals. The EPA’s Energy Star program offers tips on minimizing duct leakage, emphasizing professional assessment for significant issues.
2. Silencing Squeaking and Rattling Vents
These noises can be incredibly annoying! They often stem from loose parts, the vent vibrating against its housing, or expansion/contraction of materials.
Problem: Squeaking vent louvers or adjustable parts.
Tools Needed:
- Screwdriver
- Spray lubricant (e.g., WD-40, silicone spray)
- Rag
Steps:
- Turn off HVAC system.
- Remove vent cover.
- Identify the squeak source: Gently try to move the louvers or any adjustable parts of the vent. Listen closely to pinpoint where the noise is coming from.
- Lubricate: Spray a small amount of lubricant onto the moving parts. Focus on hinges, pivots, or any areas that rub together. Be sparing; you don’t want excess lubricant dripping.
- Work the parts: Manually move the louvers back and forth a few times to distribute the lubricant.
- Wipe excess: Use a rag to wipe away any drips.
- Reinstall cover and test.
Problem: Rattling vent cover or loose components.
Tools Needed:
- Screwdriver
- Small shims (wood or plastic)
- HVAC-rated foil tape or duct tape
- Putty knife
Steps:
- Turn off HVAC system.
- Remove vent cover.
- Inspect for looseness: Check if the vent cover itself is loose, or if the entire vent box/frame inside the wall is loose. Gently tap or wiggle parts to find the source of the rattle.
- Tighten screws: If the cover is loose, try tightening the screws. If the screws don’t bite, the holes might be stripped.
- Use shims or tape: If screws aren’t the issue, or if the vent box is loose, you can try inserting thin shims (wood or plastic) into gaps between the vent box and the wall/floor material. Secure the shims with a bit of glue or tape if they don’t stay put. Alternatively, use small pieces of HVAC foil tape to add a slight cushion or snugness to the fit.
- Address debris: Sometimes a rattle is caused by a small piece of debris inside the duct connected to the vent. Carefully use your vacuum hose to try and remove any objects you can see.
- Reinstall cover and test.
3. Improving Poor Airflow
Weak airflow from a vent usually means something is blocking the path or there’s a significant leak further up the line.
Problem: Blocked vent or duct.
Tools Needed:
- Screwdriver
- Vacuum cleaner with hose attachment
- Wire coat hanger (unfolded for probing)
- Gloves and safety glasses
- Flashlight
Steps:
- Turn off HVAC system.
- Remove vent cover.
- Inspect and clean: Use your flashlight to look into the vent opening and the visible ductwork. You’ll likely see dust buildup. Use your vacuum cleaner hose to suck out as much dust and debris as possible.
- Check for obstructions: If vacuuming isn’t enough, gently probe with a straightened wire coat hanger to dislodge anything stuck (e.g., toys, insulation). Be careful not to puncture the ductwork or push the obstruction further in. You might need steady suction from the vacuum to pull out loosened debris.
- Inspect duct connections: Ensure the duct is still securely attached to the vent box. If it’s loose, reattach it firmly by hand or secure with foil tape if necessary.
- Reinstall cover and test.
Note: If you suspect a blockage deep within the duct system (beyond what you can reach from the vent), professional duct cleaning may be necessary.
Problem: Damaged or collapsed ductwork.
This is a more serious issue and may require professional repair or replacement of duct sections. However, if you can access a minor kink or collapse, you might be able to make a temporary fix.
Tools Needed:
- Screwdriver
- HVAC-rated foil tape
- Gloves and safety glasses
- Flashlight
- Pliers (if dealing with flexible ducting)
Steps:
- Turn off HVAC system.
- Remove vent cover (and possibly the vent box).
- Access and inspect ductwork: Carefully examine the ductwork. Look for any kinks, crushing, or tears. Flexible ducting can sometimes get twisted or collapsed.
- Attempt to straighten: If the duct is kinked, try to gently straighten it out. For flexible ducting, ensure it’s not twisted. Pliers might help gently reshape a crushed metal duct collar.
- Seal any apparent damage: If you find any tears or holes, seal them securely with HVAC-rated foil tape, covering the area thoroughly.
- Reinstall and test.
Professional Recommendation: For significant duct damage, such as collapsed sections or large tears, it’s best to consult an HVAC professional. Organizations like the National Air Duct Cleaners Association (NADCA) can help you find qualified technicians.
4. Repairing Cracked or Damaged Vent Covers
If your vent cover is cracked or broken, it not only looks bad but can also create sharp edges and affect airflow.
Problem: Cracked or broken vent cover.
Tools Needed:
- Screwdriver
- Replacement vent cover (ensure it’s the correct size)
- Utility knife or putty knife
- Gloves and safety glasses
- Vacuum cleaner
Steps:
- Turn off HVAC system.
- Remove the damaged vent cover: Unscrew and carefully remove the broken cover. Be cautious of sharp edges.
- Clean the area: Vacuum the opening and surrounding surface. If there’s an old frame that needs to be removed, use your putty knife.
- Prepare the new cover: Ensure the new vent cover matches the size and mounting holes of the old one.
- Install the new cover: Place the new cover over the opening.
- Secure the cover: Reinsert and tighten the screws.
- Test: Turn on the HVAC system and ensure airflow is normal.
Tip: You can find replacement vent covers at most hardware stores and home improvement centers. Measure the opening accurately before you buy.
Vent Materials and Their Common Issues
Different materials used for vents can present unique challenges and require slightly different approaches.
Here’s a quick look:
| Vent Material | Common Issues | DIY Fix Considerations |
|---|---|---|
| Metal (Steel, Aluminum) | Rusting (especially older steel), sharp edges from damage, rattling due to looseness, squeaking from expansion/contraction. | Rust can be spot-treated with rust converter and paint. Sharp edges can sometimes be filed down. Lubricant for squeaks. Tightening screws or using shims for rattles. |
| Plastic | Cracking or becoming brittle over time, discoloration, snapping under pressure. | Cracks can sometimes be repaired with strong plastic adhesive or epoxy, but replacement is often best. Usually easy to replace with standard sizes. |
