
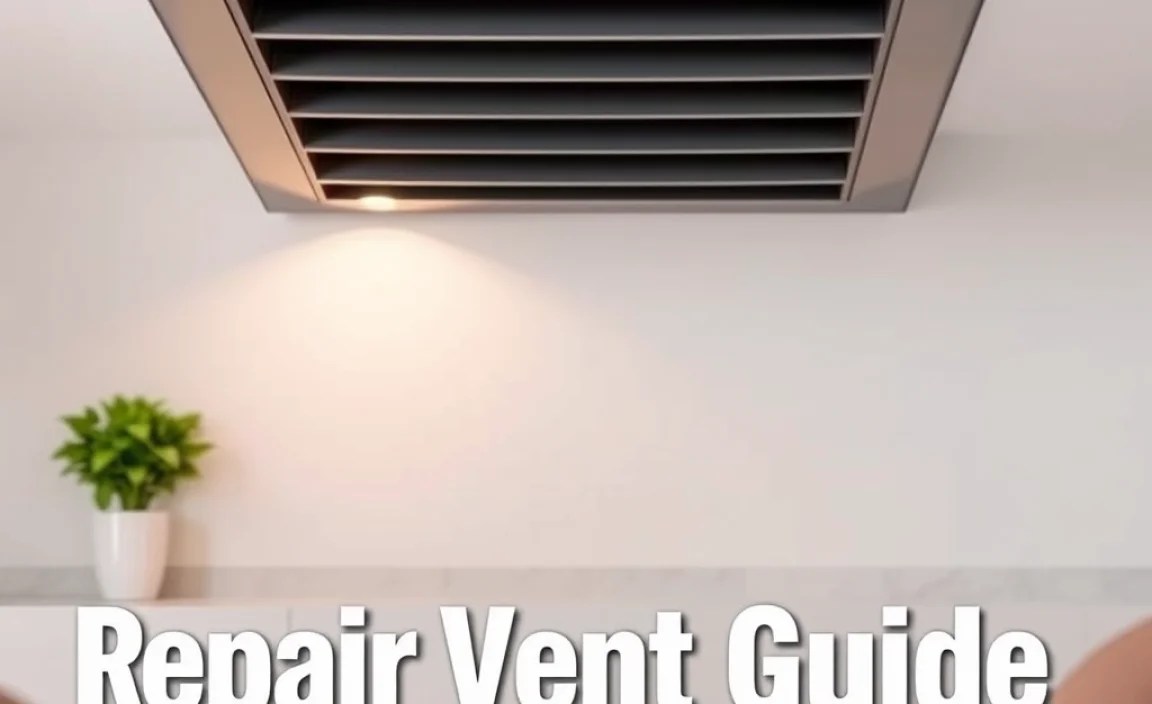
Dealing with a broken vent can be a real headache, but you can fix most problems yourself! This guide offers simple, step-by-step solutions for common vent repairs. We’ll show you how to get your vents working perfectly again, saving you time and money. Get ready to tackle these fixes with confidence!
Hey DIYers! Bryan Lee here. When a vent goes wonky, it’s not just annoying; it can affect your home’s comfort and energy use. Whether it’s a vent cover that’s loose, blocked, or just looks bad, don’t worry! Many vent issues are easy to solve with a few basic tools and a little know-how. I’m here to break down these common problems into super simple steps. We’ll cover everything from identifying the issue to making it good as new. Ready to get your home’s airflow back in top shape? Let’s dive in!
Understanding Your Vents: The Basics

Before we start fixing things, let’s understand what we’re working with. Vents, also known as registers or grilles, are the openings in your walls, ceilings, or floors that allow air to circulate from your HVAC (Heating, Ventilation, and Air Conditioning) system. They play a crucial role in keeping your home at a comfortable temperature and ensuring good indoor air quality. There are a few main types:
- Supply Vents: These push conditioned air (heated or cooled) into your rooms.
- Return Vents: These pull air back into the HVAC system to be reconditioned. They are usually larger and don’t have adjustable louvers.
- Air Registers/Grilles: These are often used interchangeably with vents and cover the opening where air enters or leaves a room.
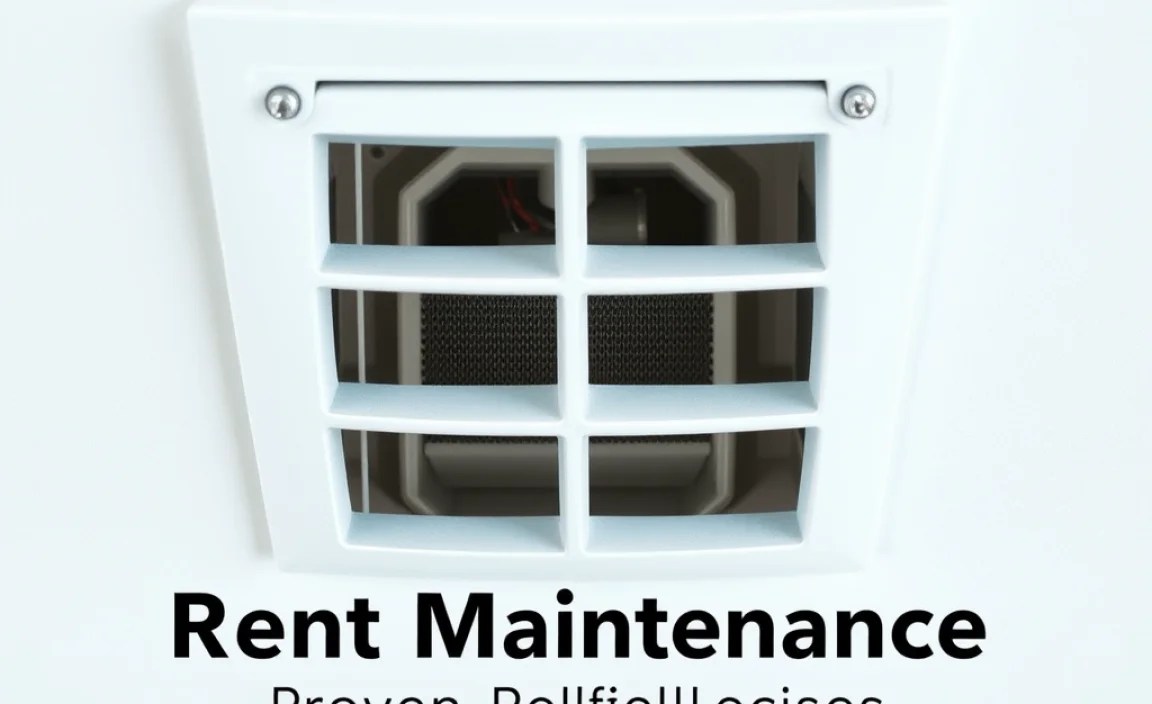
The visible part of most supply vents is the cover, often made of metal or plastic, with adjustable louvers that control airflow direction and volume. Understanding which type of vent you’re dealing with helps in diagnosing the problem and choosing the right fix.
Common Vent Problems and How to Solve Them

Vent issues usually fall into a few categories: cosmetic damage, airflow obstruction, or functional problems with the louvers. Let’s tackle each one.
1. Loose or Wobbly Vent Covers
This is perhaps the most common vent problem. A vent cover that’s loose can rattle, look unsightly, and even pose a slight safety hazard if it detaches completely. Usually, the issue is with the screws holding it in place or the frame itself.
What You’ll Need:
- Screwdriver (Phillips head or flathead, depending on your screws)
- Replacement screws (if needed)
- Wood filler or patching compound (for wall damage around the vent)
- Putty knife (if using filler)
Step-by-Step Fix:
- Assess the Situation: Gently try to wiggle the vent cover. How loose is it? Are the screws stripped, missing, or just not tightened? Is the wall material around the screw holes damaged?
- Tighten Screws: Start by trying to tighten the existing screws. If they turn but don’t grip, the screw holes might be stripped.
- Dealing with Stripped Screw Holes: If the screws keep turning without tightening, you have a few options:
- Toothpick/Wooden Match Trick: Dip a few wooden toothpicks or a wooden matchstick into wood glue (if you have it, but not necessary). Insert them into the stripped hole until it’s snug. Snap off the excess. Then, drive the original screw back into the hole alongside the wood. The wood provides new material for the screw to grip.
- Larger Screws: If the toothpick trick doesn’t hold, you can try using slightly longer or wider screws. Make sure they are the same type (e.g., Phillips head) and don’t overtighten, which can split the material.
- Wood Filler/Patching Compound: For more significant damage or if the wall material is crumbling, you might need to remove the old screws, clean out the hole, apply wood filler or drywall patching compound, let it dry completely (follow product instructions), and then drill a new pilot hole and re-insert the screw. This requires a little more patience but provides a sturdy fix. You can get more information on drywall repair at This Old House’s drywall repair guide.
- Re-attach the Vent Cover: Once the screws are secure, align the vent cover and screw it back into place. Ensure it’s snug but don’t overtighten.
- Test for Wobble: Give the cover a gentle push. It should feel firm and secure.
2. Blocked Airflow
When a vent is blocked, it not only reduces airflow to a room, making it uncomfortable, but it can also strain your HVAC system. Blockages can be internal or external.
Common Cause: Furniture or Rugs
The simplest blockage is often caused by furniture, rugs, or other household items placed directly over a vent. This is especially common with floor vents.
Easy Fix: Relocate Obstructions
- Identify the Blockage: Walk around your home and visually inspect all vents. Note any items that are covering or too close to them.
- Move Items: Simply move furniture, rugs, curtains, or any other objects away from the vents. Aim for at least 12 inches of clear space around supply vents when possible. For floor vents, avoid placing heavy furniture directly on top of them. Consider using vent covers that can be installed flush with the floor or wall, or decorative grilles that allow for airflow while looking stylish.
Internal Blockages: Dust and Debris
Over time, dust, pet hair, and other small debris can accumulate inside the vent ductwork or within the vent itself, restricting airflow. This is more common with older systems or if your air filters aren’t changed regularly.
What You’ll Need:
- Vacuum cleaner with hose attachment (crevice tool is helpful)
- Duster or microfiber cloth
- Gloves (optional)
- Safety glasses (optional)
- Small brush or vent cleaning tool
Step-by-Step Fix:
- Safety First: Turn off your HVAC system at the thermostat before you start cleaning. This prevents air from being sucked in or blown out while you’re working.
- Remove the Vent Cover: Most vent covers are held on by screws. Unscrew them and carefully pull the cover away. For some older floor vents, the cover might just lift out once the screws are removed, or it might be a drop-in type.
- Clean the Vent Housing and Louvers: Use your vacuum cleaner with the hose attachment to suck up any visible dust and debris from the vent opening and the louvers. If the louvers are adjustable, try moving them to access all areas. Use a small brush or a dedicated vent cleaning tool to dislodge stubborn dust.
- Clean the Duct (Shallow Debris): For shallow debris in the duct opening, use the crevice tool on your vacuum to reach as far back as you comfortably can. The EPA recommends regular cleaning to improve indoor air quality, and this is a key part of that.
- Inspect the Filter: Check your HVAC system’s air filter. If it’s dirty, replace it. A clogged filter is a major cause of poor airflow and system strain.
- Reassemble: Once clean, place the vent cover back on and secure it with the screws.
- Turn HVAC Back On and test airflow.
3. Damaged or Broken Louvers
The small fins (louvers) inside a vent allow you to direct airflow. If these are bent, broken, or stuck, they can hinder proper air distribution.
What You’ll Need:
- Pliers (needle-nose are best for fine adjustments)
- Screwdriver (if removing the cover)
- Replacement vent cover (if louvers are irreparable)
Step-by-Step Fix:
- Remove the Vent Cover: Unscrew the vent cover as described previously.
- Assess Louver Damage: Examine the louvers. Are they bent, or are they completely broken off?
- Straighten Bent Louvers: For slightly bent louvers, use needle-nose pliers to gently grasp the louver and carefully bend it back into its original position. Be patient and make small adjustments to avoid snapping them. Try to match the angle of the adjacent louvers.
- Address Broken Louvers: If louvers are missing or broken, you cannot easily repair them. The best solution is to replace the entire vent cover.
- Regulate Airflow (Temporary Fix): If you have a vent where you want to restrict airflow to a particular room (e.g., one you don’t use often), you can sometimes gently bend the louvers inwards to create a partial blockage. Note: This should be done sparingly and not as a long-term solution for essential rooms.
- Reinstall or Replace: If you straightened the louvers, reattach the cover. If you are replacing the cover, ensure you get one of the same size and style. Measure the rough opening if unsure, but most often the cover size itself is standard.
4. Rusty or Corroded Vents
Metal vent covers can develop rust, especially in humid environments or bathrooms. This looks bad and can eventually lead to material breakdown.
What You’ll Need:
- Wire brush or steel wool
- Rust remover product (optional, but effective)
- Primer (metal-specific)
- Paint (metal-specific, in your desired color)
- Screwdriver
- Drop cloth or newspaper
- Sandpaper (medium and fine grit)
Step-by-Step Fix:
- Remove the Vent Cover: Unscrew and take off the vent cover.
- Clean Off Loose Rust: Use a wire brush or steel wool to scrub away all loose rust particles. Aim for a clean metal surface.
- Apply Rust Remover (Optional): If rust is deep, apply a rust remover product according to its instructions. This chemically converts remaining rust.
- Sand the Surface: Once clean and dry, lightly sand the entire surface of the vent cover with medium-grit sandpaper. This creates a better surface for primer and paint to adhere to. Follow up with fine-grit sandpaper for a smooth finish.
- Wipe Clean: Use a damp cloth to wipe away all dust and residue from sanding. Ensure the vent cover is completely dry before proceeding.
- Prime the Vent: Lay down a drop cloth. Apply a thin, even coat of metal-specific primer to the entire vent cover. Primer helps the paint adhere and provides an extra layer of protection against future rust. Let the primer dry completely, usually 30-60 minutes.
- Paint the Vent: Apply one or two thin coats of your chosen paint. Use spray paint designed for metal for the most even finish, or use a brush. Allow each coat to dry thoroughly between applications.
- Reinstall: Once the paint is completely dry (allow 24 hours for best results), reattach the vent cover to its place.
Vent Maintenance: Keeping Things Running Smoothly
Regular maintenance is key to preventing major vent problems and ensuring your HVAC system operates efficiently. Here’s a simple checklist:
- Monthly: Check all vents for obvious obstructions (furniture, rugs).
- Quarterly: Vacuum visible parts of vents and the immediate surrounding wall/floor area.
- Change Air Filters Regularly: This is critical! Consult your HVAC manual for recommended filter types and change intervals (usually every 1-3 months). This prevents dust buildup in ducts and improves air quality. You can find general guidelines at reputable sources like Energy Star’s filter guidelines.
- Annually: Consider a professional duct cleaning if you notice significant dust accumulation or have allergies. They can reach deeper into the system than DIY methods.
Tables for Quick Reference
Common Vent Issues and Solutions
| Problem | Likely Cause | DIY Fix Time | Tools Needed |
|---|---|---|---|
| Loose Vent Cover | Stripped screw holes, loose screws | 10-30 minutes | Screwdriver, toothpicks (optional), wood filler (optional) |
| Blocked Airflow (External) | Furniture, rugs, curtains | 1 minute | None |
| Blocked Airflow (Internal) | Dust, debris, pet hair in vent/duct | 15-45 minutes | Vacuum, brush, screwdriver |
| Damaged Louvers | Physical impact, wear and tear | 10-30 minutes (straightening) 15-30 minutes (replacing cover) |
Pliers, screwdriver, replacement cover (if needed) |
| Rusty Vent Cover | Humidity, water exposure | 1-4 hours (including drying time) | Wire brush, sandpaper, primer, paint, screwdriver |
Recommended Tools for Vent Repair
| Tool | Purpose | Beginner-Friendly Rating (1-5) |
|---|---|---|
| Screwdriver Set (Phillips & Flathead) | Removing and reattaching vent covers, securing screws. | 5/5 |
| Wet/Dry Vacuum with Hose Attachment | Cleaning dust and debris from vents and shallow ducts. | 4/5 (can be bulky) |
| Needle-Nose Pliers | Gently straightening bent louvers. | 4/5 |
| Wire Brush / Steel Wool | Removing rust and loose paint. | 3/5 (requires some elbow grease) |
| Sandpaper (Medium & Fine Grit) | Smoothing surfaces before priming/painting. | 3/5 |
| Primer and Paint (Metal-Specific) | Rust prevention and aesthetic touch-up. | 3/5 (requires careful application) |
When to Call a Professional

While most vent repairs are simple DIY tasks, there are instances where you should call in the pros:
- Extensive Ductwork Issues: If you suspect major blockages deep within your ductwork or damage to the ducts themselves (cracks, leaks), a professional HVAC technician has the specialized tools and expertise to address it.
- Strange Noises: If your vents are making loud, unusual noises (banging, whistling beyond normal airflow sounds), it could indicate a more serious problem with the HVAC system itself.
- Persistent Airflow Problems: If you’ve cleaned your vents and still have significant airflow issues to certain rooms, the problem might lie with your HVAC unit, duct sizing, or zoning.
- Complete Replacement: While replacing a single vent cover is easy, if you need to replace an entire duct run or make significant modifications, it’s best left to professionals.
For these situations, a qualified HVAC contractor can diagnose and fix the problem safely and effectively. You can often find local professionals through resources like the Air Conditioning Contractors of America (ACCA).
Frequently Asked Questions (FAQ)
Q1: How often should I clean my air vents?
You should ideally vacuum the visible parts of your air vents at least monthly to remove surface dust. For a deeper clean of the interior, quarterly cleaning is recommended. Changing your HVAC air filter regularly (every 1-3 months) is also crucial for preventing dust buildup.
Q2: My vent cover is painted shut. How do I open it?
Carefully use a utility knife or a putty knife to score along the edge where the cover meets the wall or trim. This breaks the paint seal.
