
Have you ever noticed that old, dirty caulking around your bathtub or sink? It can make your bathroom look really messy. Many people don’t know this, but replacing bathroom caulking is much easier than it seems. With just a little effort, you can make your bathroom sparkle.
Imagine inviting friends over and seeing their surprise when your bathroom looks brand new. Did you know that fresh caulking not only improves appearance but also helps keep water from damaging your home? That’s right! When you replace bathroom caulking, you also protect your walls and floors.
In this article, we will guide you through the simple steps to replace that worn-out caulking. You might be surprised at how quick and satisfying this DIY task can be. Grab your tools and let’s get started on making your bathroom shine!
How To Replace Bathroom Caulking For A Fresh Look

Replace Bathroom Caulking

Replacing bathroom caulking keeps your space looking fresh and clean. Over time, old caulk can crack and mold, leading to bigger problems. Did you know that fresh caulking can prevent water damage? To replace it, start by removing the old caulk carefully. Clean the surface and apply new caulk in a smooth line. It’s like giving your bathroom a mini-makeover! A simple task can make a big difference in your home. So, are you ready to tackle it?
Understanding Bathroom Caulking
Definition and purpose of bathroom caulking. Common types of caulking used in bathrooms.
Bathroom caulking is a special sealant used to keep water out of gaps. It prevents leaks and mold. This is important for keeping the bathroom safe and clean. There are several types of caulking, such as:
- Silicone: Flexible and waterproof.
- Latex: Easy to clean and paintable.
- Acrylic: Good for sealing around bathtubs and sinks.
Each type has its purpose, helping to create a strong barrier in wet areas. Understanding these options can make your bathroom more durable.
What is the purpose of bathroom caulking?
The purpose of bathroom caulking is to create a tight seal, preventing leaks and moisture. This keeps your bathroom safe and dry. Using the right caulk protects against mold and water damage.
When to Replace Bathroom Caulking
Signs that indicate a need for replacement. Importance of timely replacement to prevent damage.
Knowing when to swap out your bathroom caulking can save you from a soggy disaster. Look for signs like cracks, mold, or peeling caulk. These small problems can become big headaches if not fixed. Timely replacement keeps water where it belongs—inside the tub, not on your bathroom floor! Trust me, no one wants to swim in a bathroom. Here’s a quick table to help you out:
| Sign of Damage | Action Needed |
|---|---|
| Cracks | Replace Caulking |
| Mold Growth | Replace Caulking |
| Peeling | Replace Caulking |
Staying on top of these issues keeps your bathroom fresh and dry, allowing you to focus on more fun things, like picking out shower curtains!
Tools and Materials Needed
Essential tools for removing and applying caulk. Recommended types of caulk for bathroom use.
To tackle bathroom caulking like a pro, gather a few key tools. You’ll need a caulk gun, utility knife, and scrapers to remove old caulk. Put on a pair of rubber gloves; they keep your hands clean and dry! For application, choose a silicone-based caulk. It’s waterproof and perfect for bathrooms. Check the table below for more details on tools and caulk types. Remember, no one likes a leaking bathroom!
| Tool/Material | Description |
|---|---|
| Caulk Gun | Easy to use for applying caulk smoothly. |
| Utility Knife | Perfect for cutting old caulk. |
| Scraper | Gets rid of leftover caulk like a champ. |
| Silicone Caulk | Waterproof and ideal for wet areas. |
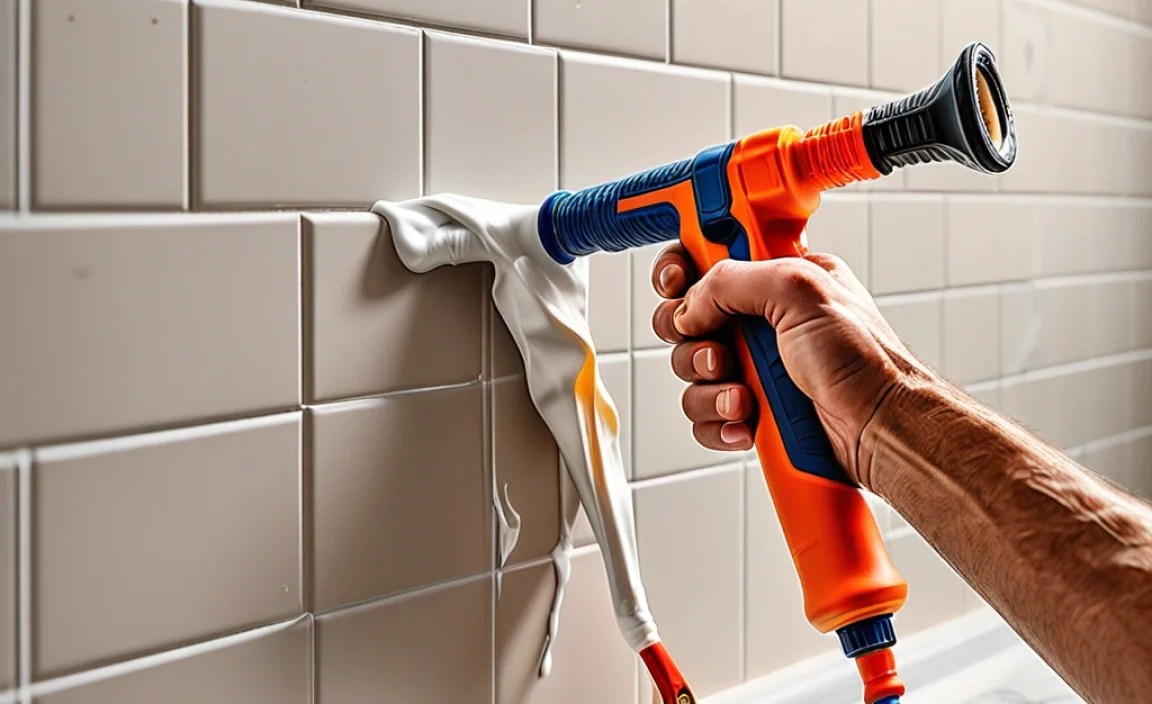
Step-by-Step Guide to Removing Old Caulk
Techniques for safely removing old caulking. Tips for thorough cleaning of the area postremoval.
Ready to tackle that old, stubborn caulk? Begin by using a utility knife to carefully slice along the edges. This helps to separate the caulk from the surface. Be gentle—no one wants a surprise trip to the ER! After that, grab a putty knife to gently pry it away. If it resists, a little heat from a hairdryer can help loosen it up. Don’t forget to clean the area once done; a mixture of vinegar and water works like magic!
| Step | Action |
|---|---|
| 1 | Score edges with a utility knife |
| 2 | Gently pry with a putty knife |
| 3 | Use a hairdryer for tough spots |
| 4 | Clean with vinegar and water |
Now, you’re ready to add new caulk for a fresh look! Remember, even caulk needs a good cleaning now and then—just like our shoes after a rainy day!
Preparing the Surface for New Caulk
Importance of a clean and dry surface. Methods for ensuring proper adhesion.
Before you add new caulk, a clean and dry surface is super important. Think of it like making a cake; you wouldn’t bake it in a dirty pan, right? Wipe away old caulk and clean the area. For best holding power, use a little rubbing alcohol or vinegar. It’s like giving your caulk the best dance partner to stick to! Remember, moisture is the enemy. Keep everything really dry for perfect adhesion. Here’s a quick look at how to prep:
| Step | Action |
|---|---|
| 1 | Remove old caulk |
| 2 | Clean the area |
| 3 | Dry completely |
| 4 | Use alcohol or vinegar |
With these steps, your new caulk will stick like gum on a shoe! Happy caulking!
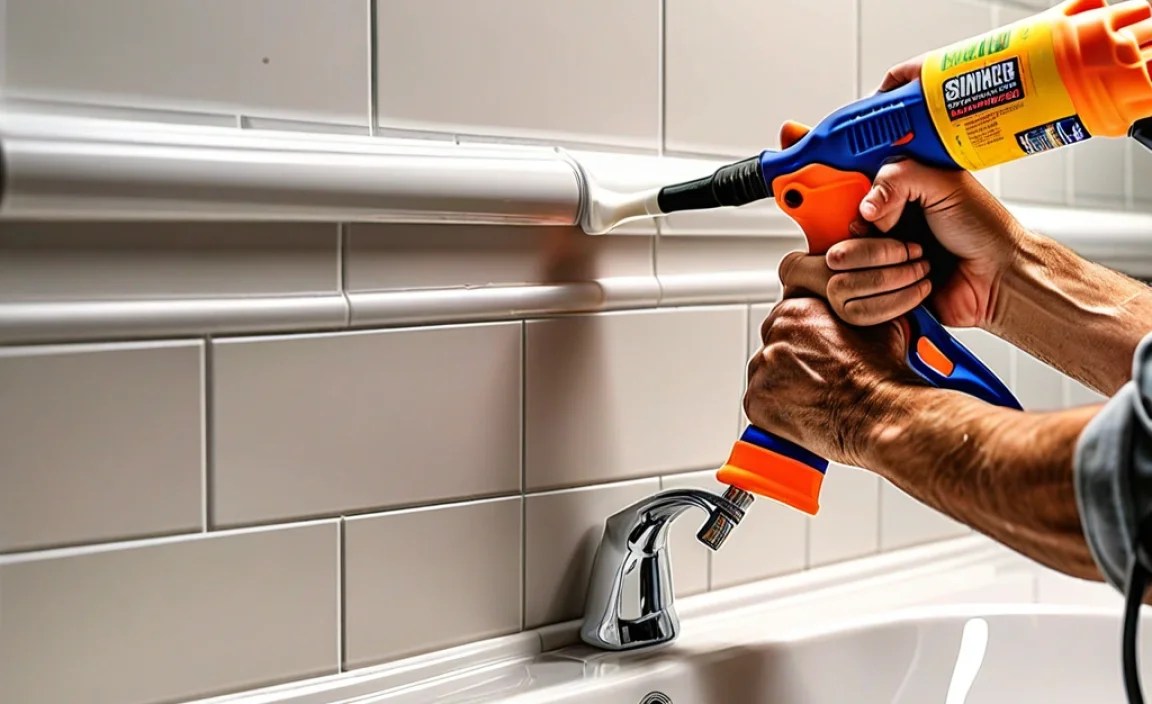
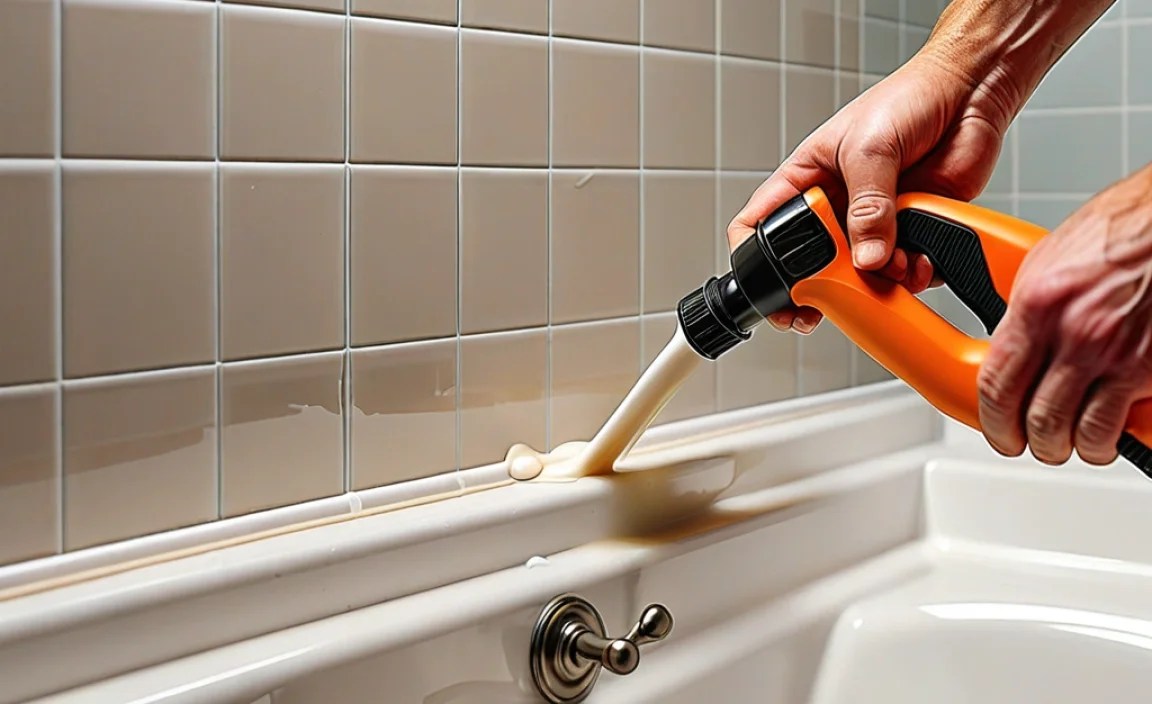
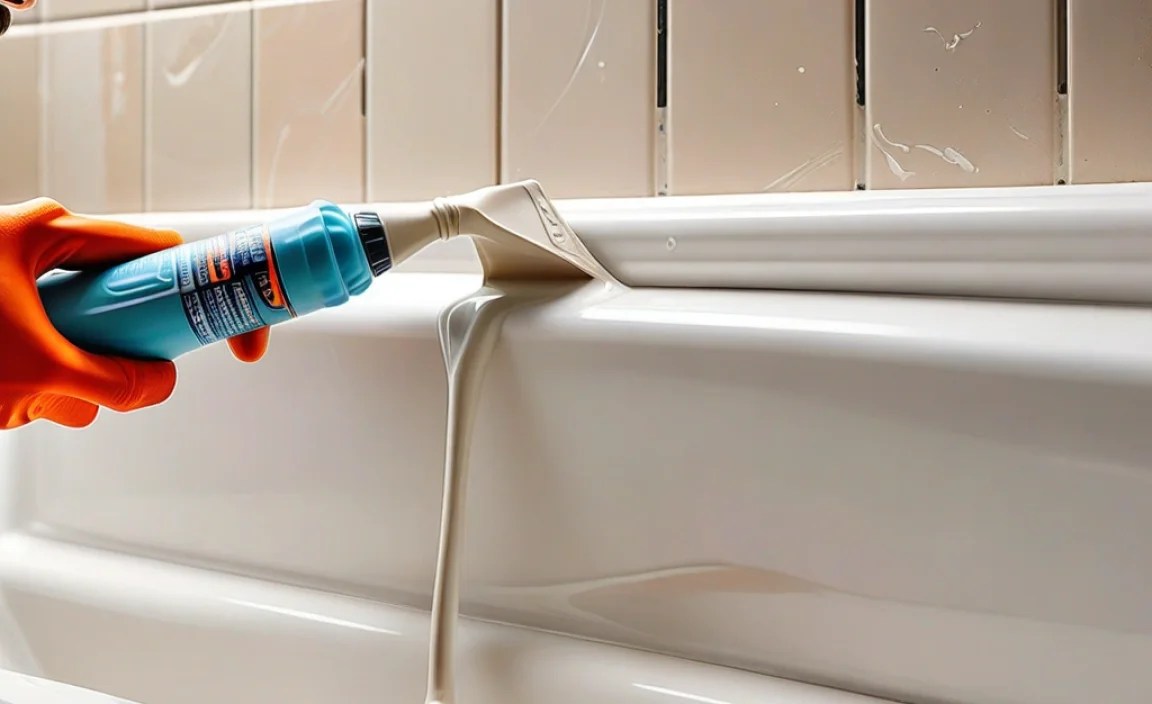
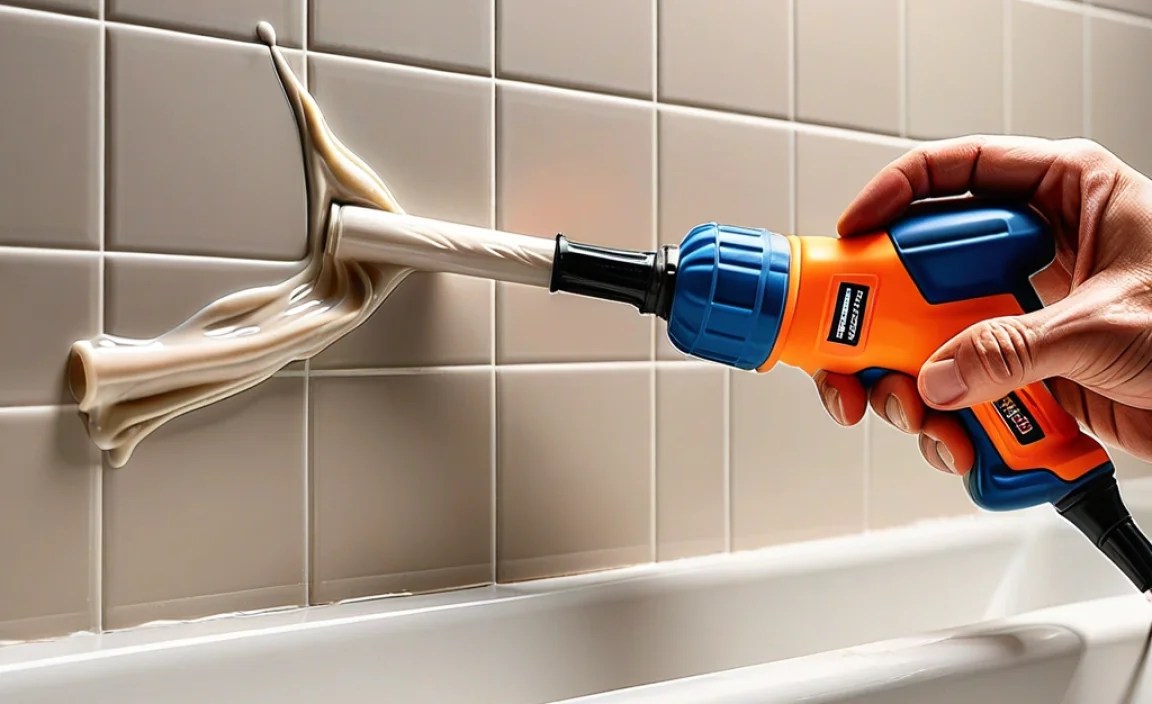
Applying New Bathroom Caulking
Techniques for a smooth and even application. Best practices for finishing touches.
Start by applying the caulk with steady pressure. Move the tube along the gap for an even line. Use your finger to smooth the caulk after applying. This helps it fit better and look nice. Wipe away any extra with a damp cloth.
For the best finishing touches:
- Let the caulk dry completely.
- Check for any gaps or bumps.
- Remove any old caulk before starting fresh.
Doing it right makes your bathroom look great!
What is the best way to apply caulk?
The best way to apply caulk is to squeeze it steadily along the gap, then smooth it with a finger or tool for a neat finish.
Common Mistakes to Avoid
Frequent errors during the caulking process. Tips for ensuring longlasting results.
Many errors can happen when people replace bathroom caulking. Knowing what to avoid can help you get the job done right. Here are some frequent mistakes:
- Skipping surface preparation
- Using too much caulk
- Not smoothing the caulk
- Choosing the wrong type of caulk
To ensure long-lasting results, make sure to clean the area well before starting. Take your time to apply a thin, even layer of caulk. Lastly, always choose a product that fits your needs.
What are the top mistakes to avoid?
Common mistakes include not cleaning the surface, using excess caulk, and picking the wrong type of product.
Maintenance Tips for Caulked Areas
How to care for and maintain new caulking. Signs that indicate future maintenance is needed.
Keeping caulked areas looking fresh is easier than you think! New caulking loves a good clean, so gently wipe it down with a damp cloth every now and then. Watch for any cracks or peeling; these are clear signs that maintenance is needed. Trust your eyes—if it looks sad, it probably is! Always give areas a yearly check-up for water damage. If it’s not smiling back at you, it might be time for a touch-up!
| Signs of Wear | Action Needed |
|---|---|
| Cracks | Replace the caulk |
| Peeling | Reapply with fresh caulk |
| Discoloration | Clean or replace |
Conclusion
In conclusion, replacing bathroom caulking keeps your space clean and safe. It prevents water damage and mold. You can do it yourself with simple tools. Remember to choose the right caulk for your needs. If you want more detailed steps, check out guides online. Start your project today and enjoy a fresh, tidy bathroom!
FAQs
Sure! Here Are Five Related Questions On The Topic Of Replacing Bathroom Caulking:
Replacing bathroom caulking is important to keep your bathroom clean and dry. First, you need to remove the old caulk with a knife or scraper. Then, clean the area well before adding new caulk. Apply it in a smooth line and let it dry completely. This helps stop water leaks and mold!
Sure! Just ask your question, and I’ll be happy to help you with a simple answer.
What Tools And Materials Are Needed To Effectively Remove And Replace Bathroom Caulking?
To remove and replace bathroom caulking, you need a few tools and materials. First, get a caulk remover tool or a utility knife. You’ll also need some new caulking, which you can buy at the store. A caulking gun helps you apply the new caulking neatly. Lastly, have rags and some cleaning solution to clean the area before you start.
How Can I Tell When It’S Time To Replace The Caulking In My Bathroom?
You should replace the caulking in your bathroom if you see cracks or gaps. If you notice mold or mildew, it’s time to change it too. You can also feel if the caulking is hard and dry. If water is leaking through, that means it needs to be replaced. Always check your caulking when you clean your bathroom!
What Type Of Caulk Is Best Suited For Use In A Bathroom Environment?
The best caulk for a bathroom is silicone caulk. It keeps water out and doesn’t mold easily. You can use it around sinks, tubs, and showers. Make sure to pick a type that says it’s for bathrooms. Silicone caulk will help keep your bathroom dry and clean!
What Is The Proper Technique For Applying New Caulking To Ensure A Watertight Seal?
To apply new caulking, first, clean the area well. Remove old caulk and dirt so the new caulk sticks better. Cut the tip of the caulk tube at an angle. Squeeze the tube gently and move it along the gap. Smooth the caulk with your finger for a tight seal. Let it dry completely before using the area.
How Can I Avoid Common Mistakes When Replacing Bathroom Caulking, Such As Bubbles Or Uneven Application?
To avoid mistakes when replacing bathroom caulking, start by cleaning the area well. Remove old caulk and dirt. Use painter’s tape to get straight lines. Apply the caulk evenly and without rush. Smooth it out with your finger for a nice finish.
