
Replacing a faucet yourself can save you hundreds of dollars compared to hiring a plumber. This guide breaks down the typical replace faucet cost, offering affordable options and clear, step-by-step instructions. Learn how to tackle this common home improvement task confidently, ensuring a reliable and stylish upgrade without breaking the bank. We’ll cover everything from choosing the right faucet to the actual installation process.
Your Affordable Guide to Replacing a Faucet Costs
Dealing with a leaky, outdated, or simply unappealing faucet is a common home headache. The good news is that you don’t always need to call in the professionals. Understanding the replace faucet cost, especially when doing it yourself, can be surprisingly empowering. Many homeowners assume professional installation is the only route, leading them to pay for labor they could save. This guide is here to demystify the process, show you how affordable a faucet replacement can be, and equip you with the knowledge to tackle it yourself safely and successfully.
We’ll walk through the typical expenses involved, from the faucet itself to the minor supplies you might need. More importantly, we’ll provide a clear, step-by-step approach to replacing your faucet, turning what might seem like a daunting task into an achievable DIY project. Get ready to transform your kitchen or bathroom sink and boost your home’s value and aesthetics without a hefty price tag.
Understanding Replace Faucet Cost: What to Expect

The cost of replacing a faucet can vary significantly, but doing it yourself offers the most substantial savings. When you break down the replace faucet cost, there are two primary components: the cost of the faucet itself and the cost of labor. By tackling the installation yourself, you eliminate the labor cost, which is often the largest part of the expense.
Several factors influence the price of a new faucet:
- Brand and Quality: Well-known brands and faucets made with higher-quality materials (like solid brass) will generally cost more than budget-friendly options.
- Features: Faucets with advanced features such as pull-down sprayers, touchless operation, or integrated water filtration systems will command a higher price.
- Finish: Finishes like brushed nickel, matte black, or oil-rubbed bronze can sometimes be more expensive than standard chrome.
- Type of Faucet: Wall-mounted faucets, for example, can sometimes have different installation requirements and costs associated with them, though the faucet itself might be priced similarly.
Here’s a general breakdown of what you might expect:
Average Faucet Replacement Costs: DIY vs. Professional
To give you a clearer picture of the potential savings, let’s look at average costs. These figures are estimates and can fluctuate based on your location and specific choices.
| Cost Component | DIY (Estimated Cost) | Professional Installation (Estimated Cost) |
|---|---|---|
| Faucet Purchase Price | $50 – $300+ (depending on style and brand) | $50 – $300+ (depending on style and brand) |
| Tools & Supplies | $20 – $50 (one-time purchase for basic tools) | Included in labor or minor extra charges |
| Plumber Labor | $0 (you’re doing it!) | $150 – $400+ (for installation only) |
| Total Estimated Cost | $70 – $350+ | $200 – $700+ |
As you can see, the savings by opting for a DIY replacement are substantial, potentially saving you several hundred dollars. This makes understanding the “replace faucet cost” from a DIY perspective incredibly rewarding.
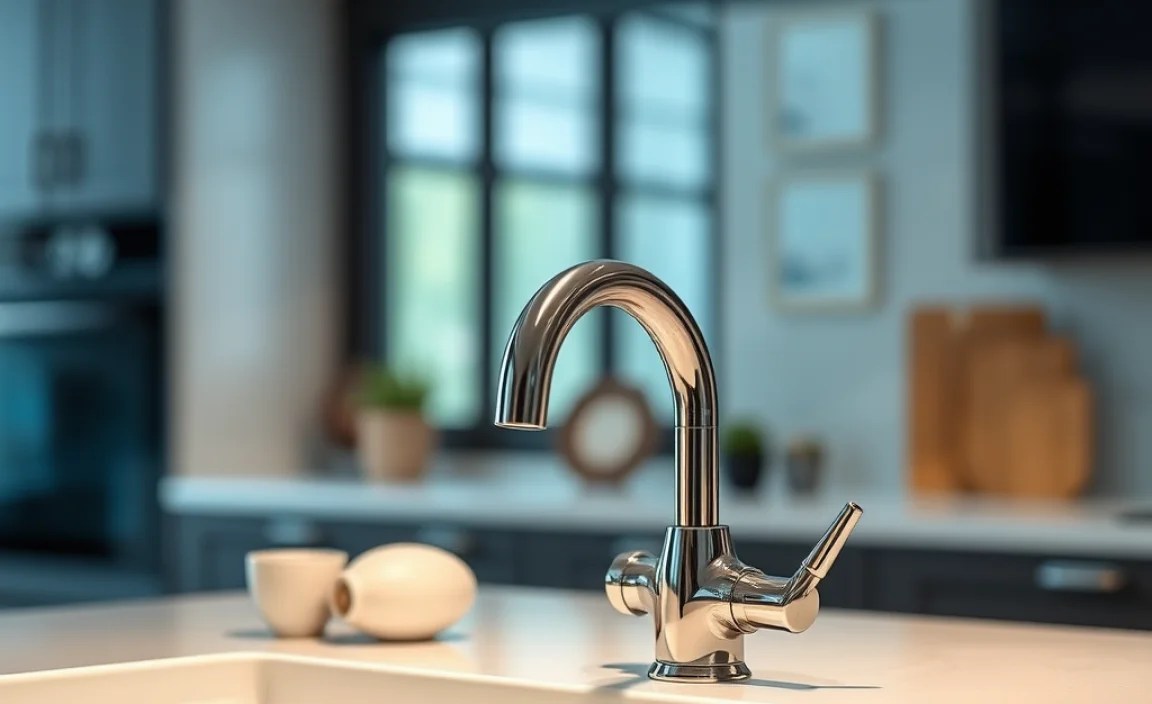
Choosing Your New Faucet: Style Meets Functionality
The first step in your DIY faucet replacement journey is selecting the right faucet. This is where you can really personalize your space and choose something that fits your style and budget. Consider these key aspects:
Types of Faucets
Faucets come in various configurations, and it’s crucial to choose one that matches your sink or countertop setup. The most common types include:
- Single-Handle Faucets: These have one handle that controls both water temperature and flow. They are convenient and easy to use, especially for kids and seniors.
- Double-Handle Faucets: These have separate handles for hot and cold water. They offer precise control over temperature and are often chosen for their traditional aesthetic.
- Pull-Down/Pull-Out Faucets: Featuring a spray head that pulls out from the spout, these are excellent for cleaning sinks and large items.
- Wall-Mounted Faucets: These are mounted directly onto the wall above the sink, often seen in modern or minimalist designs. Ensure your plumbing is configured for this type.
Sink Hole Configuration
This is perhaps the most critical factor when choosing a new faucet. Your sink or countertop will have pre-drilled holes that the faucet mounts into. You need to match the new faucet to these holes.
- 1 Hole: Typically for single-handle faucets.
- 2 Holes: Less common, might be for a separate handle and spout.
- 3 Holes: Most common for double-handle faucets (one for each handle, one for the spout) or single-handle faucets with a separate side sprayer. The faucet you buy might come with a deck plate to cover unused holes if you’re switching from a 3-hole to a 1-hole configuration.
- 4 Holes: Usually for a faucet, two handles, and a side sprayer or soap dispenser.
Pro Tip: Check the number of holes in your existing sink. You can usually find this by looking under the sink where the faucet base is mounted, or by carefully observing the current setup. If you’re unsure, measure the distance between the centers of the holes.
Materials and Finishes
The material and finish you choose not only affect the look but also the durability and price.
- Materials: Look for solid brass construction for longevity. Stainless steel and zinc alloys are also common. Plastic components can be found in cheaper models but may not last as long.
- Finishes:
- Chrome: Durable, easy to clean, and affordable.
- Brushed Nickel: Resists fingerprints and water spots, offers a warm, matte look.
- Matte Black: Modern and stylish, can show water spots if not wiped down regularly.
- Bronze/Gold Tones: Often add a luxurious feel but can be pricier.
When considering the replace faucet cost, remember that investing a little more in a faucet made of solid brass with a good finish can save you money in the long run through increased durability and fewer replacement needs.
Essential Tools and Supplies for Faucet Replacement
Gathering the right tools before you start is key to a smooth and efficient DIY project. Fortunately, replacing a faucet doesn’t require an arsenal of specialized equipment. Most of these are standard tools found in a well-equipped DIYer’s toolbox.
Tools You’ll Likely Need:
- Adjustable Wrenches (2): One for holding parts and one for turning nuts.
- Basin Wrench: This specialized tool is invaluable for reaching awkward nuts located far up under the sink basin. It’s often essential for disconnecting and connecting the faucet.
- Pliers (Channel-lock or Groove-joint): Useful for gripping various parts.
- Screwdriver Set: For any screws that might be holding components in place.
- Bucket: To catch any residual water in the pipes.
- Rags or Towels: For drying and cleaning up spills.
- Safety Glasses: Always protect your eyes!
- Utility Knife: To cut through old caulk if necessary.
- Penetrating Oil (e.g., WD-40): To help loosen stubborn, corroded nuts and bolts.
Supplies:
- Plumber’s Putty or Silicone Caulk: To create a waterproof seal between the faucet base and the sink. Check your faucet’s instructions; some have built-in gaskets and don’t require putty.
- Teflon Tape (Pipe Thread Tape): For sealing threaded connections, though often not needed for the supply line connections at the faucet itself.
- New Water Supply Lines: It’s highly recommended to replace these if they are old or show signs of wear. They connect the faucet to your home’s shut-off valves.
The initial investment in these tools can be relatively low, especially if you buy them piecemeal over time. This one-time cost contributes to many future DIY projects, further reducing the long-term replace faucet cost.
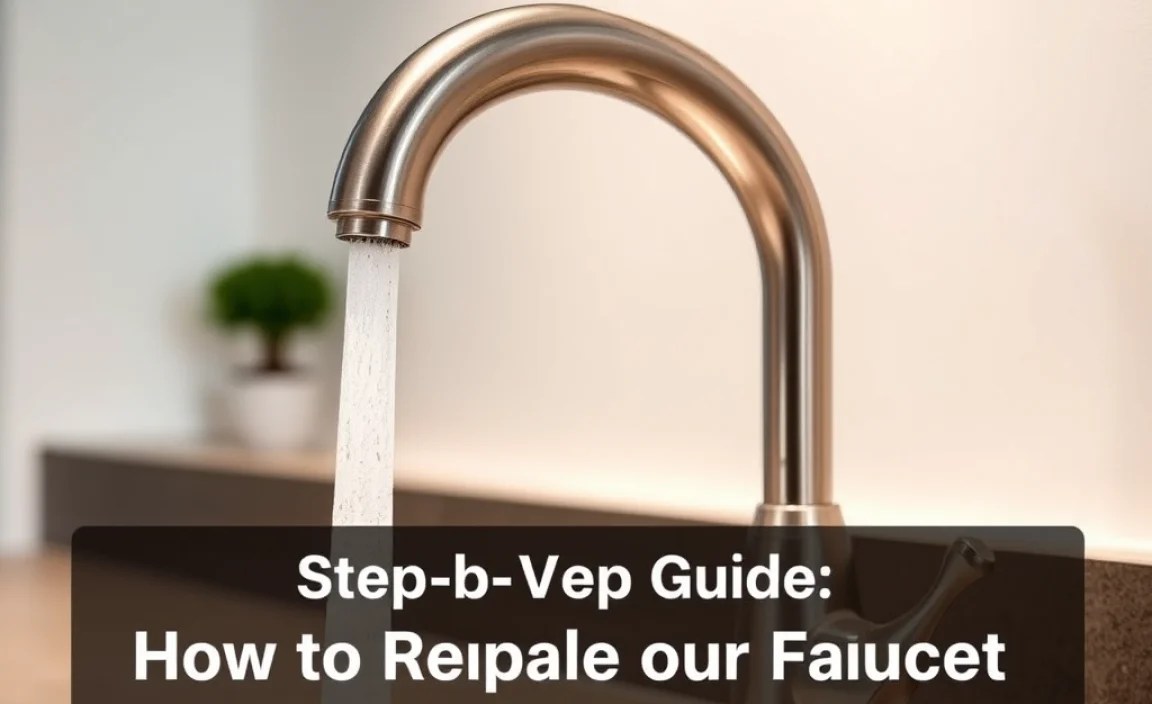
Step-by-Step Guide: How to Replace Your Faucet
Ready to roll up your sleeves? Here’s a detailed, beginner-friendly guide to replacing your faucet. Take your time, and don’t hesitate to re-read steps if something isn’t clear.
Step 1: Turn Off the Water Supply
This is the most critical safety step. Locate the hot and cold water shut-off valves beneath the sink. They are usually small handles connected to pipes coming out of the wall. Turn these valves clockwise until they are fully closed. Open the old faucet to relieve any remaining pressure and drain residual water.
Important Note: If you can’t find valves under the sink, or if they don’t work, you’ll need to turn off the main water supply to your house. This valve is typically located where the water line enters your home, often in the basement, garage, or an exterior utility closet.
Step 2: Disconnect the Water Supply Lines
With the water off, place your bucket beneath the water supply line connections. Use an adjustable wrench to loosen the nuts connecting the supply lines to the faucet tailpieces (the threaded pipes extending down from the faucet). Be prepared for a small amount of water to drip out.
Step 3: Remove the Old Faucet
Look underneath the sink where the faucet is mounted. You’ll see mounting nuts or screws holding the faucet in place. Use your adjustable wrench or basin wrench to loosen and remove these. If there’s a lot of corrosion, a little penetrating oil might help. Once the nuts/screws are off, carefully lift the old faucet from the top of the sink.
If the faucet is sealed with plumber’s putty or caulk, you may need to use a utility knife to break the seal before it can be lifted. Clean away any old putty or caulk from the sink surface.
Step 4: Prepare the New Faucet
Unpack your new faucet and read the manufacturer’s instructions carefully. Many modern faucets come with integrated gaskets, eliminating the need for plumber’s putty. If putty is recommended or required, roll a rope of it and place it around the underside base of the faucet or its mounting plate. If using silicone caulk, apply a thin, even bead.
Step 5: Install the New Faucet
Carefully position the new faucet onto the sink from above, aligning it with the holes. From underneath the sink, secure the faucet with the provided mounting hardware (washers, nuts, screws). Hand-tighten first, then use your wrench to snug them up. Be careful not to overtighten, which could crack the sink or damage the threads.
Step 6: Connect the Water Supply Lines
Attach the new water supply lines to the faucet tailpieces. Hand-tighten first, then use your wrench to tighten them another quarter to half turn. Avoid overtightening. Connect the other end of the supply lines to the shut-off valves. Again, hand-tighten and then snug them up with a wrench.
Step 7: Turn the Water Back On and Check for Leaks
Slowly turn the hot and cold shut-off valves counter-clockwise to restore water flow. Check all connections under the sink for any drips or signs of leaks. Turn the faucet on at the handle(s) and let the water run for a minute to flush out any debris from the lines. Check again for leaks around the faucet base and all connections.
If you find a small drip at a threaded connection, try tightening the nut a bit more. If leaks persist, you may need to disconnect, reapply Teflon tape (if applicable per faucet instructions), and reconnect. For leaks at the faucet base, ensure the putty/caulk is properly sealed and the mounting hardware is snug.
Step 8: Clean Up
Wipe away any excess plumber’s putty or caulk from around the faucet base. Clean up your tools and the work area. Congratulations, you’ve successfully replaced your faucet!
Cost-Saving Tips for Faucet Replacement
Maximizing savings on your faucet replacement involves smart shopping and DIY effort. Here are some tips to keep your replace faucet cost as low as possible:
- Shop Sales and Clearance: Many home improvement stores have seasonal sales or clearance sections where you can find excellent deals on faucets. Keep an eye out for end-of-year or holiday promotions.
- Consider Basic Models: While fancy features are appealing, simpler faucet designs are often significantly cheaper and just as functional. A well-made, basic faucet can last for years.
- Buy a Faucet that Matches Existing Hole Configuration: If you can find a new faucet that matches the number and spacing of your sink’s holes, you won’t need to buy an extra deck plate or worry about covering unused holes, saving you a small additional expense.
- Prioritize Durability Over Trends: While a trendy finish might be appealing now, classic finishes like chrome or brushed nickel are timeless, usually more affordable, and tend to be easier to maintain.
- Replace Supply Lines with Faucet: Although it adds a small upfront cost, replacing old supply lines with new ones while you’re already working under the sink prevents potential future leaks and the need for a plumber, saving money in the long run. You can find basic braided stainless steel lines for a few dollars each.
- Rent or Borrow Tools: If you only need a specialized tool like a basin wrench for this one project, see if a friend has one you can borrow or if your local hardware store offers tool rental.
- Attend DIY Workshops: Some home improvement stores offer free workshops that can teach you basic plumbing skills, like faucet installation. While they might not cover this specific task, they build confidence for future projects.
By being a savvy shopper and taking advantage of DIY, you can significantly reduce the overall replace faucet cost.
When to Consider Professional Help
While DIY is often the most affordable route, there are situations where hiring a plumber is the smarter, safer choice. Understanding these instances can save you from potential headaches and further expenses down the line.
Signs It Might Be Time to Call a Pro:
- Unfamiliar Plumbing System: If your home has an older or non-standard plumbing system, or if you’re unsure about how your pipes are routed, attempting a DIY replacement could lead to mistakes that cause significant water damage.
- Stubborn or Corroded Existing Fixture: If the old faucet is severely corroded, fused to the pipes, or the mounting nuts are impossible to budge with standard tools, you risk breaking pipes or the sink itself. A plumber has specialized tools and techniques to handle these difficult situations.
- No Water Shut-Off Valves: If you cannot find or operate the shut-off valves under the sink and are uncomfortable shutting off the main water supply to your house, it’s best to leave the job to a professional.
- Leaking Pipes or Connections: If, during the process, you discover damaged pipes, leaking connections beyond just your faucet’s supply lines, or other plumbing issues, a professional plumber is needed to diagnose and fix the problem safely.
- Lack of Confidence or Time: If you feel overwhelmed by the instructions, lack the necessary tools, or simply don’t have the time to dedicate to the project, spending a bit more on professional installation is a worthwhile investment for peace of mind.
- Complex Faucet Installation: Some high-end or specialized faucets (like smart faucets or those requiring new valve bodies) might have more complex installation procedures that are best handled by an experienced professional.
For more information on plumbing basics and safety, the U.S. Consumer Product Safety Commission (CPSC) offers valuable resources on home appliance safety, which indirectly can apply to plumbing fixtures. Visit CPSC.gov for general safety guidelines.
While the replace faucet cost is significantly lower for DIY, prioritizing safety and avoiding potential damage is paramount.
