
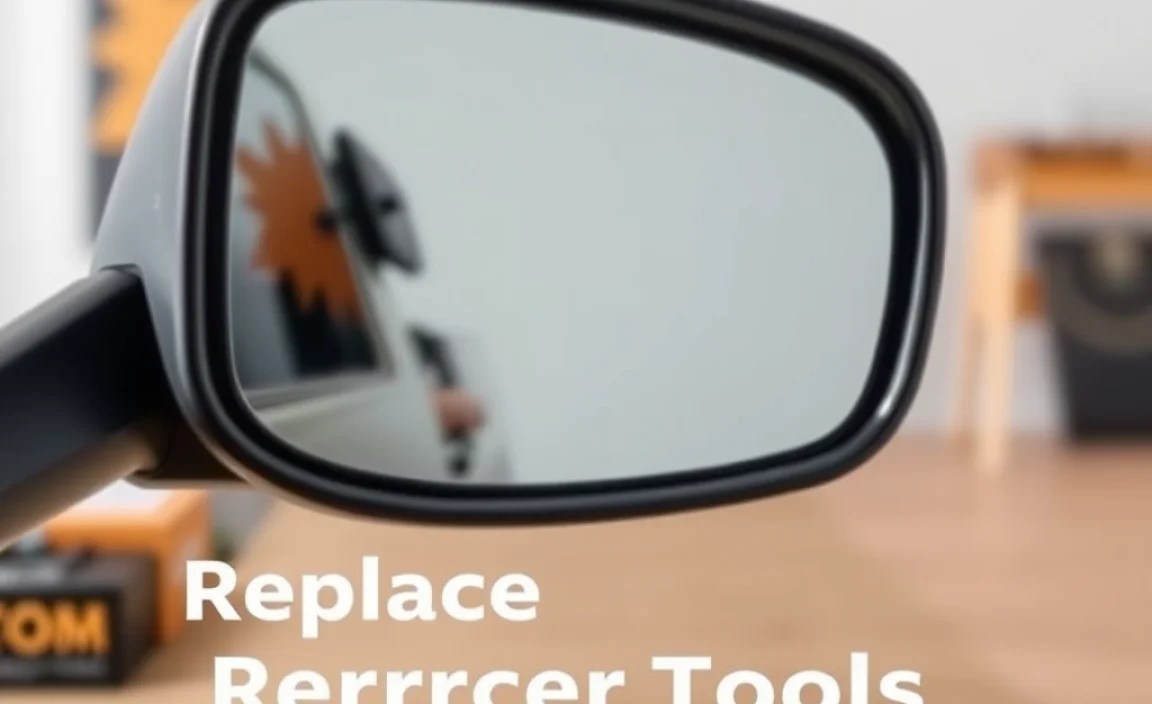
Quick Summary: Replacing mirror tools is straightforward! You’ll primarily need basic hand tools like a screwdriver, pliers, and potentially a drill, along with replacement mirror clips or adhesive. This guide breaks down common mirror types and the specific tools needed for a safe, successful DIY replacement.
Ever stared at a wobbly mirror or a cracked reflection? Replacing a mirror might seem daunting, but it’s a common home maintenance task that’s totally doable. Many times, the issue isn’t the mirror itself but the clips or adhesive holding it in place. These often weaken over time or can be damaged during cleaning or accidental bumps.
Don’t let a loose or damaged mirror stress you out! With the right tools and a little guidance, you can tackle this project confidently. We’ll walk you through identifying what you need and how to use it, ensuring your mirror is secure and looking its best again.
Essential Tools for Replacing Mirror Tools

When we talk about “replacing mirror tools,” we’re usually referring to the hardware and methods used to attach a mirror to a surface, rather than the tools used to cut or shape mirrors themselves. Think of these as the “support system” for your mirror. The specific tools you’ll need depend mostly on how your mirror is currently attached.
Here’s a breakdown of the common types of mirror attachments and the tools you’ll likely need for each:
Type 1: Mirror Clips

Mirror clips are very common, especially for bathroom mirrors, vanities, or decorative wall mirrors. They’re small brackets that grip the edge of the mirror and are screwed into the wall or a backing board.
Why they’re used: Clips allow for easy removal of the mirror if needed and provide strong, reliable support.
Tools you’ll need:
- Screwdriver: Usually a Phillips head screwdriver (#2 size is common) to remove and install the screws holding the clips. Sometimes a flathead screwdriver might be needed if the screws are of that type.
- Pliers: Needle-nose pliers can be very helpful for gripping small clips or stubborn screws, and for gently prying things loose.
- Drill/Driver (Optional but Recommended): If you need to install new clips and the holes aren’t pre-drilled, a drill with a Phillips head bit will make the job much faster and easier.
- Level: Essential for ensuring your new mirror is mounted straight.
- Measuring Tape: To accurately position new clips if needed.
- Stud Finder: If you’re mounting to drywall without a backing board, a stud finder helps you locate wall studs for the most secure attachment.
- New Mirror Clips: Make sure to get clips that match the thickness of your mirror and the style of your old ones (or newer, more robust designs).
- Wall Anchors (if not hitting studs): If you can’t secure clips directly into wall studs, you’ll need appropriate wall anchors for securing them to drywall.
- Safety Gloves: To protect your hands from any sharp edges on the mirror or clips.
- Safety Glasses: Always a good idea when working with tools and potentially fragile materials.
Type 2: Mirror Adhesive

Some mirrors, especially larger decorative ones or those without a frame, are attached directly to a wall using a strong, specialized adhesive. This creates a very clean, seamless look.
Why it’s used: For a frameless look and a very secure, permanent bond when clips are not desired or practical.
Tools you’ll need:
- Putty Knife or Scraper: To safely remove any old adhesive residue from the wall or the back of the mirror.
- Scrub Brush and Cleaner: To thoroughly clean the wall surface and the mirror backing after removing old adhesive.
- Adhesive Remover (Optional): For stubborn old adhesive, a specialized remover might be needed.
- Caulking Gun: If you’re using adhesive in a tube, a caulking gun is essential for applying it evenly.
- Mirror Mastic or Adhesive: You must use an adhesive specifically designed for mirrors. Regular construction adhesive can damage the mirror’s backing. Look for products labeled “mirror mastic” or “mirror adhesive.”
- Masking Tape: To hold the mirror in place while the adhesive cures, or to create a temporary border.
- Level: To ensure the mirror is perfectly straight when applying.
- Measuring Tape: For precise placement.
- Stud Finder and Drywall Patches (potentially): If the old adhesive damaged the wall, you might need these to prep the surface.
- Safety Gloves: Important for handling adhesives and cleaning agents.
- Safety Glasses: Protect your eyes from splashes or debris.
- Damp Cloths: For cleaning up any excess adhesive.
Type 3: Framed Mirrors with Z-Clips or D-Rings

For mirrors with frames, the attachment method shifts. Often, frames use Z-clips (also called French cleats) or D-rings with wire. These are attached to the frame and then to corresponding hardware on the wall.
Why they’re used: To distribute weight evenly and allow for secure hanging of framed items, including mirrors.
Tools you’ll need:
- Screwdriver (Phillips and/or Flathead): To remove and install screws for either the frame hardware or the wall hardware.
- Drill/Driver (Recommended): Essential for pre-drilling holes and driving screws, especially into studs or if using specialized wall anchors.
- Level: Crucial for ensuring the frame hangs straight.
- Measuring Tape: For accurate placement of wall hardware.
- Stud Finder: Highly recommended to ensure the wall hardware is securely attached to studs for heavy mirrors.
- Hammer: Might be needed if you’re using certain types of wall anchors that require tapping into the wall.
- Wall Anchors: Heavy-duty anchors are essential if you cannot mount directly into studs. Look for weight ratings that safely exceed the mirror’s weight.
- Pencil: For marking drill points.
- Replacement Z-Clips, D-Rings, or Picture Wire: Ensure the new hardware can support the weight of your mirror.
General Tools for Most Mirror Tasks
Regardless of the attachment method, a few general tools come in handy:
- Work Gloves: Mirrors, even when not broken, can have sharp edges.
- Safety Glasses: Always a good precaution.
- Drop Cloth or Old Towels: To protect your floor from debris or dropped tools.
- Step Ladder or Sturdy Chair: For reaching higher mirrors.
- Cleaning Supplies: Glass cleaner, lint-free cloths for final wipe-downs.
Understanding Different Mirror Attachment Methods
Let’s dive a little deeper into why different methods are used and what makes them effective. Knowing this helps you choose the right replacement parts and tools.
Mirror Clip Systems
These are perhaps the most common for cabinet and wall mirrors. A typical system involves:
- The Clip: Small pieces of metal or plastic that hold the mirror edge. They come in various designs – some have a lip that rests on the mirror edge, while others clamp it.
- The Screw: The clip is secured to the wall using screws.
- The Base Plate (Sometimes): Some systems use a small metal plate that screws to the wall, and the clip then attaches to this plate.
When replacing clips, it’s vital to ensure they provide adequate support. For heavier mirrors, look for heavier-duty clips or ensure they are securely fastened into wall studs. The National Park Service provides insights into preserving historic mirrors, which often involves understanding their original mounting methods.
Adhesive Mounting
This method relies on specialized “mirror mastic” or adhesive. It’s crucial to use the right product because regular adhesives or silicones can damage the silvering on the back of the mirror, causing black spots or streaks over time.
Key considerations for adhesive:
- Surface Preparation: The wall must be clean, dry, and free of dust or grease.
- Even Application: Adhesives are often applied in vertical strips, not spread all over, to allow for air circulation behind the mirror and prevent moisture buildup.
- Curing Time: Mirror adhesive needs time to fully cure and bond. The mirror should not be moved or stressed during this period, often 24-72 hours.
For detailed guidance on using mirror mastics, you can often find excellent resources on the websites of adhesive manufacturers, some of which are reputable sources for DIYers.
Framed Mirror Hardware
Framed mirrors rely on the integrity of the frame and the hanging hardware.
- Z-Clips (French Cleats): Two interlocking pieces, one attached to the frame, the other to the wall. They slide together, creating a very secure and level hanging system. They are excellent for heavier items.
- D-Rings: Metal loops attached to the frame. These are typically used with picture wire that runs between them. The wire then hangs on hooks or screws secured to the wall.
When using D-rings and wire, the weight rating of the wire, the D-rings, and the wall hooks/screws is paramount. Overloading any component can lead to the mirror falling.
Step-by-Step Guide: Replacing Mirror Clips
This is a common scenario, so let’s walk through it. Assume you have a bathroom mirror held by clips, and one clip is broken or loose.
Step 1: Safety First!
Put on your safety gloves and glasses. If the mirror is already loose, be very careful. If it’s still securely attached, proceed with caution.
Step 2: Remove the Mirror (if necessary)
If the mirror is held by clips and you can lift it out, gently do so. Have someone help you if it’s large or heavy. Carefully set it aside on a soft surface like a towel.
Alternatively, if only one or two clips need replacing, and the mirror is stable, you might be able to work on one clip at a time.
Step 3: Access the Broken Clip
Identify the clip that needs replacing. It’s usually screwed into the wall or a backing board.
Step 4: Remove the Old Clip
Using the appropriate screwdriver (likely Phillips head), unscrew the old clip. If the screw is stripped or stuck, you might need a bit of extra leverage with pliers, or a screw extractor kit might be helpful. If the screw spins without coming out, it might be stripped in the wall anchor or the anchor itself is spinning.
Step 5: Prepare the Mounting Surface
Clean any dust or debris from the area where the old clip was attached. If the screw hole is enlarged or the anchor is damaged, you might need to fill it with spackle, let it dry, sand it smooth, and then drill a new pilot hole. If you can’t find a stud, you might need to use a new, appropriate wall anchor.
Step 6: Install the New Clip
Position the new mirror clip. If you’re using studs, ensure the screw goes directly into the stud. If using anchors, insert the anchors first according to their instructions.
Using a Drill: For speed and ease, use your drill with a bit matching your screws. This is especially helpful if drilling into studs. Make sure not to overtighten, which can strip the screw hole.
Using a Screwdriver: Align the clip and screw. Turn the screwdriver clockwise. Apply gentle pressure. If it becomes difficult, ensure the screw is aligned with the hole.
Step 7: Ensure Proper Placement
Mirror clips are designed to hold the mirror at a specific distance from the wall. Make sure the new clip is positioned at the same height and distance as the others.
Tip for Placement: If you removed the mirror entirely, you might need to mark the wall where the clips should go. Use your level and measuring tape to ensure they’re aligned horizontally.
Step 8: Re-hang the Mirror
With the new clip (and any others you may have adjusted) in place, carefully lift the mirror back into position. The edge of the mirror should rest on or fit into the new clip. Ensure all clips are engaging the mirror properly.
Step 9: Check for Stability
Gently press on the mirror to ensure it’s secure and doesn’t wiggle excessively. If it still feels loose, re-check all clips and their screws.
Step-by-Step Guide: Repairing Adhesive Mounts
This can be trickier, as it deals with permanent bonds and potential wall damage. This guide assumes you are re-attaching a mirror that has come partially loose, or repairing a spot where adhesive failed.
Step 1: Safety and Mirror Removal (if applicable)
Wear gloves and safety glasses. If the mirror is loose, exercise extreme caution. It’s often best and safest to completely remove the mirror if adhesive has failed. Have a helper!
Step 2: Remove Old Adhesive
This is often the hardest part. Use a putty knife or scraper to carefully lift and peel away old adhesive. Work slowly and evenly to avoid gouging the wall or damaging the mirror’s backing. For stubborn residue, a specialized adhesive remover may be necessary, but test it in an inconspicuous area first.
Step 3: Clean Surfaces Thoroughly
Once physical adhesive is removed, clean both the wall surface and the back of the mirror with an appropriate cleaner. For the wall, use a degreaser. For the mirror, follow care instructions but generally, a mild soap and water or glass cleaner should suffice for the backing. The surfaces must be spotless for the new adhesive to bond correctly.
Step 4: Prepare the Wall and Mirror
Inspect the wall. If there’s significant damage, you may need to repair it with spackle or drywall compound, sand it smooth, and prime it. Ensure it’s completely dry before proceeding.
Step 5: Apply New Mirror Adhesive
Using a caulking gun, apply the mirror mastic in vertical beads on the back of the mirror or on the wall, following the manufacturer’s recommendations. Do NOT spread it thinly or cover the entire surface. Leave gaps for air circulation.
Important: Refer to The Spruce’s guide on hanging heavy mirrors; their advice on adhesives is particularly relevant for ensuring a strong, lasting bond.
Step 6: Position and Secure the Mirror
Carefully place the mirror onto the wall. Use your level to ensure it’s perfectly straight. Once in place, it must be held securely while the adhesive cures. This might involve:
- Masking Tape: Apply strips of strong painter’s tape or masking tape across the mirror and onto the wall to hold it in position.
- Temporary Supports: Use blocks of wood or other items to support the mirror from below if gravity is a significant factor.
Step 7: Allow Adhesive to Cure
This is critical. Do not disturb the mirror. Check the adhesive manufacturer’s instructions for the recommended curing time, typically 24 to 72 hours. During this time, the bond is forming and will be at its weakest.
Step 8: Final Touches
Once cured, carefully remove the tape and clean the mirror. Check for stability.
Tools for Framed Mirrors (Z-Clips & D-Rings)
Framed mirrors often hang like picture frames, but due to their weight, more robust hardware and secure mounting are essential.
Z-Clips (French Cleat System)
- Install Z-Clip on Frame: One piece of the Z-clip attaches to the back of the mirror frame, usually with screws. Ensure it’s centered and securely fastened, often into the frame’s solid wood.
- Install Z-Clip on Wall: The corresponding piece attaches to the wall. Mark the wall by holding the frame up to check for level, or by measuring precisely. Use a stud finder to locate studs. If studs aren’t available where you need them, use heavy-duty wall anchors rated for the mirror’s weight. Screw the wall piece firmly into place.
- Hang Mirror: Lift the mirror and slide the frame-mounted clip over the wall-mounted clip. It should interlock.
