
Can you replace a shower cheaply? Absolutely! You can significantly reduce costs by doing some of the work yourself, opting for affordable materials, and tackling the project in stages, often saving hundreds of dollars compared to hiring a professional for the entire job.
Hello there, DIY adventurers! Bryan Lee here, your friendly guide to home upkeep. Ever look at your shower and think, “That needs an upgrade, but my wallet is screaming ‘no way’?” You’re not alone! A tired, leaky, or just plain outdated shower can really bring down the mood of your bathroom. But before you resign yourself to another year with dingy tiles or a sputtering showerhead, let me tell you a secret: replacing your shower doesn’t have to break the bank. In fact, with a few smart choices and a willingness to get a little hands-on, you can achieve a fantastic shower makeover for a fraction of the typical cost. We’ll explore how to make those savings happen without sacrificing style or functionality. Get ready to transform your bathroom on a budget!
Replacing Your Shower Cheap: Effortless Savings Strategies


Tired of staring at that cracked tile or the stained grout in your shower? Dreaming of a fresh, relaxing space but worried about the price tag? You’ve come to the right place. Replacing a shower might sound like a huge, expensive undertaking, but with the right approach, you can achieve a beautiful update without emptying your savings account. We’re going to tackle this “replace shower cheap” dream by breaking down the process into manageable, budget-friendly steps. From simple cosmetic fixes to more involved upgrades, I’ll show you how to save money at every turn.
Understanding Your Shower’s Current State
Before we dive into replacements, let’s take a moment to assess what you have. Sometimes, a full replacement isn’t necessary. A good cleaning and repair can go a long way!
- Minor Issues? Try a Refresh First. If your shower is structurally sound but just looks a bit tired, consider these low-cost solutions:
- Deep Cleaning: Invest in grout cleaner and a stiff brush. You’d be amazed at what elbow grease can do for dingy grout. For tough stains, a paste of baking soda and water can work wonders.
- Regrouting: Damaged or missing grout can lead to water seepage. You can buy grout repair kits and learn to regrout a small area yourself.
- Caulking: Old, cracked caulk is an invitation for leaks and looks messy. Removing old caulk and applying a fresh bead of silicone caulk is a simple, inexpensive fix.
- Painting: For shower stalls with painted surfaces, a good scrub and a fresh coat of mildew-resistant paint designed for bathrooms can significantly refresh the look.
- Major Issues? Plan for Replacement. If you have significant cracks, extensive mold, leaks, or outdated fixtures that are beyond repair, a replacement is likely your best bet. This is where we focus on budget-friendly strategies for a shower replacement.
The Cheapest Shower Materials: Smart Choices for Big Savings

The materials you choose will have the biggest impact on your budget. While granite or marble might be beautiful, they come with a hefty price tag. Thankfully, there are many attractive and durable alternatives that are much kinder to your wallet.
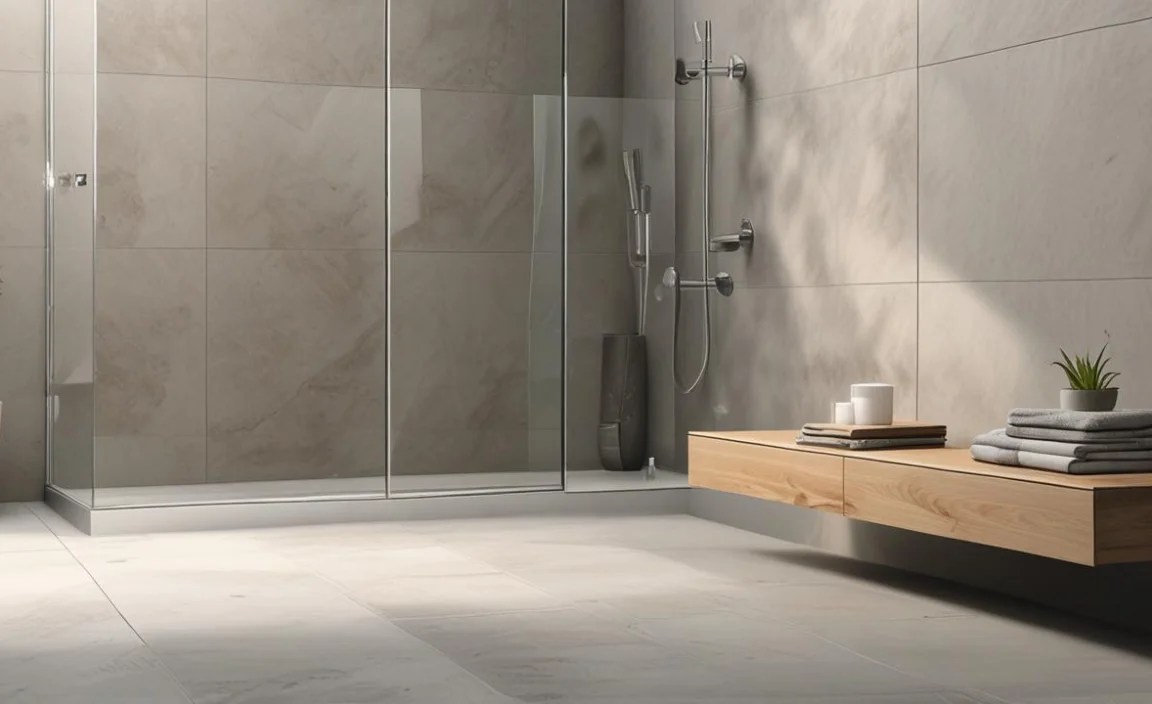
Shower Walls & Surrounds
This is often the most visible part of your shower and can be a significant cost. Here are the budget-friendly options:
- Fiberglass or Acrylic Shower Surrounds: These are typically the most economical choice. They are pre-fabricated panels that are lightweight, easy to install, and often come with integrated shelves or soap dishes. They’re also very easy to clean. You can find these at most home improvement stores.
- Pros: Very affordable, lightweight, easy to install, seamless (fewer grout lines to clean), waterproof.
- Cons: Can scratch or crack over time if not cared for, might not offer the high-end aesthetic some homeowners desire.
- PVC or Plastic Wall Panels: Similar to acrylic, these are a very budget-friendly option. They are waterproof and can be a quick and easy way to update shower walls, especially for a rental or a very tight budget.
- Pros: Extremely low cost, waterproof, simple installation.
- Cons: Can look less premium, potential for damage.
- Tileboard (WBP Plywood with Laminate): This is a more affordable alternative to ceramic tile. It’s essentially a waterproof plywood with a decorative laminate surface. While cheaper than tile, it’s still more expensive than basic acrylic.
- Pros: Cheaper than tile, waterproof, can mimic tile appearance.
- Cons: Requires more careful installation than pre-fab surrounds, edges need sealing.
- Sticking with Existing Tile (If Possible): If your tile is in good condition but you just want a change, consider regrouting and re-caulking (as mentioned above) for a completely new look at minimal cost.
Flooring
Shower floors need to be slip-resistant and waterproof. Budget options include:
- Vinyl Sheet Flooring: Durable, waterproof, and comes in many patterns. It’s a cost-effective and DIY-friendly option for shower floors, especially in smaller stalls.
- Large Format Porcelain Tiles: While tiles can be pricey, opting for larger tiles (e.g., 12″x24″ or larger) means fewer grout lines. Porcelain is durable and less expensive than natural stone. Look for sales and clearance items.
- Mosaic Tile Sheets: Small mosaic tiles, often sold on mesh sheets, can be surprisingly affordable and offer great texture and grip. The pattern can also hide minor imperfections.
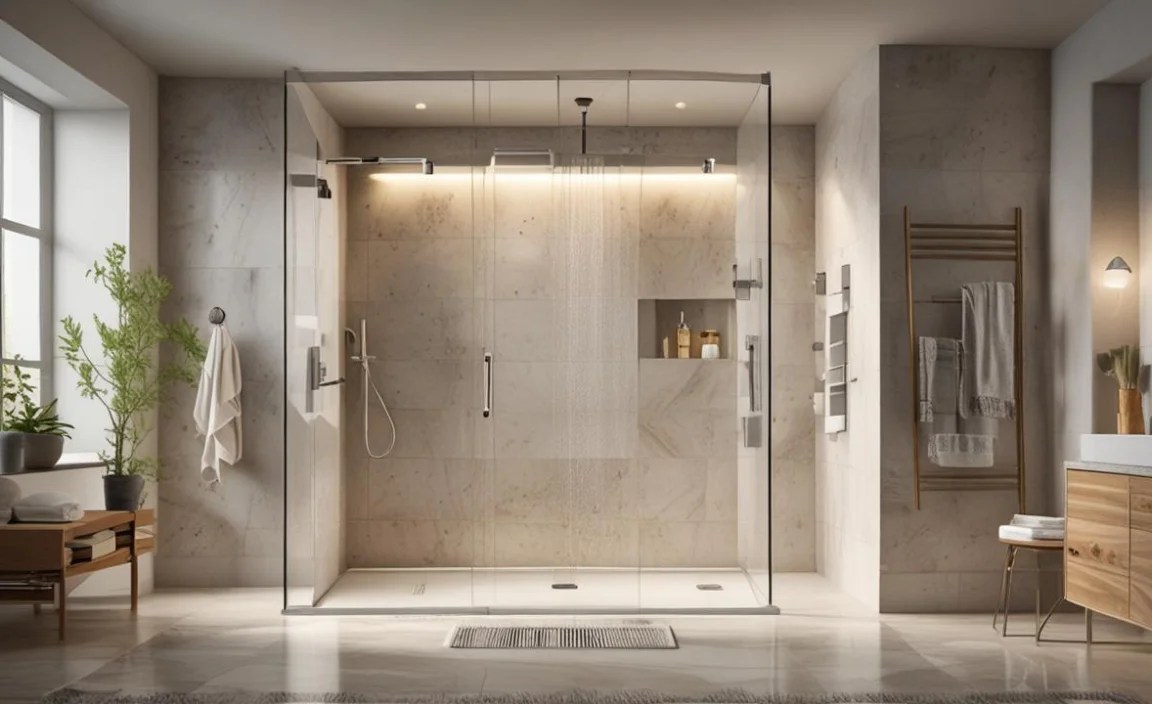
Shower Doors vs. Curtains
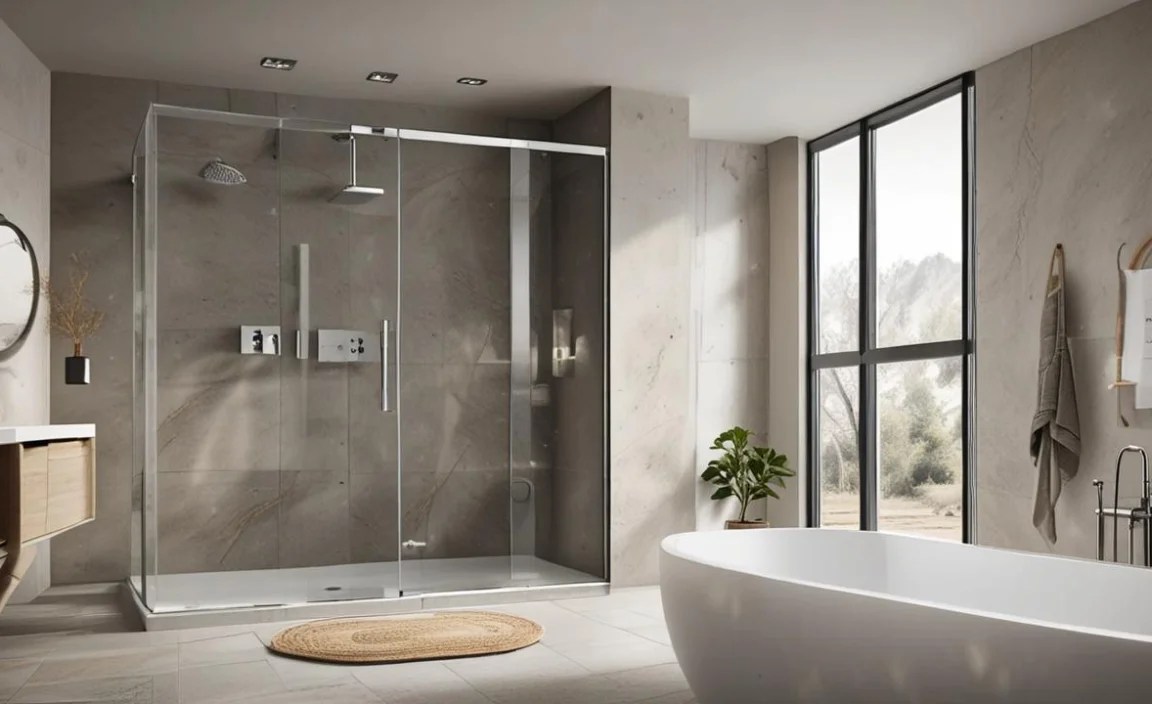
This is a classic debate with a clear budget winner.
- Shower Curtains: The undisputed champion of cheap. A good quality fabric shower curtain and liner will cost you $20-$50. They offer flexibility and are easy to change when you want a new look.
- Shower Doors: Even the most basic framed glass shower doors can cost several hundred dollars, and custom options can easily run into the thousands. If budget is your absolute top priority, stick with a curtain.
DIY Demolition: Saving Money by Starting Yourself
If you’re replacing an old shower unit or tub surround, the demolition phase is ripe for DIY savings. This mostly involves careful destruction and removal of the old materials. Always prioritize safety!
Here’s a general breakdown of how to approach shower demolition:
- Turn Off Water: This is crucial. Locate the main water shut-off valve for your house or, if possible, the shut-off valves specific to your shower (often behind an access panel). Turn them off completely.
- Remove Fixtures: Unscrew the showerhead, faucet handles, and spout. You might need an adjustable wrench or a screwdriver. Keep all the screws and small parts together so you don’t lose them.
- Remove Caulk and Sealant: Use a utility knife or a caulk removal tool to carefully cut and peel away all around the edges of the shower walls, tub base, and any trim. This helps loosen panels and prevent damage to surrounding surfaces.
- Detach Shower Walls/Surround:
- For pre-fab units (acrylic/fiberglass): These are often attached with screws or adhesive. Remove any visible screws. You might need a pry bar to gently separate the panels from the wall if they are glued. Work slowly and carefully to avoid damaging the drywall behind them.
- For tile: This is a more labor-intensive process. You’ll need a hammer and chisel or a reciprocating saw with a masonry blade to break up and remove the tiles and backing board. Be prepared for a lot of dust and debris.
- Remove the Tub/Base (if applicable): If you are replacing the entire shower base or tub, disconnect the drain assembly. This often involves working underneath the shower or through an access panel. Once disconnected, the unit may be secured by screws or adhesive. You might need to cut a larger unit into pieces to get it out of the bathroom.
- Clean Up Debris: Bag up all the old materials. For larger items, you may need to rent a small trailer or schedule a special pickup from your local waste management service. Check your local regulations on disposal.
Tools you might need for demolition:
- Safety glasses
- Work gloves
- Utility knife
- Caulk removal tool
- Screwdriver set
- Adjustable wrench
- Pry bar
- Hammer
- Chisel
- Reciprocating saw (optional, for tile or stubborn materials)
- Dust mask
- Bucket and trash bags
DIY Installation: Putting in Your New, Budget-Friendly Shower

This is where you see your savings really grow! Installing simpler systems like acrylic surrounds or basic showerheads is achievable for most beginners. Always read the manufacturer’s instructions thoroughly before you begin.
Installing an Acrylic or Fiberglass Shower Surround

This is often the most beginner-friendly replacement option.
- Prepare the Wall: Ensure the walls behind where the surround will go are clean, dry, and free of any old adhesive or debris. Minor imperfections in the drywall are often okay, as the surround will cover them. Make sure your plumbing connections (for the faucet) are in the correct spot.
- Test Fit: Carefully bring the panels into the bathroom and “dry fit” them against the studs or wall area. Ensure they align correctly. Most surrounds are designed to interlock or fit flush against each other.
- Apply Adhesive: Follow the manufacturer’s recommendation for adhesive. Typically, you’ll apply a strong construction adhesive (like Liquid Nails or similar) to the back of the panels or directly to the studs. Use a caulk gun for even application.
- Mount the Panels: This is usually a two-person job. Carefully align the first panel and press it firmly into the adhesive. If you have interlocking panels, ensure the next panel slides or fits snugly into place. Some systems might recommend temporary bracing or fasteners while the adhesive cures.
- Cut Openings: Carefully measure and mark where your faucet, showerhead pipe, and any drain access points or shelves need to be. Use a drill to make a pilot hole, then a jigsaw or utility knife to cut out these openings. Be precise!
- Caulk and Seal: Once the panels are secured and the adhesive has cured (check instructions for timing), caulk all seams where the surround meets the tub or floor, and around any fixtures where they meet the surround. Use a high-quality, mildew-resistant bathroom caulk.
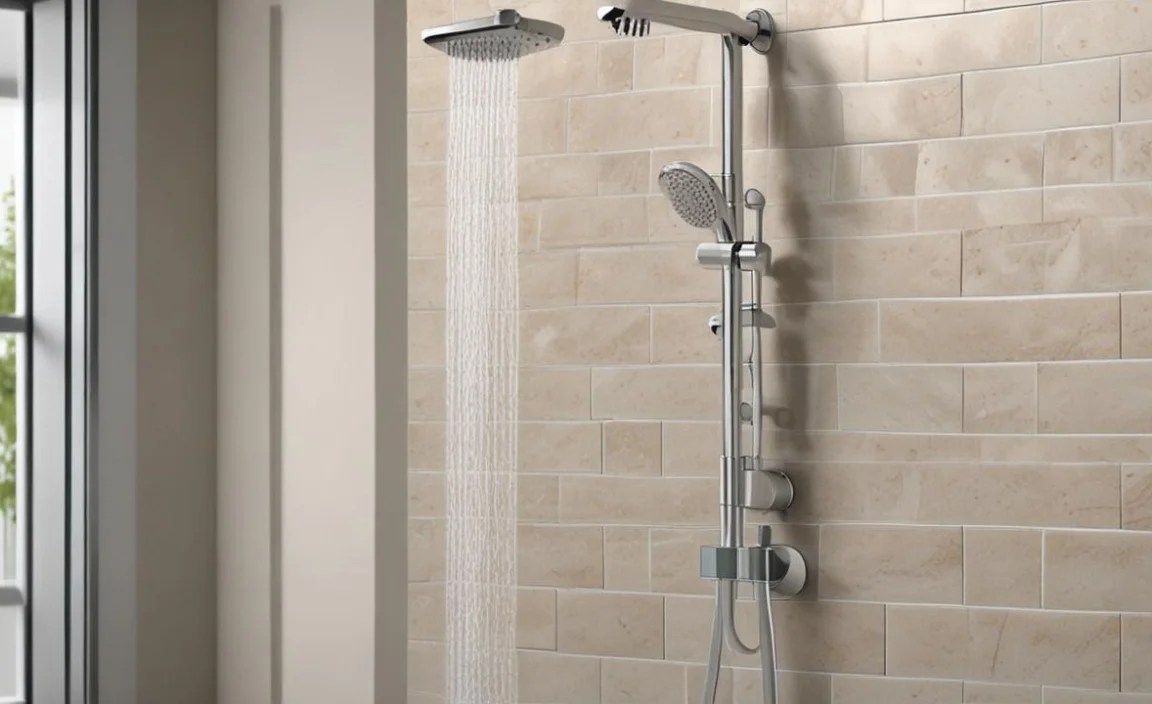
Replacing a Showerhead

This is the easiest DIY upgrade imaginable and takes just minutes.
- Turn Off Water: Ensure the shower is off and no one is using water in the house.
- Remove Old Showerhead: Most showerheads unscrew counter-clockwise from the shower arm. You might need an adjustable wrench, but sometimes you can unscrew it by hand. If it’s stuck, use the wrench gently and protect the shower arm with a cloth if needed.
- Clean the Threads: Clean any old plumber’s tape or sealant from the threads on the shower arm. A wire brush or even an old toothbrush works well.
- Apply New Plumber’s Tape: Wrap new plumber’s tape (PTFE tape) clockwise around the threads of the shower arm. About 3-4 wraps should be sufficient. This helps create a watertight seal.
- Screw on New Showerhead: Hand-tighten the new showerhead onto the arm, turning it clockwise. Many modern showerheads don’t require tools, but if yours feels loose, give it a slight snug with an adjustable wrench (again, protect the finish).
- Test for Leaks: Turn on the water and check for any drips around the connection. If you see any, try tightening it a tiny bit more or reapply the plumber’s tape.
Tools for Showerhead Replacement:
- Adjustable wrench (optional, often not needed)
- Plumber’s tape (PTFE tape)
- Rag or cloth
Upgrading Faucets and Handles (DIY-Friendly Options)

While replacing the entire valve body behind the wall can be complex, swapping out just the handles and trim pieces is often a relatively simple DIY task that can dramatically update the look of your shower. Modern trim kits are designed to fit standard valve bodies.
- Turn Off Water: Crucial safety step! Shut off the water supply to your home or the specific bathroom.
- Remove Old Trim: Look for cosmetic caps or screws holding the handles and trim plate in place. Remove these. The old trim should then pull away.
A common type involves a small set screw on the underside of older handles. You’ll need a hex key (Allen wrench) for this. - Prepare the Valve: Clean the exposed valve body. Remove any old caulk or debris.
- Install New Trim: Align the new trim plate and handles according to the manufacturer’s instructions. These usually attach with screws or a snap-fit mechanism over the existing valve body.
- Secure and Test: Reinstall any decorative caps or covers. Turn the water back on slowly and test the new handles for function and leaks.
When to Call a Professional (and How to Save Even Then)

Even on a budget, there are some tasks that are best left to the experts. Knowing your limits is part of smart DIY!
- Major Plumbing: If you need to move pipes, replace the entire valve body inside the wall, or deal with complex drainage issues, it’s often safer and less costly in the long run to hire a licensed plumber. A mistake here can lead to significant water damage.
FAQs About Replacing Your Shower on a Budget
Q1: What is the cheapest type of shower to install?

The most budget-friendly shower options often involve using acrylic or fiberglass shower surrounds, which are pre-fabricated and easier to install than tile. Simple shower curtains rather than glass doors also drastically cut costs. Stick to essential fixtures and avoid high-end finishes for maximum savings.
Q2: Can I replace just the showerhead to update my shower cheaply?

Yes! Replacing an old showerhead is one of the simplest and cheapest ways to give your shower a modern feel and improve its performance. It’s a DIY project that takes minutes and can make a big difference in your daily shower experience.
Q3: How much can I save by doing some DIY shower replacement myself?

You can save a significant amount, often between 50% and 80% of the total cost, by performing at least some of the DIY work. Labor costs are typically the largest portion of a professional remodel. Tasks like demolition, painting, and installing simpler fixtures are often manageable for beginners.
Q4: What are the most expensive parts of a shower replacement?

The most expensive components usually include professional labor, high-end tile (especially natural stone), custom glass shower doors, complex plumbing changes, and intricate tile work. To keep costs down, focus on DIY for labor-intensive tasks and choose more economical materials.
Q5: What basic tools will a beginner need for a DIY shower replacement?
For basic tasks like removing an old shower surround or installing a new showerhead, you’ll likely need a screwdriver set, adjustable wrench, utility knife, putty knife, caulk gun, safety glasses, and work gloves. For more involved projects, you might add a stud finder, pry bar, and perhaps a reciprocating saw.
Q6: Are there any safety risks I should be aware of during a DIY shower replacement?

Always prioritize safety. Wear safety glasses to protect your eyes from debris, and gloves to prevent cuts. Be cautious with sharp tools. If you’re dealing with plumbing, turn off the water supply to your home before starting any work to prevent leaks and flooding. If you encounter electrical wires or suspect mold, it’s best to consult a professional.
