
The cost to replace a shower can range widely, but essential, affordable replacements are absolutely achievable for DIY-ers. Expect to spend between $200-$1,000 for a basic kit and materials, significantly less than professional installation. This guide will break down the costs, from DIY-friendly options to smart ways to save, helping you refresh your bathroom without breaking the bank.
Your shower is a daily necessity, but when it starts showing its age, it can feel like a frustrating problem. Leaks, worn-out tiles, or outdated fixtures can turn your morning routine into a chore. Many homeowners worry that replacing a shower means a massive, expensive renovation. But it doesn’t have to be! With the right approach, you can tackle a shower replacement affordably and confidently. This guide will walk you through understanding the costs, exploring budget-friendly options, and providing clear steps for a successful DIY replacement. Get ready to give your bathroom the upgrade it deserves!
Understanding Shower Replacement Costs
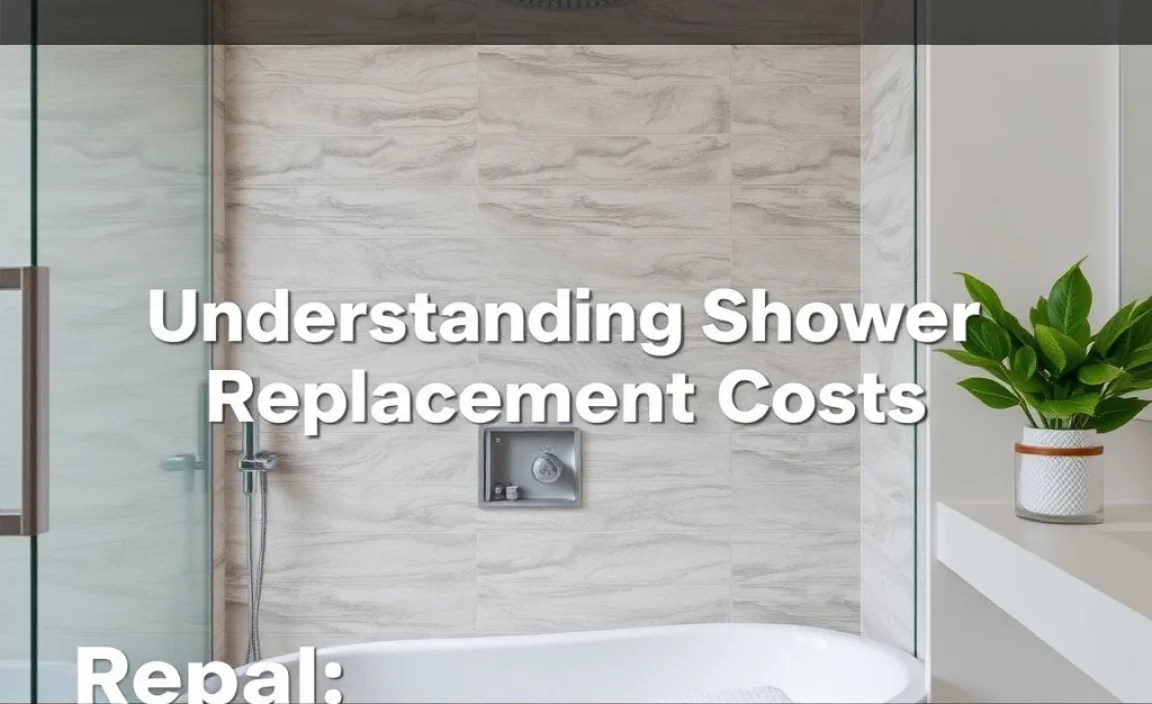
When you think about “replace shower cost,” it’s easy to get overwhelmed by sky-high renovation figures. However, the actual cost depends heavily on what you choose to replace and whether you DIY or hire a professional. A full tear-out and rebuild with high-end materials will naturally cost more than a simple fixture swap or a pre-fabricated shower stall installation.
Several factors influence the final shower replacement cost:
- Scope of Work: Are you just replacing the shower head and valve, or the entire shower enclosure (walls, base, door)?
- Materials: The type and quality of materials you choose (tile, fiberglass, acrylic, stone) significantly impact the price.
- Labor: Professional installation adds a substantial amount to the total cost. DIY can save thousands here.
- Plumbing Modifications: If you need to move pipes or adjust water lines, expect higher costs.
- Existing Conditions: Hidden issues like water damage or mold can increase the overall expense.
DIY vs. Professional Installation: Cost Comparison
The easiest way to manage your “replace shower cost” is to consider doing it yourself. The savings are substantial. A professional plumber and contractor can easily charge $1,500 to $5,000 or even more for a complete shower replacement, depending on the complexity and location. This includes their labor, overhead, and profit.
On the other hand, a DIY approach dramatically cuts down on the “replace shower cost.” You’re primarily paying for the materials and any tools you might need to buy or rent. For a basic DIY shower replacement kit or materials, you could be looking at anywhere from $200 to $1,000. This is a significant difference and makes affordable shower upgrades a reality for many homeowners.
| Project Type | Estimated DIY Cost (Materials Only) | Estimated Professional Cost | Potential Savings with DIY |
|---|---|---|---|
| Shower Head & Faucet Replacement | $50 – $200 | $200 – $500 | $150 – $300 |
| Shower Stall Kit Installation (Fiberglass/Acrylic) | $300 – $1,000 | $1,500 – $3,000 | $1,200 – $2,000 |
| Tiled Shower Replacement (DIY-friendly tiling) | $500 – $1,500 | $2,500 – $7,000+ | $2,000 – $5,500+ |
| Complete Enclosure Upgrade (Custom materials, door) | $800 – $2,000+ | $3,000 – $10,000+ | $2,200 – $8,000+ |
It’s important to note that these are estimates. Prices can vary greatly by region and the specific products chosen for your “replace shower cost” project. For instance, a simple fiberglass shower base is far less expensive than a custom-built tiled shower with a glass enclosure.
Affordable Shower Replacement Options
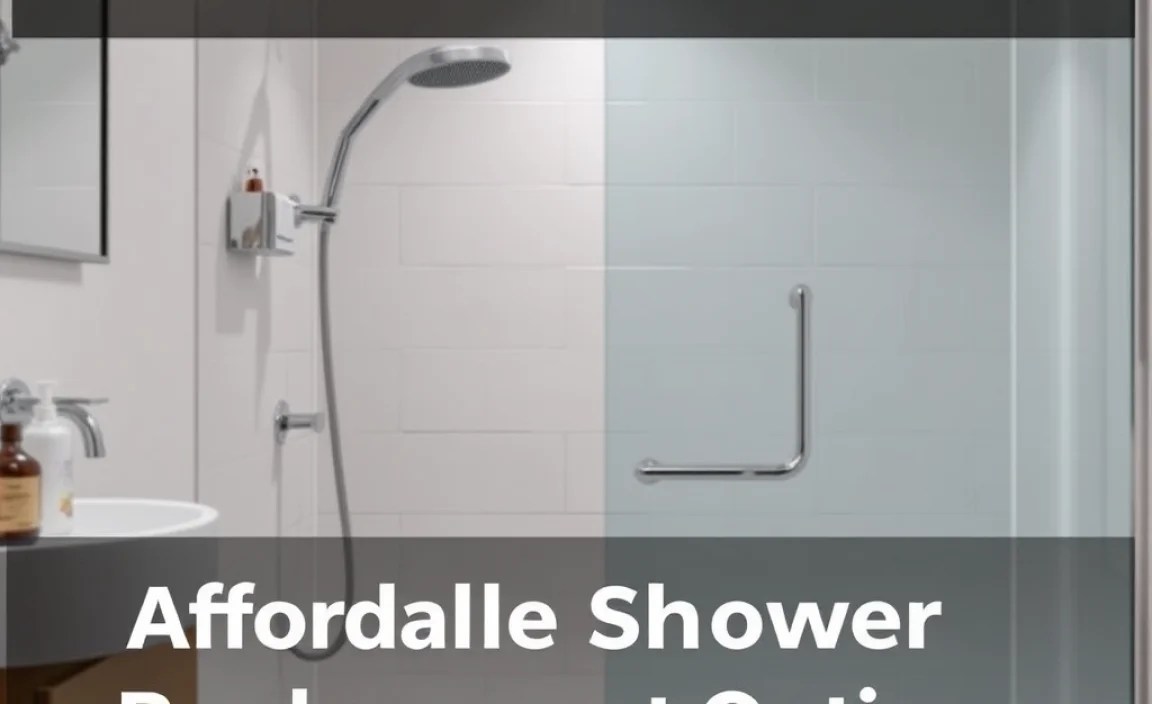
When aiming for an essential and affordable “replace shower cost,” focus on options that offer good value and are manageable for DIY installation.
1. Shower Stall Kits (Fiberglass or Acrylic)
These are often the most budget-friendly and beginner-friendly solutions for replacing an entire shower enclosure. They come as pre-fabricated units, typically consisting of a base and wall panels that are assembled on-site.
- Pros:
- Relatively inexpensive.
- Easy to install, often designed for DIYers.
- Waterproof and low maintenance.
- Available in various sizes and styles.
- Cons:
- Can look less luxurious than tile.
- May be prone to scratching or cracking over time if not cared for.
- Limited design flexibility compared to custom tiling.
For a basic kit, you can find options for `around $300 to $1,000`. This includes the shower pan and the wall surround. Installation typically involves sealing, screwing, and plumbing connections, which are straightforward for most DIYers.
2. Replacing Fixtures Only
If your shower enclosure is in good condition but the faucet, showerhead, or handles are outdated or leaking, replacing these components is a very affordable option.
- Cost: A new shower head and trim kit can cost from $50 to $200. Replacing the entire valve behind the wall will add complexity and cost, potentially $100-$300 for the valve itself, plus more if plumbing adjustments are needed.
- Difficulty: Replacing a shower head is usually a 5-minute DIY task. Replacing trim and the valve behind the wall requires shutting off water and some basic plumbing knowledge, but is still a manageable DIY project for many. See resources like This Old House for detailed guides.
This approach significantly lowers your “replace shower cost” by focusing on cosmetic and functional improvements rather than structural changes.
3. Refinishing or Resurfacing
Another cost-effective strategy is to refinish your existing shower. This is ideal for showers with chipped enamel, stained tubs, or dull tile.
- Options:
- Tub and Tile Refinishing: Professional services can reglaze a bathtub or shower walls for a fresh look.
- DIY Refinishing Kits: You can purchase DIY kits to repaint shower tiles or tubs.
- Cost: Professional refinishing might cost $300-$800, while DIY kits are typically under $100.
- Pros: Much cheaper than replacement, can make old showers look new.
- Cons: The new finish may not be as durable as original materials and can chip or peel if installed incorrectly or not maintained properly. It’s a temporary fix rather than a full replacement.
This is a great way to update the look without a high “replace shower cost,” but understand its limitations in terms of longevity compared to a new installation.
Essential Tools and Materials for DIY Replacement

When you decide to tackle a DIY “replace shower cost” project, having the right tools and materials on hand is crucial for a smooth process and a professional-looking result.
Tools You’ll Likely Need:
Safety Gear: Safety glasses, gloves, and a dust mask are non-negotiable.
Wrenches: Adjustable wrenches, pipe wrenches, and basin wrenches can be useful for tightening and loosening plumbing connections.
Screwdriver Set: For removing and installing fixture components and mounting brackets.
Caulk Gun: Essential for applying silicone sealant around the edges of your new shower.
Level: To ensure your shower base and walls are installed plumb and level.
Utility Knife: For cutting open packaging, trimming old caulk, or other precise cutting tasks.
Plumber’s Tape (PTFE Tape): Used on threaded pipe connections to create a watertight seal.
Putty Knife: For scraping away old caulk or adhesive.
Bucket and Rags: For managing water and cleaning up.
Measuring Tape: To confirm dimensions and placement.
Drill/Driver: For screwing panels and fixtures in place.
Stud Finder: To locate wall studs for secure mounting.
Saw (if needed): For cutting PVC pipe or potentially minor adjustments to drywall. A jab saw or reciprocating saw might be useful.
Materials You’ll Need:
New Shower Unit: This could be a pre-fab kit, a shower pan, or individual components.
Plumbing Connectors: Specific fittings for your drain and water supply lines (often included with kits, but good to have extras).
Silicone Sealant (Tub & Tile Caulk): For creating a watertight seal around the edges and seams. Choose mildew-resistant silicone.
PVC Primer and Cement (if applicable): For joining PVC drainpipes.
Drywall (if needed): If you need to repair or replace sections of wall damaged during removal.
Waterproofing Membrane (optional but recommended for tiled showers): Products like RedGard or Kerdi membrane prevent water damage behind tiles. Refer to manufacturer instructions for proper application, often found on resources like CertainTeed’s waterproofing solutions.
Having these items ready before you start will prevent frustrating delays and ensure your “replace shower cost” budget remains on track.
Step-by-Step Guide to an Affordable Shower Replacement (Pre-Fab Kit Example)

Replacing a shower stall kit is a popular choice for balancing cost and a fresh new look. Here’s a simplified, beginner-friendly guide for installing a pre-fabricated shower stall or surround. Always refer to your specific kit’s instructions, as they can vary.
Step 1: Preparation and Demolition
Shut Off Water: Locate your home’s main water shut-off valve and turn it off. Open the lowest faucet in your house to drain the pipes. Then, turn off the water supply to the bathroom at the fixture shut-off valves (if present) or at the main.
Remove Old Fixtures: Unscrew the shower head, faucet handles, and escutcheon plate. If you are replacing the valve, you’ll need to remove the wall access panel (likely on the other side of the wall) or carefully cut into your shower wall to access the valve body.
Remove Old Shower Stall/Walls: Carefully pry away old caulk and sealant. Unscrew or cut away the old wall panels. If you have a shower pan, you’ll need to detach it from the drain and potentially cut it out if it’s stuck or too large to maneuver. Be prepared for debris!
Step 2: Preparing the Subfloor and Walls
Inspect and Repair: Check the subfloor and wall studs for any signs of water damage or mold. Repair any damaged areas. Ensure the wall studs are plumb and in good condition to support the new unit.
Rough-in Plumbing (if necessary): If your new shower requires different drain or valve placements, this is the time to adjust the plumbing. This step may require more advanced DIY skills or professional help.
Install Shower Pan: Place the new shower pan in position. Ensure it’s level in all directions. Secure it according to the manufacturer’s instructions, which usually involves screwing it into the wall studs or using mounting tabs. Connect the drain assembly to the pan and the house drain pipe, ensuring a watertight seal with plumber’s putty or a gasket and coupling.
Step 3: Installing the Shower Walls
Apply Adhesive (if required): Some kits require specific adhesive applied to the studs or the back of the wall panels.
Install Panels: Position the back wall panel first, then the side panels, usually interlocking them. Secure them to the studs with screws as per the instructions. Ensure each panel fits snugly against the shower pan.
Connect Plumbing Access: Make sure your wall panels align with your water supply lines for the valve.
Step 4: Installing the Faucet and Shower Head
Install Valve Body: If you removed the valve, install the new one according to its specific instructions, ensuring it’s properly connected to the hot and cold water supply lines.
Install Trim Kit: Attach the escutcheon plate and handles. Install the shower arm and then screw on the new shower head.
Step 5: Sealing and Finishing
Caulk: Apply a generous bead of mildew-resistant silicone caulk around all seams where the walls meet the pan, and where the unit meets the existing walls and ceiling. Smooth the bead with a wet finger or caulking tool.
Test for Leaks: Turn the water slowly back on at the main shut-off and check all connections for leaks. Turn on the shower and check the drain for leaks.
Clean Up: Remove all tools, debris, and protective coverings.
This process, while detailed, focuses on an affordable and manageable “replace shower cost.” For more detailed visual guides on specific steps like valve replacement, check resources such as the Family Handyman.
Estimating Your “Replace Shower Cost”: Factors to Consider
Beyond the basic materials, several other factors can influence your overall “replace shower cost.” Being aware of these upfront will help you budget accurately and avoid surprises.
1. Permits and Building Codes
In some areas, replacing plumbing fixtures or altering shower structures might require a building permit. This adds a fee ($50-$300, varying by locality) and potentially requires inspections. It’s wise to check with your local building department. While many simple fixture swaps don’t require permits, major enclosure changes might. For information on building safety and codes, consult resources like the International Code Council (ICC).
2. Water Damage and Mold Remediation
If you discover water damage, mold, or rot behind your existing shower walls during demolition, this can significantly increase your “replace shower cost.” Repairing these issues might involve replacing more drywall, subflooring, or even studs, adding labor and material costs. It’s crucial to address these problems promptly to prevent further structural damage and health issues.
3. Unexpected Plumbing Issues
While modern showers often have standard plumbing connections, sometimes older homes can have non-standard pipe sizes, corroded pipes, or awkward configurations. If you need to reroute pipes or replace old, brittle plumbing, this will increase both material and labor costs (if you hire help for this part).
4. Disposal of Old Materials
When you remove an old shower, you’ll have debris to dispose of. Depending on the size and type of material, you might need to rent a small trailer or pay a fee at a waste disposal facility. Some DIY kits do not include disposal costs.
5. Cost of Tools and Equipment Rental
If you don’t already own all the necessary tools, the cost of purchasing basic tools or renting specialized equipment (like a tile saw if you choose tile) needs to be factored into your “replace shower cost.” Many basic tools can be purchased affordably, and some hardware stores offer rental options.
By considering these additional factors, you can create a more comprehensive budget for your shower replacement project.
Making Your Affordable Shower Replacement Last
Investing in an affordable shower replacement doesn’t mean sacrificing durability. With proper maintenance and care, your new shower can look great and function well for years to come.
Regular Cleaning
Daily Rinse: After each use, rinse down the shower walls with water to wash away soap scum and shampoo residue.
Weekly Wipe-Down: Use a non-abrasive bathroom cleaner and a soft cloth or sponge to clean the shower walls, base, and fixtures. Pay attention to grout lines if you have tiled areas.
Avoid Harsh Chemicals: Acidic or abrasive cleaners can damage finishes, especially on acrylic, fiberglass, or newly reglazed surfaces. Stick to pH-neutral cleaners specifically designed for bathrooms.
Maintaining Seals and Caulking
Inspect Regularly: Check the caulk around your shower at least every six months. Look for any signs of cracking, peeling, or mold growth.
Re-caulk as Needed: If caulk is damaged, remove the old material completely and reapply fresh, mildew-resistant silicone. This is a simple DIY task that prevents water from seeping behind walls, which is critical for preventing future water damage and mold.
