
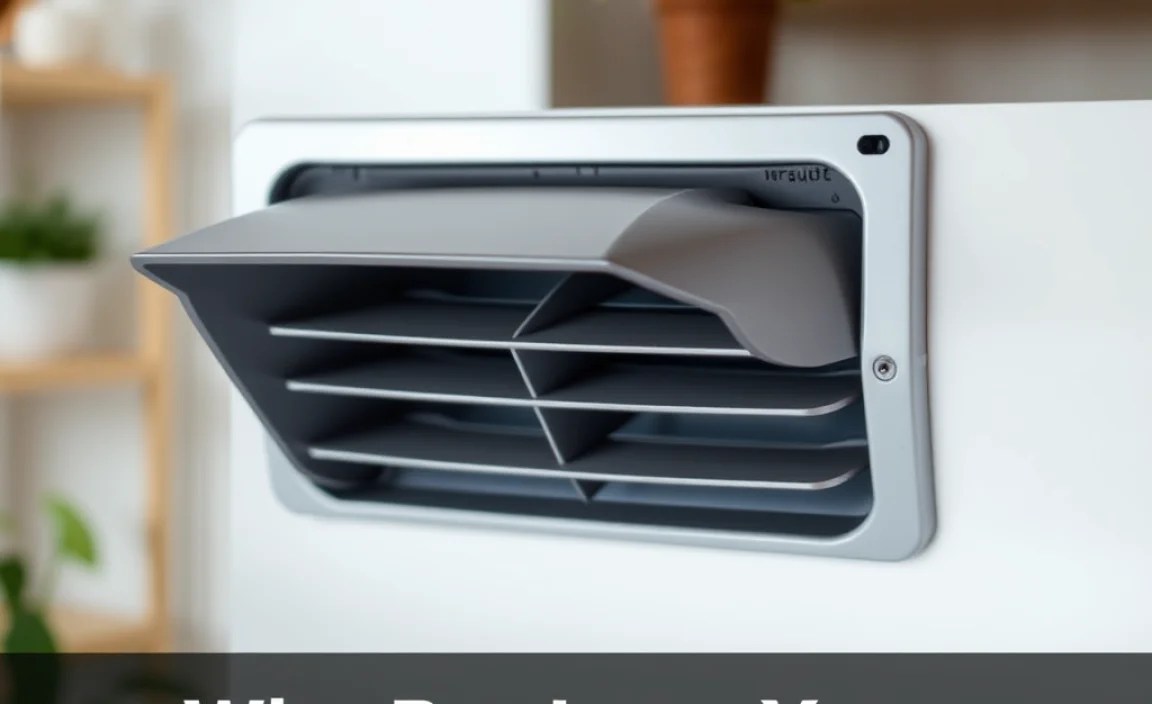
Replace vent tips easily with our proven installation guide! Get clear, safe steps for a perfect fit every time. Boost your home’s air quality and efficiency quickly.
Dealing with old, worn-out vent tips can be quite a nuisance. They might look unsightly, or worse, they could be letting in drafts and pests. Replacing them might sound like a job for a pro, but it’s actually a straightforward DIY task many homeowners can tackle with confidence. This guide will walk you through everything you need to know, making the process simple and stress-free. We’ll cover the tools you’ll need, the steps to follow, and some helpful tips to ensure a perfect installation.
Why Replace Your Vent Tips?
Vent tips, those little covers on your air vents and exhaust fans, play a more important role than you might think. Over time, they can degrade, crack, or become damaged. This isn’t just an aesthetic issue. Damaged vent tips can lead to:
- Drafts: Gaps can allow cold or hot air to sneak into your home, making your heating and cooling systems work harder and increasing your energy bills.
- Pests: Small openings can be an invitation for insects and rodents to enter your home through your ventilation system.
- Water Intrusion: In exterior vents, damaged caps can let rain or snow blow in, potentially causing water damage around your ductwork.
- Reduced Efficiency: Any obstruction or leak in your ventilation system can impact its overall performance and airflow.
- Poor Aesthetics: Simply put, new vent tips make your home look tidier and more well-maintained.
Recognizing these problems early and knowing how to fix them is key to maintaining a comfortable, safe, and efficient home. Fortunately, replacing vent tips is a rewarding project that doesn’t require specialized skills.
Choosing the Right Vent Tips
Before you start swapping out old for new, selecting the correct replacement vent tips is crucial. There are several types, and the best choice depends on where the vent is located and its function.
Types of Vent Tips
- HVAC Register Boots/Boots: These are the typically rectangular or square metal pieces that connect your ductwork to the floor, wall, or ceiling registers where air enters or exits your rooms. They are usually made of galvanized steel.
- Dryer Vent Caps: These are specifically designed for the exterior termination of your dryer vent hose. They often feature louvers or flaps to prevent backdrafts and keep out rain, snow, and pests. Look for models with bird guards.
- Bathroom/Kitchen Exhaust Hoods: These are often found on the exterior wall and connect to your bathroom or kitchen exhaust fans. They usually have a damper that opens when the fan is on and closes when it’s off, preventing air backflow and keeping critters out.
- Range Hood Vents: Similar to exhaust hoods, these are for the vents that expel air from your kitchen range hood.
- Foundation Vents: These are typically found on the exterior of your home’s foundation, allowing air circulation to areas like crawl spaces or basements. Steel or plastic options are common.
Materials and Features to Consider
- Material: Common materials include galvanized steel (durable, rust-resistant), aluminum (lightweight, rust-resistant), and plastic (affordable, easy to clean, but can become brittle over time). For exterior vents, metal is generally more durable.
- Size: Measure your existing vent opening and duct diameter accurately. Vent tips are sized by the duct they connect to. For registers, measure the dimensions of the grille opening.
- Shape: Vents come in round, rectangular, and square shapes. Ensure you choose the one that matches your ductwork or mounting opening.
- Functionality: For exterior vents, look for features like louvers, dampers, screens, or baffles that help prevent wind, rain, snow, and pests from entering your home while allowing air to escape.
- Durability and Weather Resistance: Especially for outdoor vents, choose materials and designs that can withstand the elements in your climate.
Where to Buy
You can find replacement vent tips at:
- Hardware Stores: Home Depot, Lowe’s, Ace Hardware, and local independent hardware stores carry a wide variety of vent tips.
- Online Retailers: Amazon, Wayfair, and specialized HVAC supply websites offer extensive selections, often at competitive prices.
- Building Supply Centers: For more specialized or commercial-grade options.
Always double-check dimensions and features before purchasing to ensure compatibility. A good resource for understanding airflow and ventilation principles is the U.S. Environmental Protection Agency’s Indoor Air Quality page, which highlights the importance of proper ventilation for a healthy home.
Gather Your Tools and Materials
Having the right tools on hand will make the replacement process much smoother and safer. For most vent tip replacements, you won’t need a complex arsenal.
Essential Tools:
- Screwdriver Set: You’ll likely need both Phillips head and flathead screwdrivers to remove screws from old vent covers or mounting plates. A cordless drill with appropriate bits can speed things up.
- Utility Knife or Putty Knife: Useful for gently prying off old, painted-over vent covers without damaging the surrounding surface.
- Pliers: May be needed to grip and remove stubborn fasteners or small parts.
- Measuring Tape: Essential for confirming the size of the opening and ductwork to ensure you buy the correct replacement.
- Caulking Gun and Caulk: For sealing new exterior vent caps to prevent drafts and water entry. Use exterior-grade, paintable caulk.
- Safety Glasses: Always protect your eyes from dust, debris, or loose paint.
- Work Gloves: To protect your hands from sharp edges or rough surfaces.
- Ladder (if needed): For ceiling or high wall vents. Ensure it’s stable and used safely.
- Shop Vacuum or Broom and Dustpan: To clean up dust and debris after removal.
Materials You’ll Need:
- New Vent Tip(s): Make sure they are the correct size, type, and material for your application.
- Screws: Sometimes the old screws can be stripped or lost. Having a small assortment of common screws on hand is a good idea. Ensure they are appropriate for the material you’re screwing into (e.g., drywall, wood, metal).
- Duct Tape (optional, for temporary seals): While permanent caulking or proper connections are best, duct tape can be handy for temporary fixes or securing things during the process.
A Note on Safety: Before starting any work, especially on exterior vents, check for any electrical wires or plumbing near the work area. If you’re unsure, it’s always best to consult a professional.
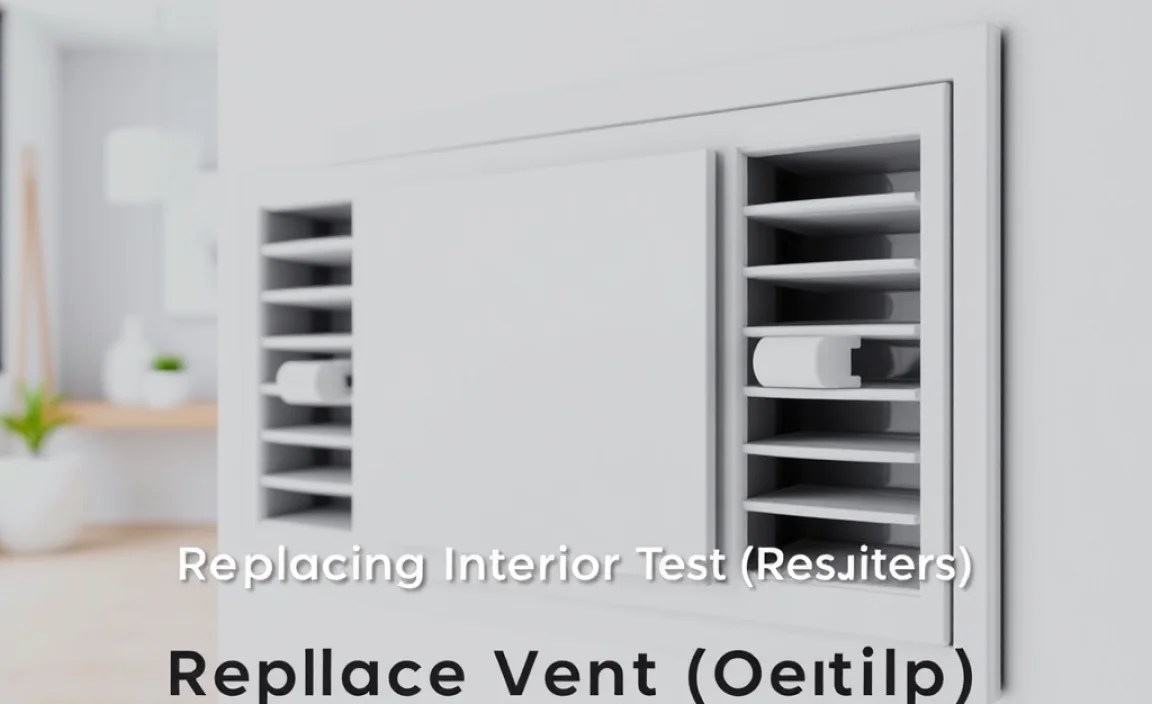
Step-by-Step: Replacing Interior Vent Tips (Registers)

Interior vent tips, also known as registers or grilles, are usually found on floors, walls, or ceilings. Replacing them is typically the simplest type of vent tip job.
1. Safety First!
Turn off your HVAC system at the thermostat and consider flipping the breaker for your furnace or air handler. This prevents accidental air drafts or system activation while you’re working. Ensure you have good lighting in the work area.
2. Remove the Old Vent Cover
Most interior vent covers are held in place by screws. Locate the screws, which are often on the frame of the grille.
- Screws Visible: Use your screwdriver to carefully remove them. Keep the screws in a safe place, like a small container or magnetic tray.
- Screws Hidden: Some vent covers have screws hidden under a decorative plate or within the louvers. You may need to gently pry the cover open or slide it off its mounting brackets.
- Painted Over: If the vent cover is painted to match the wall, you might need to score the paint around the edges with a sharp utility knife. Then, use a putty knife or flathead screwdriver to gently pry it away from the wall. Be patient to avoid damaging the surrounding drywall or wood.
Once the screws are out (or the cover is detached), gently pull the vent cover away from the wall or floor. Be aware that the opening behind it might be loose or dusty. Some registers attach directly to a register boot, which is a metal cone or box connected to the ductwork. Others might simply be the grille sitting over an opening in the duct.
3. Clean the Opening and Surrounding Area
Now is the perfect time to clean! Use your shop vacuum (or broom and dustpan) to remove any dust, debris, or insulation that may have accumulated around the vent opening. Wipe down the area with a damp cloth if necessary.
4. Prepare the New Vent Tip
Unpack your new vent tip. If it’s a two-piece design (grille and frame), assemble them according to the manufacturer’s instructions. Check that any adjustable louvers move freely.
5. Install the New Vent Tip
Align the new vent tip with the opening.
- For Grilles that Screw Directly: Position the grille so the screw holes line up with the pre-drilled holes in the wall or floor. Insert the screws and tighten them gently. Avoid overtightening, especially in drywall, as it can strip the hole or crack the mounting surface.
- For Grilles that Clip In: Some grilles simply snap into place. Push them firmly until you hear or feel them click securely into the opening or frame.
- If attaching to a Register Boot: Ensure the new boot/grille assembly fits snugly over the existing metal boot. Secure it with screws through the designated holes, usually into the boot itself or the surrounding floor/wall structure.
6. Final Checks
Once installed, check that the vent cover is secure and flush against the wall or floor. Open and close any adjustable louvers to ensure they function correctly. Then, you can turn your HVAC system back on at the thermostat or breaker.
Step-by-Step: Replacing Exterior Vent Tips (Dryer or Exhaust)
Exterior vent tips are crucial for expelling moisture, heat, and odors from your home, but they also need to keep unwelcome elements out. This process often involves working outside and potentially sealing the vent in place.
1. Safety First!
Ensure you have a stable ladder if working at height. Wear safety glasses and gloves. If the vent is near gas lines, exercise extreme caution and consult a professional if you have any doubts.
2. Access and Remove the Old Vent
Locate the exterior vent cap. It’s often found on the side of your house, the roof, or the foundation.
- Detach from Wall/Duct: Exterior vent caps are typically attached to a flange or termination box that extends into the wall and connects to your ductwork. There might be screws visible around the outer edge of the cap, or the cap might be secured from the inside.
- Check for Paint/Caulk: The vent cap might be sealed around its edges with caulk or painted over to match the siding. You may need to score these with a utility knife to free it.
- Remove Fasteners: Use your screwdriver to remove any screws. If the vent is secured from inside, you might need to access the ductwork connection from a crawl space, basement, or attic.
- Gentle Pull: Once screws are removed, try to gently pull the vent cap away from the wall. If it’s stuck, you may need to use a putty knife to carefully pry it loose. Be mindful of the siding or brickwork.
Once loose, pull the old vent and its connecting flange or flap assembly out of the wall opening. You may need to disconnect it from the flexible ductwork behind the wall if it’s a tight fit. It’s advisable to temporarily cover the hole with cardboard or a piece of plywood to prevent pests from entering your home while you work.
3. Clean the Opening and Duct Connection
Thoroughly clean the exterior wall opening and the end of the ductwork. Remove any dust, cobwebs, old caulk, or debris. If the ductwork is damaged or very dirty, this would be a good time to address that (though duct repair is a larger topic).
4. Prepare the New Vent Tip
Inspect your new exterior vent cap. Ensure all flaps, screens, and louvers move freely. If it came with additional mounting hardware, familiarize yourself with it.
5. Install the New Vent Tip
Insert the flange or mounting plate of the new vent tip into the hole in your wall.
- Connect to Ductwork: Connect the new vent cap’s duct collar to the existing ductwork. If it’s a flexible dryer vent, you might need a clamp or strong tape to secure it. For rigid ductwork, it should slide over or into it, creating a snug fit.
- Secure the Flange: Once the duct is connected, push the vent cap flange or mounting plate flush against the exterior wall.
- Fasten with Screws: Drive screws through the mounting holes of the vent cap’s flange into the siding or wall structure. Use screws appropriate for exterior use. Make sure the vent cap is oriented correctly – usually with louvers pointing downwards or flaps positioned to prevent backflow.
6. Seal and Caulk
This is a critical step for exterior vents to prevent water and air leaks.
- Apply Caulk: Apply a bead of high-quality, exterior-grade, paintable caulk around the entire perimeter where the vent cap meets the wall. Smooth the caulk line with a wet finger or a caulking tool for a neat finish.
- Avoid Blocking Movement: Be careful not to caulk around any moving parts like louvers or flaps, as this will impede their function. Ensure any screens or mesh are not obstructed.
7. Test the Vent
If it’s a dryer vent, run your dryer for a full cycle. For an exhaust fan (bathroom/kitchen), turn on the fan. Check that air is flowing freely from the vent and that the flaps or louvers open and close properly with the airflow. Ensure there are no immediate signs of leaks or issues.
Table: Common Vent Tip Problems and Solutions
Here’s a quick look at common issues you might encounter and how to address them:
| Problem | Possible Cause | Solution |
|---|---|---|
| Drafts coming from interior vents. | Loose grille, gap between grille and wall, damaged boot, leaky duct connection. | Tighten screws, caulk around grille, inspect/replace boot, seal duct connections. |
| Pests (insects, rodents) entering through exterior vents. | Missing or damaged screens, gaps around the vent cap, louvers or dampers not sealing. | Install or repair screens, caulk gaps, replace vent cap if dampers are faulty. |
| Water leaking around exterior vent. | Cracked caulk, improper sealing, vent cap not sloped correctly. | Re-caulk, ensure vent cap is flush and properly sealed, check for correct installation angle. |
| Exterior vent flaps stuck open or closed. | Debris, rust, or damage to the hinge mechanism. | Clean flaps and hinges, lubricate if possible, replace vent cap if damaged. |
| Noise (rattling, whistling) from vent. | Loose louvers/flaps, debris inside, airflow issues. | Secure or replace loose parts, clean out debris, check for duct obstructions. |
| Vent grille won’t stay attached. | Stripped screw holes, wrong screws used, damaged mounting tabs. | Use larger screws with anchors, try wood filler for stripped holes, replace grille if tabs are broken. |
Tips for Long-Lasting Vent Tips
Once you’ve installed your new vent tips, a little ongoing attention can ensure they last and perform optimally for years to come.
- Regular Cleaning: For interior vents, vacuum dust and debris from the grilles regularly (monthly is a good target). For exterior vents, periodically check for obstructions like leaves, nests, or snow, especially after severe weather.
- Inspect Seals: Exterior vent seals are critical. Check the caulking annually. If you see any cracks or signs of deterioration, re-caulk to prevent moisture and air intrusion.
- Check for Damage: Walk around your house periodically and look at your exterior vents. Are they dented, rusted, or damaged? A small dent might be cosmetic, but significant damage can affect functionality.
