
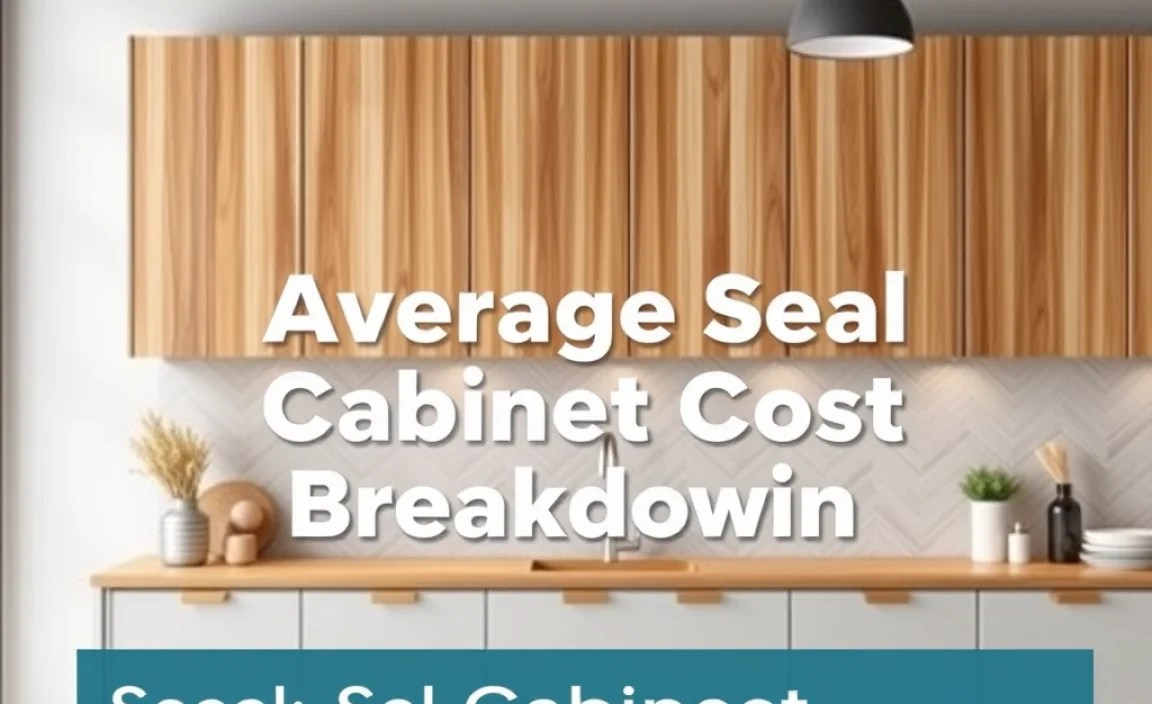
Seal cabinet cost typically ranges from $100 to $400 for a small to medium-sized kitchen, depending on the type of sealant used, the cabinet’s material, and whether you DIY or hire a professional. This guide breaks down the factors influencing cost and provides actionable advice.
Are your kitchen cabinets looking a little sad and unloved? Maybe they’ve lost their shine, or you’re noticing small gaps where moisture could sneak in. Don’t worry; giving them a fresh seal is a common and effective way to refresh their look and protect them. It’s a project many homeowners tackle, and understanding the “seal cabinet cost” is the first step to a beautiful, protected kitchen.
This guide is designed to make figuring out the expense easy. We’ll walk you through what goes into the price, from materials to labor, and help you make a confident decision for your home. Let’s get your cabinets looking and feeling their best!
Understanding Seal Cabinet Cost Factors

When you’re budgeting for sealing your cabinets, several elements come into play. It’s not just a one-size-fits-all price. Think of it like this: a simple touch-up will cost less than a full, deep, protective coating. Here are the main things that affect the total seal cabinet cost.
1. Type of Sealant
The biggest difference in cost often comes down to the sealant itself. Different materials offer different levels of protection, durability, and finish, which naturally impacts their price. Here’s a look at common options:
- Polyurethane: This is a very popular choice. It’s durable, water-resistant, and comes in oil-based and water-based formulas. Water-based polyurethanes are often easier to clean up and have less odor, making them a good DIY choice. Oil-based ones tend to be a bit more durable but can yellow over time with sun exposure.
- Cost: Basic polyurethane can range from $20 to $50 per quart.
- Varnish: Similar to polyurethane, varnish offers a protective, often glossy finish. It’s known for its durability and resistance to moisture and wear.
- Cost: Varnish typically costs $25 to $60 per quart.
- Lacquer: This is a fast-drying and hard finish. It’s often used in professional settings because it can be tricky to apply without special equipment and good ventilation. It provides a smooth, beautiful finish but might not be as durable against heavy impact as polyurethane.
- Cost: Lacquer is generally more expensive, $30 to $70 per quart.
- Shellac: A natural option derived from lac bugs, shellac is good for sealing wood knots and stains. It dries very quickly and provides a nice sheen. However, it’s less resistant to heat, water, and alcohol than polyurethane.
- Cost: Shellac is usually found in powder form or as pre-mixed liquid, costing around $15 to $40 per quart.
- Wax: Primarily for a soft sheen and light protection, wax isn’t as durable for high-use kitchen cabinets. It’s easy to apply and offers a more natural look but needs frequent reapplication.
- Cost: Cabinet waxes are generally affordable, $10 to $30 per container.
2. Cabinet Material
The type of wood your cabinets are made from can also influence the cost, mainly in how much sealant they’ll absorb and how much prep work they need.
- Hardwoods (Oak, Maple, Cherry): These dense woods require less sealant to achieve a good finish. They are less absorbent, meaning a single coat might go further. They generally offer a smoother surface for sealing.
- Softwoods (Pine, Fir): Softer woods are more porous and can absorb more sealant. This might mean you need more product to achieve the desired coverage. They can also be more prone to dents, which might influence your choice of sealant for durability.
- Veneers and Laminates: These materials require specific sealants. Sometimes, a standard wood sealant isn’t suitable. You might need a primer and a sealant designed for these surfaces, which can add to the cost. Always check manufacturer recommendations.
3. DIY vs. Professional Installation
This is a major cost differentiator. The seal cabinet cost for a DIY project is significantly lower than hiring a professional, but it does require your time and effort.
- DIY: You only pay for the materials (sealant, brushes, sandpaper, cleaning supplies) and perhaps tool rentals if needed. This is the most budget-friendly option. The average DIYer might spend $50 to $150 for materials for a standard kitchen.
- Professional: Hiring a professional painter or cabinet specialist includes their labor, expertise, and often higher-quality materials. They can ensure an even, durable finish.
- Average Cost: For professional cabinet sealing, expect to pay anywhere from $300 to $1,000 or more for a full kitchen, depending on the complexity and the professional’s rates. This often includes prep work like cleaning, sanding, and potentially minor repairs.
4. Square Footage and Number of Cabinets
Logically, the more cabinets you have, the more sealant you’ll need, and the longer the job will take. A small galley kitchen will naturally cost less to seal than a large, sprawling one.
- Measure the surface area of your cabinet doors, drawer fronts, and visible cabinet frames.
- A general rule of thumb is that one quart of sealant covers about 100-400 square feet, depending on the product and the surface it’s applied to.
5. Prep Work Required
The condition of your cabinets before sealing plays a role. If they are stained, grimy, or have old finishes that need to be removed, this adds time and potentially cost.
- Cleaning: For cabinets in good shape, a simple wipe-down might suffice.
- Sanding: Most sealing projects require some sanding to create a smooth surface for the sealant to adhere to. This means buying sandpaper or renting a sander.
- Stripping: If there’s a thick, peeling, or damaged old finish, it might need to be chemically stripped or heavily sanded, which takes considerably more time and supplies.
Average Seal Cabinet Cost Breakdown
To give you a clearer picture, let’s look at some estimated costs. Remember, these are averages and can vary by region and specific product choices.
DIY Project Cost Estimate
| Item | Estimated Cost Range (DIY) | Notes |
|---|---|---|
| Good Quality Polyurethane Sealant (1 Quart) | $20 – $50 | Covers a medium-sized kitchen; may need more for larger kitchens. |
| Applicator Brushes/Rollers | $10 – $30 | Specific applicators for smooth finishes. |
| Sandpaper (various grits) | $5 – $15 | For initial prep and between coats. |
| Cleaning Supplies (degreaser, cloths) | $10 – $20 | Essential for proper adhesion. |
| Drop Cloths/Masking Tape | $15 – $30 | For protecting surrounding areas. |
| Total Estimated DIY Cost | $60 – $145 | For materials only for a standard kitchen. |
Professional Service Cost Estimate
| Service Aspect | Estimated Cost Range (Professional) | Notes |
|---|---|---|
| Labor (Prep, Sanding, Sealing, Cleanup) | $200 – $800+ | Varies greatly by hourly rate and time required. |
| Materials (Higher-end Sealants, Primers) | $50 – $150+ | Professionals often use commercial-grade products. |
| Minor Repairs/Filling (if needed) | $25 – $75+ | Can be an additional charge. |
| Total Estimated Professional Cost | $300 – $1,000+ | For a standard kitchen; can be higher for large or complex projects. |
How to Seal Your Cabinets: A DIYer’s Guide

Ready to roll up your sleeves? Sealing your cabinets yourself can be a rewarding project. Here’s a general step-by-step process:
Step 1: Gather Your Tools and Materials
Before you start, make sure you have everything you need. This prevents interruptions and ensures a smoother process.
- Chosen cabinet sealant (e.g., polyurethane, varnish)
- Applicator brushes (high-quality synthetic for water-based, natural bristle for oil-based)
- Foam rollers or good quality paint rollers for smooth surfaces
- Painter’s tape
- Drop cloths
- Sanding blocks or orbital sander
- Sandpaper (grits ranging from 120 to 220)
- Mild detergent or degreaser
- Clean rags or tack cloths
- Gloves and safety glasses
- Optional: Wood filler, putty knife
Step 2: Prepare Your Workspace
Protecting your kitchen is crucial. Sealant spills can be tough to clean up.
- Clear countertops.
- Lay down drop cloths on floors and countertops.
- Use painter’s tape to mask off any areas you don’t want to seal, like hardware or adjacent walls.
Step 3: Clean the Cabinets
A clean surface is essential for good adhesion.
- Mix a mild detergent with water or use a dedicated degreaser.
- Wipe down all cabinet surfaces thoroughly with a damp cloth, removing grease, grime, and any food splatters.
- Rinse with a clean, damp cloth to remove any soap residue.
- Allow cabinets to dry completely.
Step 4: Sand the Cabinets
Sanding creates a slightly rough surface that the new sealant can grip onto. If your cabinets are already sealed, you’ll want to de-gloss them rather than sanding down to bare wood. For heavily damaged finishes, you might need more aggressive sanding or even stripping. Check out resources like This Old House’s guide on cabinet sanding for detailed techniques.
- Start with a medium-grit sandpaper (around 120-150 grit) to smooth out imperfections and remove any old, flaky finish.
- Follow up with a finer grit sandpaper (around 180-220 grit) for a smoother surface.
- Wipe away all dust with a tack cloth or a slightly damp rag. Dust is the enemy of a smooth finish!
Step 5: Apply the First Coat of Sealant
This is where your cabinets start to transform.
- Stir the sealant gently. Avoid shaking, as this can create air bubbles.
- Using your chosen applicator (brush or roller), apply a thin, even coat of sealant. Work with the grain of the wood.
- Apply in long, smooth strokes. Overlapping strokes slightly helps ensure full coverage.
- Don’t apply too much, as drips and runs can ruin the finish.
- Allow the first coat to dry completely according to the manufacturer’s instructions. This can take anywhere from 2 to 12 hours, depending on the product and humidity.
Step 6: Sand Between Coats
This might seem counterintuitive, but it’s a crucial step for a professional-looking finish.
- Once the first coat is dry, lightly sand the entire surface with very fine-grit sandpaper (220-320 grit).
- This removes any small bumps or imperfections that may have appeared and helps the next coat adhere better.
- Wipe away all dust thoroughly with a tack cloth.
Step 7: Apply Subsequent Coats
Most cabinet sealing projects require at least two to three coats for adequate protection and a beautiful finish.
- Repeat steps 5 and 6 for each additional coat.
- Ensure each coat is fully dry and lightly sanded before applying the next.
Step 8: Final Drying and Reassembly
Patience is key here. Allow the final coat to cure properly.
- Let the final coat dry for at least 24-48 hours before reattaching hardware or using the cabinets heavily.
- Full curing can take up to 30 days, during which time the finish is still hardening. Be gentle with your newly sealed cabinets during this period. You can find more detailed guidance on finishing techniques at Woodworking for Mortals – Polyurethane Guide.
When to Hire a Professional

While sealing cabinets is a manageable DIY project for many, there are times when bringing in a pro makes more sense. This can also affect your “seal cabinet cost” calculation, as you’ll be paying for their expertise.
- Lack of Time: If you have a busy schedule, the time investment for proper cabinet sealing might be too much. Professionals can complete the job much faster.
- Desire for a Flawless Finish: If you’re aiming for a showroom-quality finish and don’t have much experience with painting or finishing, a professional can guarantee the best results.
- Complex Cabinetry: Intricate cabinet designs, custom built-ins, or cabinets with delicate details can be more challenging to seal without experience.
- Expensive or High-End Cabinets: If you have very valuable or antique cabinets, you might want to entrust the sealing to someone with proven experience to avoid costly mistakes.
- Need for Specialized Products: Some cabinets might require specialized primers or sealants that professionals are more familiar with and have access to.
Tips for Saving Money on Seal Cabinet Costs

Want to get that fresh seal without breaking the bank? Here are some smart ways to manage your “seal cabinet cost”:
- DIY whenever possible: As we’ve seen, this is the biggest cost saver.
- Choose your sealant wisely: High-end, specialized sealants cost more. For most standard kitchen cabinets, good quality polyurethane provides excellent protection without the premium price tag.
- Buy in bulk: If you have a very large kitchen, buying sealant in gallon cans can be more economical than multiple quarts.
- Look for sales: Home improvement stores often have sales on paint and finishing products. Plan your project around these events if you can.
- Prep efficiently: Make sure your cabinets are clean before you start. Extra scrubbing or degreasing will add time to your DIY project, which is your most valuable resource.
- Consider cabinet liners: While not a “sealant” in the same way, high-q
