
For a flawless caulk finish, prep the area by cleaning and removing old caulk, choose the right caulk for the job, apply an even bead with a steady hand, and smooth it immediately for a professional look.
Tired of those unsightly gaps and drafts around your windows, doors, or tubs? Cracking, peeling caulk isn’t just a cosmetic problem; it can lead to water damage and energy loss. It’s a common DIY frustration, but achieving a smooth, professional-looking caulk line is totally doable! This guide will walk you through each step, making caulk sealing simple and successful, even for beginners.
Your Essential Seal Caulking Guide for a Flawless Finish


As your go-to guy for all things home upkeep, Bryan Lee knows that tackling DIY projects can feel a bit daunting. But when it comes to sealing gaps with caulk, it’s all about knowing the right techniques. A good caulk job doesn’t just make your home look tidier; it protects it from moisture and drafts, saving you money and hassle down the line. Let’s break down how to get that perfect finish every time!
Why Is Proper Caulking So Important?
Caulking is your home’s first line of defense against the elements and unwanted drafts. When applied correctly, it creates a watertight and airtight seal. This keeps moisture out, preventing mold and mildew growth, especially in bathrooms and kitchens. It also seals up air leaks around windows and doors, which significantly reduces your energy bills by keeping heated or cooled air inside. A clean caulk line also gives your home a neat, finished appearance.
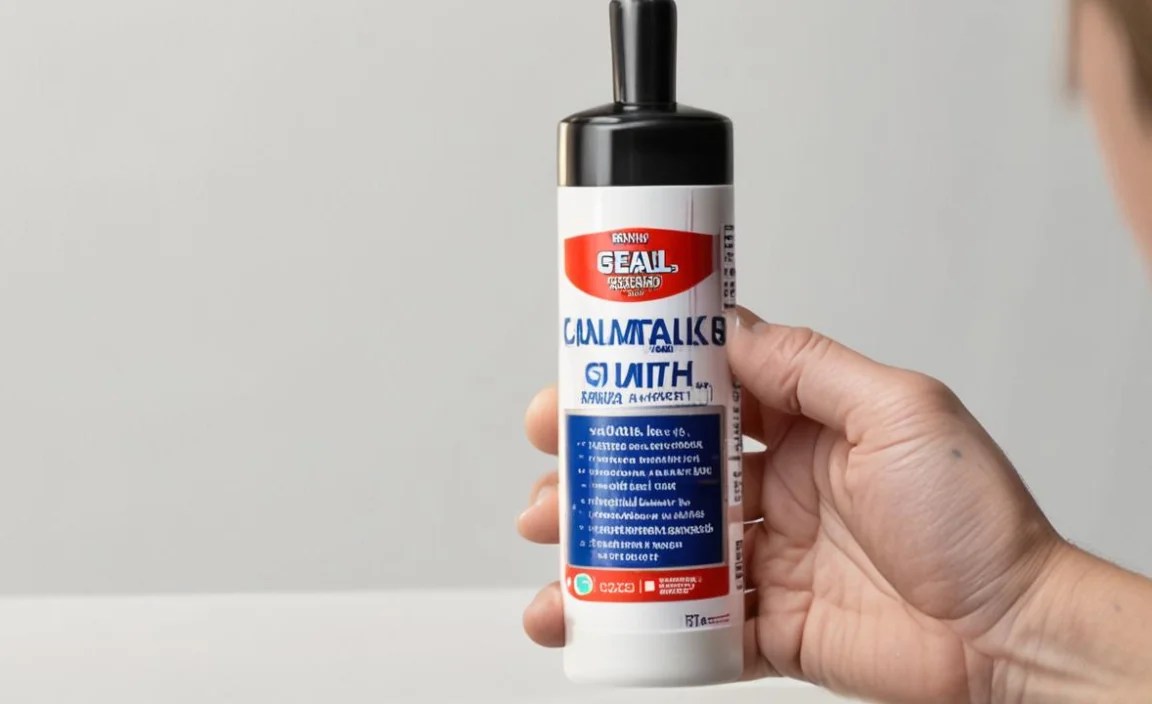
Choosing the Right Caulk
Not all caulk is created equal! The type you choose depends on where you’ll be using it and what you need it to do. Here’s a quick look at some common types:
| Caulk Type | Best For | Key Features |
|---|---|---|
| 100% Silicone | Bathrooms, kitchens, high-moisture areas, windows, exterior trim. | Excellent water resistance, flexible, durable, resists mold and mildew. Can be harder to paint over. |
| Acrylic Latex with Silicone (often called “Siliconized Acrylic Latex”) | Interior trim, around windows and doors, baseboards, general household gaps. | Good flexibility, easy to apply, cleans up with water, paintable. A popular all-rounder. |
| Acrylic Latex (Painter’s Caulk) | Interior gaps and edges that will be painted over. | Very easy to use, cleans up with water, excellent for painting. Less flexible and durable than silicone. |
| Polyurethane | Exterior applications, siding, brick, concrete, high-movement joints. | Extremely durable, flexible, adheres to many surfaces, paintable. Can be trickier to work with. |
For most beginner DIYers, an acrylic latex with silicone (siliconized acrylic latex) is a fantastic choice. It’s versatile, easy to work with, cleans up with water, and can be painted over, giving you a lot of flexibility for your projects.
Gathering Your Tools
Before you start, make sure you have everything you need. The right tools make the job smoother and the results better. Here’s a checklist:
- Caulk Gun: A basic, good-quality caulk gun is essential. Look for one with a smooth trigger and a release lever.
- Utility Knife or Caulk Remover Tool: To cut the caulk tube nozzle and remove old caulk.
- Putty Knife or Scraper: For scraping away old caulk residue.
- Cleaning Supplies: Rags, rubbing alcohol (for silicone residue), and a mild cleaner or degreaser.
- Painter’s Tape: For creating clean, straight lines.
- Smoothing Tool: This can be a specialized caulk tool, a wet finger, or even a damp cloth.
- Bucket of Water: For cleaning tools and wetting your finger/cloth for smoothing.
- Trash Bag: For discarded old caulk and used rags.
Step-by-Step Guide to a Flawless Caulk Finish

Now, let’s get down to business! Follow these steps for a professional-looking caulk job.
Step 1: Preparation is Key – Cleaning the Area
This is arguably the most crucial step. A clean surface ensures your new caulk adheres properly and lasts longer. Trying to caulk over dirt, grease, or old caulk is a recipe for peeling and cracking.
- Remove Old Caulk: If there’s old, peeling, or cracked caulk, you must remove it. Use a utility knife or a dedicated caulk removal tool. Carefully run the blade along the seam to cut through the old caulk. Then, use a putty knife or scraper to lift and peel away the old material. For stubborn bits, a quick scrub might be needed.
- Clean the Surface: Once the old caulk is gone, thoroughly clean the gap and surrounding surfaces. Use a mild detergent and water, or an appropriate cleaner for the material (like rubbing alcohol for silicone residue). The goal is to remove any dust, soap scum, grease, or paint flecks.
- Dry Thoroughly: Ensure the area is completely dry before applying new caulk. Moisture will prevent adhesion and can lead to mold growth under the new caulk. You can let it air dry, or use a clean cloth or even a hairdryer on a low setting.
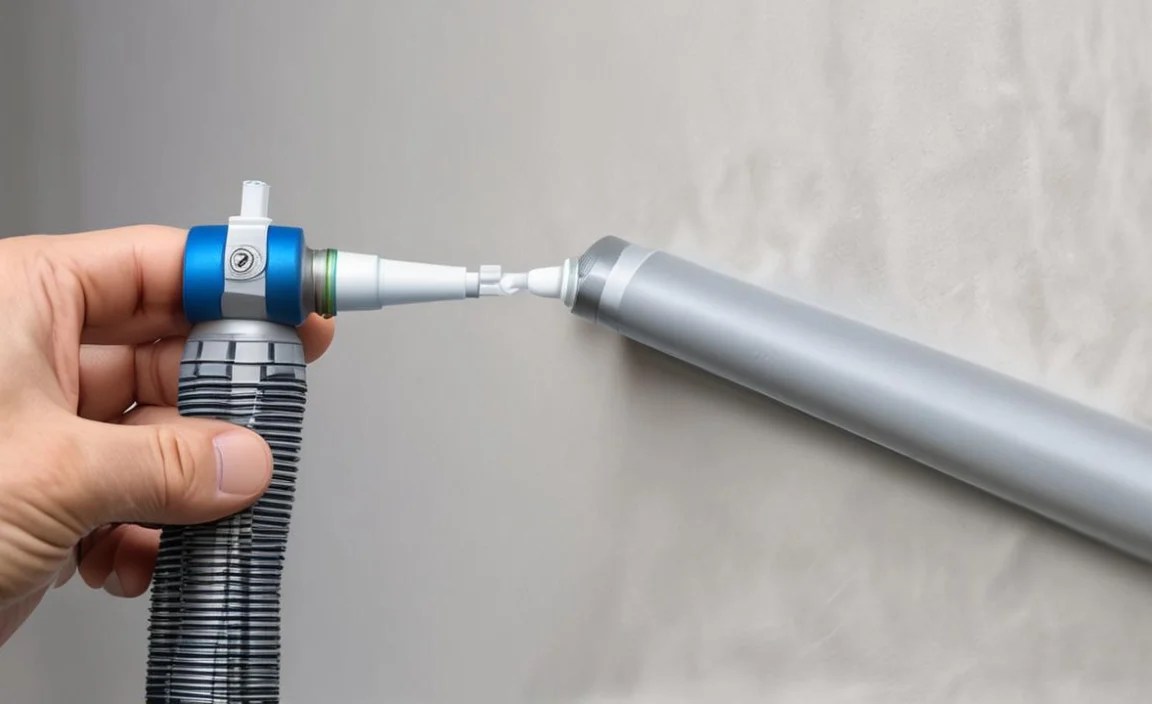
Step 2: Prepare Your Caulk Tube and Gun

Getting the caulk tube ready is a bit of an art, but easy once you know how.
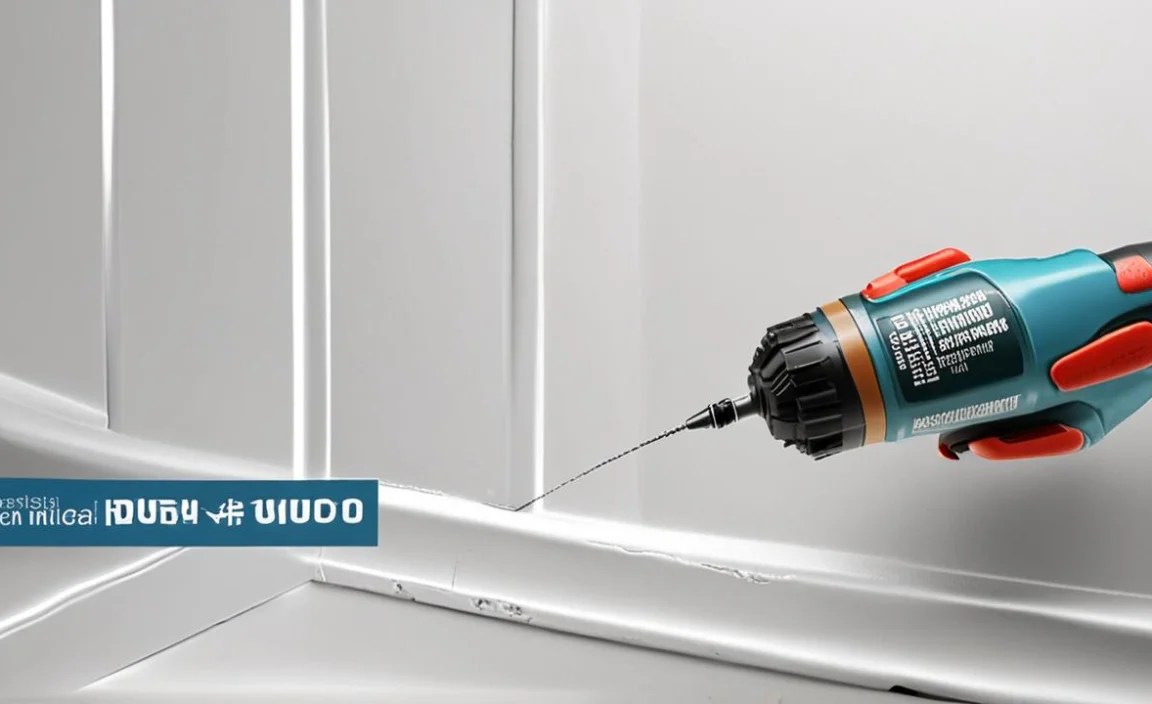
- Cut the Nozzle: Most caulk tubes have a nozzle with a sealed tip. Use your utility knife to cut the tip at a 45-degree angle. Start with a small opening – you can always cut more if needed. A smaller opening gives you more control over the bead size.
- Puncture the Seal: Many caulk guns have a long rod to puncture the inner seal of the tube. If yours doesn’t, you can use a stiff wire or a nail inserted through the nozzle after cutting.
- Load the Gun: Pull back the plunger on the caulk gun, insert the caulk tube with the cut nozzle facing outward, and push the plunger forward until it contacts the tube’s back.
Step 3: Apply Painter’s Tape (Optional but Recommended!)
For perfectly straight lines, painter’s tape is your best friend. This is especially helpful around tiles, trim, or edges where a freehand line might be wobbly.
- Apply Tape: Place a strip of painter’s tape along one edge of the gap you’ll be filling. Place another strip along the other edge, leaving a gap between them that’s slightly narrower than the gap you want to fill. This creates a clean channel for your caulk.
- Press Firmly: Ensure the tape is pressed down firmly to prevent caulk from seeping underneath.
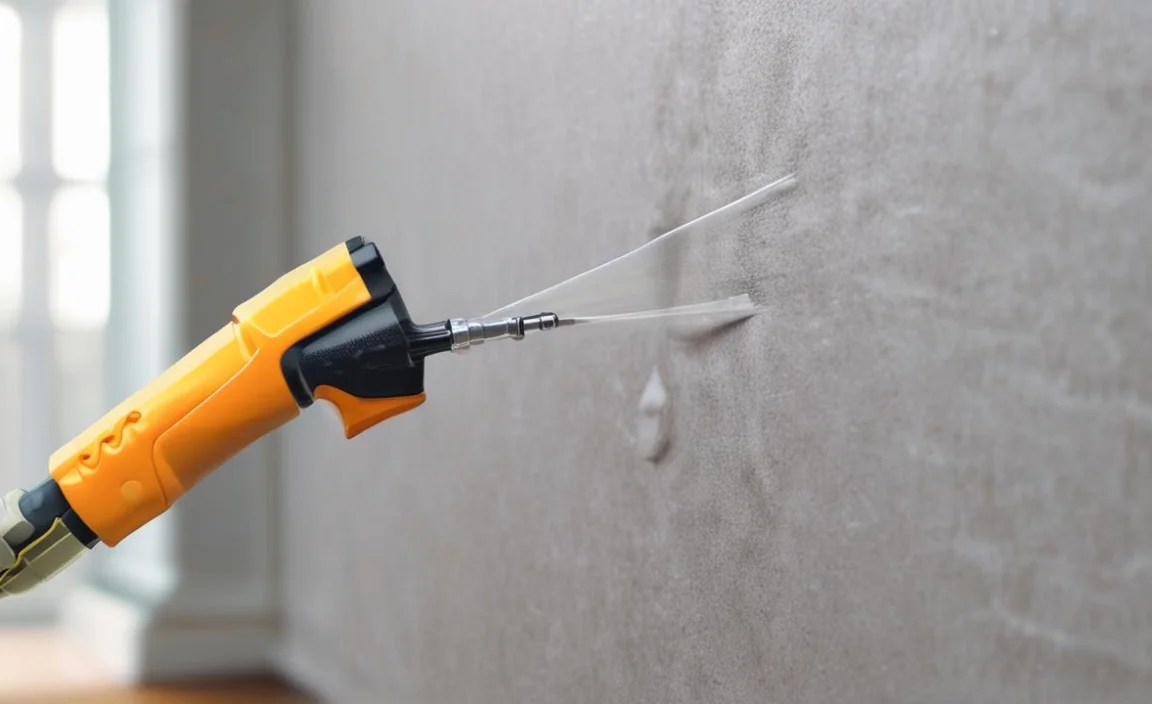
Step 4: Applying the Caulk Bead

This is where the magic starts to happen. Steady hands and consistent pressure are key.
- Release Pressure: Before you start, apply a little pressure on the gun’s trigger to ensure there’s no caulk about to ooze out. Release the trigger mechanism on your caulk gun before you stop applying caulk to prevent overflow.
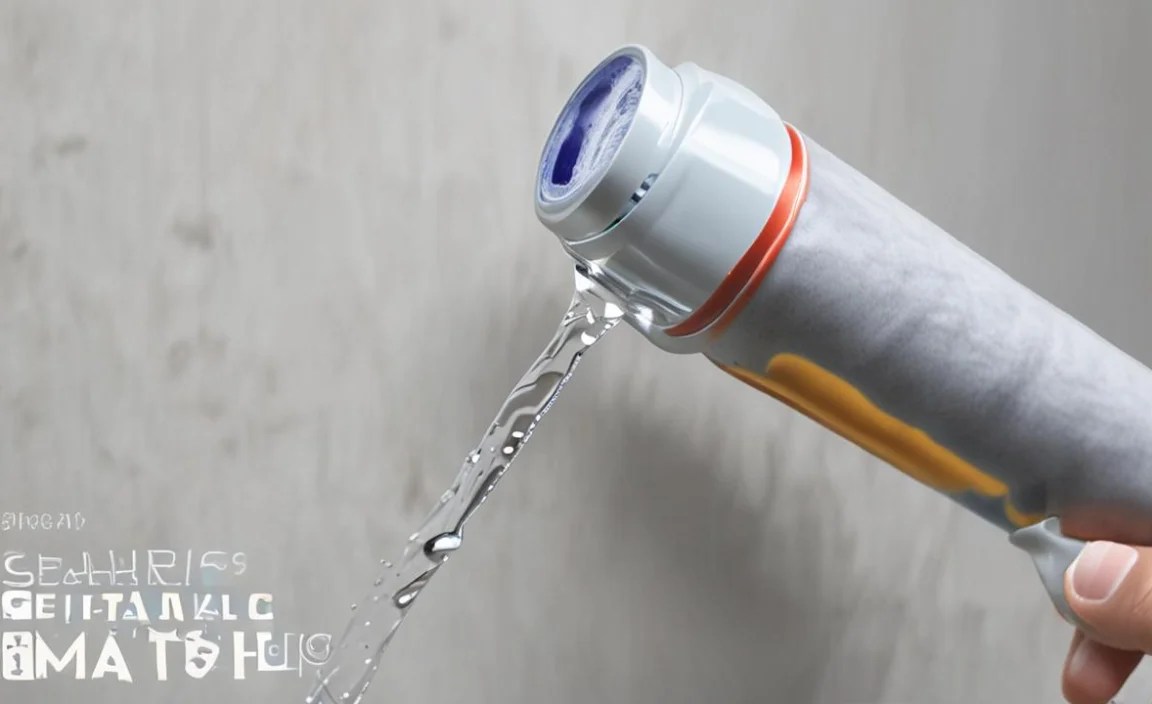
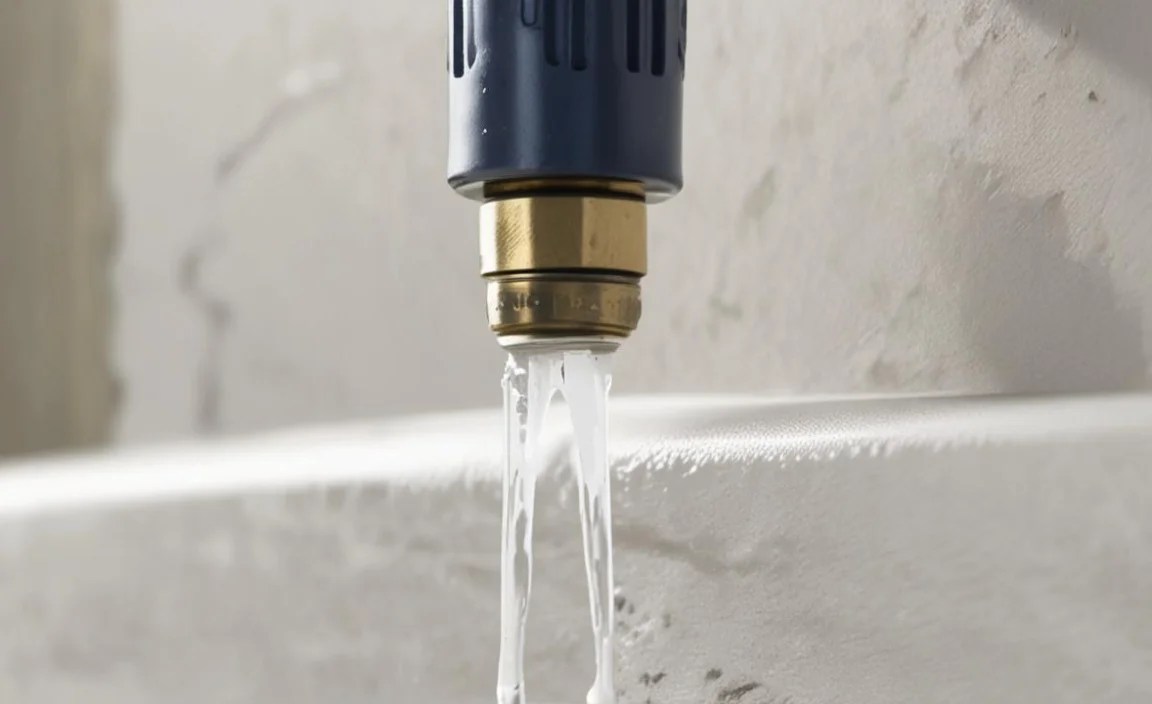
- Start Filling: Position the tip of the caulk tube at the beginning of the gap, with the 45-degree angle resting against the surface. Gently squeeze the trigger of the caulk gun, moving it steadily along the gap. Aim for a consistent bead of caulk that is slightly raised above the gap.
- Maintain Speed & Pressure: Try to move at a consistent speed and apply even pressure to the trigger. This will create a uniform bead. It’s better to go a little slower and apply a slightly thicker bead than you think you need at first – you can tool it down.
- Work in Sections: Don’t try to caulk the entire length of a long seam all at once. Work in manageable sections, about two to three feet long, so you have time to smooth it before it starts to skin over.
- Release Trigger to Stop: When you reach the end of a section or need to stop, smoothly release the caulk gun’s trigger, and then press the release lever (usually a small metal tab or button on the back of the gun) to stop the flow of caulk.
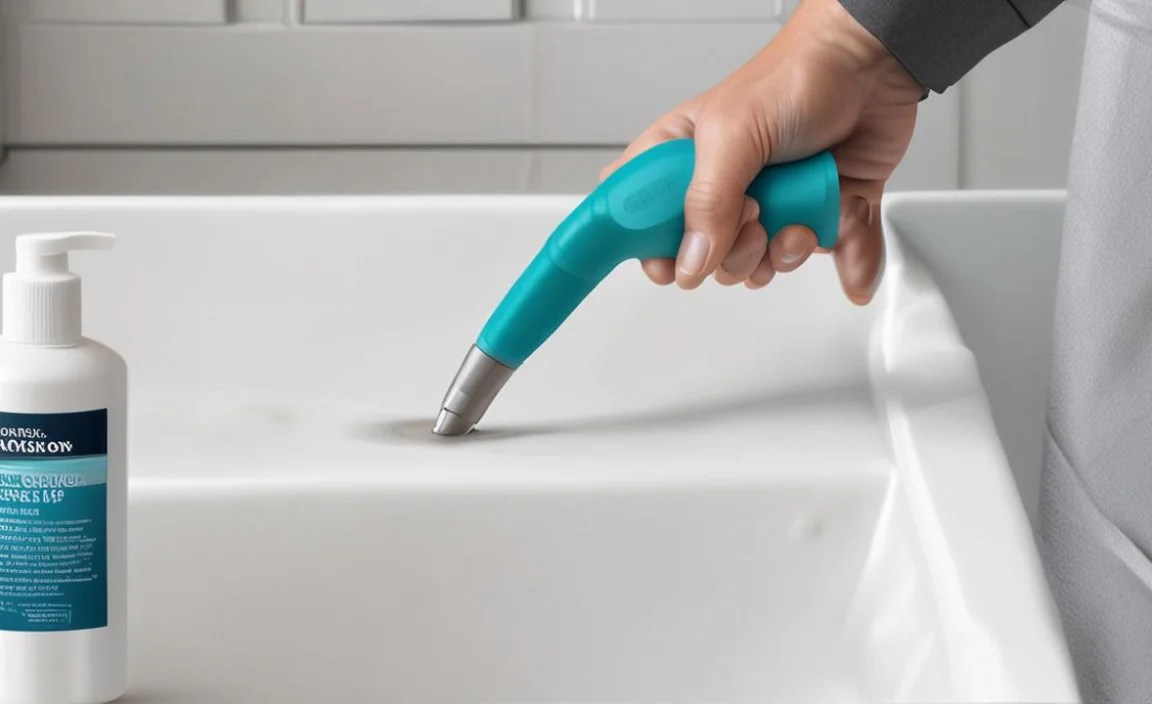
Step 5: Smoothing the Caulk Bead (Tooling)

This step transforms a messy bead into a crisp, professional seal.
- Act Quickly: You need to tool the caulk while it’s still wet. Different caulk types have different cure times, but you usually have about 5-10 minutes.
- Choose Your Tool:
- Your Finger (with Gloves!): Dip a gloved finger (or one covered in a wet cloth) into water. Gently drag your finger along the caulk bead at a consistent angle. This pushes the caulk into the gap and creates a smooth, slightly concave surface. Be careful not to overwork it or press too hard, which can pull caulk out of the joint.
- Caulk Smoothing Tool: These tools often have various shaped edges to create different profiles. Use the edge that best fits your gap. Dip it in water and run it along the caulk bead.
- Damp Cloth: A tightly rolled, damp cloth can also be used to smooth the bead.
- Clean Excess: As you smooth, excess caulk will accumulate on your finger or tool. Wipe this excess off onto a damp rag or into your water bucket frequently.
- Work in Sections: Just like applying, it’s best to smooth in sections to maintain wetness.
Step 6: Removing the Painter’s Tape
This is the moment of truth!
- Remove While Wet: For the cleanest lines, remove the painter’s tape while the caulk is still wet, ideally immediately after smoothing.
- Pull at an Angle: Carefully peel the tape back at a 45-degree angle away from the caulk bead. This should leave you with a perfectly straight edge. If you wait too long and the caulk has started to skin over, you might pull some caulk with the tape.
Step 7: Clean Up
A good cleanup makes all the difference.
- Wipe Away Smudges: Use a damp rag to wipe away any stray caulk smudges from the surrounding surfaces. For silicone caulk that has started to dry, you might need rubbing alcohol.
- Dispose of Materials: Properly dispose of old caulk, used rags, and empty tubes.
- Let it Cure: Check the caulk tube for curing times. Most acrylics need a few hours, while silicones can take up to 24 hours to fully cure and become water-resistant. Avoid exposing the new caulk to water or heavy cleaning until it’s fully cured.
Tips for Different Applications

Caulking needs vary depending on the location:
- Bathrooms and Kitchens (Wet Areas): Use 100% silicone or a high-quality siliconized acrylic latex specifically labeled for mildew resistance. Ensure good ventilation during application and curing. The gap between your bathtub or shower surround and the wall is a prime spot for water ingress, so a watertight seal is critical.
- Around Windows and Doors: These areas experience expansion and contraction with temperature changes. A flexible caulk like acrylic latex with silicone or polyurethane is best. If the windows or doors are painted, ensure your caulk is paintable. For exterior windows, a caulk rated for exterior use is a must. Refer to guidance from the International Code Council on home building and maintenance standards.
- Baseboards and Trim: These are usually interior applications where paintability is a priority. Painter’s caulk (acrylic latex) is ideal here. It fills small gaps and creates a seamless transition between the wall and trim.
Common Caulking Mistakes to Avoid
Even with the best intentions, mistakes happen. Here are a few common pitfalls and how to sidestep them:
- Not removing old caulk: Leads to poor adhesion and a weak seal.
- Cutting the nozzle too wide: Results in a thick, messy bead that’s hard to control and smooth.
- Not puncturing the inner seal: The caulk won’t come out!
- Stopping and starting too much: Creates an uneven bead.
- Overworking the caulk: Can smear it too thin or pull it out of the gap.
- Letting caulk cure before smoothing: You’ll end up with a lumpy, uneven surface.
- Applying caulk in extreme temperatures: Most caulks have recommended temperature ranges for application. Extreme heat or cold can affect performance.
Maintaining Your Caulk
Once your caulk is perfectly applied and cured, a little maintenance goes a long way:
- Regular Cleaning: Clean caulk lines gently with mild soap and water. Avoid abrasive cleaners that can scratch or degrade the surface.
- Check for Damage: Periodically inspect your caulk for signs of cracking, peeling, or mold. Address any issues promptly to prevent more significant problems.
- Recoating: If your caulk is still sound but starting to look a bit dull or worn, you might be able to apply a fresh, thin coat over it, provided it’s clean and adhered well. However, if there are any signs of failure, it’s best to remove it completely and start fresh.
Frequently Asked Questions About Caulking
Q1: How do I know if I have silicone or latex caulk?
A1: Silicone caulk typically has a rubbery feel, is very flexible, and is difficult to paint over. It often requires mineral spirits or rubbing alcohol for cleanup. Latex caulk is softer, cleans up easily with water, and is usually paintable. If it was hard to remove old caulk, it might have been silicone.
Q2: Can I caulk over old caulk?
A2: It’s strongly recommended that you do not caulk over old caulk. The new caulk won’t adhere properly to the old layer, leading to premature failure, cracking, and peeling. Always remove old caulk first.
Q3: How long does caulk take to dry?
A3: Drying (or tack-free) time varies significantly by type. Acrylic latex caulks can become touch-dry in 30-60 minutes and paintable in 2-4 hours. Silicone caulks can take 24 hours or more to fully cure and become waterproof. Always check the product label for specific times.
Q4: How much caulk do I need?
A4: The amount of caulk needed depends on the length and width of the gaps you’re filling. A standard 10-ounce caulk tube can typically cover about 25 linear feet of a 1/4-inch bead. It’s always a good idea to buy a little extra to ensure you don’t run short.
Q5: What’s the best way to get a smooth caulk line if I’m not using tape?
A5: Practice is key! Use a steady hand, consistent pressure, and work in short sections. Apply a slightly thicker bead than you think you need, then immediately smooth it with a wet finger (wearing a glove!) or a specialized caulk smoothing tool. Wipe excess caulk onto a wet rag frequently.
Q6: Can I use general-purpose caulk everywhere?
A6: While some caulks are versatile, it’s best to match the caulk type to the application. For example, don’t use basic interior latex caulk in a wet bathroom or on an exterior window where it will be exposed to weather. Choosing the right caulk ensures durability and proper performance.
Q7: How important is the 45-degree angle when cutting the nozzle?
A7: Cutting the nozzle at a 45-degree angle is very important. It allows the caulk to be applied at the correct angle relative to the joint, ensuring it flows into the gap properly and creates a smooth, even bead when you glide the gun along the seam.
