
Quick Summary: Seal mirror leaks effectively and easily! This guide provides a straightforward, step-by-step process to stop water damage and restore clarity to your mirrors, ensuring your bathroom stays pristine and protected.
Ever notice those annoying water spots or dreaded streaks creeping from the edges of your bathroom mirror? It’s more than just a visual annoyance; it’s a sign of a mirror leak, and left unchecked, it can lead to bigger problems like mold and damage to your walls. Don’t worry, though! Fixing a mirror leak is a surprisingly simple DIY task that anyone can tackle. We’re going to walk you through it, step by step, so you can get to that clear, streak-free shine you love.
This guide is designed for you, whether you’re a weekend warrior or just starting your DIY journey. We’ll break down exactly what you need and how to do it safely and effectively. Ready to reclaim your crystal-clear reflection and protect your home?
Why Do Bathroom Mirrors Leak? Understanding the Basics

Bathroom mirrors are beautiful additions, but they face a harsh environment. High humidity, direct water splashes, and condensation are everyday occurrences. Over time, the seals around the edge of the mirror, which are crucial for preventing moisture from seeping behind it, can degrade. This is often due to age, improper installation, or exposure to harsh cleaning chemicals. When these seals fail, water can get in.
Why is this a problem? Well, that trapped moisture has nowhere to go. It can sit between the mirror and the wall, creating a breeding ground for mold and mildew. This not only looks bad but can also damage the backing of the mirror (causing unsightly black spots) and even the wall material itself. Imagine peeling paint or crumbling plaster – that’s a much bigger, more expensive fix than a simple seal. Catching and sealing a mirror leak early is key to preventing these costly and time-consuming repairs.
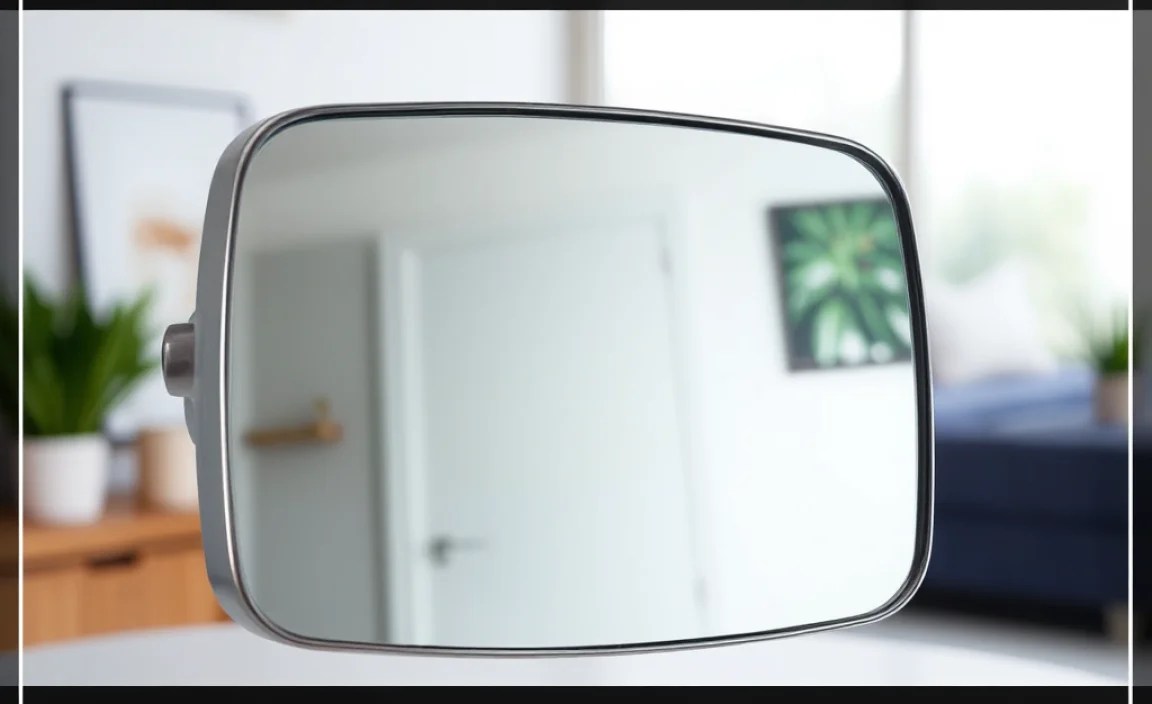
Common Signs You Have a Mirror Leak
Spotting a mirror leak early is the best way to deal with it. Here are the tells:
- Black Spots or Discoloration: These often appear around the edges of the mirror, looking like dark spots or splotches. This is typically corrosion on the silver backing of the mirror, a direct result of moisture getting behind it.
- Water Stains or Streaks: You might see evidence of water that has run down from the edge of the mirror onto the vanity or sink area.
- Peeling Edges: The sealant around the mirror might be cracking, peeling away, or missing in sections, creating visible gaps.
- Mold or Mildew: If you smell a musty odor, especially around the mirror, or see fuzzy black or green growth on or around the mirror’s edge, it’s a strong indicator of a leak and subsequent moisture buildup.
- Loose Mirror: In severe cases, moisture can compromise the adhesive holding the mirror to the wall, making it feel loose or wobbly. This is a safety hazard and requires immediate attention.
Essential Tools and Materials You’ll Need

Before you start, gather everything you need. Having your supplies ready means you can complete the job smoothly without interruptions. This is the key to a successful DIY project!
Tools for the Job
- Safety Glasses: Always protect your eyes from any debris or cleaning solutions.
- Utility Knife or Scraper: For carefully removing old sealant.
- Gloves: To protect your hands from cleaning products and sealants.
- Rags or Paper Towels: For cleaning and drying.
- Screwdriver (if needed): Some mirrors are held by clips or frames that may require removing screws.
- Caulking Gun: For applying new sealant smoothly.
- Putty Knife or Spatula: Can be helpful for scraping and smoothing.
- Dust Mask: Recommended if you’re dealing with old, brittle sealant or a lot of dust.
Materials to Get the Job Done
- Mirror Sealant/Caulk: This is your main weapon. Look for a silicone-based caulk designed for bathrooms or kitchens. These are waterproof and flexible.
- Rubbing Alcohol (Isopropyl Alcohol): Excellent for cleaning surfaces to ensure good adhesion.
- Mild Soap and Water: For general cleaning.
- Painter’s Tape: To create clean, straight lines and protect surrounding areas.
- Optional: Mildew Remover: If you find any mold or mildew, you’ll need a product to safely clean it. Check out resources like the EPA’s guidelines on cleaning mold for safe practices.
Step-by-Step Guide: Seal Your Mirror Leak Like a Pro

Now, let’s get down to business. This process is designed to be straightforward. Take your time, and don’t hesitate to use the painter’s tape for a professional finish.
Step 1: Assess the Damage and Prepare the Area
First, take a close look at your mirror. Identify exactly where the sealant is failing. Is it all around the edge, or just in a few spots? Gently try to wiggle the mirror to see if it feels loose. Note any areas with mold or significant discoloration. This assessment helps you know how thorough you need to be.
Next, clear the area around the mirror. Remove any toiletries, decorations, or anything that might get in your way. Lay down some old towels or newspaper on the counter and floor to catch any drips or debris.
Step 2: Remove Old, Damaged Sealant
This is a crucial step for ensuring your new sealant sticks properly. Using your utility knife or scraper, carefully cut along the old sealant where it meets the mirror and the wall. Work slowly and deliberately to avoid scratching the mirror or the wall surface. Once you’ve scored the old sealant, use your scraper or putty knife to gently peel or lift it away.
For stubborn bits, you might need a bit more effort. If the old sealant is very hard, you can try applying a bit of heat with a hairdryer on a low setting to soften it, but be cautious not to overheat the mirror’s backing.
Step 3: Clean the Edges Thoroughly
Once the old sealant is gone, it’s time to clean. This is your chance to remove any residue, dust, soap scum, and especially any mold or mildew. Start with a damp cloth and mild soap to get any gunk off. If you found mold, use a dedicated mildew remover or a solution of one part bleach to ten parts water (wear gloves and ensure good ventilation!).
After cleaning, thoroughly dry the area. Then, use rubbing alcohol on a clean rag to wipe down the edges where the new sealant will go. Alcohol cleans and degreases the surface, providing an excellent base for the new sealant to bond strongly. Let it air dry completely; this is critical for adhesion.
Step 4: Apply Painter’s Tape for Clean Lines
This step is a game-changer for a professional look. Apply painter’s tape along the edges where you want your sealant to stop. Place one strip of tape right along the edge of the mirror, and another strip along the edge of the wall or frame, leaving a gap between them where you’ll apply the caulk. This gap should be just wide enough to accommodate the bead of caulk you plan to apply. This tape acts as a guide and prevents excess caulk from getting onto surfaces you don’t want it on.
Step 5: Apply the New Mirror Sealant
Now for the main event! Load your caulk gun with the new silicone sealant. Cut the tip of the caulk tube at a 45-degree angle to create a small opening. Start applying a steady bead of sealant along the gap between the mirror and the wall, following the line you’ve created with the painter’s tape. Try to apply an even pressure to avoid thick and thin spots.
Work in manageable sections. If your mirror is large, don’t try to do the entire perimeter in one go. It’s better to apply sealant in stages and smooth it as you go. Ensure the sealant is filling the gap completely.
Step 6: Smooth the Sealant Bead
This is where you give your work that professional finish. Once you’ve applied a section of caulk, it’s time to smooth it. You can use a dedicated caulk smoothing tool, the back of a spoon, or even just your finger (dipped in a little soapy water to prevent sticking). Gently run your chosen tool or finger along the bead of caulk, pushing it into the gap and creating a neat, concave surface. This helps to create a watertight seal and looks much cleaner.
Wipe away any excess caulk immediately with a damp rag. If you’re using your finger, have paper towels or rags handy to wipe off the excess caulk as you go.
Step 7: Remove Painter’s Tape and Let it Cure
This is the moment of truth! While the caulk is still wet, carefully and slowly peel off the painter’s tape. Pull the tape away from the still-wet caulk at an angle. Doing this before the caulk dries ensures that you get a clean, sharp edge. If you wait too long, the caulk could stick to the tape and pull away when you remove it, leaving an uneven line.
Now, you need to let the sealant cure. Check the sealant manufacturer’s instructions for drying and curing times. Most bathroom silicones need at least 24 hours to fully cure and develop their waterproof properties. Avoid using the shower or splashing water near the mirror during this time. Proper curing is essential for a durable, waterproof seal.
Maintaining Your Sealed Mirror

Once your mirror is sealed and cured, the job isn’t quite done. Ongoing maintenance will keep it looking great and prevent future problems. Regular cleaning is key.
Daily/Weekly:
- Wipe down the mirror and the edges with a soft, lint-free cloth after each use, especially after showering, to remove excess moisture.
- Use a glass cleaner for the mirror surface, but be careful not to spray directly along the edges where the sealant is. Spray the cleaner onto your cloth first, then wipe the mirror.
Monthly:
- Inspect the sealant edges for any signs of cracking, peeling, or mold.
- If you notice minor buildup, clean the sealant gently with a soft brush and mild soap, then rinse and dry thoroughly.
Following these simple steps will help ensure your new seal lasts and your mirror stays clear and protected.
Troubleshooting Common Mirror Leak Issues
Even with the best intentions, DIY projects can sometimes hit a snag. Here are a few common issues you might encounter and how to fix them:
Problem: Caulk Won’t Stick
Reason: The surface wasn’t clean or dry enough. Old sealant residue might still be present.
Solution: Remove the caulk you applied. Thoroughly clean the area again with rubbing alcohol until it shines and is completely dry. Reapply the caulk.
Problem: Uneven or Messy Caulk Bead
Reason: Inconsistent pressure on the caulk gun, or the smoothing wasn’t done carefully.
Solution: If the caulk is still wet, you can try to smooth it again more carefully. If it’s already started to set, you might need to remove it and start over. For future applications, practice on a piece of cardboard or scrap wood to get a feel for the caulk gun.
Problem: Painter’s Tape Pulled Away Sealant
Reason: The tape was removed too late, or the caulk was still too wet and sticky.
Solution: Once the caulk has cured a bit (but not fully hardened), you might be able to carefully trim the excess caulk with your utility knife that stuck to the tape area. If it’s severely messed up, removal and reapplication might be the cleanest fix.
Problem: Sealant Smells Despite Curing
Reason: Often, silicone sealants have a slight odor during the curing process, which should dissipate. If it persists and is strong, it might be a sign of a poor-quality sealant or that not all the old, moldy material was removed.
Solution: Ensure adequate ventilation in the bathroom. If the smell persists after a week and is concerning, you might need to remove the sealant and recaulk, ensuring absolute cleanliness and using a high-quality, low-odor sealant.
When to Call a Professional
While most mirror leak fixes are manageable DIY projects, there are times when it’s best to call in the experts. If you encounter any of the following, don’t hesitate to seek professional help:
- Large or Multiple Mirrors: If you have several mirrors or very large ones, the risk of dropping or breaking them increases, and working with them can be unwieldy.
- Framed Mirrors with Complex Fastenings: Some framed mirrors are integral to the wall structure or have hidden mounting systems that can be tricky to navigate.
- Signs of Significant Wall Damage: If you notice soft spots, extensive mold growth, or water staining that goes beyond the immediate mirror edge, the wall itself might be compromised. This requires professional assessment and repair to prevent structural issues.
- Mirror Feels Very Loose or Unsafe: If the mirror is significantly loose or you suspect the adhesive is failing badly, leave it to professionals. They have the tools and techniques to safely remove and re-mount it.
- Lack of Confidence or Experience: If you’re simply not comfortable with the steps involved, it’s always better to hire a handyperson or contractor who can do the job efficiently and correctly without putting yourself or your property at risk.
Remember, safety and a job well done are the priorities. Professionals can ensure the mirror is secured properly and any underlying damage is addressed.
Pros and Cons of DIY Mirror Sealing
Like any home project, tackling a mirror leak yourself has its upsides and downsides. Understanding these can help you make the best decision for your situation.
Pros:
- Cost Savings: This is the biggest benefit. You save money on labor by doing it yourself. The materials are relatively inexpensive.
- Convenience: You can do it on your own schedule, without waiting for a contractor.
- Sense of Accomplishment: Successfully completing a DIY repair is incredibly rewarding and boosts your confidence for future projects.
- Quick Fix: For minor leaks, a DIY seal can often solve the problem within a few hours (plus curing time).
- Learning Opportunity: You gain valuable practical skills that can be applied to other home maintenance tasks.
Cons:
- Risk of Damage: Mistakes can happen, potentially leading to scratched mirrors, damaged walls, or an unsightly repair job.
- Time Investment: While the active work might be short, the prep, curing, and cleaning can take time.
- Improper Seal: If not sealed correctly, the leak might return, leading to more extensive damage down the line.
- Requires Proper Tools: While the tool list isn’t extensive, you need the right items for a clean and effective job.
- Safety Concerns: Working with sharp tools or potentially dealing with loose glass requires caution.
We’ve put together a quick comparison of DIY vs. Professional sealing to help:
| Feature | DIY Mirror Sealing | Professional Mirror Sealing |
|---|---|---|
| Cost | Low (materials only) | Moderate to High (labor + materials) |
| Time Required | Shorter active time, longer total project time (including prep, cure) | Generally faster completion time for the entire job |
| Skill Level | Beginner to Intermediate | Expert |
| Risk of Error | Higher, especially for beginners | Lower |
| Warranty/Guaranteed Results | None | Often available |
| Suitability | Simple leaks, minor issues, budget-conscious DIYers | Complex jobs, significant damage, time-pressed homeowners, when peace of mind is paramount |
Frequently Asked Questions (FAQ)
Q1: How do I know if my mirror is actually leaking, or if it’s just condensation?
A: Condensation typically appears as fogging or small water droplets on the surface of the mirror, which disappear as it dries. A leak usually shows as water stains running from the edges, black spots forming behind the glass, or peeling sealant that allows water ingress. Persistent moisture originating from the edge points to a leak.
