
To seal your sink perfectly, clean the area thoroughly, choose the right sealant (like silicone caulk), apply it evenly in a continuous bead, smooth it for a clean finish, and allow it to cure fully. This guide provides essential tips for a watertight, long-lasting seal that prevents leaks and protects your cabinets.
A leaky sink can be a real headache, causing water damage, mold growth, and an unsightly mess. It’s a common problem that many homeowners face, whether it’s a new installation or just a sink that’s seen better days. But don’t worry! With a few simple tools and some easy-to-follow steps, you can achieve a professional-looking, watertight seal that keeps your kitchen or bathroom dry and protected. We’ll walk you through everything you need to know to get that perfect seal, ensuring your sink stays put and leak-free, giving you peace of mind.
Your Essential Sink Sealing Toolkit

Before we dive into the sealing process, let’s gather everything you’ll need. Having the right tools makes the job much smoother and ensures a better result. Think of this as gathering your painting supplies before you start a masterpiece – a little preparation goes a long way!
What You’ll Need:
- Sealant: Waterproof silicone caulk is usually the best choice for sinks. Look for one designed for kitchens and bathrooms, as these are often mildew-resistant.
- Caulk Gun: A standard caulk gun makes applying sealant neat and controllable.
- Utility Knife or Caulk Removal Tool: For removing old caulk.
- Rubbing Alcohol or Acetone: For cleaning the sink rim and countertop.
- Clean Rags or Paper Towels: Plenty of these for wiping up excess and cleaning.
- Painter’s Tape: To create crisp, clean lines.
- Scraper or Putty Knife: For stubborn old caulk.
- Sanding Sponge (optional): To lightly scuff surfaces if needed.
- Bucket: For water and cleaning rags.
- Gloves: To protect your hands.
- Safety Glasses: To protect your eyes from debris.
Step-by-Step Guide to Sealing Your Sink

Let’s get this done! Follow these steps carefully, and you’ll be enjoying a perfectly sealed sink in no time. We’ll break it down so it’s easy to understand, no matter your DIY experience level.
Step 1: Prepare the Area – Cleanliness is Key!
This is arguably the most important step. A clean surface is essential for the sealant to adhere properly. If you skip this, your new seal might not last as long as you’d hope.
Removing Old Caulk:
- Carefully use a utility knife or a specialized caulk removal tool to cut along the edge of the old caulk.
- Gently pry up the old caulk. Work slowly to avoid scratching your sink or countertop.
- For any stubborn bits, a scraper or putty knife can help. Be patient; you want to get as much of the old material off as possible.
Cleaning the Surface:
- Once all old caulk is removed, it’s time to really clean. Use rubbing alcohol or acetone on a clean rag to wipe down the entire area where the sink meets the countertop. This removes any leftover residue, soap scum, or grease that could prevent the new caulk from sticking.
- Give the area a final wipe-down with a clean, damp cloth to remove any alcohol or acetone residue, then dry it completely with another clean rag or paper towel. Ensure the surface is bone dry before moving on.
Step 2: Apply Painter’s Tape for Precision
For a super clean and professional-looking seal, painter’s tape is your best friend. It acts as a guide, ensuring you get a straight, even bead of caulk.
- Apply painter’s tape along the edge of the sink rim and the countertop.
- Leave a gap of about 1/8 to 1/4 inch between the tape lines – this is where your caulk bead will go.
- Make sure the tape is pressed down firmly to prevent caulk from seeping underneath.
Step 3: Prepare and Cut the Sealant Tube
Now it’s time to get the caulk ready. This step requires a bit of caution to ensure you don’t apply too much caulk.
- Take your caulk gun and insert the tube of silicone sealant.
- Use your utility knife to carefully cut the tip of the caulk tube. Make a small, angled cut. You want to start with a small opening; you can always cut more if needed. A smaller opening gives you more control, which is great for beginners.
- Puncture the inner seal of the tube using the puncture tool on your caulk gun or a long nail.
Step 4: Apply the Sealant (Caulking)
This is where the magic happens! Go slow and steady for the best results.
- Position the caulk gun at a consistent angle, with the tip of the tube pressing lightly against the gap you want to fill.
- Gently squeeze the trigger of the caulk gun, and move it in a slow, steady motion along the seam. Aim for a continuous bead of caulk. Try to fill the entire gap.
- It’s often easier to work in one continuous motion around the entire sink if possible. If you have to stop, try to overlap slightly when you start again to avoid gaps.
- As you go, keep an eye on the bead. You want it to be consistent in thickness and completely fill the space between the sink and countertop.
Step 5: Smooth the Sealant
This step is crucial for that seamless, professional look and to ensure a good bond.
- Immediately after applying the caulk bead, use a caulk smoothing tool, a wet finger (wear a glove!), or even a damp paper towel wrapped around your finger to gently smooth the bead.
- Drag your smoothing tool or finger along the bead at a consistent angle. This pushes the caulk into the gap and creates a slightly concave surface that looks neat and helps water run off.
- Wipe away any excess caulk that squeezes out onto the tape or your finger onto a separate rag or paper towel as you go. Don’t let it dry!
Step 6: Remove the Painter’s Tape
Patience is key here! Don’t rush this part.
- Carefully and slowly peel off the painter’s tape.
- It’s best to do this while the caulk is still wet but has started to set slightly. If you wait too long, the caulk might stick to the tape and pull away, ruining your clean line.
- Pull the tape away at an angle, away from the fresh caulk bead.
Step 7: Clean Up Any Messes
A little tidiness goes a long way. If any caulk managed to get where it shouldn’t be, clean it up now.
- Use a damp rag or paper towel to wipe away any stray caulk marks on the sink or countertop.
- If you used rubbing alcohol or acetone for cleaning, you can use a little bit again on a rag for stubborn caulk blobs, but be sure to wipe clean with a damp cloth afterward and dry the area.
Step 8: Allow the Sealant to Cure
This is the “wait and see” step, and it’s important for the seal’s durability.
- Read the instructions on your caulk tube for the specific curing time. This can vary depending on the product and humidity levels.
- Most silicone caulks need at least 12-24 hours to cure fully. During this time, avoid using the sink or getting the area wet.
- Proper curing ensures the silicone forms a strong, waterproof bond.
Choosing the Right Sealant for Your Sink

Not all sealants are created equal. For sinks, you want something that’s tough, waterproof, and resistant to mold and mildew, especially in kitchens and bathrooms where moisture is constant. Let’s look at the most common and effective options.
Silicone Sealants
Silicone caulk is the gold standard for sealing sinks and bathrooms. It offers excellent flexibility, durability, and is completely waterproof once cured.
- Pros: Highly flexible, excellent adhesion to many surfaces (porcelain, ceramic, stainless steel, laminate), waterproof, durable, resistant to temperature changes, long-lasting.
- Cons: Can be messy if not applied carefully, harder to paint over, has a distinct odor while curing.
- Best For: The most common and recommended choice for sealing under the rim of sinks, around bathtubs, and showers. Look for “100% silicone” and “kitchen and bath” formulas which often include mildew inhibitors.
Acrylic Latex with Silicone (Caulk)
These are often advertised as “paintable caulks.” While easier to work with and clean up, they generally don’t offer the same level of waterproof durability as 100% silicone for wet areas.
- Pros: Easy to apply and clean up, paintable, less odor.
- Cons: Less flexible, can shrink over time, not as waterproof as silicone, may be more prone to mold and mildew without specific additives.
- Best For: Less demanding applications or where a paintable finish is essential. Might be suitable for some decorative sink edges that aren’t constantly exposed to heavy moisture, but generally not the first choice for sealing a sink rim.
Polyurethane Sealants
These are very strong and durable sealants, often used in construction. They offer excellent adhesion and are waterproof.
- Pros: Extremely strong adhesion, waterproof, durable.
- Cons: Less flexible than silicone, can be harder to find in consumer-friendly formulas, may have stronger odors, difficult to clean up if not done immediately.
- Best For: Applications requiring very strong bonding, but typically silicone is preferred for the aesthetic and flexibility around sinks.
Recommendation: For sealing a sink, stick with 100% silicone caulk specifically made for kitchens and bathrooms. It’s the most reliable choice for a long-lasting, watertight seal.
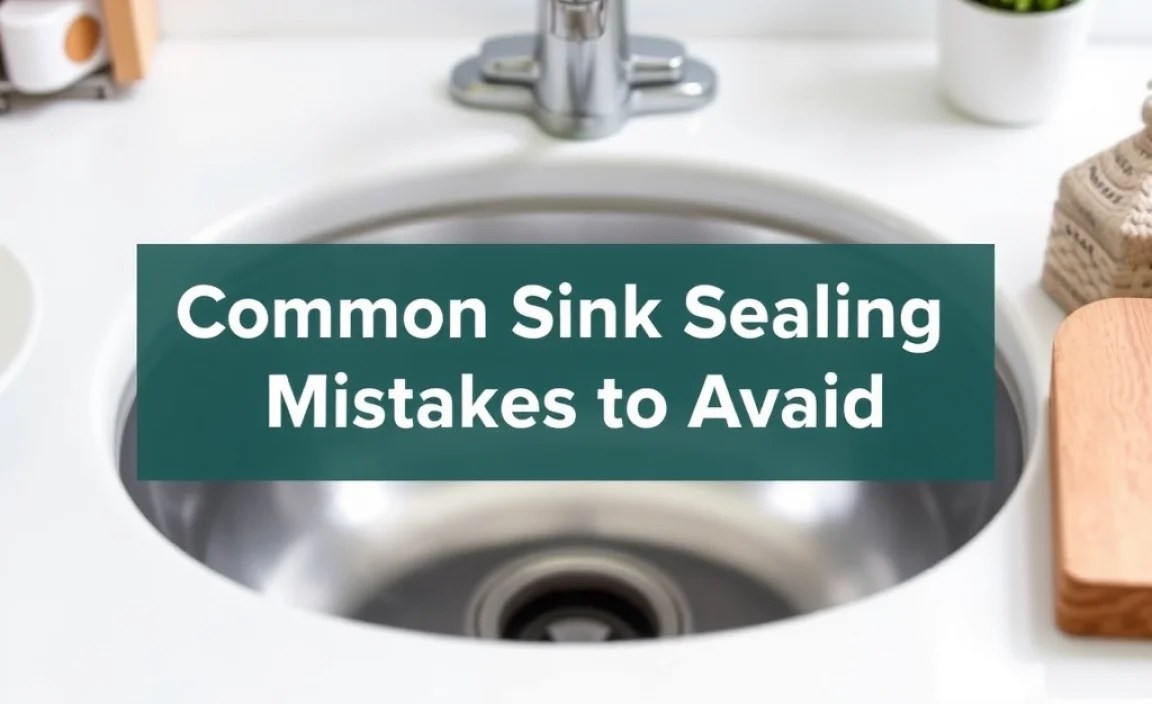
Common Sink Sealing Mistakes to Avoid
Even with the best intentions, DIYers can sometimes hit a snag. Here are a few common pitfalls to watch out for:
- Skipping the Cleaning: As mentioned, a dirty surface is the enemy of good adhesion. Don’t rush this step!
- Using the Wrong Sealant: Not all caulks are created for wet environments. Always choose a waterproof, mildew-resistant option for sinks.
- Applying Too Much or Too Little Caulk: Too little leaves gaps, too much makes a mess and looks unprofessional. Practice on cardboard if you’re nervous!
- Not Smoothing Properly: A bumpy or uneven caulk line won’t look good and can create spots for water to linger.
- Not Allowing Enough Curing Time: The biggest temptation is to use the sink too soon. Resist it! A proper cure is essential for durability.
- Not Using Painter’s Tape: While not strictly mandatory, painter’s tape elevates the finish from “DIY” to “professional.”
Table: Sealant Properties Comparison
To help you visualize the differences, here’s a quick comparison of common sealant types for home use:
| Sealant Type | Waterproof | Flexibility | Durability | Paintable | Ease of Use | Best for Sinks |
|---|---|---|---|---|---|---|
| 100% Silicone | Excellent | High | High | No | Moderate | Yes, Highly Recommended |
| Acrylic Latex (Caulk) | Moderate | Moderate | Moderate | Yes | Easy | No, Not Ideal |
| Polyurethane | Excellent | Moderate | Very High | Yes (some types) | Moderate | No, Generally Overkill |
When to Re-Seal Your Sink
Even the best seal won’t last forever. Here are signs that it’s time to re-seal:
- Visible Gaps or Cracks: If you start seeing daylight or separation between the sink and countertop, it’s time.
- Deteriorated or Moldy Caulk: Old caulk can become brittle, crack, or grow mold and mildew, indicating it’s no longer effective.
- Water Seepage: If you notice water pooling around the sink edge or dripping underneath, the seal has failed.
- Loose Sink: A sink that feels loose or shifts when you press on it is a clear sign the sealant has failed.
- General Wear and Tear: Over time (typically 5-10 years, depending on usage and environment), caulk can simply wear out.
Regularly inspecting your sink’s seal can save you from leaks and costly water damage. A quick visual check every few months is a good habit.
Conclusion
Sealing your sink might seem like a small task, but it’s a vital part of maintaining your home. A well-executed seal protects your cabinets from water damage, prevents unsightly mold growth, and ensures your sink remains a functional and attractive part of your kitchen or bathroom. By following these steps – from thorough preparation and careful application to proper smoothing and curing – you can achieve a professional-quality, watertight seal yourself. Remember, a little patience and the right tools can turn a potentially messy job into a rewarding DIY success. Keep an eye on your seal, and you’ll enjoy its benefits for years to come.
FAQ: Your Sink Sealing Questions Answered
Q1: How long does sink sealant typically take to cure?
A1: Most silicone sealants need at least 12 to 24 hours to cure fully. Always check the product packaging for specific instructions, as this can vary. Avoid getting the sealed area wet during this time.
Q2: Can I seal a sink if it’s still slightly damp?
A2: No, it’s crucial for the surfaces to be completely dry before applying sealant. Any moisture can prevent the sealant from adhering properly, leading to premature failure of the seal.
Q3: What’s the difference between caulk and silicone?
A3: Caulk is a general term for a type of sealant. Silicone caulk is a specific type of caulk made from silicone, known for its excellent waterproofing and flexibility, making it ideal for wet areas like sinks.
Q4: How thick should the bead of caulk be?
A4: Aim for a bead that’s just wide enough to fill the gap between the sink and countertop, typically around 1/8 to 1/4 inch. If you’re using tape, this space should be about the width of your tape gap. The goal is a continuous, even line that seals the gap without being excessive.
Q5: My caulk line isn’t perfectly straight. Can I fix it?
A5: Yes! If the caulk is still wet, you can often re-smooth it a bit. For more significant errors, you might need to scrape off the wet caulk and reapply. If it’s already partially cured, you’ll likely need to remove it once dry and start over or try to carefully add more to the imperfect section and re-smooth.
Q6: Is it safe to use household cleaners on newly sealed sinks?
A6: Once the sealant is fully cured (usually 24-48 hours after the initial 12-24 hour cure time), you can typically use standard household cleaners. However, it’s wise to avoid harsh abrasive cleaners or solvents directly on the caulk line itself, especially in the first week or two, to ensure its integrity.
Q7: Can plumbing components (like drains or faucets) be sealed?
A7: While some plumbing components have specific seals or gaskets, you might use plumber’s putty or silicone sealant where a piece meets the sink basin or countertop if the manufacturer’s instructions suggest it. Always refer to the installation manual for the specific component. For typical sink rim sealing, the process above applies.
