
Sealing vents can cost anywhere from $100 to $500 for DIY materials to $300 to $1,500 for professional services. This investment significantly cuts energy loss, lowers utility bills by up to 20%, and improves home comfort. Understanding the costs involved helps you plan essential savings and make an informed decision for a more efficient home.
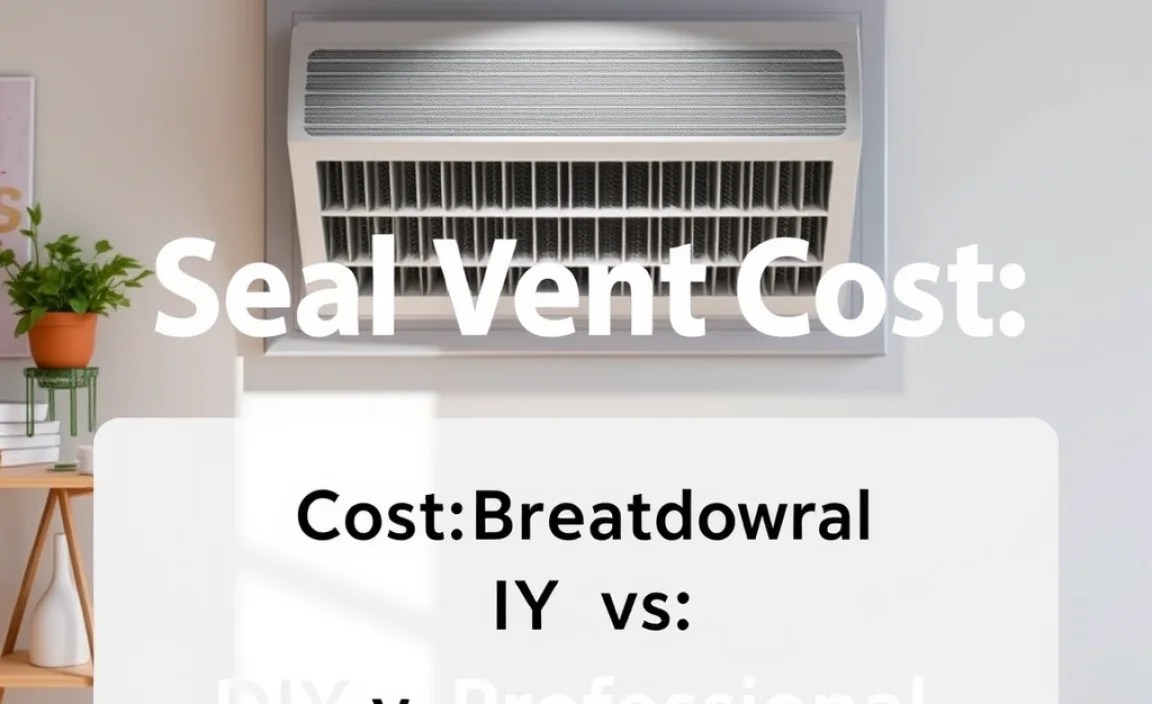
Seal Vent Cost: Essential Savings for Your Home

Are you tired of drafty rooms and high energy bills? You’re not alone! Many homeowners struggle with air leaks, especially around vents, which can make your home uncomfortable and waste precious energy. Fixing these leaks might sound complicated, but it’s a surprisingly budget-friendly DIY project that can save you a significant amount of money. This guide will walk you through everything you need to know about sealing vents, from understanding the costs to doing it yourself. Let’s turn those energy-wasting gaps into pocket-saving seals!
Air leaks around heating and cooling vents are a common culprit behind inefficient homes. These gaps allow conditioned air to escape into attics, crawl spaces, or wall cavities, while unconditioned air seeps in. This forces your HVAC system to work harder, consuming more energy and increasing your utility bills. Addressing these leaks is a smart move for both your wallet and your comfort. We’ll break down the seal vent cost, explore how to do it yourself, and highlight the incredible savings you can achieve.
Understanding Why Sealing Vents Matters

Think of your home’s ventilation system like a big circulatory system. When there are leaks, it’s like a cut in an artery – valuable air is lost, and the system has to work overtime to compensate. This affects not just your heating and cooling, but also indoor air quality and the longevity of your HVAC equipment.
The Impact of Leaky Vents
- Wasted Energy: Your heating and cooling systems work hard to create comfortable temperatures. When air escapes through unsealed vents, this energy is essentially thrown away. The U.S. Department of Energy suggests that homeowners can save up to 20% annually on heating and cooling costs by sealing air leaks.
- Reduced Comfort: Leaky vents lead to uneven temperatures throughout your home. Some rooms might be too hot, while others are too cold, creating uncomfortable drafts and hot or cold spots.
- Higher Utility Bills: Simply put, when your HVAC system works harder, it uses more electricity or natural gas, leading to noticeably higher bills month after month.
- Poor Indoor Air Quality: Air leaks can allow dust, pollen, mold spores, and other pollutants from unconditioned spaces like attics and crawl spaces to enter your living areas, impacting your health and well-being.
- HVAC Strain: Constant overwork due to energy loss can shorten the lifespan of your heating and cooling equipment, leading to premature breakdowns and expensive repairs or replacements.
What is the Seal Vent Cost?
The seal vent cost varies depending on whether you decide to tackle the project as a DIY enthusiast or hire a professional. Both options have their own set of advantages and price points.
DIY Seal Vent Cost
For homeowners comfortable with basic home improvement tasks, the DIY route is significantly more budget-friendly. The primary costs involve purchasing the necessary materials. These are typically readily available at any hardware store.
Materials Needed for DIY Vent Sealing:
- Caulk: An all-purpose latex or silicone caulk is essential for sealing small gaps around stationary components and for use in areas that aren’t subject to extreme movement. Expect to pay between $4-$10 per tube.
- Weatherstripping: Foam or rubber weatherstripping is great for sealing around movable parts or where a more flexible seal is needed. Prices range from $10-$30 for a roll, depending on width and length.
- Spray Foam Insulation: For larger gaps and cavities, expanding spray foam is an excellent insulator and sealant. A can typically costs $7-$15.
- Duct Sealant (Mastic): This is specifically designed for sealing joints and seams in ductwork itself, which can also be located near or connected to vents. A small tub can cost $10-$25.
- Duct Tape (Heavy-Duty): While not a permanent solution for sealing duct leaks themselves, high-quality, foil-backed “HVAC tape” can be used for temporary fixes or to hold materials in place while sealant dries. Basic rolls are $5-$10.
- Tools: You might need a caulk gun ($10-$20), a utility knife, possibly a putty knife, and safety glasses.
Estimated Total DIY Cost:
For most common vent sealing needs, a DIYer can expect to spend between $100 and $500. This range covers purchasing a variety of sealing materials and basic tools. If you already have some of these items, your cost will be even lower!
Professional Seal Vent Cost
Hiring a professional service, such as an HVAC company or an energy auditor, will naturally be more expensive. However, it ensures the job is done correctly, often with specialized tools and expertise, and can come with warranties.
Factors Influencing Professional Costs:
- Labor: Professional technicians charge hourly rates, which can vary significantly by region and the company’s reputation.
- Scope of Work: The number of vents to be sealed, the complexity of the accessibility (e.g., in a tight crawl space or high ceiling), and the extent of the air leaks will impact the total cost.
- Assessment: Many professionals will conduct an energy audit or blower door test first to pinpoint all leak locations accurately. This diagnostic service adds to the overall cost but provides a comprehensive understanding of your home’s energy performance. You can learn more about blower door tests and their role in energy efficiency from resources like Energy.gov’s Air Sealing Your Home guide.
- Materials Used: Professionals use high-quality, durable materials designed for long-term sealing.
Estimated Total Professional Cost:
The cost for professional vent sealing can range from $300 to $1,500 or more, depending on the factors mentioned above. This might include a comprehensive air sealing service for your entire home, not just the vents.
Cost Breakdown: DIY vs. Professional

To give you a clearer picture, here’s a comparison. When we talk about seal vent cost, it’s helpful to see it laid out side-by-side.
| Service Type | Estimated Cost Range | What’s Included | Pros | Cons |
|---|---|---|---|---|
| DIY Vent Sealing | $100 – $500 | Materials (caulk, foam, weatherstripping), basic tools. | Most affordable, flexible scheduling, sense of accomplishment. | Requires time and effort, potential for errors if inexperienced, may not find all leaks. |
| Professional Vent Sealing | $300 – $1,500+ | Labor, professional-grade materials, expertise, diagnostics (sometimes), warranty. | Thorough and effective, saves your time, expert diagnosis of all leaks, often includes guarantees. | Higher upfront cost, requires scheduling, less hands-on control. |
DIY Steps to Seal Your Vents Effectively
Ready to save money by doing it yourself? Follow these steps to effectively seal your vents and enjoy a more comfortable, energy-efficient home. Safety first! Ensure you have good lighting, wear safety glasses, and if working in an attic or crawl space, use a dust mask and consider work gloves.
Step 1: Locate All Vents and Potential Leak Points
Walk through your home and identify all supply (where conditioned air comes out) and return air (where air is pulled back into the system) vents. Pay close attention to:
- The edges where the vent cover meets the wall, floor, or ceiling.
- The connections where the ductwork enters the vent boot (the metal piece attached to the wall/floor/ceiling).
- Any visible gaps or cracks around these areas.
- Don’t forget to check areas around where ductwork passes through walls or floors, as these are also common leak points.
Step 2: Gather Your Tools and Materials
As outlined in the DIY cost section, ensure you have your chosen sealants (caulk, spray foam, or duct sealant), weatherstripping, appropriate tools (caulk gun, utility knife), safety gear, and possibly a flashlight to see into dark spaces. For sealing the ductwork itself, specialized aluminum foil tape (not standard duct tape) and mastic sealant are recommended. The U.S. Environmental Protection Agency’s (EPA) ENERGY STAR program offers excellent resources on air sealing, including recommended materials and techniques for ductwork. You can explore their advice on sealing ducts.
Step 3: Prepare the Area
Ensure the surfaces you’ll be sealing are clean and dry. This will help the sealant adhere properly for a long-lasting seal. If there’s any loose debris, dust, or old caulk, remove it with a brush or putty knife.
Step 4: Apply Sealant
This is where you’ll use your chosen materials. Here’s how:
- Around Vent Edges: For small gaps (less than 1/4 inch) where the vent cover meets the wall or floor, apply a bead of latex caulk. Smooth it with your finger or a damp cloth for a neat finish. For larger gaps, expanding spray foam can be used, but be careful not to over-apply as it expands significantly.
- Ductwork Connections: This is crucial for efficiency. If you can access the joints where the ductwork connects to the vent boot or where sections of duct are joined, use mastic sealant or appropriate HVAC foil tape. Apply mastic with a brush or trowel, ensuring a complete seal. For foil tape, apply it firmly, pressing out any air bubbles and ensuring it overlaps itself by an inch or more.
- Weatherstripping: If you have moving parts or need a flexible seal, apply adhesive-backed weatherstripping around the perimeter of the vent boot or where air might escape.
Step 5: Seal Remaining Gaps in Ductwork (Optional but Recommended)
If your ductwork is accessible in unfinished areas like attics, basements, or crawl spaces, take the opportunity to seal any other leaks. This is where the seal vent cost truly becomes an investment in overall energy savings. Use mastic sealant or HVAC foil tape on all seams, joints, and holes. This step can often yield the most significant energy savings, as duct leakage can account for a substantial portion of home energy loss. According to the EPA, duct leakage can account for 25% or more of your home’s heating and cooling costs.
Step 6: Reinstall Vent Covers
Once the sealant is dry (check product instructions for drying times), carefully reattach your vent covers. Ensure they are snug and secure.
Step 7: Test Your Work
Turn on your HVAC system and feel around the sealed areas for any remaining drafts. You can also use an incense stick or a smoke pencil to see if any air is being pulled through gaps. Listen for changes in airflow and note any improvements in temperature consistency over the next few days.
When to Call a Professional
While DIY is cost-effective, some situations warrant professional help. Consider hiring an expert if:
- You’re uncomfortable working in confined spaces like attics or crawl spaces.
- You have extensive ductwork that needs sealing.
- You suspect major home air leaks beyond just the vents that require specialized diagnostic tools like blower doors or infrared cameras.
- You want to ensure the highest level of efficiency and potentially qualify for energy rebates or tax credits.
- You have tried DIY and are still experiencing issues.
A professional energy auditor or HVAC contractor can perform comprehensive air sealing and insulation services, ensuring your entire home is as energy-efficient as possible. They can often perform a blower door test to accurately quantify air leakage, which is something most DIYers cannot do.
Calculating Your Potential Savings
Estimating the exact savings from sealing vents can be tricky, as it depends on many factors, including your climate, the age and efficiency of your HVAC system, and the number and size of leaks. However, using the widely cited figures from energy experts can give you a good idea.
Average Energy Bill Reduction:
As mentioned, the U.S. Department of Energy suggests that sealing air leaks, including those around vents, can cut energy bills by 10%–20% annually. For a household with an average annual energy bill of $2,000, this could mean savings of $200 to $400 per year.
Return on Investment (ROI):
Let’s look at the ROI for both DIY and professional services:
DIY ROI Example:
- Cost: $300 (mid-range DIY cost)
- Annual Savings: $300 (assuming 15% savings on a $2,000 bill)
- Payback Period: 1 year ($300 cost / $300 annual savings)
Professional ROI Example:
- Cost: $900 (mid-range professional cost)
- Annual Savings: $300 (assuming 15% savings on a $2,000 bill)
- Payback Period: 3 years ($900 cost / $300 annual savings)
Even with the higher professional cost, the investment typically pays for itself within a few years, with ongoing savings thereafter. DIY, on the other hand, offers a much faster payback period.
Long-Term Benefits:
Beyond direct bill savings, consider the extended life of your HVAC system, improved comfort, and increased home value. These intangible benefits add significant value to the initial expense, making the seal vent cost a worthwhile consideration for any homeowner.
Frequently Asked Questions about Sealing Vents
Q1: How often do I need to seal my vents?
The sealant, especially caulking and spray foam, is generally durable and can last for many years. However, materials can degrade over time due to extreme temperature fluctuations and UV exposure (if applicable). It’s a good idea to inspect your seals annually, particularly after very hot or cold seasons, and touch up any cracks or deteriorating areas.
Q2: Can sealing vents cause problems with my HVAC system?
No, not if done correctly and as part of a comprehensive sealing strategy. In fact, sealing leaks helps your system run more efficiently. However, if you have a very tight, older home and only seal the supply vents without addressing return air leaks, it could theoretically create a slight negative pressure. It’s important to seal both supply and return leaks and ensure there’s adequate ventilation remaining. A professional energy audit can identify any potential issues.
Q3: What’s the difference between a vent and a duct?
A vent (or register/grille) is the visible opening in your wall, floor, or ceiling through which air enters or leaves your rooms. Ducts are the network of metal or flexible tubes that run through your walls, ceilings, and floors, carrying the conditioned air from your HVAC system to the vents and returning air back to the system.
Q4: What are the best materials for sealing ductwork versus vent edges?
For the ductwork itself, especially seams and joints in accessible areas, use mastic sealant or specialized HVAC foil tape. These are designed to withstand temperature changes and the pressures within the ducts. For sealing the small gaps where the vent cover meets the wall or floor, standard latex caulk is usually sufficient, as these areas experience less pressure and movement.
Q5: Can I use regular duct tape to seal vents or ducts?
No, standard cloth duct tape is not suitable for sealing HVAC ducts. It loses its adhesive properties quickly, especially with temperature changes, and is not airtight. Always use foil-backed HVAC tape or mastic sealant for duct sealing. Regular duct tape is meant for temporary repairs on non-HVAC related items.
Q6: Are there energy efficiency rebates or tax credits for sealing vents?
Sometimes! Many utility companies and government programs offer rebates or tax credits for home energy efficiency improvements. Sealing air leaks and insulating ductwork often qualify. Check with your local utility provider and relevant government energy websites (like Energy.gov) for current incentives. These can significantly reduce the seal vent cost.
