
Don’t let common shower problems surprise you! Understanding essential shower construction details prevents costly leaks and ensures a watertight, durable bathroom built to last. We’ll break down the key elements, from waterproofing basics to drain placement, so you can confidently build or renovate your dream shower.
Building a new shower or giving your old one a makeover can feel like a big project. Sometimes, even when everything looks great on the surface, a hidden problem can lead to leaks, mold, and frustration down the road. Don’t worry! Most of these issues stem from overlooking a few critical, yet simple, construction details. Think of them as the shower’s secret superhero powers!
In this guide, we’ll walk through these vital shower secrets, one by one. We’ll use plain language to explain why each step is important and how it protects your bathroom. By the end, you’ll know exactly what to look for, whether you’re doing the work yourself or overseeing a contractor. Ready to build a shower that stands the test of time?
Shower Details in Construction: The Foundation of a Leak-Free Bathroom

When we talk about “shower details in construction,” we’re referring to those often-unseen elements that are absolutely crucial for a shower’s longevity and performance. These aren’t the fancy tiles or the sleek showerhead, but rather the bedrock of what makes a shower work without causing water damage to your home. Skipping these steps is like building a house without a solid foundation – it might look okay for a while, but trouble is almost guaranteed.
For DIYers and homeowners alike, understanding these core components empowers you to make informed decisions. It means knowing what questions to ask your contractor, what materials to choose, and what critical steps a professional should never skip. We’re going to dive into the most important of these details, explaining their purpose in a way that makes sense.
The Unseen Heroes: Waterproofing and Drainage

The two biggest enemies of a shower are water and gravity. Our goal in shower construction is to defeat both. This means creating a robust barrier against moisture and ensuring any water that does get past the surface has a clear path to exit. Let’s break down how this is achieved.
Waterproofing: Your Shower’s Invisible Shield
This is perhaps the single most important aspect of shower construction. Proper waterproofing prevents water from seeping into the walls and subfloor, which can lead to mold, rot, and structural damage. It’s a multi-layered approach, and each layer plays a vital role.
1. Cement Board or Backer Board
Before any waterproofing membrane goes on, you need a solid, water-resistant substrate. Standard drywall is a big no-no in shower areas because it disintegrates when wet. Cement board (like Durock or HardieBacker) or specialized foam backer boards are excellent choices. They are rigid, dimensionally stable, and don’t rot or mold.
- Cement Board: Made from cement and reinforcing fibers. It’s heavy and strong, providing a stable base for tile.
- Foam Backer Board: Lightweight and easy to cut. It often has integrated sealant channels and is excellent for curved walls.
2. Seam Taping and Joint Compound
Even the best backer board needs its seams treated. After the boards are attached to the studs, all the joints and corners are covered with fiberglass mesh tape and a thin layer of specialized alkali-resistant joint compound (often called thin-set mortar or a specific type of drywall mud designed for wet areas). This step bridges any small gaps and prevents cracking.
3. Liquid or Sheet Membrane Application
This is the real star of the waterproofing show. There are two main types:
- Liquid-Applied Membranes: These are painted or rolled onto the cement board surface, much like paint. They dry to form a seamless, flexible barrier. Popular brands include RedGard, Hydro Ban, and AquaDefense. Look for products with positive reviews and simple application instructions.
- Sheet Membranes: These are large sheets of waterproof material, often reinforced with fabric, that are adhered to the wall and floor surfaces with thin-set mortar. Brands like Kerdi are well-known examples. These offer a very reliable, continuous barrier when installed correctly.
Key Areas to Cover: It might seem obvious, but don’t forget to waterproof everywhere water might touch:
- The entire shower floor.
- The walls up to at least 6 feet high, or the full height of the wall if you have a shower head that reaches higher.
- Behind where the tile will go.
- All inside and outside corners.
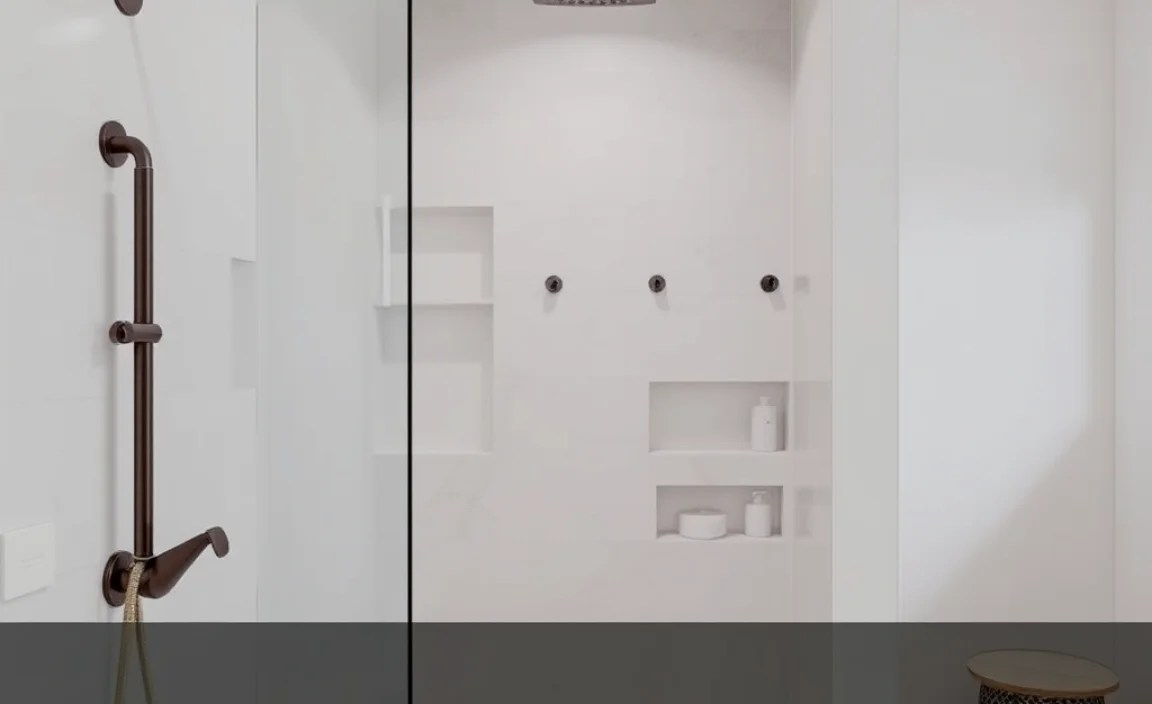
- Around plumbing fixtures like the shower valve and showerhead arm.
- The flange of the shower base or the curb of a custom shower.
4. Flashing and Pan Liners
This is critical, especially for custom-tiled shower floors. Beneath the tile and mortar bed, a waterproof pan liner (usually made of PVC, EPDM rubber, or copper) is installed. This liner must extend up the walls by at least 4-6 inches and must be sloped correctly towards the drain before the mortar bed and tile go in. Proper flashing involves integrating this pan liner with the waterproofing on the walls and sealing it around the drain assembly. This creates a fail-safe system.
Find detailed guides on tile shower installation from reputable sources to see how these layers come together.
Drainage: The Efficient Exit Strategy
A shower that doesn’t drain properly is not just annoying; it’s a breeding ground for mold and can cause water to pool, eventually finding its way through any tiny imperfections in your waterproofing. Proper drainage starts with the floor slope and continues with the drain assembly itself.
1. The Crucial Slope
Shower floors are not flat! They need to be sloped towards the drain to ensure water flows away quickly. For tiled showers, this slope is typically created by applying a sloped mortar bed. The general rule of thumb is a slope of about 1/4 inch per foot over the length of the shower floor. Building codes often specify minimum and maximum slopes to ensure proper drainage without making it difficult to stand or walk on.
A properly sloped shower floor is essential. To check your slope, you can use a level or a straight edge. Place it on the floor and see if it consistently angles towards the drain.
2. The Drain Assembly
The drain assembly is where water exits the shower. There are various types, but a few key features make them effective:
- Drain Body: This is the part that sits below the surface, connects to your drainpipe, and usually has a flange for anchoring and sealing.
- Weep Holes: On many shower drain bodies (especially those used with traditional mud pans), there are small holes around the base. These are called “weep holes” and are designed to allow any moisture that might get behind the tile and into the mortar bed to weep down into the drain and away. Waterproofing membranes specifically designed for weep-hole drains are essential.
- Clamping Ring: Many drains use a clamping ring to secure the waterproofing membrane (especially sheet membranes or liquid membranes) between the drain body and a locking ring. This creates a watertight seal.
- Drain Cover (Strainer): This is the visible part you see in the shower floor. It collects debris and allows water to pass through.
Choosing the right drain type for your specific waterproofing method (e.g., drain with integral channel for clamping ring, or drain with weep holes for mud pan application) is vital. Consult the manufacturer’s instructions for your chosen drain and waterproofing system to ensure compatibility.
Beyond the Essentials: Other Critical Shower Details

While waterproofing and drainage are the absolute cornerstones, several other construction details significantly impact a shower’s functionality, durability, and user experience. Let’s explore these.
1. Proper Framing and Support
This might seem like basic construction, but it’s worth mentioning. Shower walls need to be sturdy to support the weight of tile, backer board, and the constant presence of water. Ensure studs are plumb and properly spaced (typically 16 inches on center). In shower floors, the subfloor needs to be exceptionally rigid to prevent flexing, which can crack tiles and grout over time. Often, an additional layer of plywood or OSB is added, or a specialized underlayment is used.
2. Shower Curb Construction
The curb (or threshold) at the entrance of a curbed shower is a vital barrier against water escaping. It needs to be constructed from a solid material (like lumber wrapped in waterproofing, or a solid block of concrete/backer board) and should be adequately sloped towards the inside of the shower so any splashed water runs back in. A properly integrated curb is part of the overall waterproofing system. It should be sealed to the shower floor pan liner and the wall waterproofing.
3. Door and Glass Sealants
Even the best-built shower can leak if the shower doors or enclosure aren’t sealed properly. Ensure that any gaps between the glass panels, frames, and the shower curb or base are filled with high-quality, mildew-resistant silicone sealant. These seals are the final line of defense against rogue water droplets.
4. Ventilation
While not strictly part of the shower construction itself, adequate bathroom ventilation is profoundly linked to shower longevity. A properly functioning exhaust fan removes moisture from the air, significantly reducing the chance of mold and mildew growth within the shower enclosure and the bathroom in general. A fan rated for your bathroom size and vented to the exterior of the house is essential. Many building codes require a fan in bathrooms, and it’s crucial for maintaining a healthy, dry environment.
Materials Matter: Choosing the Right Components
The “bones” of your shower—the waterproofing layers, the substrates, and the plumbing—need to be made of materials designed for wet environments. Here’s a quick rundown of what to look for:
Water-Resistant Substrates:
- Exterior-grade plywood or OSB (for subflooring, not direct wall use in wet areas).
- DensShield, HardieBacker, Durock (for walls and floors).
- Absolutley NO regular drywall (gypsum board) in or near the shower.
Waterproofing Membranes:
- Liquid-applied membranes (e.g., RedGard, Hydro Ban).
- Sheet membranes (e.g., Schluter-Kerdi).
- Bituminous sheet membranes (less common in residential showers but used in some applications).
Mortars and Adhesives:
- Thin-set mortar specifically designed for the tile and substrate being used. Look for modified or polymer-fortified thin-sets for best adhesion.
- Water-resistant grout for tiling.
Sealants:
- 100% Silicone sealant, specifically rated for kitchen and bath use and resistant to mold and mildew.
Always read and follow the manufacturer’s instructions for any product you use. Products are often designed to work together, and incompatible materials can lead to failure.
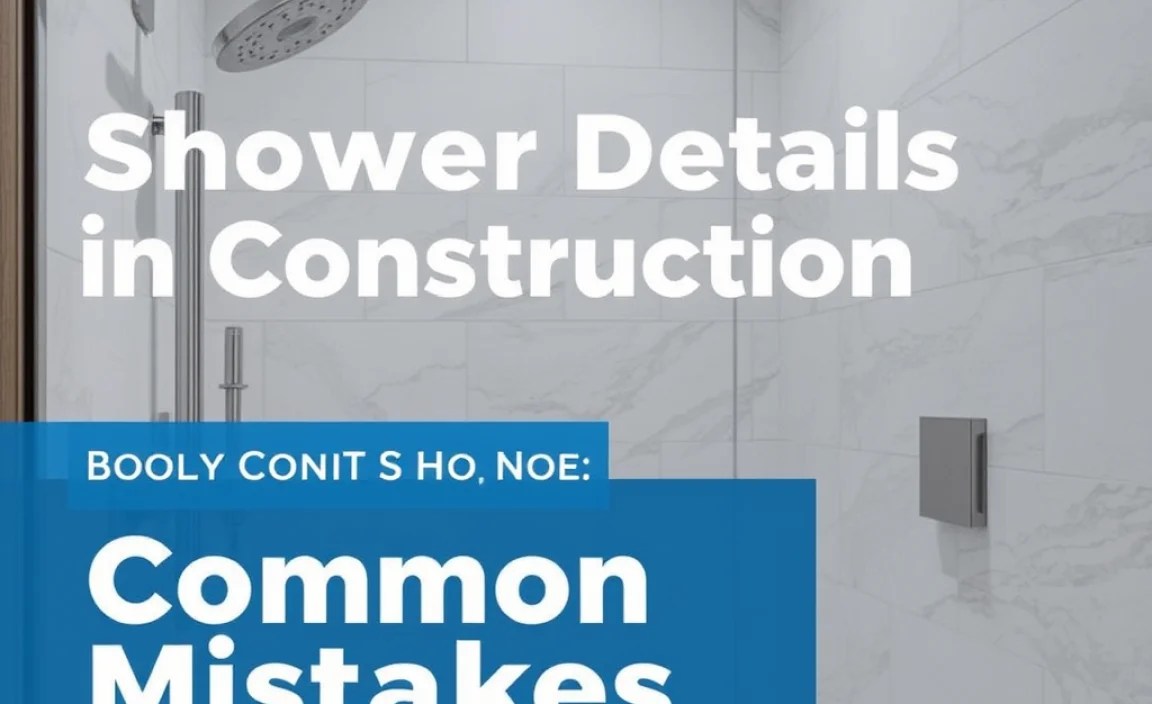
Common Mistakes to Avoid
When building or renovating a shower, even experienced DIYers can stumble. Being aware of common pitfalls can save you a lot of headaches and expenses.
- Using Regular Drywall: This is a fast ticket to major water damage and mold. Always use cement board or a foam backer board in wet areas.
- Skipping the Membrane: Relying solely on waterproof grout and sealant is insufficient. A continuous waterproofing membrane is non-negotiable.
- Improper Floor Slope: A flat shower floor guarantees standing water. Ensure a consistent 1/4″ per foot slope towards the drain.
- Poorly Sealed Corners and Seams: These are prime spots for leaks. Ensure all edges, corners, and penetrations are meticulously waterproofed and sealed.
- Over-reliance on Sealant: While sealant is important for doors and fixtures, it’s the last line of defense, not the primary waterproofing system.
- Incorrect Drain Installation: Not properly integrating the drain with the pan liner and waterproofing layers will lead to leaks at the most critical exit point.
- Skipping Weep Holes/Pan Liners (in mud pan showers): These are essential safety nets for traditional mud pan shower construction.
When to Call a Professional
While many DIYers can tackle a shower renovation, certain aspects are best left to the pros, especially if you’re unsure:
- Complex Plumbing: Rerouting pipes or dealing with drainage issues is best handled by a licensed plumber.
- Structural Changes: If you’re moving walls or significantly altering the shower’s footprint.
- Waterproofing Complexity: If you’re undertaking a custom tile shower with intricate waterproofing details.
- Ensuring Code Compliance: Professionals are familiar with local building codes, which can be complex.
Consulting with a professional can also provide valuable peace of mind, knowing that critical steps are being handled correctly. Resources like the National Association of Home Builders (NAHB) offer excellent general construction guidance.
Conclusion: Building with Confidence
Mastering the essential shower details in construction isn’t about being a master builder; it’s about understanding the fundamental principles that protect your home. By focusing on robust waterproofing, efficient drainage, proper materials, and careful installation, you can ensure your shower not only looks fantastic but also performs brilliantly for years to come.
These details might be unseen once your beautiful tiles are in place, but they are the unsung heroes of a durable, leak-free shower. Whether you’re tackling a DIY project or overseeing a contractor, keep these secrets in mind. They are your roadmap to a bathroom that you can enjoy with complete peace of mind, knowing it was built right from the ground up.
Frequently Asked Questions (FAQ)
Q1: What is the most important part of shower construction?
The single most important aspect is creating a complete and flawless waterproofing system. This includes a waterproof substrate, a continuous membrane applied correctly, and proper sealing of all seams, corners, and penetrations to prevent water damage.
Q2: Can I just use liquid waterproofing on drywall in my shower?
No. Regular drywall (gypsum board) is not designed for wet areas. It will disintegrate and promote mold growth. You must use a water-resistant backer board like cement board or foam board as the substrate before applying any waterproofing membrane.
Q3: How much slope does a shower floor need?
A shower floor needs to be sloped towards the drain at a rate of approximately 1/4 inch per foot. This ensures water drains away efficiently and doesn’t pool on the floor. Building codes often specify the acceptable range for this slope.
Q4: What’s the difference between a liquid membrane and a sheet membrane for waterproofing?
Liquid membranes are painted or rolled on and dry to form a seamless barrier. Sheet membranes are large sheets of waterproof material adhered over the substrate with thin-set mortar. Both are effective when installed correctly, but they have different application methods and require specific techniques around drains and corners.
Q5: Do I need to waterproof the entire shower, or just the floor?
You need to waterproof all surfaces that will be in direct contact with water. This includes the entire shower floor, the walls up to at least 6 feet (or higher if your showerhead is positioned higher), all inside and outside corners, and around all plumbing fixtures.
Q6: What are “weep holes” in a shower drain, and do I always need them?
Weep holes are small openings in the drain body, typically found in drains used with traditional mud pan shower floors. They allow any moisture that might get trapped behind the tile and within the mortar bed to drain away safely. If you are using a modern waterproofing system that completely encases the substrate (like some sheet membranes), you may not need a drain with weep holes, but it’s crucial to follow the specific instructions for your chosen system.
