
Mastering sink uses for beginners involves understanding basic plumbing, identifying common problems, and knowing essential maintenance. This guide offers clear, step-by-step tips for efficient and safe sink operation, from simple cleaning to minor repairs, building your confidence in home upkeep. Sinks are a daily wonder in our homes, performing essential tasks without much thought.
But what happens when those tasks aren’t so simple anymore? A clogged drain or a leaky faucet can quickly turn a routine day into a frustrating one. For beginners, understanding how your sink works and how to keep it in top shape can seem daunting. But it doesn’t have to be! This guide is designed to break down sink uses and essential upkeep into easy-to-digest tips.
We’ll cover everything from preventing clogs to performing simple maintenance, empowering you to tackle any sink situation with confidence and ease. We’ll start by demystifying the basic components of your sink and then dive into practical applications and easy troubleshooting. Get ready to transform your approach to sink maintenance!
Understanding Your Sink: The Basics
Your sink might seem like a simple basin, but it’s part of a clever plumbing system designed for convenience and hygiene. Knowing its core parts helps you understand how it works and how to care for it. Think of it as getting to know your most used tool!
The Basin
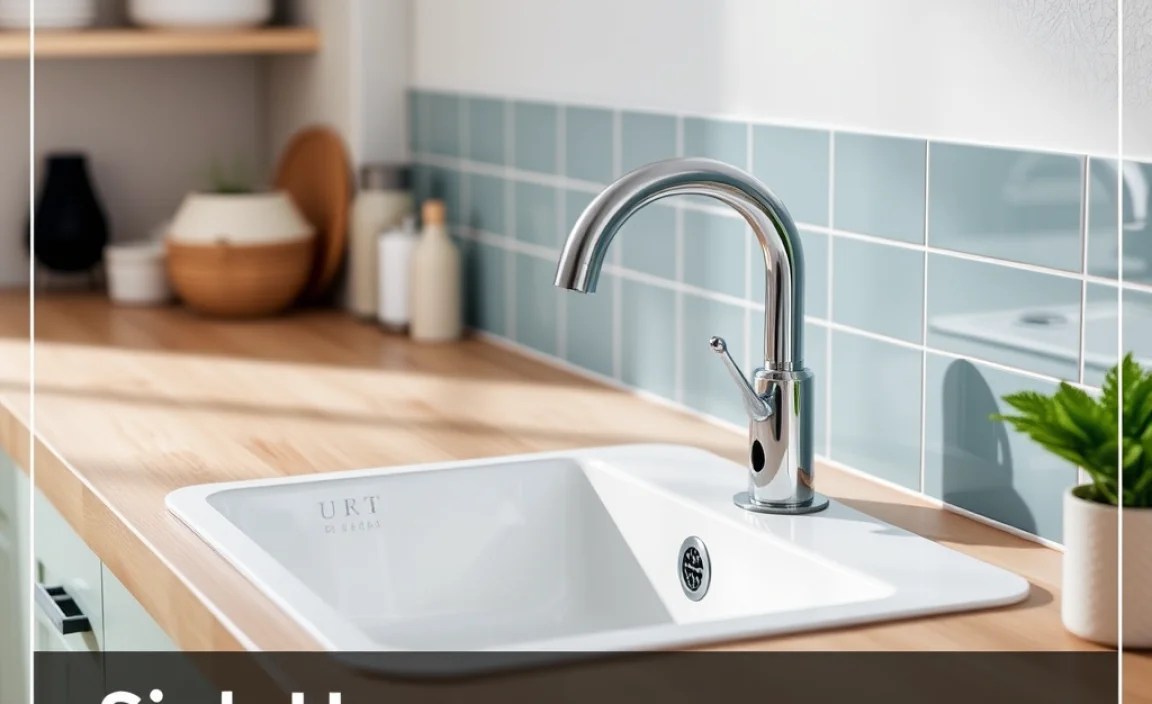
This is the main part you see – the bowl where water collects. Basins come in various materials like stainless steel, ceramic, composite, and even natural stone. Each has its pros and cons regarding durability, cleaning, and appearance.
The Faucet
Connected to your water supply, the faucet is how you control the flow of hot and cold water. Most modern faucets have a single handle that controls both temperature and volume, while older or more traditional ones might have two separate handles.
The Drain
This is where used water exits your sink. It’s usually at the bottom of the basin and consists of a few key parts:
- Strainer: This is the visible part with holes that prevents large food particles or debris from going down the drain.
- Drain Pipe (or Tailpiece): The pipe directly below the strainer that carries water away.
- P-Trap: This U-shaped section of pipe is critical. It holds a small amount of water, creating a seal that prevents sewer gases from coming up into your home through the drain. This is a common culprit for gurgling sounds if the water seal is broken.
- Vent Pipe: Connected to your drain system, this pipe allows air into the pipes to ensure water flows smoothly down the drain. Without proper venting, your sink might drain slowly.
The Overflow
Many sinks have a small hole or two near the top of the basin. This is the overflow, designed to prevent the sink from flooding if you forget to turn off the water or the drain gets blocked.
Common Sink Uses and How to Maximize Them

Your sink is versatile, serving many purposes throughout the day. Understanding these uses and best practices can help you get the most out of it and avoid common problems.
Washing and Cleaning
This is the most obvious use! From washing hands and faces to cleaning dishes and preparing food, your sink is central to hygiene and meal prep. For kitchen sinks, keeping food scraps out of the drain is paramount. For bathroom sinks, avoid letting hair or soap scum build up excessively.
Water Source and Disposal
Your sink is your reliable tap for clean water and your primary disposal point for greywater. Ensuring your water quality is good and your drain is clear means this system works efficiently.
Basic Maintenance and Troubleshooting
Even simple tasks like cleaning the basin or understanding why a drain is slow fall under sink uses. Knowing how to perform basic upkeep can save you time and money.
Essential Sink Maintenance for Beginners

Maintaining your sink doesn’t require a plumbing degree. With a few simple habits and tools, you can keep your sink functioning beautifully and prevent costly repairs down the line. Safety first is always the best approach when dealing with any home system.
1. Regular Cleaning: The First Defense
This is the most important step for any sink. Regular cleaning prevents grime buildup, which can lead to clogs and unpleasant odors. The method varies slightly by material, but the principle is the same: keep it clean!
Kitchen Sink Cleaning Tips:
- Daily: Rinse thoroughly after each use, especially after dealing with food scraps. Wipe down with a sponge and mild dish soap.
- Weekly: Use a soft-bristled brush or an old toothbrush to scrub around the drain opening, faucet base, and any nooks. For stainless steel, always wipe in the direction of the grain to avoid scratches. A paste of baking soda and water can be a gentle yet effective cleaner.
- Deep Clean: Periodically, use a dedicated sink cleaner or a mixture of vinegar and baking soda to disinfect and remove stains. Follow the product’s instructions carefully, and always rinse thoroughly. Never mix cleaning products, especially bleach and ammonia, as this can create toxic fumes.
Bathroom Sink Cleaning Tips:
- Daily: Rinse away toothpaste, soap, and hair. Wipe dry to prevent water spots.
- Weekly: Use a bathroom cleaner or a baking soda paste to tackle soap scum and any minor stains. Pay special attention to the faucet and drain area.
- Deep Clean: Pour a cup of baking soda down the drain, followed by a cup of white vinegar. Let it fizz for about 15-30 minutes, then flush with hot water. This helps to deodorize and break down minor buildup.
2. Preventing Clogs: Be Proactive!
Clogs are a common headache, but many can be avoided with simple precautions. The P-trap under your sink is often the first place debris accumulates.
Kitchen Sink Clog Prevention:
- Never Pour Grease Down the Drain: Grease solidifies in pipes, sticking to the sides and trapping other debris. Let grease cool, then scrape it into the trash or a designated container.
- Use a Drain Strainer: These inexpensive mesh or silicone strainers catch food particles, hair, and other gunk before they enter the drain. Empty them regularly into the trash.
- Scrape Plates Before Washing: Remove as much food residue as possible from dishes before rinsing them in the sink.
- Run Hot Water: After using the sink, especially for rinsing greasy dishes, run hot water for a minute to help flush any remaining residue.
Bathroom Sink Clog Prevention:
- Use a Hair Catcher: Hair is a major culprit in bathroom sink clogs. A simple hair catcher that fits over the drain can make a huge difference. Clean it after each shower or bath.
- Be Mindful of What Goes Down: Avoid flushing cotton balls, dental floss, or excess tissue down the drain. These don’t break down easily.
- Regularly Flush with Hot Water: Similar to kitchen sinks, running hot water can help dissolve soap scum and other minor build-up.
3. Understanding and Addressing Leaks
A dripping faucet or a puddle under the sink is a clear sign something needs attention. For beginners, identifying the source of the leak is the first step.
Common Leak Sources:
- Faucet Handle: Often due to a worn-out O-ring or cartridge.
- Spout Base: Usually an O-ring issue.
- Under the Sink: This could be from loose connections to the faucet, a cracked P-trap, or a problem with the shut-off valves.
Beginner-Friendly Fixes for Minor Leaks:
For a dripping faucet, you might be able to replace the internal cartridge or O-ring. This often requires a screwdriver and a wrench. Before starting, always turn off the water supply to the sink. You can usually find shut-off valves under the sink. If you’re unsure, it’s best to call a plumber.
For leaks under the sink, check if connections are simply loose. A gentle tightening with a wrench might solve the problem. If a pipe or trap appears cracked or corroded, it needs replacement. Companies like IAPMO (International Association of Plumbing and Mechanical Officials) provide standards and resources for plumbing work, ensuring safety and quality.
Safety Note: If you’re ever uncomfortable or unsure about a repair, don’t hesitate to call a professional plumber. A small leak can become a big, expensive problem if ignored or improperly fixed.
4. Dealing with Odors
Unpleasant smells from a sink drain are usually caused by trapped food particles, grease, or a problem with the P-trap’s water seal. Here’s how to combat them:
Deodorizing Your Drains:
- Baking Soda and Vinegar: As mentioned in cleaning, this is a fantastic natural deodorizer. Pour ½ cup of baking soda down the drain, followed by ½ cup of white vinegar. Let it sit for 15-30 minutes, then flush with hot water.
- Boiling Water: For grease buildup, pouring boiling water down the drain can help melt and flush it away. Do this cautiously, especially with PVC pipes, and avoid when using strong chemical drain cleaners.
- Citrus Peels: Occasionally running citrus peels (like lemon, lime, or orange) through the garbage disposal (if you have one) or even just rinsing them down a regular drain can leave a fresh scent.
- Check the P-Trap: If you hear gurgling or smell sewer gas, the P-trap might be dry. Run water in the sink for a minute to refill the trap. If the smell persists, there might be a crack or a ventilation issue requiring professional attention.
Tools Every Beginner Should Have for Sink Maintenance

You don’t need a professional toolkit to handle basic sink maintenance. A few essential items can go a long way.
| Tool | Purpose | Beginner Tip |
|---|---|---|
| Plunger (Cup or Flange) | Clearing minor clogs in sinks and toilets. | Ensure a tight seal around the drain for effective plunging. Have some water in the sink to help create suction. |
| Adjustable Wrench (or Basin Wrench) | Tightening or loosening nuts and bolts, especially under the sink for faucet connections and drain pipes. A basin wrench is specifically designed for tight spaces under sinks. | Start with gentle pressure. Overtightening can strip threads or damage pipes. |
| Screwdrivers (Phillips and Flathead) | May be needed for faucet handle disassembly or drain cover removal. | Use the correct size and type to avoid stripping screws. |
| Bucket or Container | To catch any water when working under the sink. | Place it directly under the area you’ll be working on. |
| Gloves and Safety Glasses | Protect your hands from dirt, grime, and potential splashes of cleaning solutions or drain cleaner. | Always wear them when cleaning or attempting repairs. |
| Drain Snake/Auger (Manual) | For removing tougher clogs that a plunger can’t handle. | Feed it slowly into the drain and twist to break up or retrieve the clog. Be patient! |
| Old Toothbrush or Small Brush | For scrubbing tight spots around faucets, drains, and overflow holes. | Perfect for getting into those small crevices where grime hides. |
Step-by-Step Guide: Unclogging a Sink
A clogged sink is one of the most common issues beginners face. Here’s a safe and effective way to tackle it without resorting to harsh chemicals immediately.
Scenario: A Slow-Draining Kitchen Sink
Step 1: Assess the Situation
Is it completely blocked, or just draining slowly? If it’s totally blocked, you’ll need to be more thorough. If it’s just slow, start with simpler methods.
Step 2: Try Boiling Water
Carefully pour a kettle of boiling water directly down the drain. This can help melt away grease and loosen minor blockages. Wait a few minutes to see if it improves drainage. Repeat if necessary, but avoid using boiling water on very old or potentially brittle pipes.
Step 3: The Baking Soda and Vinegar Method
If boiling water doesn’t do the trick, it’s time for the natural fizz.
- Ensure there’s some water sitting in the sink, if possible.
- Pour about ½ cup of baking soda down the drain.
- Follow with ½ cup of white vinegar.
- Immediately cover the drain with a sink stopper or a damp cloth to trap the fizzing chemical reaction below.
- Let it sit for at least 15-30 minutes.
- Remove the cover and flush the drain with hot (not boiling) tap water or another kettle of hot water.
Step 4: Use a Plunger
If the baking soda and vinegar didn’t fully clear the clog, a plunger is your next best friend.
- Fill the sink with enough water to cover the plunger cup (about 2-3 inches). This helps create a better seal.
- If you have a double sink, block the other drain with a wet rag or stopper to ensure suction is directed at the clog.
- Place the plunger cup firmly over the drain opening, ensuring a good seal.
- Pump the plunger up and down vigorously for about 15-20 seconds.
- Quickly pull the plunger away to break the suction.
- Repeat this process several times. You should see the water start to drain. Once it does, flush with hot water.
Step 5: Employ a Drain Snake (Auger)
For stubborn clogs, a manual drain snake is ideal.
- Feed the end of the snake into the drain opening.
- As you push it down, crank the handle to feed the cable further into the pipe. You may need to go through the P-trap if it’s removable, but for beginners, it’s often easier to start from the sink opening.
- When you feel resistance, you’ve likely hit the clog. Rotate the crank handle to break up the clog, or try to hook onto it so you can pull it back out.
- Once you think the clog is cleared or removed, retract the snake and flush the drain thoroughly with hot water.
Step 6: Call a Professional
If none of these methods work, the clog might be deeper in your plumbing system, or there could be a more serious issue like a collapsed pipe or a venting problem. At this point, it’s time to contact a licensed plumber. For more information on plumbing systems designed.
