
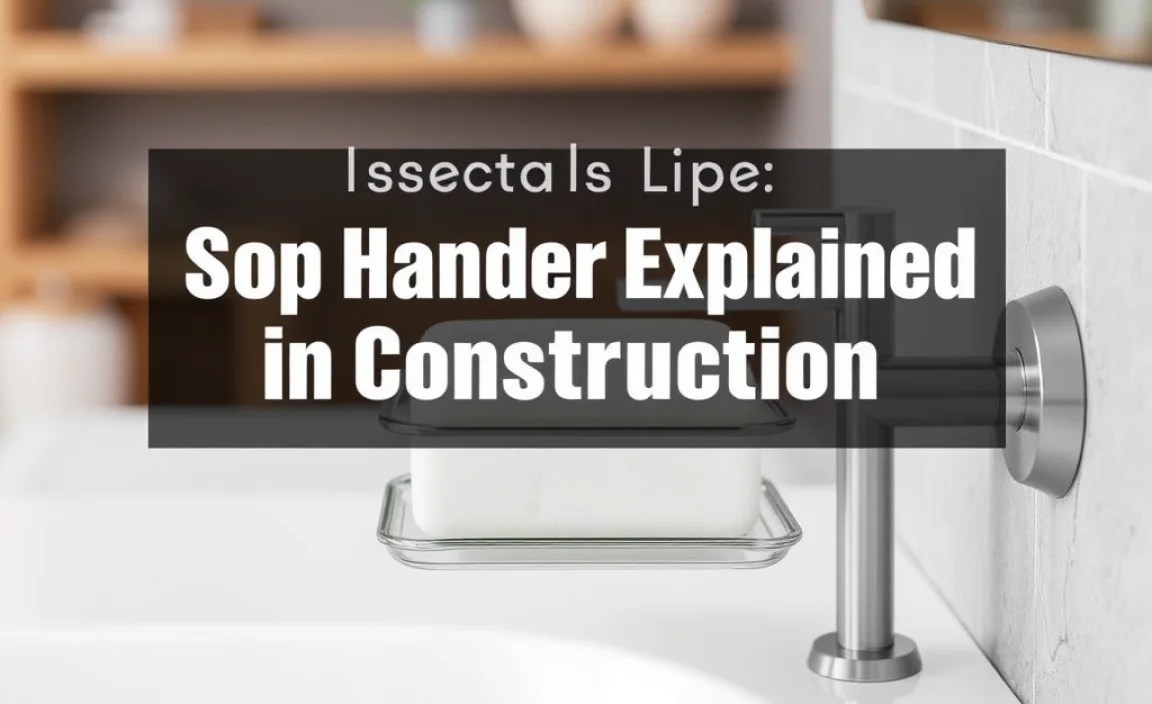
In construction, a “soap holder” isn’t for bath soap, but refers to a built-in niche or ledge designed to securely hold plumbing fixtures, especially soap dishes, within a tiled shower wall. It’s a crucial detail for a clean, functional, and aesthetically pleasing bathroom, preventing water damage and ensuring durability. This guide explains its purpose, types, and installation basics.
Dealing with bathroom renovations or planning a new build? You might have heard the term “soap holder” tossed around, and it can sound a little confusing, especially when you’re thinking about the sturdy elements of construction. Don’t worry – it’s not about where you keep your bubble bath! In the world of building and tiling, a soap holder is a cleverly designed feature built right into your shower wall.
This built-in spot is super important. It keeps your soap dish from becoming a weak point where water can sneak behind your tiles, leading to bigger problems down the road. Think of it as a waterproof little home for your accessories, ensuring everything stays secure and your bathroom looks great for years to come. We’re going to break down exactly what it is, why it matters, and how it all works, making sure you feel confident about this essential part of your bathroom.
What Exactly is a “Soap Holder” in Construction?

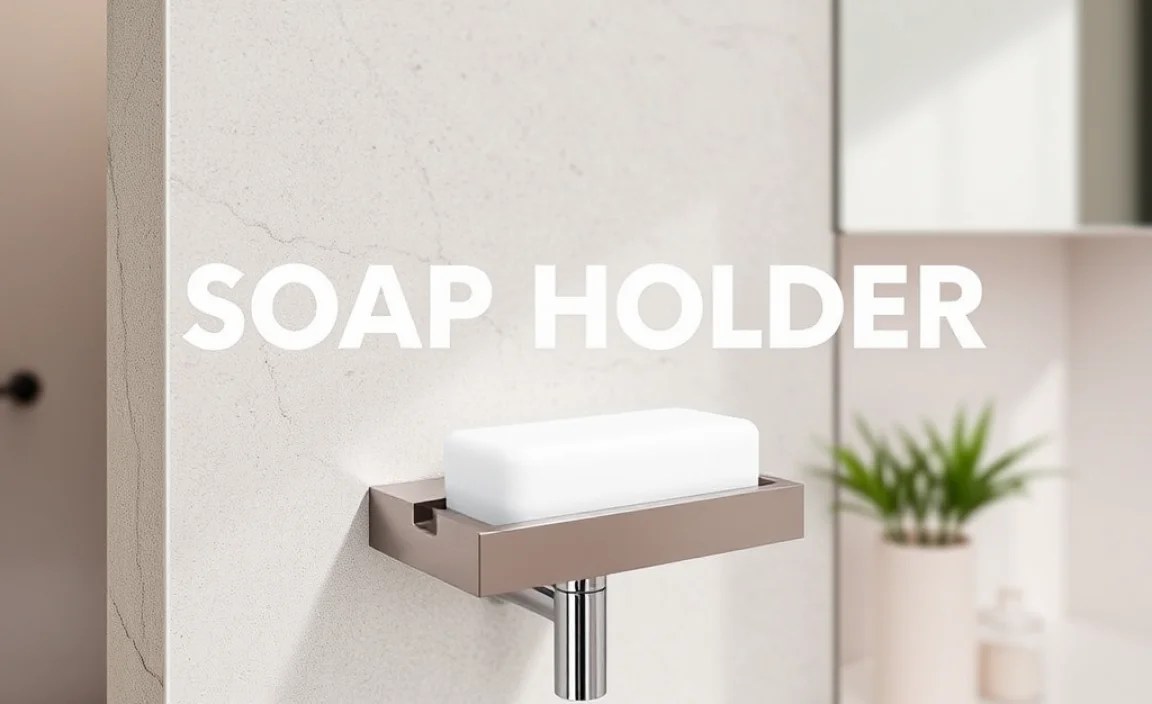
When we talk about a “soap holder” in construction, we’re referring to a recess, niche, or projecting ledge that is specifically integrated into the wall structure of a shower or bathtub area. Its primary purpose isn’t to hold bars of soap for bathing, but rather to provide a stable, secure, and waterproof mounting point for accessory items, most commonly a soap dish or sometimes other small bathroom essentials.
These architectural elements are designed to be part of the wall’s substructure, often before the final tile or finishing layer is applied. This integration is key because it allows for the accessory attachment to be flush with the finished surface, or even slightly recessed, while ensuring that water is directed away from the opening and back into the shower drain. This prevents water from seeping into the wall cavity, which is a common cause of mold, rot, and structural damage in bathrooms.
Think of it as a thoughtful detail that anticipates the need for functionality and longevity in a wet environment. A well-built soap holder contributes significantly to the overall durability, practicality, and aesthetic appeal of a bathroom. It’s a subtle but vital component that many homeowners overlook until they encounter issues stemming from its absence or improper design.
Why is a Built-in Soap Holder So Important?
The role of a built-in soap holder in construction goes far beyond just providing a place for soap. Its importance is rooted in several critical aspects of bathroom design and maintenance:
- Waterproofing and Damage Prevention: This is perhaps the most crucial function. A properly designed soap holder directs water away from the fixture and back into the shower enclosure, preventing it from seeping into the wall. Uncontrolled water intrusion behind tiles is a leading cause of mold growth, wood rot, and structural failure, leading to costly repairs.
- Structural Integrity and Support: By being integrated into the wall structure, a built-in soap holder offers superior support compared to surface-mounted alternatives. This ensures that the fixture, whether it’s a ceramic soap dish or a metal caddy, remains securely attached and won’t loosen or fall over time under the weight of wet items.
- Aesthetic Appeal and Clean Lines: Built-in elements contribute to a sleek, minimalist look. They appear as a seamless part of the tiled wall, avoiding the visual clutter that can come with external brackets or adhesive-mounted accessories. This creates a more cohesive and professional finish.
- Hygiene and Ease of Cleaning: A flush or slightly recessed soap holder design minimizes nooks and crannies where soap scum and grime can accumulate. This makes the area much easier to clean and maintain, promoting better bathroom hygiene.
- Reduced Risk of Injury or Damage: Protruding soap dishes can be a hazard, especially in a slippery shower environment. A well-integrated soap holder reduces the chance of bumping into it, which could cause injury or damage the fixture and surrounding tiles.
In essence, a built-in soap holder is an investment in the long-term health and beauty of your bathroom. It’s a small detail that prevents large headaches.
Types of Construction Soap Holders

While the core function remains the same – a secure, waterproof spot for a soap dish – construction soap holders can vary in their design and the materials used. Understanding these variations helps in appreciating the flexibility and intentionality behind their integration into bathroom walls.
1. Recessed Niches
These are the most common and often considered the most robust type of built-in soap holder. A recessed niche is essentially a small cavity created within the wall itself. This cavity is then waterproofed, typically with a membrane or liquid waterproofing system, before the tiles are applied around its opening.
- Construction: Built by framing out a space within the wall studs. The back and sides of the niche are waterproofed, often extending the waterproofing membrane from the shower walls into the niche.
- Finish: The opening is typically trimmed with tile, creating a clean edge. The soap dish itself can be a pre-formed ceramic or stone piece that sits within this niche, or the niche can be tiled to create a shelf-like surface that holds the soap.
- Pros: Excellent for waterproofing, very secure, clean aesthetic, can be customized to various sizes and depths.
- Cons: Requires framing and integration during the initial construction or major renovation phase.
2. Ledge or Shelf Type
Similar to recessed niches but often shallower, these soap holders create a projecting ledge within the tiled wall. The ledge is designed with a slight slope away from the wall and towards the shower drain to ensure water runs off effectively.
- Construction: This can be achieved by building with small bricks or concrete blocks within the shower wall structure, or by creating a structural detail with framing and cement board that forms a stable shelf. The top surface and front edge are critical areas for waterproofing.
- Finish: The ledge is usually tiled to match the shower walls. The soap dish might sit directly on this tiled ledge, or the ledge itself can be designed with a groove or lip to hold a soap dish.
- Pros: Provides good support, can add a decorative element, offers a slightly different aesthetic to a fully recessed niche.
- Cons: If not sloped correctly, water can pool. The projecting edge needs to be robust and well-sealed.
3. Integrated Soap Dish Forms
In some modern construction methods, especially with certain prefabricated shower systems or concrete pours, the soap dish form might be integrated directly into the material itself. Think of it as a mold for the soap dish being part of the larger shower wall structure.
- Construction: This is less common in traditional stick-frame construction but can be found in pre-cast concrete stalls or when specific architectural concrete elements are used. The form is part of the poured or molded wall.
- Finish: The surface of the integrated dish might be left as is, or it could be further finished with tile or a smooth coating.
- Pros: Potentially very durable and seamless if done well.
- Cons: Less common, can be harder to repair or modify if issues arise.
4. Specialized Support Brackets (Pre-Tile Installation)
While not a “holder” in the sense of being a carved-out space, in some high-end or specialized installations, dedicated metal or plastic brackets designed to hold specific soap dispensers or dishes are installed before tiling. This requires precise placement and integration with the wall substrate and waterproofing layers.
- Construction: Brackets are securely fastened to the wall studs or structural backing. Their mounting points are sealed as part of the waterproofing process.
- Finish: The tiling is carefully cut around the bracket’s visible faceplate, which remains as the support for the soap dispenser or dish.
- Pros: Extremely secure for heavy dispensers or specific fixtures, allows for a wide range of modern accessory choices.
- Cons: Requires very precise planning and installation to ensure waterproofing and a clean finish.
The choice of soap holder type often depends on the overall design aesthetic, the construction method being used for the shower, and the specific type of soap dish or dispenser planned for the space.
Materials Used in Construction Soap Holders
The materials used in the construction of the holder itself, and the accessories it supports, are crucial for durability and water resistance. It’s a system where each component plays a role:
Wall Structure Components:
- Wood Framing: The basic skeletal structure of the niche or ledge is typically built with wood studs.
- Cement Board/Backer Board: This is a stable, mold-resistant substrate that forms the walls and floor of the recess or the base of the ledge. Cementitious backer boards (like those made by James Hardie or Durock) are preferred in wet areas for their stability and resistance to moisture compared to drywall. You can learn more about backer boards and their importance from the Fine Homebuilding resource on tile backer boards.
- Waterproofing Membranes: These are critical. They can be liquid-applied (rolled or brushed on like paint) or sheet membranes (like Schluter Kerdi or similar products) that are adhered to the backer board and up the sides of the recess or ledge to create a continuous waterproof barrier.
- Mortar/Thin-set: Used to adhere the backer board and later the tiles, ensuring a solid, waterproof bond. Specific waterproof mortars are available.
Soap Dish/Accessory Materials (that the holder supports):
- Ceramic or Porcelain: This is incredibly common for built-in soap dishes. They are durable, waterproof, and easy to clean. Many are designed to fit precisely into recessed niches.
- Stone: Natural stone like marble, granite, or quartz can be used for soap dishes, offering a premium look. These are often found in higher-end custom builds.
- Stainless Steel: While less common for integrated soap dishes, metal brackets or frames for modern dispenser systems are often stainless steel, chosen for its corrosion resistance.
- Solid Surface Materials: Materials like Corian can be molded or cut to create soap dishes or integrated seamlessly into larger counter or shower shelf designs.
The key is that the materials forming the actual holder within the wall are robust, impermeable, and designed to integrate seamlessly with the surrounding waterproofing system. The chosen soap dish then sits within or upon this structure.
How is a Soap Holder Installed (Simplified Construction Process)?
Installing a built-in soap holder is a process best integrated into the construction or remodeling of a shower. It’s not typically a DIY job added to an existing tiled wall without significant work. Here’s a simplified overview of the steps involved during the new shower construction phase:
Step 1: Planning and Framing
Before any wall surfaces are put up, the location and size of the soap holder niche are marked on the wall studs. A rough opening is framed out using wood studs, much like framing a small window or doorway. The framing provides the structure for the niche and ensures it’s integrated with the wall’s skeleton.
For a ledge-type holder, the framing might involve creating a projecting shelf structure.
Step 2: Installing the Backer Board
Cement board or another suitable tile backer board is cut to fit the opening of the niche (if an insert is used) or to cover the framed area that will become the niche or ledge. This board is then screwed securely to the wood framing. This surface needs to be stable and moisture-resistant.
Step 3: Waterproofing the Niche/Ledge
This is the most critical step for longevity. A waterproofing membrane is applied to the entire interior of the framed opening – the back, sides, and edges. This can be a liquid-applied membrane, troweled on like a thick coating, or a sheet membrane carefully cut and adhered to create a seamless waterproof envelope within the wall cavity. The membrane must cover all surfaces and tie into any waterproofing on the main shower walls. Resources like Redbeacon’s guide offer insights into shower waterproofing principles.
Step 4: Installing the Soap Dish (if pre-formed)
If a pre-formed ceramic or stone soap dish insert is being used, it’s typically installed at this stage. It’s carefully set into the waterproofed niche opening using a specific adhesive or thin-set mortar recommended for wet areas. The exterior edges are sealed to ensure no water can get behind it, and its surface is often sloped slightly towards the shower.
Step 5: Tiling
Once the niche is framed, backed, waterproofed, and potentially has its insert set, the surrounding shower walls are tiled. The tile work extends right up to the opening of the soap holder. For niches, the liner tile that finishes the edge of the niche opening is meticulously installed. For ledges, tiling covers the appropriate surfaces, ensuring the shelf is functional and finished.
Step 6: Grouting and Sealing
After tiling, the grout lines are filled. For areas around the soap dish insert or any grout lines within the niche itself, a high-quality, mold-resistant grout and subsequent sealant are essential to maintain the waterproof integrity.
This process ensures the soap holder is not just a decorative element but a functional, watertight part of the shower’s construction. It’s a detail that requires precision and adherence to best practices for bathroom waterproofing.
Pros and Cons of Built-in Soap Holders

Like any construction detail, built-in soap holders come with their own set of advantages and disadvantages. Understanding these can help you decide if incorporating one into your bathroom project is the right choice.
Advantages:
- Superior Waterproofing: When installed correctly with proper membranes, they excel at directing water back into the shower, significantly reducing the risk of water damage behind walls.
- Enhanced Durability: Being integrated into the wall structure means they are far less likely to fail or become loose over time compared to external fixtures.
- Aesthetically Pleasing: They contribute to a clean, streamlined look without protruding elements, enhancing the overall design of a shower.
- Easy to Clean: Reduced crevices and a more uniform surface make them easier to wipe down, helping to prevent soap scum buildup.
- Increased Property Value: Well-executed, durable construction details like these are often seen as indicators of a quality renovation, potentially adding to a property’s appeal.
Disadvantages:
- Cost of Installation: Integrating a soap holder requires additional labor and materials during the framing and waterproofing stages, increasing the overall project cost.
- Difficult to Retrofit: Adding a built-in soap holder to an existing shower typically involves tearing out tiles and potentially some wall structure, making it a complex and expensive retrofit.
- Requires Skilled Labor: Proper framing, waterproofing, and tiling around a niche or ledge demand skilled craftsmanship. Mistakes in any of these areas can compromise the holder’s function and the shower’s integrity.
- Limited Flexibility: Once built, the size and location of the soap holder are fixed. If your needs or preferences change significantly, modification can be challenging.
- Potential for Water Trapping If Poorly Designed: While designed to prevent water, a poorly sloped ledge or a niche with inadequate drainage can actually trap water, leading to issues.
The decision to include a built-in soap holder often hinges on whether you are undertaking new construction or a significant renovation where the added cost and complexity are justified by the long-term benefits in durability and design.
When are Traditional Soap Holders a Better Option?
While built-in soap holders offer significant advantages, there are situations where traditional, surface-mounted soap holders or caddies might be a more practical or suitable choice:
- Existing Showers (Minor Renovations): If you’re not undertaking a full shower gut-and-remodel, adding a built-in niche is extremely disruptive and costly. In this case, surface-mounted options are the go-to.
- Rental Properties: For landlords looking for quick, cost-effective updates, adhesive-backed or screw-mounted soap dishes are much easier to install and remove without causing structural damage.
- Budget Constraints: If the project budget is very tight, the added cost of framing, waterproofing, and specialized labor for a built-in holder might be prohibitive.
- Specific Accessory Needs: Some modern bathrooms utilize sleek, built-in dispensers for liquid soap or shampoo. While some can be integrated, others are designed to be mounted on the surface of the tile or wall.
- Temporary Solutions: For temporary setups or when you’re unsure about the final layout, an over-the-showerhead caddy or a tension-rod corner shelf unit offers flexibility.
Types of Traditional Soap Holders:
These are the options commonly used when a built-in isn’t feasible:
- Adhesive-Mounted Holders: These use strong, waterproof adhesive.
