
A good soap holder keeps your soap dry and your counter tidy. Essential tips include choosing the right material, ensuring proper drainage, and easy cleaning. Get the most out of your soap holder with these simple, genius ideas for a cleaner, more organized bathroom.
Let’s face it, a soggy bar of soap can be a real bathroom nuisance. It melts faster, leaves a slimy mess, and just generally feels unhygienic. The culprit? Often, it’s the lack of a proper place for your soap to dry. That’s where a trusty soap holder comes in. But not all soap holders are created equal! Choosing the right one and using it effectively can make a world of difference in keeping your soap lasting longer and your sink area neat. Don’t worry if you’re new to this; we’ll walk through everything you need to know, making sure your soap stays firm and your bathroom looks great.
Why a Good Soap Holder is More Than Just a Dish

Think of your soap holder as a tiny but mighty hero in your bathroom. Its main job is simple: to lift your soap out of standing water. This simple act prevents premature melting and that gooey residue that can build up. Beyond that, a well-chosen soap holder can:
- Extend the life of your bar soap, saving you money.
- Prevent soap scum from building up on your sink or shower ledge.
- Add a touch of style to your bathroom decor.
- Keep your washing area tidy and organized.
Understanding the different types and how to care for them will transform this simple accessory into an essential part of your bathroom maintenance routine. We’re about to dive into the essential tips that will make your soap holder work for you, not against you.
Types of Soap Holders: Finding Your Perfect Match

The world of soap holders is surprisingly varied! Each type offers different benefits depending on your space, style, and how you use your soap. Let’s explore the most common ones:
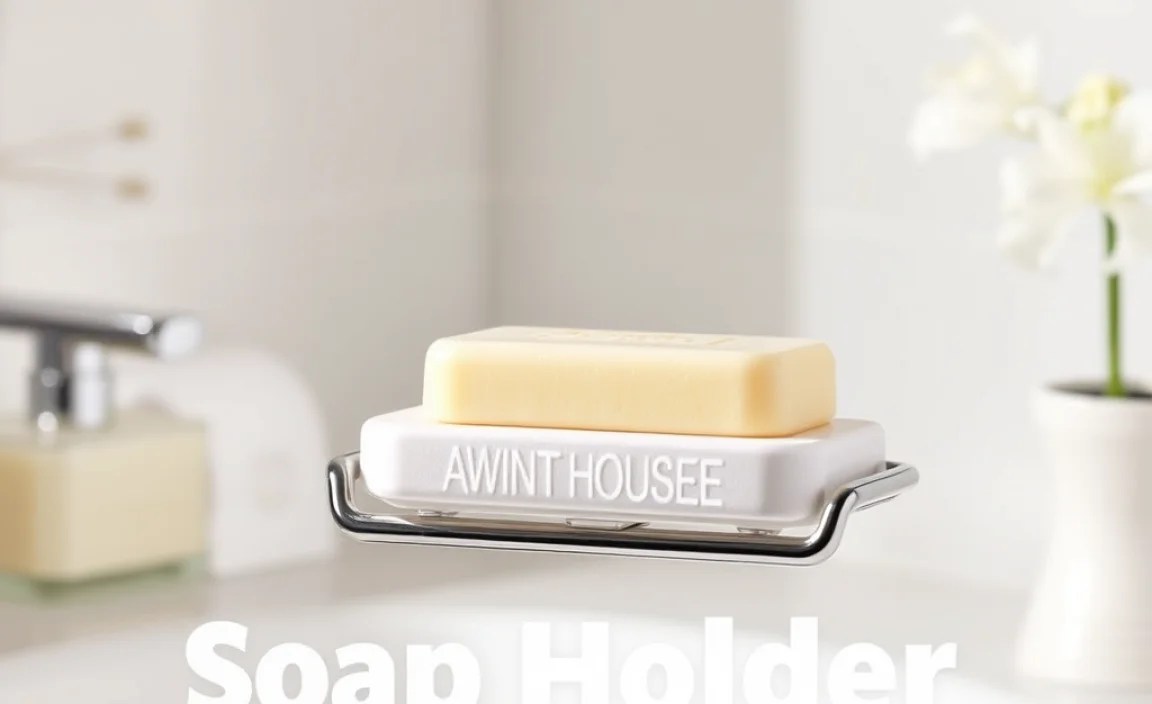
1. Traditional Soap Dishes
These are the classic choice, usually a simple, shallow dish with or without drainage holes. They sit on your counter or a shelf.
- Pros: Simple, widely available, inexpensive, can be decorative.
- Cons: Can collect water at the bottom if not designed with good drainage, might require manual emptying.
2. Draining Soap Dishes (Slanted or Tiered)
These are designed with angled bottoms or multiple tiers to allow water to flow away more effectively, keeping the soap drier.
- Pros: Excellent drainage, prevents soap from sitting in water, generally keeps soap drier.
- Cons: Can sometimes be bulkier, design might not suit all aesthetics.
3. Soap Savers/Bags
Made of mesh or fabric, these allow you to lather soap directly in the bag. You hang the bag to dry.
- Pros: Great for lathering, handy for using up small soap slivers, keeps soap contained, easy to hang and dry.
- Cons: Might not be as aesthetically pleasing for some, can take longer to dry if the material isn’t breathable.
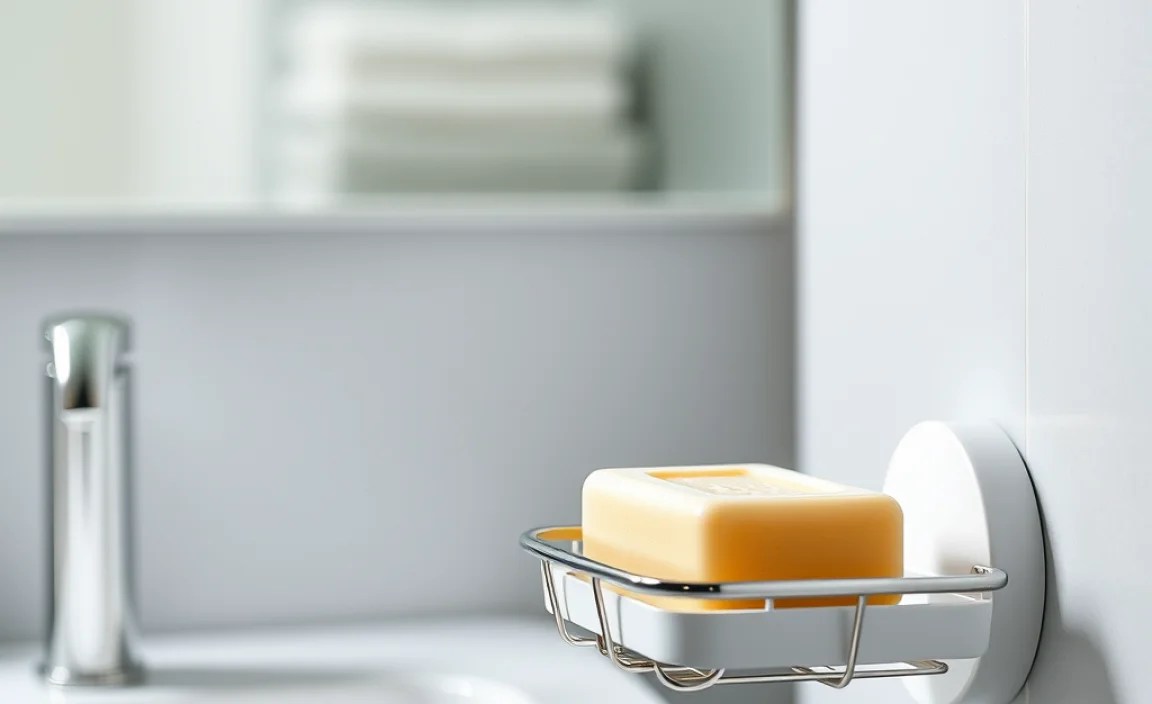
4. Magnetic Soap Holders
These attach to your wall and have a small metal disc that you press into your soap. The magnet in the holder then keeps the soap suspended.
- Pros: Keeps soap completely away from surfaces, excellent drainage, minimalist look, easy to clean the surrounding area.
- Cons: Requires drilling into the wall (sometimes), the metal disc can be lost, might not hold very large or heavy soaps.
- Installation Note: For wall-mounted options, using the right adhesive or anchoring is crucial. Check out This Old House’s guide on drilling into tile if you’re considering a more permanent fixture in a tiled area.
5. In-Shower Soap Holders (Wall-Mounted or Corner Shelves)
These are permanent fixtures, often installed during re-tiling or renovation, or attached with strong adhesives. They can be simple shelves or more elaborate caddies.
- Pros: Sturdy, convenient for shower use, can hold multiple items.
- Cons: Installation can be more involved, requires maintenance to prevent soap scum buildup on the shelf itself.
6. Soap Dispensers (for Liquid Soap)
While not for bar soap, it’s worth mentioning for completeness. These hold liquid hand soap and dispense a portion with a push of a button or pump.
- Pros: Hygienic (no touching the soap), precise portion control, looks sleek.
- Cons: Not suitable for bar soap users, requires refills.
Choosing the right type depends on whether you prefer a countertop solution, a space-saving wall-mounted option, or something that’s part of your shower system. Consider your bathroom’s moisture levels – humid environments benefit most from holders with excellent ventilation.
Genius Essential Tips for Using Your Soap Holder Effectively
Once you’ve picked out a soap holder, here’s how to get the most out of it:
1. Prioritize Drainage, Drainage, Drainage!
This is hands-down the most important factor. Whether your holder has intricate channels, a sloped design, or simply holes, ensure water can escape freely. If water pools, your soap will still get mushy, regardless of how fancy the holder looks.
- Look for: Raised edges, sloped surfaces, ample drainage holes.
- Avoid: Flat-bottomed dishes that hold water like a tiny swimming pool.
2. Position is Key
Place your soap holder in a spot where it can actually drain. For countertop holders, ensure they’re not pushed right up against a wall or the backsplash if that impedes airflow. For wall-mounted types, make sure they are securely fastened and not allowing dampness to get trapped behind them.
- Bathroom Counter: Place it where air can circulate around it.
- Shower: Position it slightly above water spray to prevent continuous soaking.
- Away from direct, constant water jets.
3. Regular Cleaning is Non-Negotiable
Even the best soap holder can get grimy over time. Soap scum, mineral deposits, and even mold can form if not cleaned regularly. This is crucial for hygiene and maintaining the holder’s function.
- Frequency: Aim for a quick wipe-down weekly and a more thorough clean monthly.
- Cleaning Tools: A soft cloth, an old toothbrush for crevices, and mild soap or a vinegar-water solution usually suffice.
4. Material Matters: Durability and Style
Soap holders come in various materials, each with its own characteristics:
| Material | Pros | Cons | Best For |
|---|---|---|---|
| Ceramic/Porcelain | Durable, easy to clean, classic look, doesn’t scratch easily. | Can chip or break if dropped, heavier than plastic. | Countertop use, adding a traditional touch. |
| Plastic | Inexpensive, lightweight, shatter-resistant, often has good drainage features. | Can scratch, may look less premium, some plastics can degrade over time. | Budget-friendly, kids’ bathrooms, travel. |
| Stainless Steel | Durable, rust-resistant, modern look, easy to clean. | Can show fingerprints, can be more expensive. | Modern bathrooms, high-moisture areas. |
| Natural Stone (e.g., Bamboo, Wood, Slate) | Aesthetically pleasing, eco-friendly (bamboo/wood), unique. | Can stain or warp if not properly sealed and maintained, may not drain as well as other materials, can be more expensive. | Spa-like bathrooms, rustic or natural aesthetics. Hardwoods like teak or bamboo are good choices. |
| Glass | Elegant, easy to clean, non-porous. | Fragile, can chip or break easily. | Sophisticated bathroom styles, low-traffic areas. |
5. Don’t Overload It
Most soap holders are designed for one bar of soap. Trying to cram multiple bars or other items onto a small dish can lead to instability, poor drainage, and potential damage.
6. Consider Your Soap Slivers
Got those annoying little soap slivers? A soap saver bag (mentioned earlier) is perfect for using these up. Alternatively, some soap dishes have “luxe lift” inserts designed to hold slivers off the bottom, allowing better airflow.
7. Dry It Out (Soap Itself!)
When you’re not using the soap, try to ensure it’s as dry as possible before placing it in the holder. A quick pat with a washcloth can make a difference, especially in humid climates.
8. Anchor It Securely
For wall-mounted options, whether they use suction cups, adhesive strips, or screws, ensure they are firmly attached. A falling soap holder can be a hazard and damage your shower or wall.
- Suction Cups: Clean the surface thoroughly and moisten the cup slightly before applying.
- Adhesives: Follow manufacturer instructions precisely. Some require a curing time before use.
- Screws: Use appropriate anchors for your wall material (e.g., drywall anchors, tile anchors).
For more on secure mounting, the Federal Trade Commission offers general advice on choosing and using hardware safely, which applies to DIY installations.
9. Airflow is Your Friend
Regardless of the type, ensure air can circulate freely around your soap. This speeds up drying and prevents that unpleasant musty smell that can develop from dampness.
10. Match Your Bathroom’s Style
Your soap holder is a small accessory, but it contributes to the overall look. Choose one that complements your bathroom’s color scheme, materials, and style. Whether it’s sleek modern chrome, rustic wood, or delicate ceramic, a matching holder enhances the aesthetic.
Maintaining Your Soap Holder: A Simple Routine

Keeping your soap holder in prime condition is easy with a consistent, simple routine. This ensures it remains functional, hygienic, and attractive.
Daily/Every Other Day: Quick Check
When you wash your hands or face, take a second to:
- Ensure the soap is not sitting in water at the bottom of the holder.
- Wipe away any visible soap residue or water drops from the holder’s surface.
Weekly: Gentle Wipe-Down
Use a damp cloth (you can add a drop of mild dish soap if needed) to wipe down the entire soap holder. This prevents light build-up from becoming stubborn.
Monthly: Deeper Clean
This is where you tackle any soap scum or mineral deposits that might have accumulated:
- Remove the soap.
- Disassemble if possible. If your holder has removable parts, separate them for easier cleaning.
- Scrub gently. Use an old toothbrush to get into corners, crevices, and around drainage holes.
- Use a mild cleaning solution. A 50/50 mixture of white vinegar and water is excellent for breaking down soap scum and mineral deposits. For tougher stains, lemon juice can also work.
- Rinse thoroughly. Make sure all cleaning solution is washed away.
- Dry completely before placing the soap back. This is crucial to prevent returning dampness.
Special Care Based on Material
- Natural Wood/Bamboo: Avoid prolonged soaking. Wipe clean and dry immediately. You might consider applying a food-safe sealant annually to protect it.
- Metal: Use non-abrasive cleaners to prevent scratching. For stainless steel, wiping with the grain can help maintain its shine and avoid visible marks.
- Ceramic/Glass: Dishwasher-safe options exist, but handwashing with mild soap is often best to preserve their finish.
By incorporating these simple steps, you ensure your soap holder performs its duty effectively for years to come, keeping your bathroom tidy and your soap in excellent condition.
Troubleshooting Common Soap Holder Issues
Even with the best intentions, you might run into a few snags. Here’s how to fix them:
Issue: Soap is still getting mushy/melts too fast.
- Possible Causes: Poor drainage in the holder, holder placed in a water splash zone, not enough airflow.
- Solutions:
- Check drainage holes/channels for clogs. Clean them out thoroughly.
- Reposition the holder to a drier spot.
- If it’s a dish, try adding a small grate or riser inside to lift the soap slightly.
- Consider a different type of holder known for better drainage (e.g., magnetic, mesh bag, or a slanted dish).
Issue: Soap holder is difficult to clean / covered in grime.
- Possible Causes: Infrequent cleaning, using harsh chemicals that react with soap scum, porous material.
- Solutions:
- Commit to a regular cleaning schedule (weekly wipe-down, monthly deep clean).
- Use a vinegar-water solution for effective grime removal without harsh chemicals.
- For stubborn spots, try making a paste of baking soda and water as a gentle abrasive cleaner.
- Ensure the holder is fully dry after cleaning.
Issue: Wall-mounted holder keeps falling down.
- Possible Causes: Improper installation, weak adhesive, unsuitable wall surface, moisture damage to adhesive, suction cups losing grip.
- Solutions:
- For Adhesives: Clean the wall very thoroughly with rubbing alcohol before applying. Ensure enough curing time. Consider a heavy-duty mounting tape designed for bathrooms.
- For Suction Cups: Re-apply, ensuring the surface is smooth, clean, and dry. Moisten the cup. Sometimes, warming the suction cup slightly with a hairdryer can help it conform to the surface.
- For Screws: Ensure you’re using the correct wall anchors for your wall type (e.g., toggle bolts for hollow walls, plastic anchors for drywall, or specialized anchors for tiles).
- If the wall surface itself is damaged or peeling, you might need to repair the wall before re-installing.
Issue: Soap slips out of magnetic holder.
- Possible Causes: Metal disc not securely attached to soap, soap is too heavy or oddly shaped, magnet is too weak, soap is very dry and brittle.
- Solutions:
- Ensure the metal disc is pushed firmly into the soap bar.
- Try a different bar of soap with a more accommodating shape or weight.
- If the soap is very dry, slightly dampen the part where the disc goes before pressing it in.
Most issues stem from moisture management or proper installation. By addressing these root causes, you can ensure your soap holder performs reliably and keeps your soap in top condition.
FAQ About Soap Holders
Q1: How often should I clean my soap holder?
It’s best to give it a quick wipe-down weekly and a more thorough scrubbing monthly. This prevents soap scum and grime from building up and keeps it hygienic. For holders in very humid areas or those with visible build-up, more frequent cleaning might be needed.
Q2: What’s the best soap holder material for a wet shower?
In a frequently wet shower environment, stainless steel or durable, water-resistant plastics are excellent choices. materials like ceramic or glass can work if placed where they won’t get constantly splashed. Natural materials like bamboo or sealed wood can also work but require consistent maintenance.
Q3: My soap holder has suction cups, but it keeps falling. What can I do?
Clean the wall surface thoroughly with rubbing alcohol and let it dry completely. Slightly dampen the suction cup before applying firm pressure. If it still fails, consider using a strong, bathroom-specific adhesive or switching to a screw-mounted or adhesive-backed model.
