
Understand your toilet’s plumbing system with this essential guide, breaking down how it works, common issues, and simple fixes so you can tackle maintenance with confidence and keep your bathroom running smoothly.
Toilets are a marvel of modern convenience, but when they act up, they can become a real headache! Leaky flappers, running water, or weak flushes are common frustrations that many homeowners face. Don’t worry if the inner workings seem a bit mysterious. Understanding the basic system of your toilet in plumbing is simpler than you might think. This guide will walk you through each part, how they work together, and what to do when things aren’t flush with perfection. We’ll cover everything from the tank to the bowl, equipping you with the knowledge to perform basic checks and simple repairs. Let’s dive in and demystify your toilet’s plumbing!
The Magic Behind the Flush: How Your Toilet Works

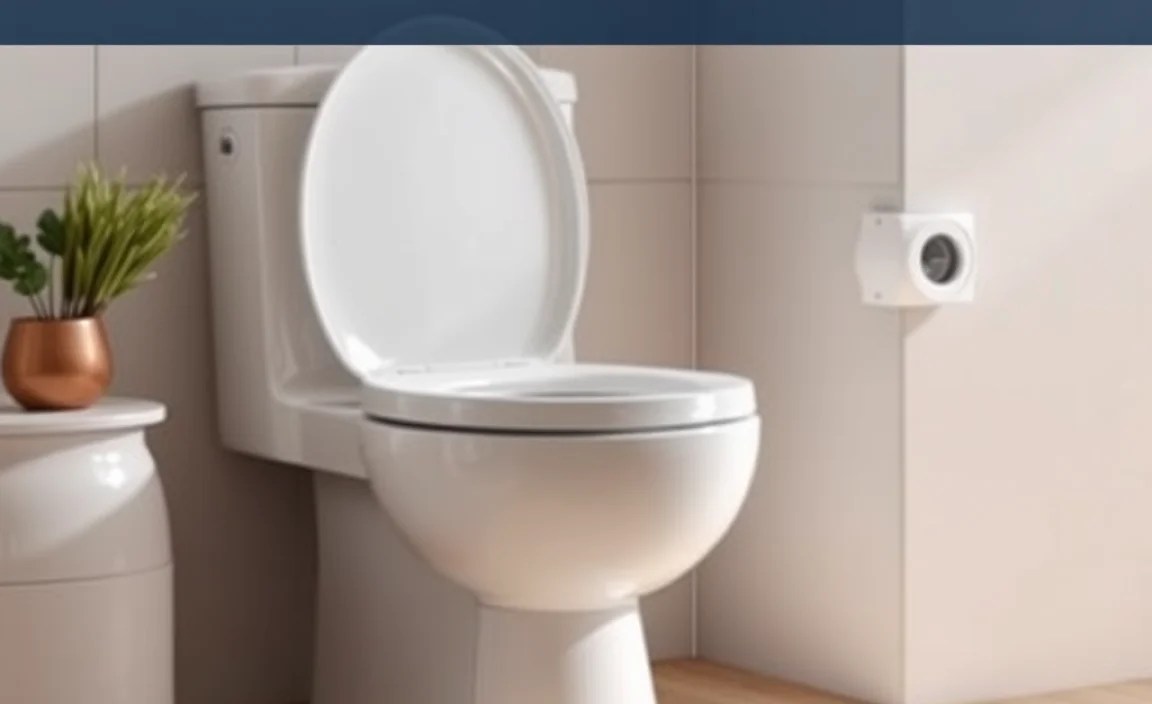
Ever wondered what happens when you push that handle? The toilet is a clever system that uses gravity and water pressure to efficiently remove waste. It’s a surprisingly simple process once you break it down into its key components. We’ll explore the tank – the silent partner that holds the water for flushing – and the bowl, where the magic of waste disposal happens.
Exploring the Toilet Tank: The Water Reservoir
The toilet tank is more than just a box of water; it’s the powerhouse of the flush. Inside this seemingly simple component, several parts work in harmony to deliver the necessary water volume and pressure when you need it. Understanding these parts is the first step to maintaining a healthy toilet.
Key Tank Components and Their Jobs:
- The Fill Valve (or Ballcock): This is the hero that refills the tank after each flush. When the water level drops, the fill valve opens, letting fresh water in until the tank is full. It shuts off automatically when the correct water level is reached.
- The Flapper (or Flush Valve Seal): This is the rubber stopper at the bottom of the tank that holds back the water until you flush. When you lift the handle, it lifts the flapper, allowing water to rush into the bowl.
- The Overflow Tube: A safety feature! If the fill valve malfunctions and the tank overfills, the excess water flows down this tube into the toilet bowl, preventing a flood in your bathroom.
- The Handle and Chain/Lift Rod: The external part you interact with. When you lift the handle, it pulls up the chain or lift rod, which in turn lifts the flapper to initiate the flush.
- The Float (Ball or Cup): Connected to the fill valve, this mechanism tells the fill valve when to stop refilling the tank. As the water rises, the float rises too, eventually signaling the valve to close.
The Toilet Bowl: Where Waste Meets Water
The toilet bowl is designed to hold water and effectively remove waste. It’s connected to your home’s drainage system, carrying everything away to the sewer or septic tank. The water in the bowl acts as a seal, preventing sewer gases from entering your home, which is a crucial part of its design!
How the Bowl’s Plumbing Works:
- Water Rim Jets: Small holes under the rim of the bowl distribute water evenly around the bowl’s sides, helping to rinse it clean during a flush. Clean these regularly for a sparkling bowl.
- The S-Trap (or P-Trap): This is the curved section of pipe beneath the toilet. It always holds a bit of water, forming a seal that blocks unpleasant sewer odors from coming back up into your bathroom. This is a fundamental plumbing concept found in many fixtures. You can learn more about common traps at the International Code Council’s resources on plumbing traps.
- The Syphon Jet (in some toilets): Located at the bottom of the bowl, this is a primary opening that helps create the siphoning action, pulling waste away with significant force.
The Flushing Action: A Step-by-Step Breakdown
Let’s trace the journey of water from the tank to the drain. Understanding this sequence helps diagnose issues more effectively.
- Handle Activation: You push the flush handle.
- Lift Mechanism: The handle pulls a chain or rod, lifting the flapper valve off its seat at the bottom of the tank.
- Water Release: Water from the tank rushes rapidly into the toilet bowl through the flush valve opening.
- Bowl Displacement: This sudden influx of water pushes the existing water and waste in the bowl down and out through the trapway.
- Siphoning Action: As the water level in the bowl drops, it creates a vacuum and a siphoning effect, pulling the remaining waste and water through the trapway and into the drainpipe.
- Flapper Reseats: Once most of the water has left the tank, the flapper falls back onto its seat, sealing the tank.
- Tank Refill: The float drops, signaling the fill valve to open and begin refilling the tank. As the water rises, the float rises with it, eventually closing the fill valve when the tank is full.
- Bowl Refill: A small amount of water is also slowly directed from the fill valve into the overflow tube, which then flows into the bowl to restore the water level and toilet seal.
Common Toilet Plumbing Problems and Simple Fixes

Even well-maintained toilets can develop quirks. Many common issues are surprisingly easy to fix yourself, saving you time and money.
Problem 1: The Toilet Keeps Running
This is annoying and wastes water! The most common culprits are a faulty flapper or an improperly set float.
Troubleshooting Steps:
- Check the Flapper:
- Open the tank lid. Is the flapper seal worn, distorted, or dirty?
- Try cleaning the flapper and its seating area.
- If it looks damaged or doesn’t seal tightly, replacing the flapper is usually the solution. They are inexpensive and readily available at any hardware store. Ensure you get the right type for your toilet model.
- Check the Float Level:
- Is the float set too high? If the water level in the tank is higher than the overflow tube, water will constantly spill into the overflow tube and down into the bowl.
- Most fill valves have an adjustment screw or a clip you can move to lower the float. Consult your fill valve’s manual or look for instructions online for your specific model. The water level should be about an inch below the top of the overflow tube.
- Check the Fill Valve: If the above steps don’t work, the fill valve itself might be faulty and needs replacement. This is a slightly more involved DIY task, but definitely achievable with a good YouTube tutorial.
Problem 2: The Toilet Won’t Flush (or Flushes Weakly)
A weak or non-existent flush can be due to a few things.
Troubleshooting Steps:
- Check the Handle and Chain:
- Is the chain from the handle to the flapper connected? Is it too long, causing the flapper to lift only partially? Or too short, preventing the flapper from sealing properly? Adjust the chain length so it has just a little slack when the flapper is down.
- Is the handle loose? Tighten it.
- Check for Blockages:
- Is the flapper lifting properly? If the handle is working, but the flapper isn’t lifting, there might be a blockage preventing its movement.
- Are the rim jets or the siphon jet clogged with mineral deposits? You can try cleaning them with a small brush and a mild cleaner. A coat hanger wire can sometimes be used gently to clear stubborn clogs in the jet opening, but be careful not to scratch the porcelain.
- Check the Water Level in the Tank: If the tank isn’t filling with enough water, there won’t be enough force for a good flush. Refer to the “Toilet Keeps Running” section for float adjustment.
- The dreaded Clog: If the toilet backs up and doesn’t drain, it’s likely a clog in the trapway or further down the drain line. A toilet plunger is your first line of defense. If that doesn’t work, a toilet auger (closet auger) is the next tool to try. For more stubborn clogs that extend beyond the toilet itself, you might need a drain snake or to call a plumber.
Problem 3: The Toilet is Leaking
Leaks can occur from the tank, the bowl, or the base.
Troubleshooting Steps:
- Tank to Bowl Leak:
- Listen for hissing sounds from the tank. This often indicates a leak at the seal between the tank and the bowl.
- Check the large rubber gasket at the bottom of the tank (the flush valve seal). If it’s worn or cracked, it needs replacement. This involves removing the tank from the bowl, which is a moderate DIY task.
- Base Leak:
- If you see water pooling around the base of the toilet, the wax ring seal between the toilet and the floor flange may have failed.
- Replacing a wax ring also involves removing the toilet and is a more advanced DIY project that requires proper re-sealing to prevent leaks and sewer gas. If you’re not comfortable with this, it’s best to call a professional.
- Cracked Porcelain: While rare, a toilet can develop a hairline crack. This usually requires replacing the entire toilet.
Essential Tools for Toilet Maintenance

You don’t need a professional plumbing toolkit for most toilet maintenance. Here are a few essentials that will cover most common fixes:
| Tool | Purpose |
|---|---|
| Adjustable Wrench | Tightening or loosening nuts on water supply lines and fill valves. |
| Screwdriver Set (Flathead and Phillips) | Adjusting screws on flushing mechanisms or tightening handle assemblies. |
| Bucket | Catching water when disconnecting supply lines or when working inside the tank. |
| Toilet Plunger (Cup or Flange style) |
Clearing basic clogs in the toilet bowl. A flange plunger is often more effective for toilets as it seals better. |
| Toilet Brush and Mild Cleaner | Daily cleaning and tackling mineral deposits around the rim and jets. |
| Gloves (Rubber or Disposable) | For hygiene and protection when handling parts or dealing with potential messes. |
| Old Towels or Rags | Cleaning up spills and drying parts. |
| Toilet Repair Kit (Flapper, Seal, etc.) | Having common replacement parts on hand can save a trip to the store. |
| Small Wire/Coat Hanger (Use with caution) | Gently clearing debris from small openings like jet holes. |
Understanding Different Toilet Types
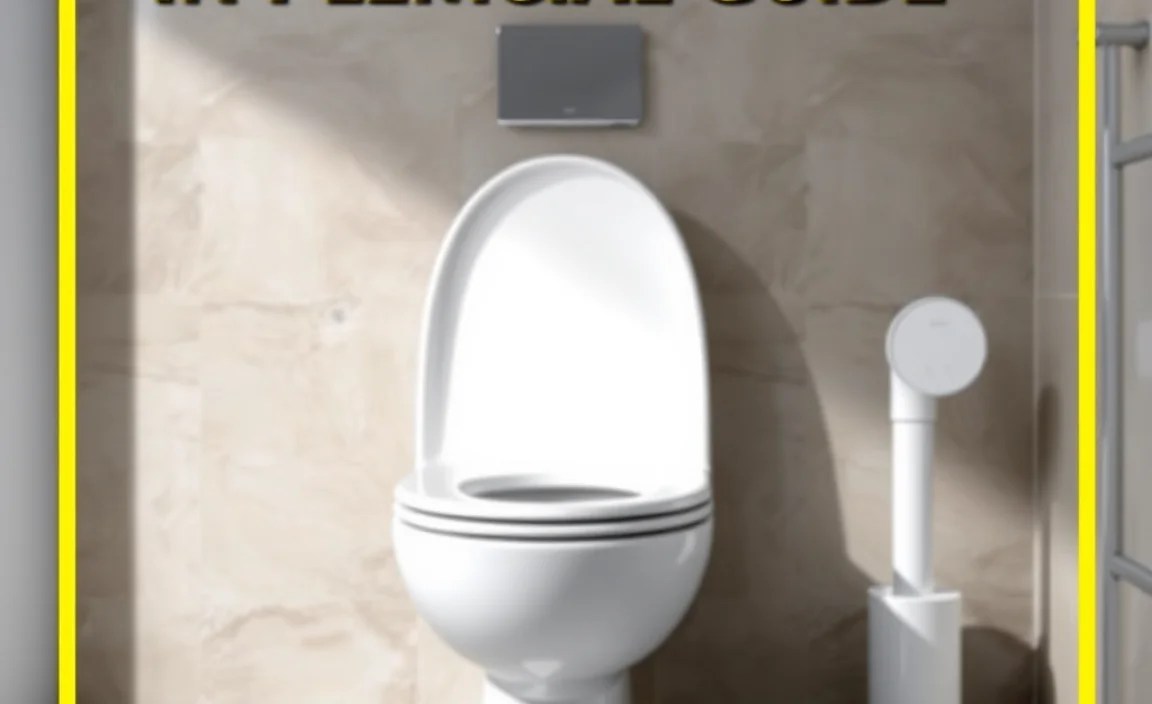
While the core plumbing system is similar, different types of toilets have variations:
- Gravity-Fed Toilets: The most common type. They use the weight of the water in the tank to create pressure for flushing. Simple and reliable.
- Pressure-Assisted Toilets: These use a sealed tank and compressed air to create a more powerful flush. They often have a sleeker design and are good for smaller tanks, but can be noisier and more complex to repair.
- Dual-Flush Toilets: Offer two flush options—one for liquid waste (using less water) and one for solid waste (using more water). They are great for water conservation and have specialized flush valves.
- Low-Flow Toilets: Designed to use significantly less water per flush (e.g., 1.6 gallons per flush or less) compared to older models. While they conserve water, some older or poorly designed models might require more careful maintenance to ensure effective flushing. The EPA’s WaterSense program provides excellent resources on water-efficient fixtures.
When to Call a Professional Plumber
While DIY is great, sometimes you need an expert. Don’t hesitate to call a plumber if:
- You’ve tried basic fixes, and the problem persists.
- There are recurring clogs that suggest a deeper issue in your drain lines.
- You suspect a leak from the main drainpipe or if water is backing up from other fixtures.
- You need to replace the wax ring or suspect an issue with the floor flange.
- You’re uncomfortable with any of the repair steps, especially those involving disconnecting the toilet or its main connections.
- You have a pressure-assisted or complex dual-flush system and aren’t confident in diagnosing its specific components.
Professional plumbers have specialized tools and expertise to quickly diagnose and fix complex issues, ensuring your plumbing system is reliable and up to code.
Conclusion
Understanding the system of a toilet in plumbing is a fundamental skill for any homeowner. We’ve explored the essential components within the tank and bowl, traced the magic of the flushing action, and armed you with practical solutions for common problems like running toilets, weak flushes, and minor leaks. Remember, many everyday toilet troubles can be resolved with a few basic tools and a little know-how.
By performing regular checks and addressing issues promptly, you can ensure your toilet operates efficiently, saves water, and avoids becoming a major inconvenience. Don’t be afraid to get your hands a little dirty – empowering yourself with this knowledge will save you time, money, and give you immense satisfaction in maintaining your home.
Frequently Asked Questions (FAQ)
Q1: How often should I clean my toilet’s internal parts?
It’s a good idea to check and clean your toilet’s internal tank components (like the flapper seat and overflow tube) at least once or twice a year, or whenever you notice issues like running water. Cleaning the rim jets in the bowl regularly with a brush will also help maintain flush performance.
Q2: My toilet is making gurgling noises without flushing. What could it be?
Gurgling noises often indicate an issue with venting or a partial clog in your drain system. As water tries to flow, air is being pushed back up through the trap. This could be a problem with the toilet’s trap itself, or further down the main drain line. It’s worth checking for clogs with a plunger first, and if the noise persists, it might be time to consult a plumber about your home’s plumbing vents.
Q3: How do I know if my toilet is water-efficient?
Look for a WaterSense label from the EPA, which indicates it meets EPA’s water efficiency and performance criteria. Older toilets might use 3.5 to 7 gallons per flush (gpf), while newer WaterSense toilets use 1.28 gpf or less. You can also look at your toilet’s tank or base for a manufacturer’s stamp indicating the gallons per flush (gpf).
Q4: What’s the difference between a toilet plunger and a sink plunger?
A standard cup plunger is best for sinks. A toilet plunger, often called a flange plunger, has an extra flap (or flange) that extends from the bottom. This flange folds inside the cup to create a better seal in the toilet drain hole, making it much more effective at dislodging clogs in a toilet’s trapway.
Q5: Can I use household cleaners to clean my toilet tank?
It’s generally not recommended to use harsh household cleaners, especially bleach-based ones, inside the toilet tank. Many of the rubber and plastic components can degrade over time from these chemicals, leading to leaks and needing replacement. A mild soap and water solution or a vinegar solution is usually sufficient for cleaning tank parts. Always follow the manufacturer’s recommendations for your specific toilet and its parts.
Q6: My toilet isn’t flushing, but water is still in the tank. What’s wrong?
This usually points to an issue with the flushing mechanism itself. Check if the chain from the handle to the flapper is connected and has the right tension – it might be too slack to lift the flapper, or too tight causing it to not seal. Ensure the flapper isn’t warped or damaged and is able to lift freely when the handle is pressed. if the chain and flapper seem fine, the issue could be with the fill valve not allowing enough water into the tank for a full flush, or a blockage preventing the water release.
