
A P-trap in plumbing is a U-shaped pipe under your sink that holds water to prevent sewer gases from entering your home. Understanding its parts and common issues is key to DIY fixes. This guide breaks down P-trap terminology simply, so you can confidently tackle sink problems without needing a plumber for every little thing. Let’s dive in and demystify your drain!
Ever dealt with a gurgling drain, an unpleasant smell coming from under your sink, or a slow-moving water flow? Chances are, the culprit is your P-trap, a vital but often overlooked component of your home’s plumbing system. You might have heard plumbers toss around terms like “trap arm,” “trap seal,” or “cleanout plug,” leaving you scratching your head. But don’t worry! This guide is designed to clarify all those P-trap plumbing terms in a way that makes sense, even if you’re new to DIY home maintenance. We’ll break down exactly what a P-trap is, why it’s shaped that way, and what common issues you might encounter. So, let’s get ready to become a P-trap pro!
What Exactly is a P-Trap?

At its most basic, a P-trap is a curved piece of pipe, usually shaped like the letter ‘P’ lying on its side, located directly beneath your sink, shower, or bathtub drain. Its primary job is to hold a small amount of water after each use. This standing water acts as a barrier, preventing unpleasant and potentially harmful sewer gasses from rising up through your drainpipes and into your living space. Without this water seal, your home would constantly smell like the sewer, which is definitely not ideal!
The ‘P’ shape is crucial. Water flows down the drainpipe, fills the bottom of the ‘U’ bend, and then exits through the horizontal pipe. Some water remains stuck in the bend, creating that essential seal. This simple yet ingenious design is a cornerstone of sanitary plumbing systems worldwide.
The Anatomy of a P-Trap: Key Terms Explained

To truly understand your P-trap, let’s break down its different parts and common associated plumbing terms. Knowing these will help you describe the problem accurately if you ever need to call a professional or confidently tackle a DIY repair.
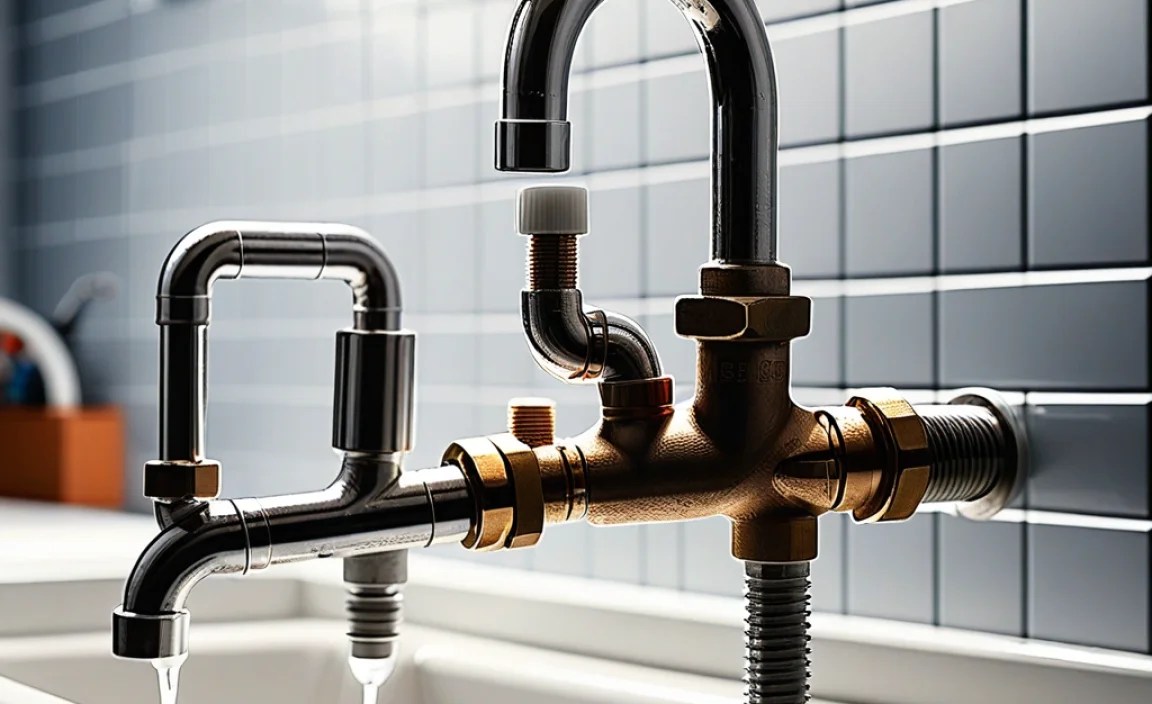
1. The Trap Body (The ‘U’ Bend)
This is the most recognizable part of the P-trap – the curved section that looks like a ‘U’ or a ‘J’. Its unique shape is specifically designed to retain a water seal. The curvature ensures that a small reservoir of water remains after the fixture has been drained, blocking sewer gases.
2. The Trap Arm
The trap arm is the horizontal pipe that extends from the P-trap’s outlet and connects to the larger drainpipe (also called the waste pipe or soil pipe) within the wall. The length and slope of the trap arm are critical. If it’s too long or doesn’t have enough of a downward slope, it can lead to slow draining and potential blockages, as waste can get stuck. A commonly recommended slope for trap arms is a quarter-inch per foot, ensuring solid waste moves efficiently towards the main drain. You can learn more about drain pipe slope recommendations from resources like the International Plumbing Code (IPC), which sets standards for safe and effective plumbing.
3. The Slip Joint (or Union Nut)
This is the point where sections of the P-trap connect to the vertical tailpiece coming down from your sink or fixture, and to the trap arm. These connections are usually made with threaded fittings sealed by a nut and a plastic or rubber washer (gasket). They are called “slip joints” because one pipe can slide slightly relative to the other, allowing for easier assembly and disassembly. These are the most common points for leaks in a P-trap assembly, often due to a loose nut or a worn-out washer.
4. The Trap Seal
This refers to the actual depth of water held within the ‘U’ bend of the trap. A proper trap seal is typically between 2 and 4 inches deep. This depth is sufficient to prevent sewer gases from escaping. If the seal is lost (e.g., through evaporation or a faulty trap design), those unpleasant smells will return.
5. The Pop-Up Stopper Assembly (for Sinks)

While not strictly part of the P-trap itself, the pop-up stopper assembly in a sink is directly connected to it. This mechanism includes the stopper you push or pull in the sink drain, the rod that operates it, and the pivot rod and nut that connect the rod to the drain tailpiece extension. Issues here can sometimes mimic P-trap problems if they prevent proper drainage or seal.
6. The Cleanout Plug (Less Common in Modern Home P-Traps)

Some older P-trap designs, particularly those made of metal, might have a threaded plug at the bottom of the ‘U’ bend. This cleanout plug allows direct access to the trap for cleaning out blockages. If your P-trap has one, ensure it’s tightly sealed to prevent leaks. Many modern plastic P-traps don’t have this feature, relying instead on disassembling the slip joints for cleaning.
Why Do P-Traps Fail or Cause Problems?
Even though P-traps are generally reliable, they can encounter a few common issues. Understanding these problems and their associated terminology will help you diagnose and fix them more effectively.
1. Leaks
This is perhaps the most frequent P-trap issue. Leaks usually occur at the slip joint connections.
- Loose Nuts: Over time, the vibration from running water can cause the slip joint nuts to loosen.
- Worn-out Washers: The plastic or rubber washers inside the slip joints can become brittle, cracked, or compressed with age, losing their ability to create a watertight seal.
- Cracked Pipe: Although less common with plastic traps, older metal traps can corrode and develop cracks. Physical damage can also cause cracks.
DIY Tip: When troubleshooting a leak, dry the pipes thoroughly with a cloth. Then, run water slowly and carefully observe where the first drips appear. This will pinpoint the exact location of the leak.
2. Clogs and Blockages
Hair, soap scum, grease, food particles, and other debris can accumulate in the P-trap, restricting water flow and causing slow drains or complete blockages. The curve of the trap is a prime spot for this buildup.
- Hair and Soap Scum: Common in bathroom sinks and showers, these combine to create stubborn blockages.
- Grease and Food: Kitchen sinks are prone to clogs from grease, oil, and food scraps. Never pour grease down the drain!
3. Dry Trap / Siphoning Issues
A dry trap means the water seal has evaporated or been siphoned out, allowing sewer gases to enter your home. This can happen in several ways:
- Evaporation: If a fixture (like a sink in a guest bathroom) isn’t used for a long time, the water in the trap can simply evaporate.
- Negative Air Pressure (Siphoning): In some plumbing systems, a sudden rush of water down a drain elsewhere in the house can create a vacuum. This vacuum can pull the water out of a nearby P-trap, breaking the seal. Proper venting is designed to prevent this, but issues with the vent stack can cause siphoning. You can learn more about plumbing vent systems from a reputable source like Fine Homebuilding.
- Faulty Venting: The plumbing system has vent pipes that allow air into the system, preventing vacuums and letting wastewater flow smoothly. If these vents are blocked (e.g., by leaves or debris on the roof) or improperly installed, siphoning can occur.
4. Bad Smells (Besides Sewer Gas)
Sometimes, the smell isn’t raw sewer gas but decaying organic matter trapped in the P-trap. This is common if the trap is partially clogged with hair, soap scum, or food debris. The trapped water then becomes stagnant and starts to smell foul.
Common P-Trap Materials
P-traps are typically made from a few different materials, each with its pros and cons. Knowing the material of your trap can help you understand its durability and how to care for it.
1. PVC (Polyvinyl Chloride)
Most modern P-traps are made of white PVC plastic. They are inexpensive, lightweight, easy to cut and assemble, and resistant to corrosion. PVC traps are durable but can become brittle over very long periods or if exposed to extreme temperatures or certain chemicals.
2. ABS (Acrylonitrile Butadiene Styrene)
Similar to PVC, ABS is another common plastic used for drain pipes and traps. It’s typically black and is known for its toughness and impact resistance. ABS fittings are usually solvent-welded, though threaded connections are also used.
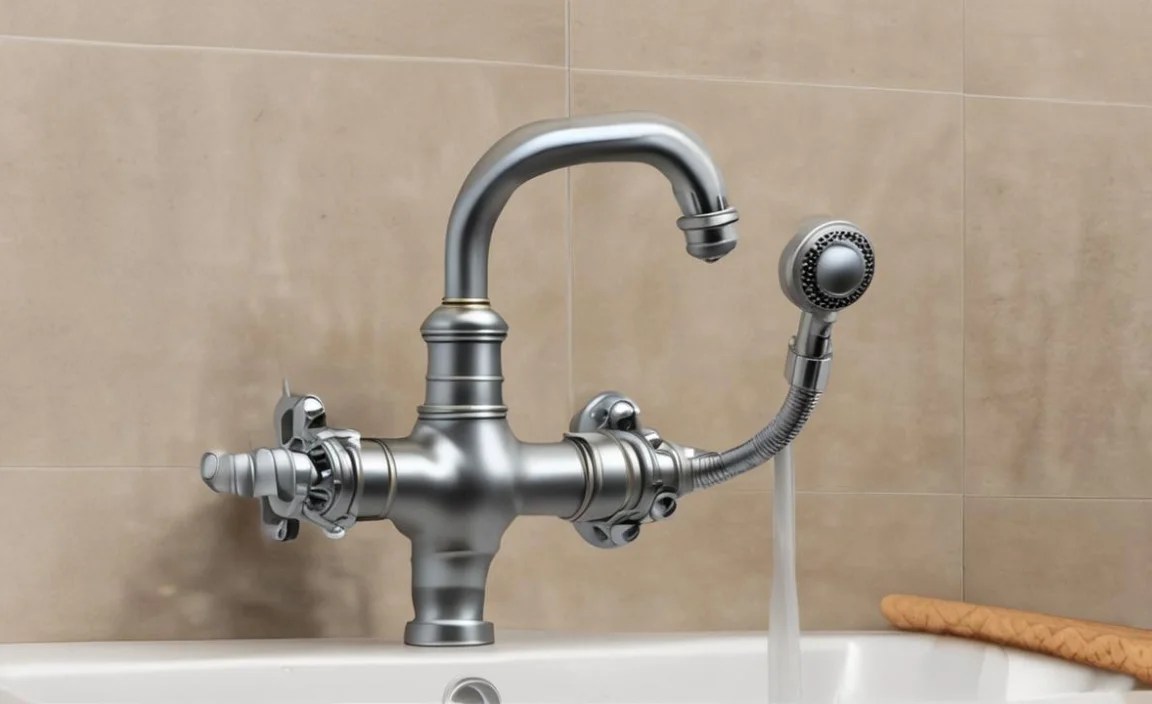
3. Metal (Brass, Steel, Chrome-Plated Brass)

Older homes often feature metal P-traps, especially those with a chrome finish for aesthetics under a pedestal sink. While more aesthetically pleasing in some situations, metal traps can be more expensive, heavier, and susceptible to corrosion or damage over time. They may also have threaded cleanout plugs.
Tools You Might Need for P-Trap Maintenance
When working on your P-trap, having the right tools makes the job much easier and safer. Here’s a list of commonly used tools:
- Bucket or Container: Absolutely essential for catching any residual water from the trap you’re about to disconnect.
- Adjustable Pliers (Water Pump Pliers): These are versatile and can grip the slip joint nuts securely to loosen or tighten them. Look for models with a wide jaw opening.
- Pipe Wrench: For metal pipes, a pipe wrench can provide extra grip, though be careful not to overtighten and damage plastic fittings.
- Gloves: To protect your hands from grime and potential contaminants.
- Rag or Towel: For drying pipes and cleaning up spills.
- Plunger: Useful for attempting to dislodge minor clogs before resorting to disassembly.
- Drain Snake or Auger (Optional): For deeper clogs that might extend beyond the trap.
- Replacement Washers and Nuts: It’s always a good idea to have these on hand, as they are the most common culprits for leaks and can be inexpensive to replace.
- Safety Glasses: To protect your eyes from any unexpected drips or debris.
How to Fix Common P-Trap Problems: A Step-by-Step Guide
Let’s walk through how to address the most common P-trap issues: leaks and clogs. Remember to always prioritize safety.
Scenario 1: Fixing a Leaking P-Trap
Leaks are usually at the slip joints. This guide focuses on plastic P-traps, which are most common.
- Prepare: Place a bucket directly under the P-trap to catch any water.
- Tighten Nuts: First, try gently tightening the slip joint nuts at both ends of the P-trap using your adjustable pliers. Turn them clockwise. Don’t overtighten, especially with plastic, as you could crack the fitting.
- Test for Leaks: Run water in the sink for a minute or two. Check the slip joints for drips. If the leak stops, you’re done!
- Inspect Washers: If it still leaks, you likely need to replace the washer. Loosen and remove the slip joint nut on the leaking side.
- Remove Old Washer: Carefully pull out the old plastic or rubber washer. If it’s dried out, cracked, or deformed, it needs replacing.
- Install New Washer: Fit a new washer into the joint, ensuring it’s seated correctly and facing the right direction (usually tapered side facing the direction of the seal).
- Reassemble: Screw the slip joint nut back on by hand, then tighten it gently with pliers.
- Test Again: Run water and check for leaks. You might need to slightly adjust the tightness.
Scenario 2: Clearing a Clogged P-Trap
If your sink is draining slowly or not at all, the P-trap is a likely suspect.
- Prepare: Place a bucket directly underneath the P-trap to catch water and debris.
- Loosen Slip Joints: Using adjustable pliers, carefully loosen the slip joint nuts that connect the P-trap to the tailpiece and the trap arm. You may need to loosen both ends to get the trap out.
- Remove the Trap: Once the nuts are loose enough, gently pull the P-trap away. Be prepared for water and gunk to drain into the bucket.
- Clean the Trap: Once removed, use a rag or a flexible brush (like a bottle brush) to clean out any blockages inside the P-trap. Rinse it thoroughly with water.
- Check Other Pipes: If the trap is clear but the sink is still clogged, the blockage might be further down the drainpipe. You can try using a drain snake at this point.
- Reassemble: Reconnect the P-trap, ensuring washers are in place and properly seated. Hand-tighten the slip joint nuts first, then tighten them gently with pliers.
- Test Drainage: Run hot water down the drain for a few minutes to flush out any remaining debris and test for leaks at the reconnected joints.
P-Trap Types and Variations
While the ‘P’ shape is most common, there are a few variations you might encounter, each serving the same core purpose.
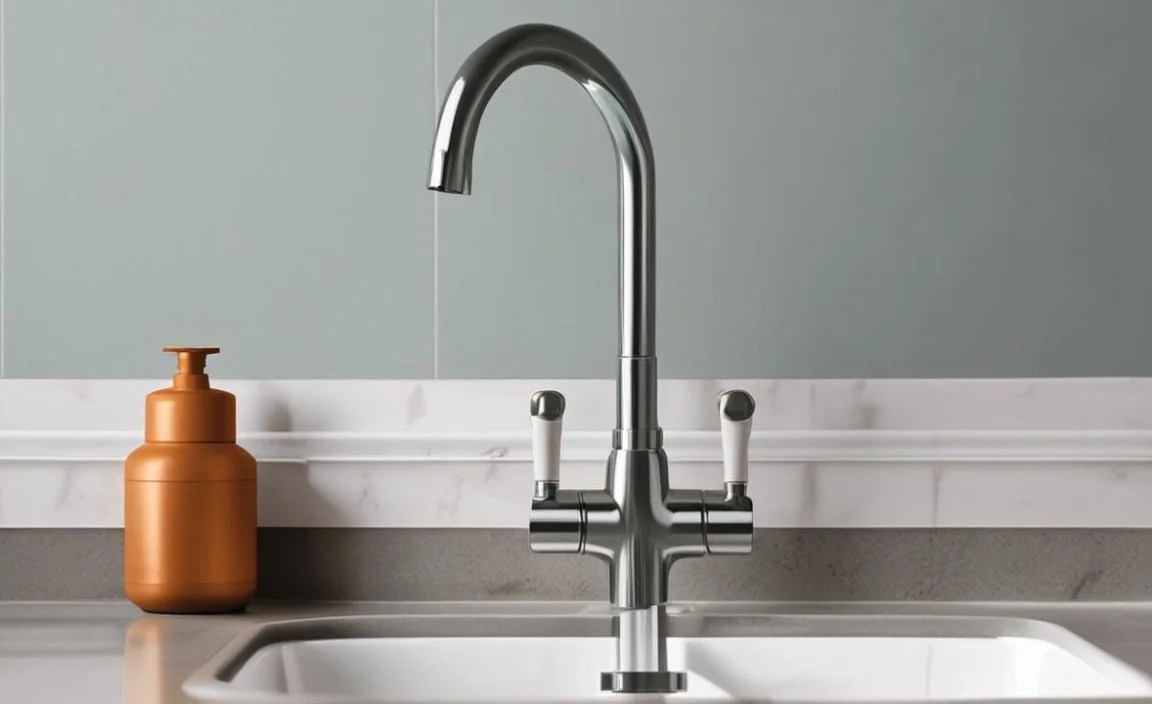
1. Standard P-Trap
This is the classic ‘P’ shape, used in most sink and fixture drains. It’s effective and widely compatible.
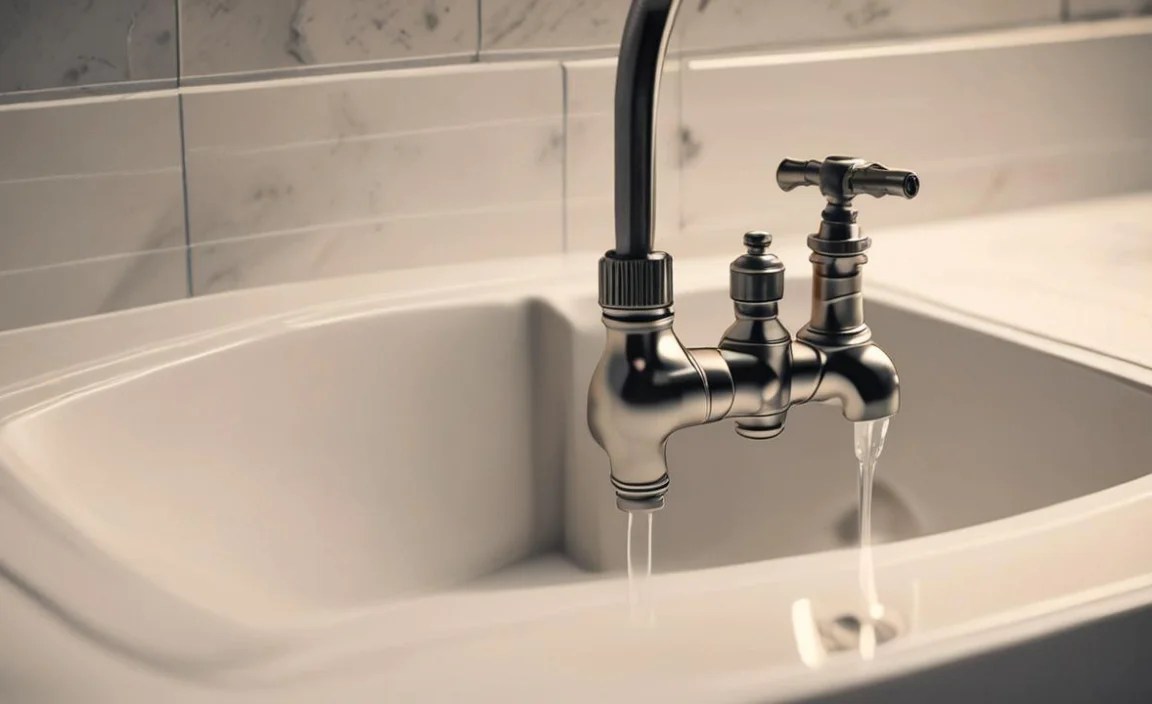
2. S-Trap
An S-trap is shaped like an ‘S’ and has two bends. It connects the fixture drain directly to a vertical waste pipe. S-traps are less common today because they are more prone to siphoning. If water flows rapidly down the drain, it can create a vacuum that sucks the water out of the trap, breaking the seal. Modern plumbing codes often prohibit their use.
3. Drum Trap
A drum trap is a larger, cylindrical housing installed in the floor or wall, usually below the fixture. The drainpipe empties into the top of this drum, and wastewater exits from the side. A water seal is maintained within the drum. Drum traps are more common in older homes, particularly for tubs, and can be harder to clean than P-traps.
4. Bottle Trap
Often seen in modern, minimalist bathrooms, a bottle trap is a more compact, aesthetically pleasing trap. It uses a sealed chamber that resembles bottles to hold the water seal. While visually appealing, they can sometimes be more prone to clogging in the narrower internal passages.
Here’s a quick comparison of common trap types:
| Trap Type | Shape | Common Use | Pros | Cons |
|---|---|---|---|---|
| P-Trap | ‘P’ shape | Most sinks, showers, tubs | Effective seal, easy to clean, widely available | Can be bulky |
| S-Trap | ‘S’ shape | Older homes, less common now | Direct connection to vertical pipe | Prone to siphoning, often prohibited by code |
| Drum Trap | Cylindrical | Older tubs, some showers | Can handle large volumes of water | Bulky, can be difficult to clean, potential for sediment buildup |
| Bottle Trap | Compact, bottle-like | Modern vanities, minimalist bathrooms | Aesthetically pleasing, space-saving | Can be more expensive, potentially prone to clogging in tight spaces |
Preventative Maintenance for Your P-Trap
Taking a few simple steps can help keep your P-trap functioning well and prevent common problems:
- Run Hot Water Regularly: Especially for infrequently used sinks, run hot water for a minute or two once a week to replenish the trap seal and flush out any minor buildup.
- Avoid Pouring Grease Down Drains: Use a separate container to collect grease and oil from cooking, then dispose of it in the trash.
- Use Strainers: Install drain strainers in sinks and showers to catch hair, food particles, and other debris before they enter the P-trap.
