
Have you ever noticed water pooling around your toilet? It’s frustrating, right? One common cause of this problem could be a worn-out toilet seal ring. This small but vital part keeps water from leaking onto your floor. If it’s damaged, it can lead to bigger problems.
Imagine having to clean up a mess or even worse, dealing with mold. Sounds yucky! Just like changing a lightbulb, replacing a toilet seal ring is a DIY task that many can handle. In this article, we will guide you through the process step by step.
Did you know that a new toilet seal ring can save you money on water bills? Not only that, but it can also improve your bathroom’s hygiene. So, if you’ve been putting off this project, now is the time to dive in. Let’s explore how to tackle toilet seal ring replacement and keep your bathroom fresh!
Toilet Seal Ring Replacement: A Step-By-Step Guide
Replacing a toilet seal ring can save you from messy leaks. This simple task can be done in a few easy steps. First, gather your tools like a wrench and a new seal ring. Have you noticed water around your toilet? That might mean it’s time for a replacement. Seal rings can wear out over time, leading to frustrating water damage. Keeping your toilet in good shape helps prevent costly repairs. Don’t put it off—taking action now can keep your bathroom dry and clean!
Understanding the Toilet Seal Ring
Definition and purpose of a toilet seal ring. Importance of maintaining a proper seal.
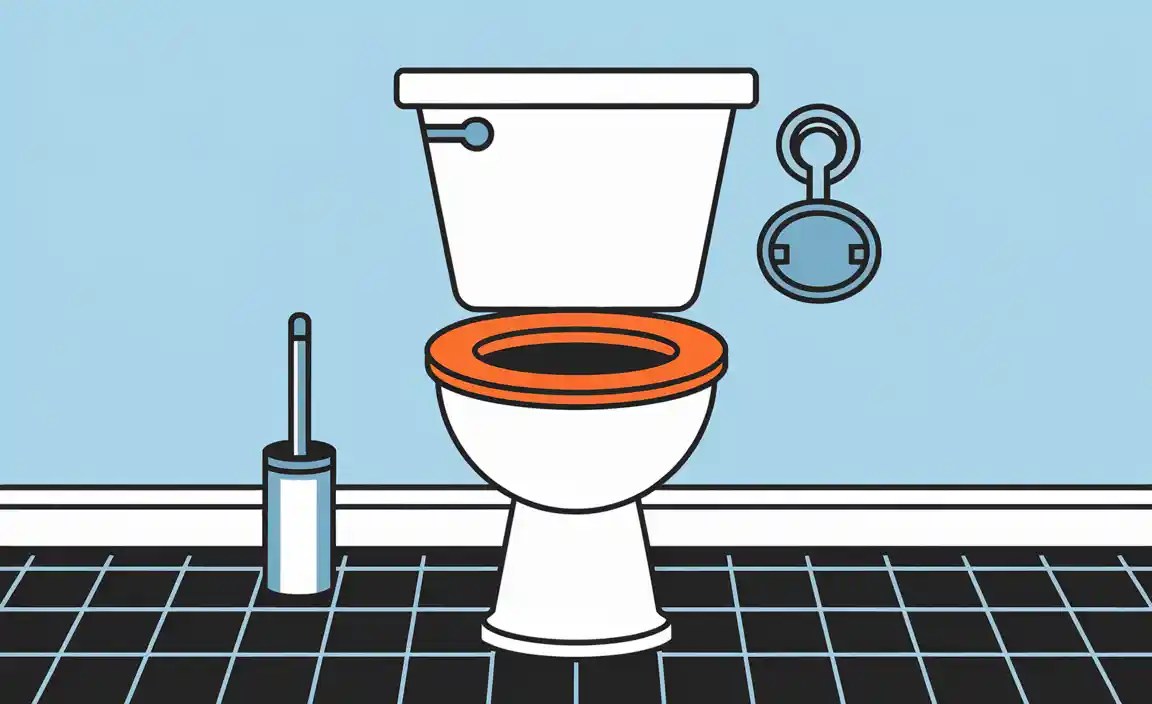
A toilet seal ring is a simple yet crucial piece of rubber that sits between the toilet and the floor. Its job? To prevent leaks from causing water damage. Think of it as the superhero of your bathroom, protecting you from messy surprises! Maintaining a proper seal is essential; if the ring wears out, it can lead to leaks that may cost a fortune to fix. So, imagine having a swimming pool in your bathroom—yikes!
| Purpose | Importance |
|---|---|
| Prevents leaks | Stops water damage |
| Stabilizes the toilet | Ensures a comfy seat |
In short, keep your toilet seal ring in top shape to avoid aquatic chaos!
Signs You Need to Replace Your Toilet Seal Ring
Common symptoms indicating a faulty seal. Consequences of a damaged seal ring. When your toilet seal ring is damaged, it sends clear signals. Watch for these signs:

- Water leaks around the base of the toilet.
- Unpleasant odors in the bathroom.
- A toilet that rocks or wobbles.
If ignored, a faulty seal can cause serious problems. It may lead to:
- Water damage to the floor.
- Higher water bills from leaks.
- Increased growth of mold and mildew.
Taking action early can save you time and money!
How do I know my toilet seal ring is bad?
Check for signs like leaks, odors, or a wobbly toilet. These often mean your seal ring needs replacement.
Tools and Materials Needed for Replacement
Essential tools for the job. Recommended materials for a successful replacement. For a successful toilet seal ring replacement, you’ll need a few essential tools and materials. Grab a wrench for tight spots, a screwdriver for quick fixes, and some plumbing putty to keep leaks away. Don’t forget gloves. Who wants to go in bare-handed? Here’s a handy table to keep you organized:
| Tools | Materials |
|---|---|
| Wrench | New Seal Ring |
| Screwdriver | Plumbing Putty |
| Gloves | Towels |
With these tools and materials, you’ll be ready to tackle the job. Remember, a little preparation can save you from a big mess!
Step-by-Step Guide to Replacing a Toilet Seal Ring
Detailed process of removing the toilet. How to properly install the new seal ring. Tips for securing the toilet back in position. Replacing a toilet seal ring sounds tricky, but it can be easy! First, turn off the water and flush the toilet.
Next, disconnect the water supply and remove the nuts holding the toilet in place. This part can feel like a workout, so have a friend ready to help! Once the toilet is off, clean the old seal area. For the new ring, place it evenly on the flange. To put the toilet back, lift carefully and align with the bolts. Tighten the nuts gently; we want a firm fit, not a karate chop!

| Steps for Replacement | Things to Remember |
|---|---|
| Turn off the water | Flush and disconnect supply |
| Remove toilet nuts | Have a buddy for support |
| Clean old seal area | Use a putty knife if needed |
| Install new seal | Ensure it’s evenly placed |
| Reconnect toilet | Tighten gently for a snug fit |
With these steps, you’ll soon have a toilet that doesn’t leak. Remember, every DIY hero deserves a trusty sidekick (or a rubber ducky) to cheer you on!
Common Mistakes to Avoid During Replacement
Potential pitfalls in the replacement process. How to prevent damage to the toilet and floor. Replacing a toilet seal ring is not for the faint of heart. One common mistake is skipping the cleaning step. A dirty surface can lead to leaks, making your new seal useless. Always clean beforehand! Another trap is over-tightening the bolts. You don’t need to put the muscles of a bear into it; just snug it down. If you’re scared of a flood, lay a towel down. Trust me, your bathroom will appreciate it!
| Common Mistakes | How to Avoid Them |
|---|---|
| Ignoring Cleaning | Always clean the area first. |
| Over-tightening Bolts | Snug is enough, no need for bear strength! |
| Not Checking for Cracks | Inspect the toilet before replacing. |
Maintaining Your Toilet Seal Ring
Best practices for prolonging the life of your seal ring. Signs of wear and when to perform regular checks.
To keep your toilet seal ring in great shape, follow some simple steps. First, check it regularly for damage. Every few months, look for cracks or wear. This can help you spot problems early. Next, avoid using harsh chemicals nearby. They can break down the material. Also, be gentle when cleaning around the toilet. Scrubbing too hard can harm the seal. Lastly, pay attention to signs like leaks or water pooling. These show it’s time for a replacement.
What are the signs that my toilet seal ring needs replacement?
Signs include leaks, bad odors, and water stains around the toilet. Regular checks can help. If you notice any of these, act fast. Replacing the seal can prevent bigger problems.
- Check for cracks or wear.
- Use gentle cleaners.
- Look for leaks or standing water.
- Check every few months.
Frequently Asked Questions About Toilet Seal Rings
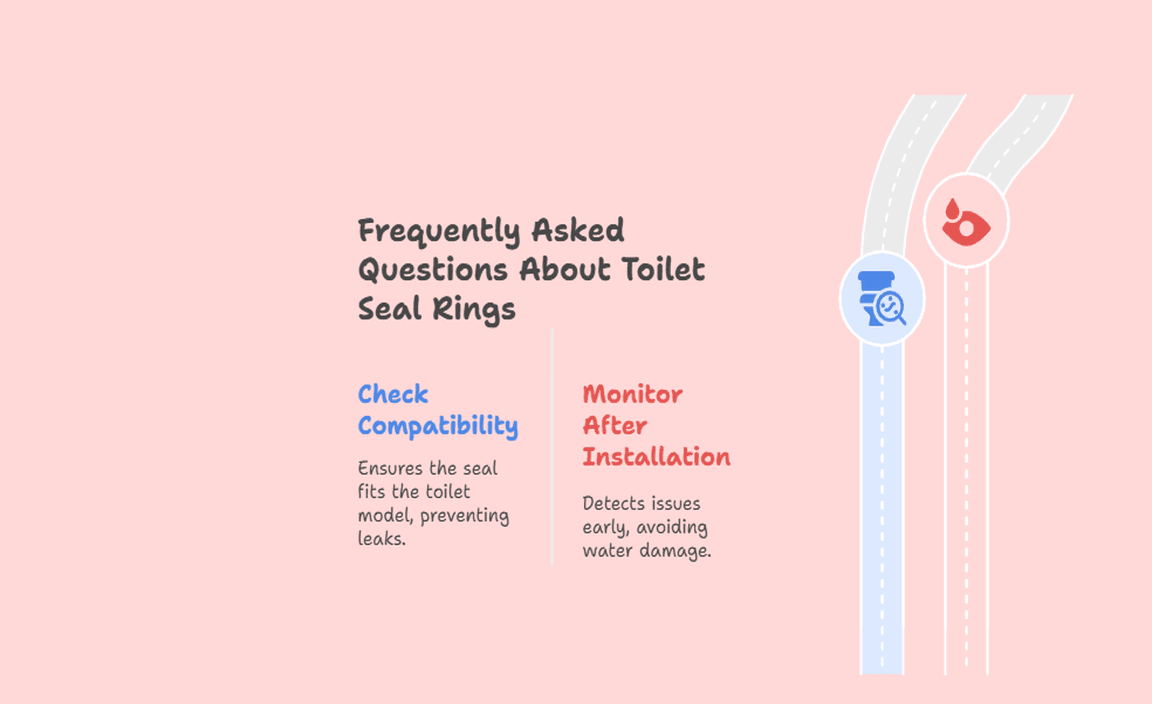
Common queries regarding seal ring types and compatibility. Troubleshooting after replacement. Many people wonder about the different types of toilet seal rings and their compatibility. It’s like trying to find the perfect pizza topping! Some seals work better with certain toilets, and choosing the wrong one can lead to leaks. Always check the packaging for compatibility information.
After replacement, be alert for any signs of trouble. If water keeps pooling around your toilet, it may indicate a faulty seal. Remember, a toilet should not act like a fountain! Double-check the seal for proper installation to avoid more mess. Keep these tips handy, and you’ll be a toilet seal ring expert in no time!
| Question | Answer |
|---|---|
| What types of toilet seal rings are there? | There are wax, foam, and rubber rings, each suited to different toilets. |
| Why is my toilet leaking after replacement? | Your seal may be misaligned or damaged. Check it right away! |
Knowing When to Call a Professional
Situations where professional help is advised. Benefits of hiring a plumber for seal ring issues. Some problems are too hard to handle alone. If you see water leaking or notice a bad smell, it’s time to call a pro. Hiring a plumber can save you time and effort. They know what to do and have the right tools. Experts can fix issues quicker and prevent bigger problems. This keeps your home safe and dry.
- Water leakage under the toilet
- Unpleasant odors
- Visible damage to the floor
- Cracks in the toilet
When should I hire a plumber for toilet seal ring issues?
If you face issues like persistent leaks or musty smells, calling a plumber is best. They can find the problem and fix it right.
Conclusion
In conclusion, replacing a toilet seal ring can fix leaks and improve your toilet’s performance. You should check the seal regularly for wear. If it’s damaged, follow simple steps to replace it yourself. This task can save you money and keep your bathroom dry. For more tips on home repairs, keep reading or ask someone for help!
FAQs
What Tools Are Needed To Safely Replace A Toilet Seal Ring?
To replace a toilet seal ring, you need a few tools. First, grab a wrench to loosen the bolts. Next, use a putty knife to remove the old seal. You should also have towels to catch any water. Finally, use a new seal ring to finish the job!
How Can You Tell If The Toilet Seal Ring Needs To Be Replaced?
You can tell the toilet seal ring needs replacing if you see water around the base of the toilet. If your toilet wobbles when you sit on it, that’s another sign. You might also smell something bad from the bathroom. If you notice any of these things, we should check the seal ring.
What Steps Should Be Followed To Properly Remove The Old Seal Ring And Install A New One?
First, you need to gather your tools, like a screwdriver and a rag. Then, take off the old seal ring carefully. Make sure to clean the area where the seal goes. Next, place the new seal ring in the right spot. Finally, press it down firmly to make sure it fits snugly.
Are There Different Types Of Toilet Seal Rings, And How Do I Choose The Right One For My Toilet?
Yes, there are different types of toilet seal rings. The most common ones are wax rings and rubber rings. You should choose a ring that fits your toilet’s shape and size. To pick the right one, check the package for the size and read the instructions. If you’re unsure, ask for help at the store!
What Common Mistakes Should Be Avoided During The Toilet Seal Ring Replacement Process?
When replacing a toilet seal ring, avoid these mistakes. First, don’t forget to turn off the water supply. Next, make sure the old seal is fully cleaned off. If you skip this step, the new seal won’t fit right. Also, check if the new seal is placed evenly. Lastly, don’t over-tighten the toilet bolts because this can crack the toilet.
Resource:
-
Beginner plumbing tips for homeowners: https://www.familyhandyman.com/project/plumbing-repairs-every-homeowner-should-know/
-
How to properly use a putty knife: https://www.bobvila.com/articles/how-to-use-a-putty-knife/
-
Choosing the right rubber materials: https://www.engineeringchoice.com/types-of-rubber/
-
Preventing mold and mildew in bathrooms: https://www.epa.gov/mold/mold-cleanup-your-home
