
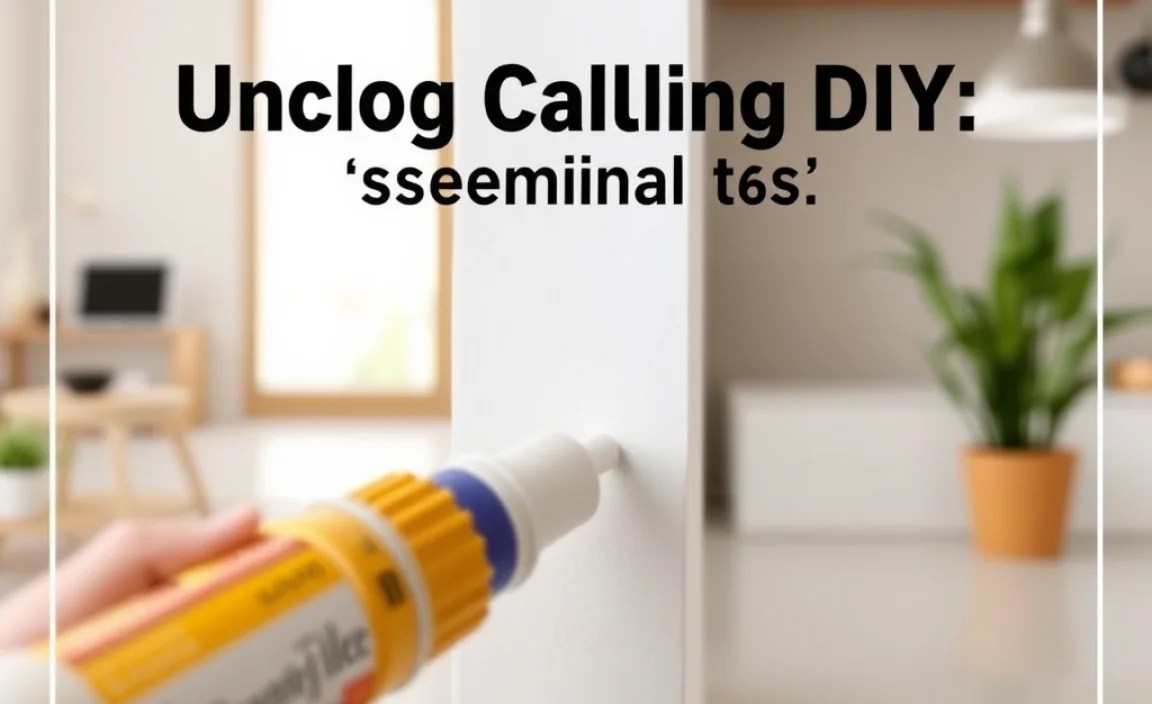
Don’t let clogged caulking guns stop your DIY projects! Unclogging caulking is a straightforward DIY task. With a few common tools and these essential tips, you’ll get your caulk gun working again in no time, saving you money and keeping your home looking great.
Dealing with a stubborn, clogged caulking gun can be one of those little DIY frustrations that feels bigger than it is. You need to seal a leaky pipe, freshen up a bathroom edge, or secure a window, and your caulk gun just … won’t … dispense. It’s like the gun has a mind of its own, holding onto that precious caulk rope like a dragon guarding its treasure. But don’t worry! This isn’t a signal to buy a new one or call for professional help. Most clogs are easily fixable with a few simple steps and tools you likely already have around the house. We’re going to walk through exactly how to get that caulk flowing freely again.
Why Does Caulking Get Clogged?
Caulking clogs happen for a few common reasons, and understanding them can help you prevent future issues. The most frequent culprit is dried-out caulk. If you leave the caulk gun with the nozzle cap off, or if the caulk in the tube dries after you’ve finished a project and stored it without proper sealing, it will harden. This hardened caulk acts like a plug, preventing fresh caulk from being pushed through. Another reason can be air bubbles trapped in the caulk tube itself, which can create blockages as the caulk is dispensed. Sometimes, debris or old caulk from a previous uncleaned job can also play a role.
Essential Tools for Unclogging Caulking

Before we dive into the unclogging process, let’s gather what you’ll need. The good news is that you probably have most of these items. Having the right tools makes the job much easier and safer.
Here’s a list of helpful tools:
- Caulk Gun: The one that’s currently giving you trouble!
- Utility Knife or Craft Knife: For cutting away hardened caulk or excess material.
- Wire Coat Hanger: The straightened end is perfect for poking into narrow passages.
- Utility Gloves: To protect your hands from caulk residue and sharp tools.
- Safety Glasses: Always a good idea when working with tools to protect your eyes.
- Rag or Paper Towels: For cleaning up any messes.
- Pliers: To help grip and pull out stubborn pieces of caulk.
- Small Screwdriver or Awl: Useful for dislodging hardened caulk.
- Penetrating Lubricant (like WD-40, optional): Can help loosen dried caulk in some cases, especially around mechanical parts of the gun.
Step-by-Step Guide to Unclogging Your Caulk Gun

Let’s get your caulk gun back in action. We’ll go through a process that usually works for most common clogs. Remember to work slowly and carefully, and don’t force anything if it feels stuck—you might damage the gun.
Step 1: Assess the Clog Location
First, identify where the clog is. Is it at the tip of the nozzle, inside the plastic nozzle, or further back in the main tube of the caulk gun?
Common clog locations include:
- The Nozzle Tip: This is the most frequent spot for dried caulk to accumulate.
- Inside the Nozzle: If you can see deeper into the cone-shaped part, the clog might be further in.
- The Piston/Rod: Sometimes, caulk can dry and harden around the rod that pushes the caulk out.
- The Mechanism: In rarer cases, hardened caulk might affect the trigger mechanism.
Step 2: Remove the Caulk Tube and Clean the Nozzle
Carefully release the pressure on your caulk gun by pressing the release lever (usually a small tab at the back of the gun). Then, pull out the caulk tube. Inspect the nozzle.
If there’s a visible blockage at the tip:
- Use your utility knife or craft knife to carefully shave away any hardened caulk around the opening. Try not to cut too deep, as you don’t want to damage the plastic nozzle.
- If the nozzle is removable (some are screw-on), carefully unscrew it. You can then soak it in warm, soapy water or a bit of mineral spirits (if it’s silicone caulk) to soften the blockage.
Step 3: Poke and Prod the Blockage
Once the nozzle is clean on the outside, it’s time to tackle what’s inside. This is where your straightened wire coat hanger, awl, or small screwdriver comes in handy.
For Nozzle Clogs:
- Insert the tip of your chosen tool (coat hanger, awl) into the nozzle opening.
- Gently twist and push to break up and dislodge the hardened caulk. Work it around to create a clear pathway. Be patient; this might take a few tries.
- Pay attention to the sharp point of the caulk tube’s spout, too. Sometimes caulk dries and seals this point, preventing flow.
For Deeper Clogs (Inside the Tube/Piston):
- With the caulk tube removed, you’ll see the metal piston rod that pushes the caulk out. If there’s dried caulk around this rod, try to gently scrape it off with your utility knife or poke at it with your tool.
- Occasionally, you might need to carefully push the plunger back into the gun as far as it will go (if possible) to access more of the rod, then try to dislodge any hardened caulk.
Step 4: Flush and Test
After you believe you’ve cleared the obstruction, it’s time to test. Insert a new caulk tube (or carefully reinsert the old one if it wasn’t completely used up). Make sure the nozzle is screwed on tightly.
- Press the trigger gently. You might get a small burst of caulk, or it might still be stubborn.
- If it’s still not flowing, you might need to try poking again or apply a tiny amount of penetrating lubricant to the mechanism if it seems stiff, then work the trigger and plunger. Be sure to wipe off any excess lubricant thoroughly.
- For silicone caulk, you can try letting the nozzle sit in a small amount of mineral spirits for a few minutes. For latex or acrylic caulk, warm water can sometimes help soften it. Always check the caulk type before using solvents, as some solvents can damage certain types of caulk or plastic. For reliable information on caulk types and solvents, the U.S. Environmental Protection Agency (EPA) provides guidance on building materials and chemicals.
Step 5: Trim and Seal for Future Use
Once you’ve successfully unclogged your gun, it’s vital to properly prepare your caulk tube for storage. This is the best way to prevent future clogs.
- Cut the Nozzle Correctly: When you first get a new caulk tube, cut the tip at a 45-degree angle at the desired bead thickness. Don’t cut off too much at once; you can always cut more.
- Seal the Nozzle Opening: After finishing a project, carefully clean any excess caulk from the nozzle tip. Then, insert a screw, a golf tee, or a specialized caulk saver into the tip to create an airtight seal. Alternatively, wrap the tip tightly with plastic wrap and then secure it with a rubber band or tape.
- Store Properly: Store your caulk tubes in a cool, dry place.
Troubleshooting Common Caulk Gun Problems
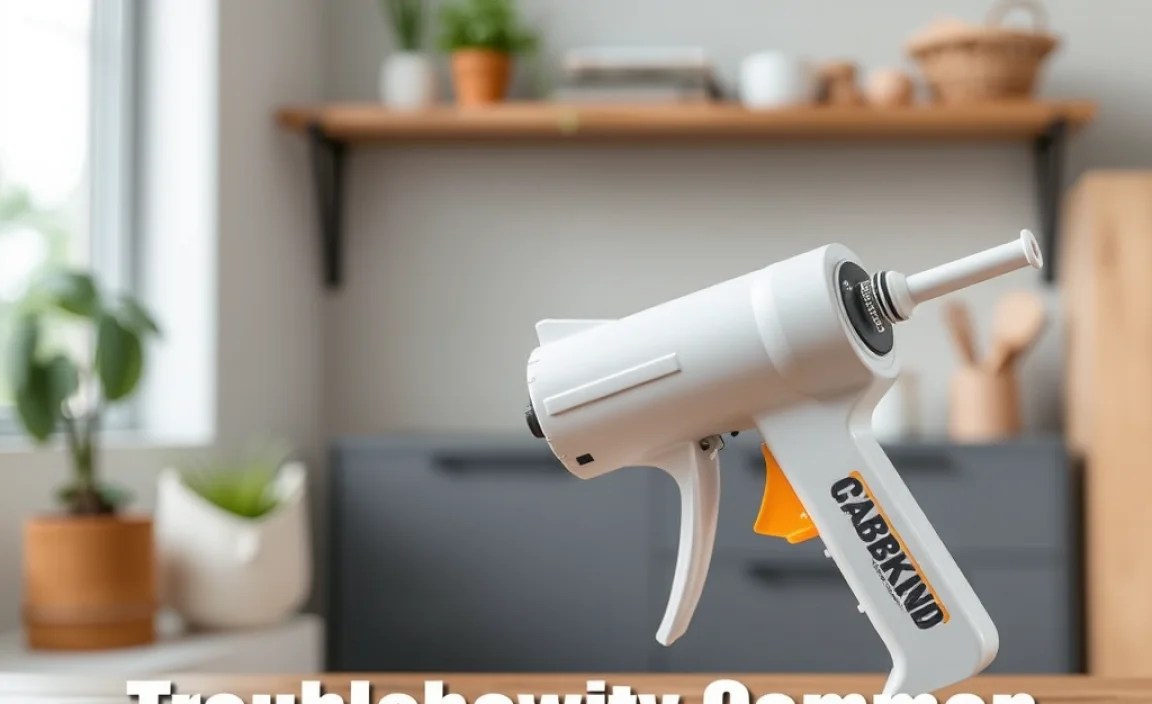
Sometimes, even after these steps, a caulk gun might still be difficult to use. Here are a few other common issues and their fixes:
Problem: Trigger is Stiff or Won’t Move
Possible Cause: Dried caulk buildup around the plunger rod or internal mechanism.
Solution: Try to manually clear any visible dried caulk around the plunger rod. A few drops of penetrating oil on the rod (wipe off excess!) and working the trigger repeatedly can help. If the gun is an older model or very inexpensive, it might be more cost-effective to replace it.
Problem: Caulk Dispenses Too Much or Leaks
Possible Cause: Pressure not releasing, or internal seals are worn.
Solution: Always ensure you press the release lever after each squeeze of the trigger. If it continues to leak, the anti-drip mechanism might be faulty or the seal inside the gun could be damaged.
Problem: Caulk Won’t Come Out At All, Even After Cleaning
Possible Cause: The clog is deep within the system, or the caulk tube itself is the issue.
Solution: Try a different caulk tube to rule out a faulty tube. If a new tube also doesn’t work, the gun’s internal plunger system might be severely blocked or damaged, requiring replacement of the gun itself.
Understanding Different Caulk Types and Their Storage

The type of caulk you’re using can affect how it clogs and how you should deal with it. Knowing the differences helps in both unclogging and prevention. Here’s a quick rundown:
| Caulk Type | Common Uses | Storage & Unclogging Tips |
|---|---|---|
| Latex/Acrylic (Water-Based) | Interior trim, baseboards, windows, doors, drywall. Cleans up with water. | Prone to drying out if not sealed. Can often be softened with warm water for unclogging. Store in a cool, dry place. Avoid freezing. |
| Silicone | Bathrooms, kitchens, around sinks and tubs; high moisture areas. Flexible and waterproof. | Dries very hard and can be sticky. Requires mineral spirits or denatured alcohol for cleanup and can sometimes help loosen clogs. Keep tightly sealed. |
| Polyurethane | Exterior applications, windows, doors, siding, concrete. Durable and paintable. | Can be very difficult to remove once dried. Strong adhesive qualities; requires specific solvents. Always seal the nozzle very securely. |
| Butyl Rubber | Outdoor tasks, roofing, foundations, areas needing high adhesion and weather resistance. | Very sticky when wet and dries tough. Often requires mineral spirits. Needs a very secure seal to prevent drying. |
Always check the manufacturer’s recommendations on the caulk tube for specific cleaning and storage advice. For instance, the U.S. Department of Housing and Urban Development (HUD) often publishes guidelines related to building materials and sealants, which can offer broader context on product usage and care.
When to Consider Replacing Your Caulk Gun
While most caulk gun clogs are DIY-fixable, there are times when it’s more sensible to get a new one. If your caulk gun is:
- Very Old or Flimsy: Cheaper models are often not built to last and can be damaged easily during unclogging attempts.
- Mechanically Damaged: If a part of the gun is bent, broken, or no longer works (like the trigger mechanism or pressure release), it’s likely beyond repair.
- Persistently Clogged: After multiple attempts to clear a clog, if the gun still doesn’t function smoothly, the internal passages might be irreversibly blocked.
- Causing Uneven Application: If the gun consistently dispenses caulk unevenly or uncontrollably, its internal parts might be worn out.
Investing in a good quality caulk gun isn’t usually very expensive, and it can make a big difference in your DIY projects. Look for features like drip-free mechanisms and smooth-action triggers.
Conclusion
Dealing with a clogged caulk gun doesn’t have to be a project-ending disaster. By following these simple, beginner-friendly steps, you can effectively unclog your caulk gun and get back to sealing, filling, and beautifying your home. Remember that prevention is key; taking a moment to properly seal your caulk tubes after each use will save you a lot of hassle down the line. With the right tools and a little patience, you’ll master this common DIY task and ensure your caulk guns are always ready for action. Happy DIYing!
Frequently Asked Questions (FAQ)
Q1: How do I stop my caulk from drying out in the tube?
A1: After using your caulk, clean the nozzle tip and then insert a screw, a golf tee, or a specialized caulk saver into the opening to create an airtight seal. Wrapping the tip tightly with plastic wrap and securing it with a rubber band also works well.
Q2: Can I use harsh chemicals to unclog my caulk gun?
A2: It’s best to avoid harsh chemicals if possible, as they can damage the caulk gun’s plastic parts or the remaining caulk. For silicone caulk, mineral spirits are often effective. For latex or acrylic caulk, warm water is usually sufficient. Always test any solvent on a small, inconspicuous area first, and check the caulk manufacturer’s recommendations.
Q3: My caulk gun is new, but the caulk won’t come out. What’s wrong?
A3: New caulk tubes often have a plastic seal or plug inside the very tip of the nozzle that needs to be pierced. Make sure you’ve properly cut the tip and, if necessary, used the built-in rod on your caulk gun (usually found on the side) to puncture the seal. If you’ve done that and it still won’t dispense, the tube itself might be faulty.
Q4: How do I clean dried caulk off the outside of my caulk gun?
A4: For latex-based caulk (while still wet), use a damp cloth. For dried latex caulk, you can try a plastic scraper or, carefully, a utility knife. For silicone caulk, a plastic scraper or utility knife is best, and you might use mineral spirits to help soften it. Always wipe down the gun after use to keep it clean and prevent future issues.
Q5: Is it worth unclogging a cheap caulk gun, or should I just buy a new one?
A5: For very inexpensive caulk guns, the time and effort to unclog them might not be worth it, especially if the clog is severe or the gun is already showing signs of wear. A good quality caulk gun is an investment that makes projects easier, so if your cheap one is proving too difficult, replacing it with a better model is often the best solution.
Q6: How much caulk should I cut off the nozzle tip?
A6: Start by cutting only a small amount off the tip at a 45-degree angle. You can always cut a little more if you need a thicker bead. Cutting too much at once means you can’t go back, and it can make controlling the caulk flow more difficult, leading to a messy application. Aim for the size of the gap you need to fill.
