
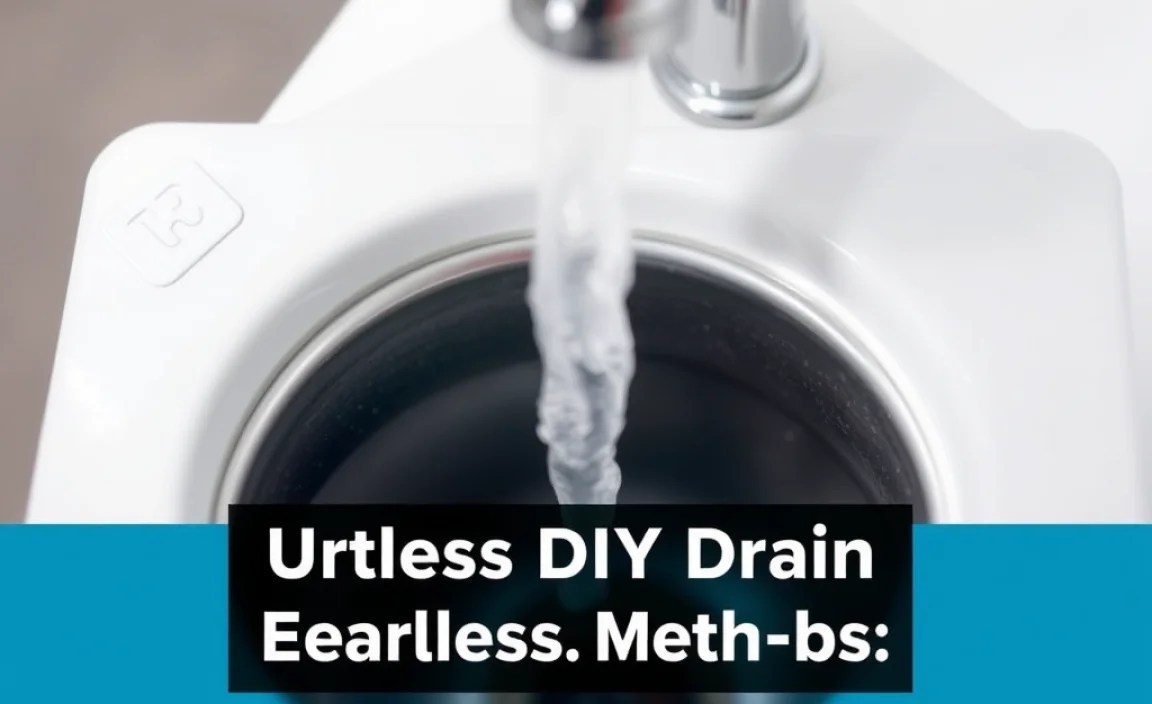
Easily unclog your drain DIY with simple, proven methods! This guide offers effortless, step-by-step solutions for common clogs, using readily available tools to restore your drain’s flow quickly and safely.
A clogged drain is a common household headache that can disrupt your daily routine. Whether it’s a sluggish sink, a backed-up shower, or a stubborn toilet, you know that feeling of frustration. But before you reach for the phone to call a plumber, know this: many drain clogs are surprisingly simple to fix yourself! You don’t need fancy tools or plumbing expertise. With a few basic household items and some good old-fashioned know-how, you can tackle most blockages with confidence. This guide will walk you through proven, effortless DIY solutions that work, saving you time and money.
Why Do Drains Get Clogged? Let’s Understand the Culprits

Understanding why your drain is clogged is the first step to fixing it. Most blockages aren’t mysterious; they’re usually the result of everyday buildup. In kitchens, it’s often grease, oil, and food scraps that solidify and stick to pipe walls. In bathrooms, it’s typically hair, soap scum, and toothpaste that combine to form stubborn masses.
Over time, these culprits accumulate, gradually slowing down the water flow. Eventually, they create a complete blockage. Knowing this helps you choose the right method to clear it. For instance, a grease clog might need a different approach than a hair clog.
Essential Tools for Your DIY Drain-Unclogging Toolkit

You probably already have most of these items at home! Having the right tools makes the job much easier and more effective. Here’s a rundown of what you might need:
- Plunger: A simple cup plunger (for sinks and tubs) or a flange plunger (for toilets) is your first line of defense.
- Baking Soda and Vinegar: These pantry staples create a powerful fizzing reaction that can help break down minor clogs.
- Hot Water: Boiling water can help dissolve grease and loosen other types of blockages.
- Wire Hanger or Tweezers: For pulling out visible gunk from the drain opening.
- Gloves: To protect your hands from grime and any cleaning solutions.
- Bucket or Bowl: To catch any water when you remove a drain stopper or trap.
- Drain Snake (or Auger): A flexible, coiled wire tool for reaching deeper into the pipe. You can often rent these, or they make a great addition to any home maintenance toolkit.
- Old Towels or Rags: For wiping up spills or protecting your floor.
Effortless DIY Drain Clearing Methods: Step-by-Step
We’ll start with the simplest, most common methods and move to slightly more involved techniques. Always remember to start with the least invasive solution!
Method 1: Boiling Water – The First and Easiest Step
This is incredibly effective for grease and soap scum buildup, especially in kitchen sinks. It’s simple, safe, and uses no chemicals.
When to use it: For slow-moving drains in kitchens, especially if you suspect grease buildup.
How to do it:
- Boil a kettle or pot of water (about 2-3 litres or half a gallon).
- Carefully pour the boiling water directly down the drain opening. Do this in stages, allowing the water to work for a few minutes between pours.
- Be cautious! Avoid splashing yourself.
- If the drain starts to clear and water flows better, repeat the process one or two more times.
Important Note: Do not use boiling water if you have PVC pipes and suspect a complete blockage or if you’ve recently used chemical drain cleaners, as it can cause them to react dangerously. For standard plumbing and minor slow-downs, it’s a great first step.
Method 2: The Baking Soda and Vinegar Power Duo
This natural cleaning combination creates a fizzy reaction that can break down softer blockages and deodorize your pipes. It’s a fantastic eco-friendly alternative to harsh chemicals.
When to use it: For mild clogs due to soap scum, food particles, or general grime in sinks and showers. It’s also great for preventative maintenance.
How to do it:
- First, pour about half a cup of baking soda down the drain. Try to get it as far into the drain opening as possible.
- Next, pour about half a cup of white vinegar down the drain. You’ll immediately hear and see a fizzing reaction.
- Quickly cover the drain opening with a stopper, rag, or plate to keep the fizzing reaction contained within the pipes, where it can do its work.
- Let it sit for at least 30 minutes, or even an hour for tougher clogs.
- After waiting, pour a kettle of hot (but not necessarily boiling) water down the drain to flush away the loosened debris.
- Test the drain by running warm tap water. If it’s still slow, you can repeat this process or try another method.
Method 3: The Mighty Plunger – Your Reliable Ally
A plunger might seem basic, but it’s surprisingly effective for many clogs. The key is to create a strong seal and use the right technique.
When to use it: For most sink, shower, and toilet clogs. It works by using air pressure and suction to dislodge the blockage.
How to do it:
- For Sinks and Tubs: Make sure you have a cup plunger. If there’s an overflow drain (a small hole near the top of the sink or tub), block it with a damp cloth to ensure a good seal.
- Fill the sink or tub with enough water to cover the bell of the plunger (about 2-3 inches). This helps create suction.
- Place the plunger firmly over the drain opening, ensuring a complete seal.
- Push down and pull up vigorously for about 20-30 seconds. It’s the suction and forceful push/pull motion that loosens the clog.
- Lift the plunger quickly. If water starts to drain, you’re successful! Repeat if necessary.
- For Toilets: Use a flange plunger (it has an extra flap that extends to seal the toilet bowl’s opening). Make sure the plunger is fully submerged. Plunge vigorously, focusing on the forceful upstroke to create suction.
Tip: If the clog is particularly stubborn, try filling the sink or bowl with water first, then plunging. The added water can sometimes help push the clog through.
Method 4: The Coat Hanger or P-Trap Removal (For Minor, Accessible Gunk)
Sometimes, the clog is very close to the drain opening, and you can simply pull it out.
When to use it: When you can see or feel a blockage right at the drain opening, often hair or debris in a bathroom sink or shower.
How to do it (Coat Hanger):
- Straighten a wire coat hanger, leaving a small hook at one end.
- Carefully insert the hooked end into the drain.
- Gently twist and fish around to snag any visible debris, like hair.
- Pull out any gunk you catch. You might be surprised what you find!
- Dispose of the debris, then run hot water to flush the drain and test it.
How to do it (P-Trap Removal):
The P-trap is the U-shaped pipe under your sink. It’s designed to hold water and prevent sewer gases from entering your home, but it’s also a common spot for clogs.
- Place a bucket or bowl directly underneath the P-trap to catch any water or debris.
- Loosen the slip nuts that connect the P-trap to the pipes. You might be able to do this by hand, or you might need channel-lock pliers. Turn them counter-clockwise.
- Once loose, carefully remove the P-trap.
- Empty its contents into the bucket. Clean out the trap with a brush or old rag.
- Inspect the pipes on either side of the trap for blockages. You might be able to use your coat hanger or tweezers here.
- Reassemble the P-trap, ensuring the slip nuts are tightened securely (but don’t overtighten).
- Run water to check for leaks and ensure the drain is clear.
Safety First: If you’re not comfortable working with exposed pipes, skip this step and move on to a drain snake.
Method 5: The Drain Snake (Auger) – For Deeper Clogs
If the simpler methods haven’t worked, a drain snake is your next best bet. This tool is designed to reach further into your pipes and break up or retrieve stubborn clogs.
When to use it: For stubborn clogs that are deeper within the drainpipe, beyond what a plunger or hanger can reach.
How to do it:
- Insert the end of the drain snake into the drain opening. For sinks, you might need to remove the stopper or the P-trap to get better access.
- Feed the cable into the pipe until you feel resistance – this is the clog.
- Lock the cable in place and turn the handle clockwise. This will help the snake’s tip break through or grab onto the clog.
- If you feel the clog breaking apart, continue feeding the snake a little further, then retract it slowly while turning the handle.
- If the snake has snagged something, you can try to pull it back out.
- Once you think the clog is cleared, retract the snake fully.
- Run hot water down the drain for several minutes to flush out any remaining debris and test the flow.
Where to get one: You can purchase a basic drain snake at most hardware stores, or they are readily available online. For more complex issues, plumbing supply stores might rent more heavy-duty augers.
When to Call a Professional
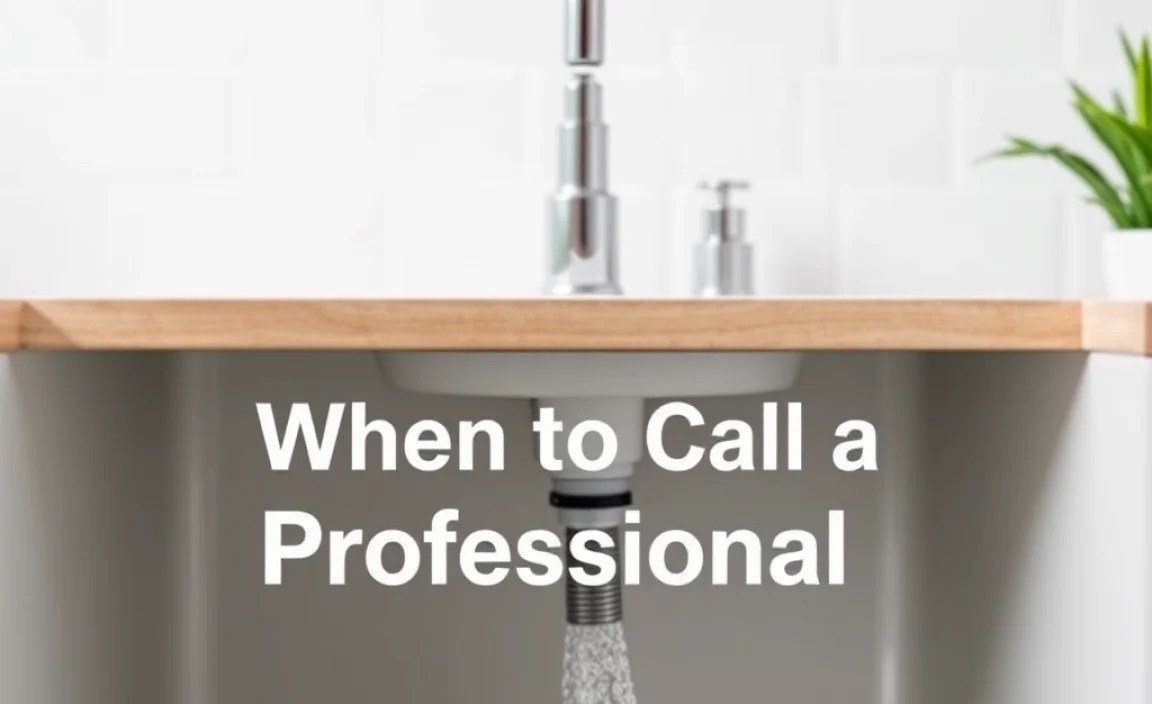
While DIY solutions are effective for most common clogs, there are times when it’s best to call in the experts. If you’ve tried several of these methods and the drain is still blocked, or if multiple drains in your home are clogged simultaneously, it could indicate a more serious problem in your main sewer line.
Signs it’s time to call a plumber:
- Multiple drains are clogged.
- Bad odors persist even after attempting to clear the drain.
- You hear gurgling sounds from other drains when one is used.
- Recurring clogs that keep coming back.
- You’re uncomfortable performing any of the steps, especially P-trap removal or snaking.
A professional plumber has specialized tools and expertise to diagnose and fix complex plumbing issues safely and efficiently. Remember, sometimes the best DIY is knowing when to ask for help!
Preventing Future Clogs: Simple Habits for Healthy Drains

The best way to deal with a clogged drain is to prevent it from happening in the first place. A little preventative maintenance goes a long way!
- Kitchen sinks: Never pour grease, oil, or coffee grounds down the drain. Use a drain strainer to catch food particles.
- Bathroom sinks and showers: Use a hair catcher to prevent hair and soap scum buildup.
- General practice: Run hot water down your drains for a minute or two regularly, especially after washing greasy dishes or hair. This helps flush away any accumulating residue.
- Occasional deep clean: Use the baking soda and vinegar method once a month as a preventative measure.
By adopting these simple habits, you can significantly reduce the chances of encountering troublesome clogs and keep your plumbing running smoothly.
Understanding Drain Plumbing Basics
A typical home plumbing system involves a network of pipes that carry water in and waste out. For drains, this usually means:
- Fixtures: Sinks, toilets, tubs, showers.
- Traps: The curved section of pipe (like the P-trap) that holds a small amount of water. This water seal prevents sewer gases from entering your home.
- Drainpipes: These carry wastewater away from fixtures.
- Vents: Pipes that run up through your roof, allowing air into the system. Vents are crucial for proper drainage – they prevent vacuum locks and help water flow smoothly. A blocked vent can sometimes mimic a clogged drain. You can learn more about plumbing vent systems from resources like the HUD User Plumbing Research.
- Main Sewer Line: The large pipe that carries waste from your home to the municipal sewer system or septic tank.
When you experience a clog, it’s usually within the drainpipes or the P-trap. However, issues with the main sewer line or even a blocked vent can cause drainage problems throughout the house.
Comparing Drain Cleaning Methods
Each DIY method has its strengths and weaknesses. Knowing which one to use when can save you time and effort.
| Method | Best For | Pros | Cons | Difficulty |
|---|---|---|---|---|
| Boiling Water | Grease, light soap scum | Simple, cheap, eco-friendly | Not effective for hair or solid objects, potential risk for PVC pipes if fully blocked | Very Easy |
| Baking Soda & Vinegar | Mild clogs, deodorizing | Natural, safe, effective for minor issues | Not for heavy-duty clogs, requires patience | Easy |
| Plunger | Most sink, shower, toilet clogs | Effective for many blockages, widely available | Requires correct technique, not for very deep or solid clogs | Easy to Moderate |
| Coat Hanger / P-Trap Removal | Gunk near drain opening, accessible P-traps | Direct removal of blockage | Limited reach, requires some comfort with basic pipework | Moderate |
| Drain Snake (Auger) | Deeper, stubborn clogs | Reaches further, can break up or retrieve clogs | Requires tool purchase/rental, can be messy, potential to damage pipes if used incorrectly | Moderate to Difficult |
| Chemical Drain Cleaners | Generally not recommended for DIY | Can be effective for tough clogs | Harsh chemicals, dangerous if mixed, can damage pipes and environment, unsafe for septic systems | Moderate (but risky) |
Frequently Asked Questions (FAQ)
Q1: How often should I use baking soda and vinegar to clean my drains?
A1: For preventative maintenance and to keep drains fresh, using the baking soda and vinegar method once a month is a great idea. For minor slow-downs, you can use it as needed.
Q2: Can I use plunger for all types of drains?
A2: A standard cup plunger works well for sinks and tubs. For toilets, it’s best to use a toilet or flange plunger, which has a special extension to create a better seal in the toilet bowl.
Q3: Is boiling water safe for my pipes?
A3: Boiling water is generally safe for most metal and standard PVC pipes when used for brief flushing of minor clogs. However, if you have older or fragile PVC pipes, or if you suspect a complete blockage, it’s safer to use very hot tap water instead of boiling water to avoid softening or damaging the pipes.
Q4: What should I do if I accidentally mix different drain cleaning products?
A4: Never mix chemical drain cleaners. Doing so can create toxic fumes or violent chemical reactions. If you’ve used one chemical cleaner and it didn’t work, flush the drain thoroughly with plenty of water before attempting another method, and absolutely avoid using a different chemical cleaner.
