
Running to the store for a plunger or calling a plumber when a drain clogs is a common household headache. You can often fix a clogged drain yourself with simple tools and a few easy steps. This guide will walk you through exactly how to tackle that stubborn blockage, saving you time and money. We’ll cover everything from understanding why drains clog to the best DIY methods and when it’s time to call a professional.
Nobody likes dealing with a clogged drain. Whether it’s a slow-moving sink, a gurgling shower, or a toilet that won’t flush properly, it’s a frustrating and often messy problem. These clogs happen to almost everyone at some point, and knowing how to deal with them can save you a lot of stress and expense. Sometimes, a simple solution is all that’s needed. This guide is designed to give you the confidence and the know-how to clear most common drain blockages yourself, quickly and safely. We’ll break down the process into easy-to-follow steps, so you can get your drains flowing freely again in no time.
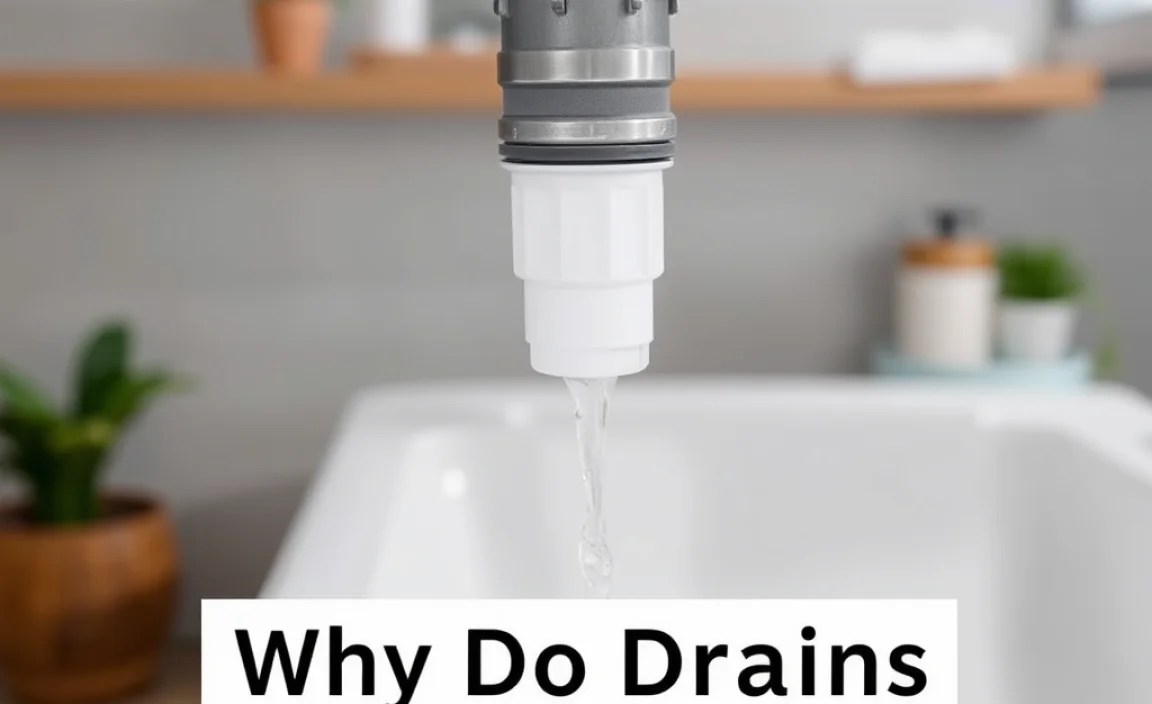
Why Do Drains Get Clogged?
Understanding the root cause of a clogged drain is half the battle. Most clogs are a buildup of everyday items that shouldn’t go down the drain in the first place. In the kitchen, it’s often grease, fat, oil, and food scraps. These sticky substances coat the inside of your pipes, gradually narrowing them and trapping other debris. Over time, this layer thickens, leading to slow drains and eventually complete blockages. Things like coffee grounds, eggshells, and starchy foods can also contribute to stubborn clogs.
In bathrooms, hair is the main culprit. Soap scum can combine with hair to form a dense, sticky mass that is incredibly difficult to dislodge. Small objects like cotton swabs, dental floss, and even jewelry can accidentally fall into drains and get lodged, creating an obstruction. For toilets, it’s usually too much toilet paper or non-flushable items like wet wipes or sanitary products. These materials don’t break down easily and can quickly cause a serious blockage.
Essential Tools for Unclogging a Drain
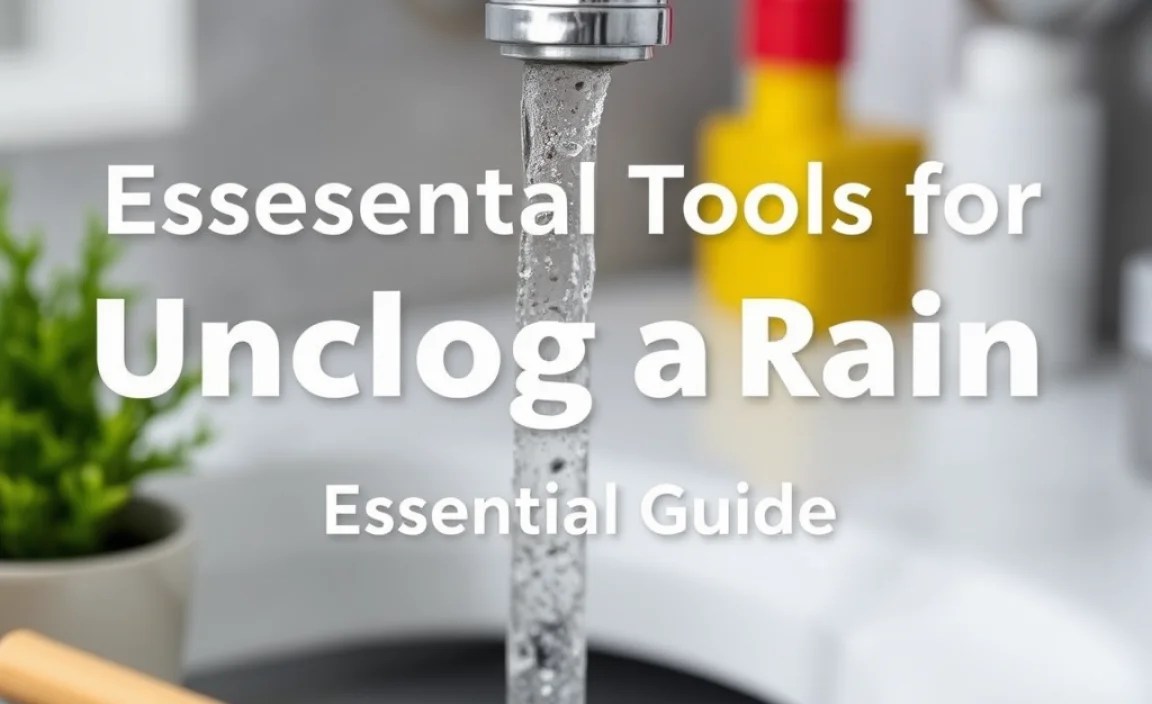
Before you start, it’s good to have a few basic tools on hand. Many common clogs can be cleared without needing specialized equipment. Here are some essentials that are incredibly useful for DIY drain unclogging:
- Plunger: The classic. Make sure you have one designed for sinks or toilets. A good seal is key!
- Boiling Water: Simple, effective for grease buildup.
- Baking Soda and Vinegar: A natural, fizzy reaction that can help break down minor blockages.
- Wire Coat Hanger (bent): A DIY way to fish out clogs near the drain opening.
- Gloves and Eye Protection: Always important for safety when dealing with P-traps and unknown gunk.
- Bucket: To catch any overflowing water or debris.
- Drain Snake or Auger: For tougher clogs deeper in the pipe. This is a coiled metal wire that you feed into the drain.
- P-Trap Wrench: If you need to disassemble the U-shaped pipe under your sink to clear a blockage.
DIY Methods to Unclog Your Drain

Let’s get to the good stuff! Here are several methods you can try, ranging from the simplest to more involved approaches. Start with the easiest ones and work your way up if the clog persists.
1. The Boiling Water Flush (For Kitchen Sinks)
This is your first line of defense against grease and grime in the kitchen sink. It’s incredibly simple and often very effective for minor buildup.
When to use it: Best for slow-draining kitchen sinks where you suspect grease or soap is the issue.
What you’ll need: Kettle or pot, water.
- Boil Water: Fill a kettle or a large pot with water and bring it to a rolling boil.
- Pour Carefully: Slowly and carefully pour the entire pot of boiling water directly down the drain opening. Be cautious not to splash yourself.
- Wait: Let the hot water sit for a few minutes to work on dissolving any grease or soap scum.
- Test: Run some hot tap water to see if the drain is flowing more freely.
- Repeat if Necessary: For stubborn clogs, you might need to repeat this process a couple of times.
Important Note: Avoid this method if you have PVC pipes and suspect a complete blockage, as the boiling water could potentially soften or damage the pipes if it pools. It’s generally safe if the water can flow down, even slowly.
2. The Plunger Power
The plunger is a classic tool for good reason. It uses air pressure and suction to dislodge blockages. It’s most effective on sinks and toilets.
When to use it: Most drains, especially sinks and toilets, when you hear gurgling or see water backing up.
What you’ll need: A plunger (flange or cup style for toilets, cup style for sinks), old rags or towels.
- Ensure Enough Water: Make sure there’s enough standing water in the sink or toilet to cover the rubber cup of the plunger. If there isn’t, add some.
- Create a Seal: Place the plunger firmly over the drain opening, ensuring a good airtight seal. For sinks with an overflow drain, stuff a damp rag tightly into the overflow opening to prevent air from escaping.
- Plunge Vigorously: Push down and pull up sharply on the plunger handle. Do this about 15-20 times. The goal is to create a strong suction and release to break apart the clog.
- Check the Drain: Remove the plunger. If the water drains, you’ve likely succeeded! If not, repeat the plunging.
- Flush: Once the clog seems cleared, try running hot water to ensure it’s fully gone.
Pro Tip: For a better seal on sink plungers, you can apply a thin layer of petroleum jelly around the rim of the rubber cup.
3. Baking Soda and Vinegar Fusion
This is a fantastic natural alternative to harsh chemical drain cleaners. The chemical reaction between baking soda (a base) and vinegar (an acid) creates fizzing that can help break up minor clogs and deodorize the drain.
When to use it: Slow-draining sinks, tubs, or showers with mild clogs or odors.
What you’ll need: Baking soda, white vinegar, a stopper or cloth, boiling water, a bucket.
- Clear Standing Water: If there is standing water, try to remove as much as possible with a cup or by plunging.
- Add Baking Soda: Pour about 1/2 cup to 1 cup of baking soda directly down the drain.
- Add Vinegar: Immediately pour about 1/2 cup to 1 cup of white vinegar down the drain. The mixture will start to fizz vigorously.
- Cover the Drain: Quickly place a stopper or a damp cloth over the drain opening to contain the reaction and force it downwards into the pipes.
- Wait: Let it sit for at least 30 minutes, or even up to an hour for tougher clogs.
- Flush with Hot Water: After waiting, pour a pot of boiling water down the drain to flush away the loosened debris.
- Test: Run tap water to see if the drain is clear. Repeat if necessary.
4. The DIY Drain Snake (Bent Coat Hanger)
For clogs that are close to the drain opening, a bent coat hanger can act as a makeshift drain snake. This is best for pulling out hair or small obstructions.
When to use it: Bathroom sinks and shower drains where you suspect hair is the problem and it’s near the opening.
What you’ll need: A wire coat hanger, pliers (optional), gloves.
- Straighten the Hanger: Unbend the coat hanger so it’s mostly straight.
- Create a Hook: Bend a small hook at one end of the wire. This will help you snag debris.
- Gently Insert: Carefully push the hooked end of the hanger down the drain. Don’t force it.
- Fish for the Clog: Gently twist and maneuver the hanger to try and hook onto the clog. You’ll likely be pulling up hair and soap scum.
- Remove Debris: Once you feel you’ve snagged something, slowly pull the hanger out. Dispose of the gunk.
- Repeat: Continue this process until you’re no longer pulling out debris.
- Flush: Pour hot water down the drain to clear any remaining residue.
5. Cleaning the P-Trap
Many drain clogs, especially in sinks, can be found in the P-trap – the U-shaped pipe under your sink. This is designed to hold water, preventing sewer gases from coming back up, but it’s also a common spot for debris to collect.
When to use it: When other methods fail, and you suspect the clog is in the trap itself.
What you’ll need: Bucket, gloves, P-trap wrench (or adjustable channel lock pliers), rags.
- Prepare the Area: Place a bucket directly underneath the P-trap to catch water and debris. Wear gloves.
- Locate the Slip Nuts: The P-trap is held in place by large plastic or metal nuts on either side. These are called slip nuts.
- Loosen the Nuts: Use your hands first to see if they will loosen. If not, use a P-trap wrench or channel lock pliers to gently turn the nuts counter-clockwise. Be careful not to overtighten or overtighten again when reassembling.
- Remove the Trap: Once the nuts are loose, carefully detach the section of pipe. Water and gunk will likely fall into the bucket.
- Clean the Trap: Empty the contents of the trap into the bucket. Use a rag or an old toothbrush to clean out any residue inside the trap. You can also use a bent coat hanger to clean the pipe sections connected to the trap.
- Reassemble: Put the P-trap back in place, ensuring all connections are snug. Hand-tighten the slip nuts first, then give them a slight turn with the wrench if needed.
- Test for Leaks: Run water into the sink for a few minutes and check carefully under the sink for any signs of leaks around the slip nuts.
6. Using a Drain Snake or Auger
If the clog is deeper in the pipe and the above methods haven’t worked, it’s time for a drain snake (also called a drain auger or plumber’s snake). This tool is designed to reach further and break up or retrieve tougher clogs.
When to use it: Persistent clogs that are too deep for a plunger or coat hanger.
What you’ll need: Drain snake/auger, gloves, rags, P-trap wrench (potentially), bucket.
- Access the Pipe: You can either feed the snake directly down the drain opening, or for better access to the main line, you might need to remove the P-trap (as described in step 5).
- Insert the Snake: Feed the end of the snake into the pipe until you encounter resistance – this is likely the clog.
- Engage the Clog: Once you feel the clog, lock the cable. Turn the handle of the snake clockwise while applying gentle pressure. This allows the snake’s tip to bore into the clog, breaking it up or snagging it.
- Retract and Clear: Slowly pull the cable back out. You may need to repeat this process. Clean off any debris that comes out with the snake.
- Repeat if Necessary: Continue feeding, turning, and retracting until the clog is cleared.
- Flush the Drain: Once you believe the clog is gone, run hot water down the drain for several minutes to test and flush the line.
External Resource: For a visual on how to use a drain snake, check out this helpful guide from This Old House.
7. Chemical Drain Cleaners (Use with Caution)
Chemical drain cleaners are readily available and can be effective, but they come with significant risks. They contain harsh chemicals that can damage pipes, harm your health, and are bad for the environment. Always use them as a last resort and follow instructions precisely.
When to use it: As a last resort for stubborn clogs, only after other methods have failed. NOT recommended for frequent use or for complete blockages.
What you’ll need: Chemical drain cleaner (follow product instructions), gloves, eye protection, good ventilation.
- Read Instructions: Thoroughly read and understand the product’s instructions and safety warnings.
- Protect Yourself: Wear heavy-duty rubber gloves and eye protection. Ensure the area is well-ventilated by opening windows and doors.
- Pour Carefully: Carefully pour the recommended amount of cleaner directly into the drain. Do not pour it near yourself or onto any surfaces.
- Wait: Let the cleaner sit for the time specified on the product label.
- Flush Thoroughly: After the waiting period, flush the drain with a large amount of cool water (not hot, as this can cause a dangerous chemical reaction).
- Repeat if Necessary (with caution): If the clog persists, you might consider a second application after waiting a significant period and flushing thoroughly, but be aware of the increased risk to your pipes and health.
WARNING: Never mix different chemical drain cleaners, as this can create extremely dangerous toxic fumes. If you’ve used a chemical cleaner and it didn’t work, inform any professional plumber you call, as residual chemicals can pose a hazard.
When to Call a Professional Plumber

While it’s great to be able to tackle many drain issues yourself, there are times when calling a professional is the smart and safe choice. Don’t hesitate to reach out if:
- Multiple Drains are Clogged: If drains in more than one location in your home are backing up simultaneously, this often indicates a blockage in your main sewer line. This is a serious issue that requires professional equipment and expertise.
- None of the DIY Methods Work: You’ve tried several of the steps above, and the drain is still completely blocked or draining very slowly.
- You Suspect Serious Pipe Damage: If you notice foul odors, persistent leaks, or hear noises that suggest a more significant problem with your plumbing system.
- You’re Uncomfortable or Unsure: If you’re not comfortable with any of the DIY steps, especially those involving disassembling pipes or using tools, it’s always better to call a pro.
- Recurring Clogs: If you find yourself constantly dealing with the same clogged drain, there might be an underlying issue like old pipes, a partial collapse, or improper venting that a professional can diagnose and fix permanently.
A plumber has specialized tools and knowledge to diagnose and fix even the most challenging drain problems, often much faster and more effectively than DIY methods. You can find local plumbers by searching for “plumber near me” or “drain cleaning services.”
Preventing Future Drain Clogs
The best way to deal with a clogged drain is to prevent it from happening in the first place! Here are some simple habits that can keep your drains flowing smoothly:
- Use Drain Strainers: Place mesh strainers in all your sinks and shower drains. These catch hair, food particles, and other debris before they can enter the pipes.
- Dispose of Grease Properly: Never pour grease, oil, or fat down the kitchen sink. Let it cool and solidify, then scrape it into the trash. You can also pour it into an old can or container.
- Be Mindful of What Goes Down the Toilet: Only flush toilet paper and human waste. Avoid flushing anything else, especially “flushable” wipes (which often aren’t), feminine hygiene products, cotton swabs, or paper towels.
- Run Hot Water Regularly: After using the kitchen sink, especially after washing greasy dishes, run hot water for a minute or two to help flush away any residue.
- Regularly Clean Your Drains: Pouring boiling water down kitchen drains routinely, or using the baking soda and vinegar method monthly, can help keep minor buildup at bay and prevent more serious clogs.
