
Unclogging your exhaust fan is straightforward with these proven tips! Simple cleaning and maintenance can restore airflow, reduce noise, and improve your home’s air quality. Follow these easy steps to tackle a blocked fan safely and effectively, ensuring it works like new again.
Is your bathroom or kitchen fan sounding like a jet engine preparing for takeoff, or worse, not moving air at all? You’re not alone! Clogged exhaust fans are super common. They accumulate dust, lint, hair, and other gunk over time, which blocks airflow. This can lead to steamy bathrooms that won’t clear up, lingering cooking smells, and even potential mold growth. Don’t worry, though! You can totally fix this yourself. We’ll walk through easy-to-follow steps and helpful tips to get your exhaust fan running smoothly and quietly again. Let’s dive in and make your home’s air fresh!
Why Your Exhaust Fan Gets Clogged

Exhaust fans are unsung heroes in our homes. They tirelessly pull moist air and odors out of bathrooms and kitchens, keeping our living spaces fresh and healthy. But this vital job means they’re constantly exposed to the very things they’re meant to remove. Over time, a mix of airborne particles like dust, soap scum residue, hair, pet dander, and fabric lint gets drawn into the fan housing and its components.
Think of it like a vacuum cleaner bag filling up – eventually, it just can’t suck as powerfully. This buildup restricts the fan blades’ ability to spin freely, making them work harder and less efficiently. It’s not just about reduced performance; a struggling fan also uses more energy and can become noisy. In severe cases, this blockage can even put a strain on the motor, potentially shortening its lifespan. Regular, simple maintenance is the best way to prevent these issues and keep your fan in top shape for years to come.
Signs Your Exhaust Fan Needs Attention
Catching a clogged exhaust fan early can save you a lot of hassle. Here are the tell-tale signs to look out for:
- Reduced Airflow: This is the most obvious sign. If your fan isn’t pulling air out effectively, steam will linger in your bathroom after a shower, or cooking smells will stick around longer than usual in the kitchen.
- Unusual Noises: Clunking, grinding, or rattling sounds can indicate that debris is hitting the fan blades or motor. A healthy fan should operate with a consistent, low hum.
- Dusty Grille: If the fan’s cover (grille) looks excessively dusty or even shows signs of dust being plastered on, it’s a clear indicator of airflow restriction.
- Weak Odor Removal: If unpleasant smells aren’t being effectively eliminated from the room, the fan’s ventilation power has likely been compromised.
- Visible Debris: Sometimes, you might be able to see lint or dust accumulation around the fan grille or even within the fan housing if you look closely.
Essential Tools and Materials
Before you start, gather these items. Having everything ready makes the process smooth and safe.
- Screwdriver Set: You’ll likely need Phillips head and possibly flathead screwdrivers to remove the fan grille and housing cover.
- Vacuum Cleaner with Hose and Brush Attachment: For removing loose dust and larger debris.
- Soft Brush or Old Toothbrush: Great for dislodging stubborn dust from fan blades and housing.
- Damp Cloth or Microfiber Cloth: For wiping down surfaces after dusting.
- All-Purpose Cleaner or Mild Soap: For cleaning the fan grille.
- Ladder or Sturdy Step Stool: To safely reach the fan.
- Protective Eyewear: Dust can fall, so protect your eyes!
- Dust Mask: Recommended, especially if you have allergies or the fan is very dusty.
- Optional: Compressed Air Can: Can be useful for blowing dust out of tight spots.
Step-by-Step Guide: How to Unclog Your Exhaust Fan
Let’s get your exhaust fan breathing freely again! This guide is designed for beginners, focusing on safety and effectiveness.
Step 1: Safety First – Power Down!
This is the most crucial step. Before you do anything else, you need to cut the power to the exhaust fan. Locate your home’s electrical panel (breaker box) and find the breaker that controls the bathroom or kitchen you’re working in. Flip it to the “OFF” position. If you’re unsure which breaker it is, you can turn off the main breaker for the whole house, but be aware this will shut off power to everything. It’s always a good idea to confirm the power is off by trying to turn the fan on at the wall switch afterward. You don’t want the fan accidentally kicking on while you’re working on it!
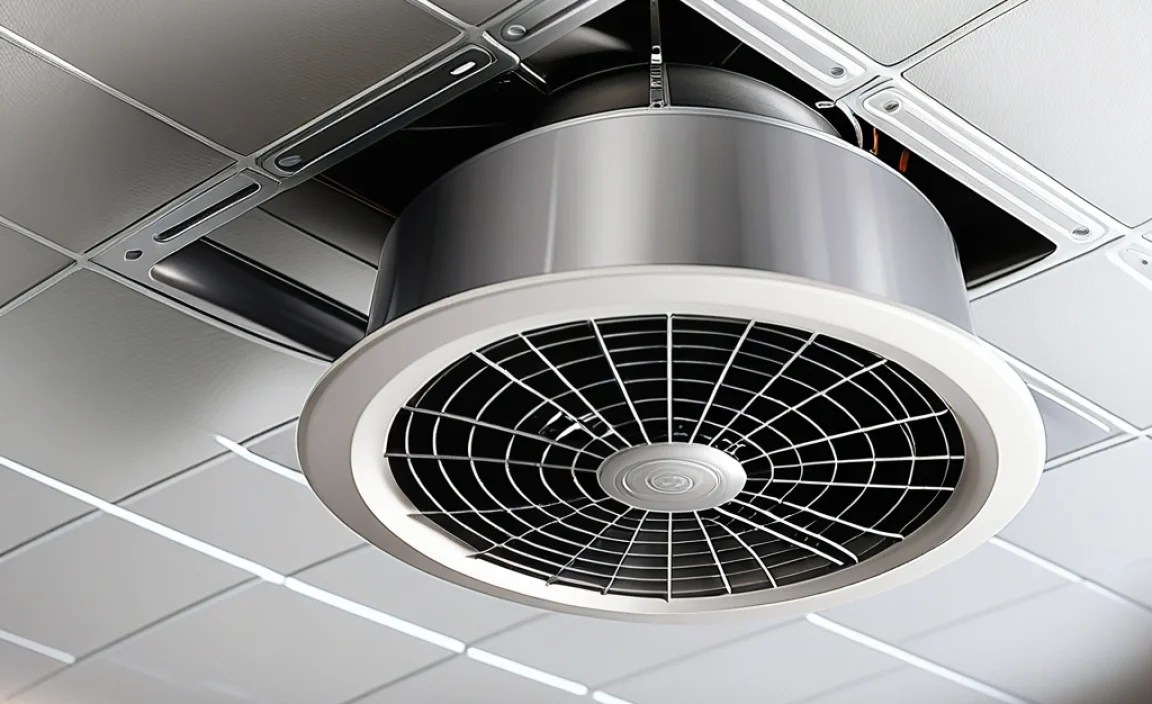
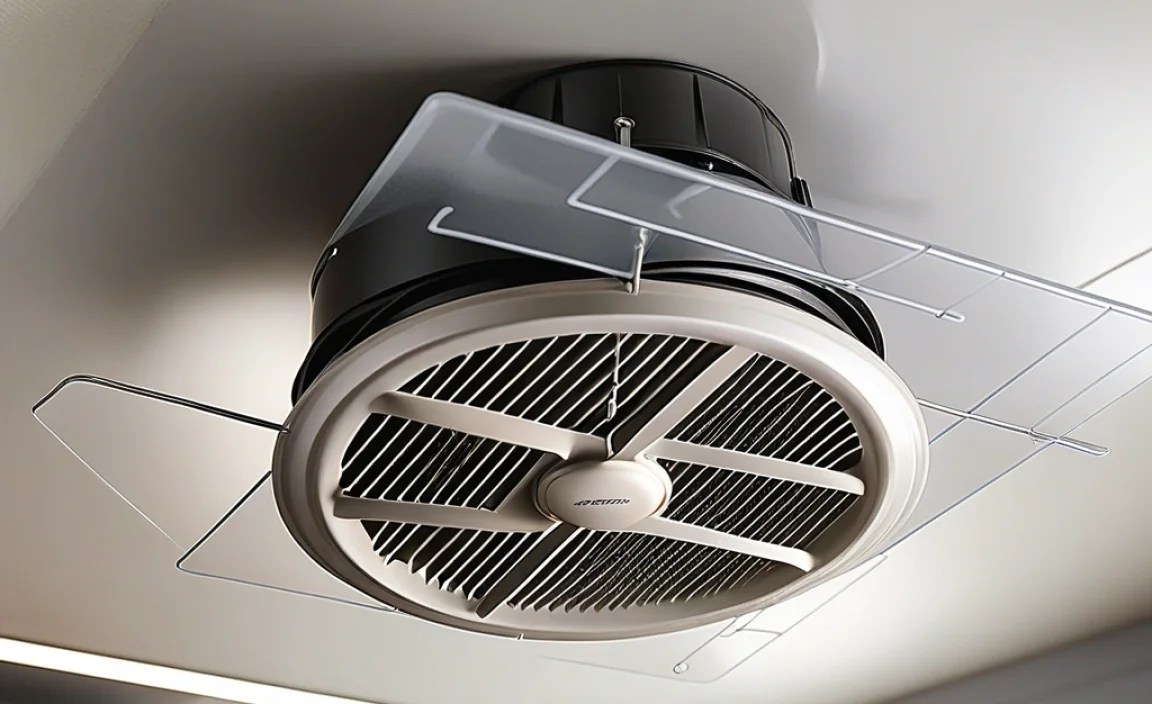
Step 2: Access the Fan Grille
Most exhaust fan grilles are attached to the ceiling by small screws or simply clip into place. Look for tiny screws on the edges of the grille. If you see them, use the appropriate screwdriver to remove them. If there are no screws, the grille likely has clips. Gently pry the grille downwards, applying even pressure on all sides. It might require a bit of wiggling. Be careful not to force it, as you don’t want to damage the grille or the surrounding ceiling material. Once the screws are removed or the clips are disengaged, carefully lower the grille.
Step 3: Clean the Fan Grille
Now that the grille is off, take it to a sink or an area where you can clean it easily. Dust and gunk often accumulate heavily on the grille itself. Use your vacuum cleaner with the brush attachment to remove as much loose debris as possible. For more stubborn grime, you can wash it with warm, soapy water. Use a soft brush or an old toothbrush to scrub away any stuck-on residue. Rinse it thoroughly and let it air dry completely before reattaching it. This prevents moisture from being introduced back into the fan housing.
Step 4: Clean the Fan Blades and Housing
With the grille removed, you should now have access to the fan housing and the fan blades inside. This is where a lot of the clogging happens. Put on your safety glasses and dust mask. Carefully insert your vacuum cleaner’s hose and brush attachment into the housing. Gently vacuum as much dust and debris as you can from the fan blades, the motor casing, and the interior walls of the housing. If there’s still stubborn dust clinging to the blades or other parts, use a soft brush or an old toothbrush to loosen it. Once loosened, vacuum it up. If you have compressed air, you can use short bursts to blow dust out of tight crevices, directing the dust into the path of your vacuum hose.
Important Note on Fan Motors: Be gentle around the motor. Avoid getting excessive moisture or cleaning solutions directly on the motor itself. Most motors in these fans are sealed, but it’s still best practice to keep them dry. If you need to clean the motor housing, use a slightly damp cloth and ensure it dries completely.
A quick tip: For ceiling-mounted fans, always be mindful of any insulation or ductwork above the fan unit. Try not to disturb them unnecessarily, and avoid pushing debris further into these areas. The U.S. Department of Energy recommends proper ventilation to improve indoor air quality, and a clean fan is key to that.
Step 5: Reattach the Cleaned Grille
Once the fan housing and blades are clean and everything is dry, it’s time to put the grille back on. Align the grille with the mounting holes or re-engage the clips. If you removed screws, reinsert and tighten them carefully – don’t overtighten, as this can strip the screws or damage the plastic. If it’s a clip-on style, ensure it snaps securely into place on all sides. Give the grille a gentle pull to make sure it’s firmly attached.
Step 6: Restore Power and Test
Head back to your electrical panel. Flip the breaker for the exhaust fan back to the “ON” position. Now, go to the room and turn on the exhaust fan using its wall switch. Listen for any unusual noises and observe the airflow. You should notice a significant improvement in how powerfully it’s drawing air. If it’s running smoothly and quietly, congratulations – you’ve successfully unclogged your exhaust fan!
Troubleshooting Common Issues
Even with careful cleaning, you might encounter a few hitches. Here’s how to handle them:
- Fan Still Noisy: If the fan is still making noise after cleaning, the issue might be with the motor bearings. This is a more complex repair, and it might be time to consider replacing the fan.
- Fan Won’t Turn On: Double-check that the breaker is fully switched on. If it is, the problem could be with the switch itself or the wiring. If you’re not experienced with electrical work, it’s best to call a qualified electrician.
- Weak Airflow Persists: The clog might be deeper in the ductwork beyond the fan housing. You may need to inspect and clean the ducting. For a beginner, this might involve detaching the duct from the fan housing and using a vacuum hose or brush to reach as far as possible, or engaging a professional.
- Strange Smells Remain: If unusual odors persist after cleaning, it could indicate mold or mildew deeper within the ductwork or a problem with the fan motor overheating. Again, professional inspection might be necessary.
Preventing Future Clogs
Now that your fan is clean, let’s keep it that way! Consistent, simple maintenance is key.
Here are some habits to adopt:
- Regular Cleaning Schedule: Aim to clean your exhaust fan at least every 6-12 months. The frequency might need to be higher if you live in a particularly dusty environment or have pets.
- Wipe Down Grilles: Even a quick dusting of the grille with a dry or slightly damp cloth every month can make a big difference.
- Use it Properly: For bathrooms, run the fan during and for about 15-20 minutes after showering to effectively remove moisture. In kitchens, use it whenever you’re cooking, especially with greasy foods.
- Consider a Filter (if applicable): Some higher-end exhaust fans have washable filters. If yours does, make sure to clean or replace it according to the manufacturer’s instructions. These filters catch a lot of debris before it reaches the fan blades.
Exhaust Fan Maintenance Table
Here’s a quick reference for keeping your exhaust fan in tip-top shape. Regular checks are your best defense against clogs and performance issues.
| Task | Frequency | Description | Difficulty (Beginner) |
|---|---|---|---|
| Visual Inspection | Monthly | Check grille for dust accumulation and listen for unusual noises. | Easy |
| Grille Cleaning | Every 6 Months | Remove grille, wash with soap and water, dry completely. | Easy |
| Fan Blade & Housing Cleaning | Every 6-12 Months | Power off; vacuum and brush dust from blades and housing. | Moderate |
| Ductwork Check (if accessible) | Annually | Visually inspect accessible ducting for obstruction. | Moderate |
| Motor Check (Professional) | As Needed / Every 3-5 Years | For unusual noises or motor-related issues, consult a pro. | Difficult (Requires Electrician) |
When to Call a Professional
While most exhaust fan issues can be solved with DIY methods, there are times when it’s best to bring in a professional. If you’ve followed these steps and your fan still isn’t working correctly, or if you encounter any of the following, it’s time to call in an expert:
- Electrical Problems: If the fan doesn’t turn on at all, even after checking the breaker, or if you suspect faulty wiring, a licensed electrician is essential for your safety.
- Deeper Ductwork Clogs: If the blockage is suspected to be far into the duct system and inaccessible with DIY tools, a professional HVAC technician can address it.
- Motor Issues: If you hear persistent grinding, consider the motor. Replacing a fan motor can be complex, and often it’s more cost-effective to replace the entire unit.
- Mold or Extensive Water Damage: If you discover mold growth inside the fan housing or ductwork, or significant water damage, a professional needs to assess and remediate the situation to prevent health hazards.
- Uncertainty or Discomfort: If at any point you feel uncomfortable or unsure about a particular step, especially when dealing with electrical components or working at heights, don’t hesitate to call a pro. Safety always comes first.
Frequently Asked Questions (FAQ)
Q1: How often should I clean my exhaust fan?
A1: It’s recommended to clean your exhaust fan grille every 6 months and the fan blades and housing every 6 to 12 months. If you have pets or live in a dusty area, you may need to clean it more frequently.
Q2: Can I use water to clean the fan blades?
A2: It’s best to use a dry vacuum or a brush first. If you must use moisture, use a very slightly damp cloth on the fan blades and ensure they are completely dry before restoring power. Avoid spraying liquids directly on or near the motor.
Q3: My fan is making a loud rattling noise. What should I do?
A3: A rattling noise usually means something is loose or hitting the fan blades. After turning off the power, check for any obvious obstructions like loose wires or debris. If you can’t find the cause, it might be a sign of a motor issue, and consulting a professional is advised.
Q4: What if the clog is in the ductwork, not just the fan?
A4: If cleaning the fan blades and housing doesn’t solve the airflow problem, the clog is likely further down the duct. You can try vacuuming as far into the accessible duct as possible. For deeper clogs, or if you’re uncomfortable, a professional can clean the entire duct system.
Q5: Is it safe to spray cleaning chemicals into the fan?
A5: No, it’s generally not recommended to spray chemicals directly into the fan housing, especially near the motor. Stick to vacuuming, brushing, and using a damp cloth for cleaning. If you need to clean the grille, use mild soap and water, and ensure it’s fully dry.
Q6: My fan is old and very noisy. Should I unclog it or replace it?
A6: If your fan is very old, very noisy even after cleaning, or inefficient, it might be more cost-effective and beneficial in the long run to replace the entire unit. Newer fans are often quieter, more energy-efficient, and have better airflow.
Conclusion
Taking care of your exhaust fan is a simple yet effective way to keep your home’s air fresh and comfortable. By following these beginner-friendly tips, you can easily tackle clogs, improve performance, and extend the life of your fan without needing to be a DIY expert. Remember, safety first – always turn off the power before you begin!
Regular maintenance, like cleaning the grille and fan blades every few months, will prevent most common problems. Pay attention to signs like reduced airflow or unusual noises, and address them promptly. This not only maintains your fan’s efficiency but also contributes to a healthier indoor environment by reducing moisture and odors. If you ever face electrical issues or deep clogs, don’t hesitate to call a professional. With these proven solutions, you can confidently keep your exhaust fans running smoothly for years to come.
