
Quick Summary: Unclogging a toilet can be simple with the right tools! From plungers to augers, this guide reveals the proven, genius tools that make clearing blockages easy for any DIYer, saving you time and money.
Nobody likes dealing with a clogged toilet. It’s an inconvenient mess that can put your bathroom out of commission. But don’t worry! With the right tools and a little know-how, you can tackle this common household problem yourself. We’ll walk you through the most effective tools designed specifically for unclogging toilets, explaining how they work and when to use them. Get ready to say goodbye to those frustrating clogs!
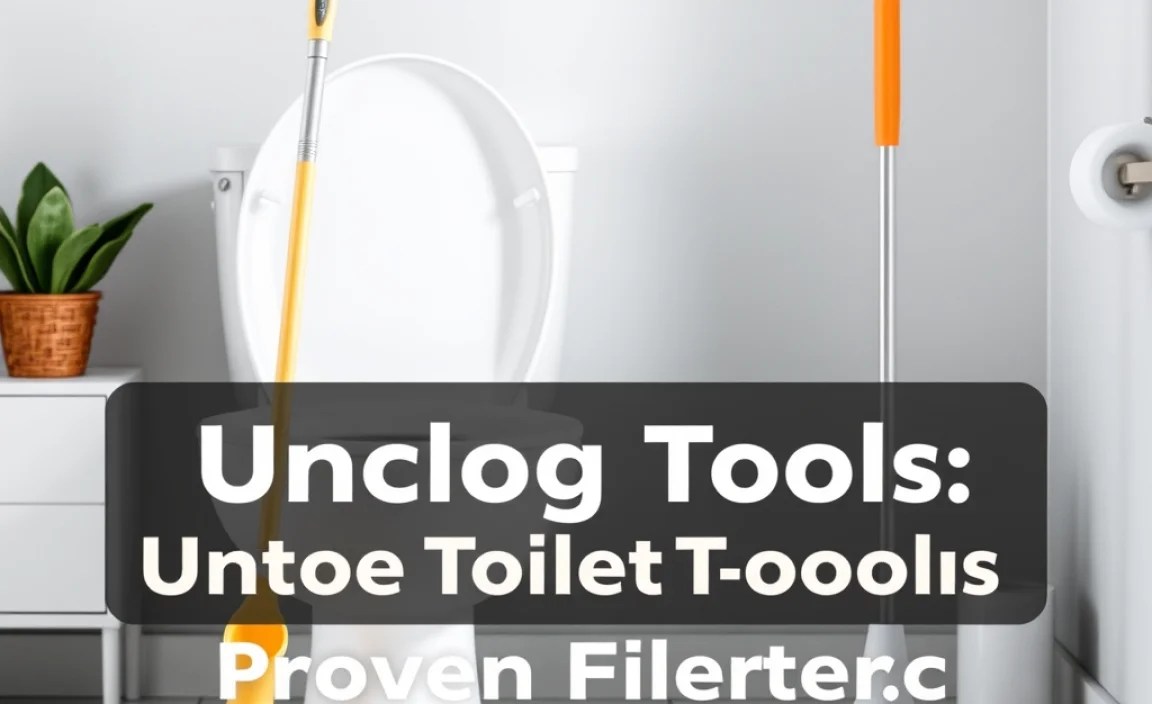
The Genius of Unclogging Toilet Tools: Your DIY Hero Guide

Dealing with a toilet clog can feel like a plumbing emergency, but usually, it’s a problem you can solve yourself with a few simple, effective tools. Think of these tools as your go-to heroes for banished blockages. We’re going to break down the most genius ways to get your toilet flowing freely again. From the trusty plunger to specialized augers, each tool has its unique job. Understanding which tool to use and how to use it safely and effectively is key to mastering this common household task. Let’s dive in and make plumbing woes a thing of the past!
Understanding the Enemy: What Causes Toilet Clogs?
Before we grab our tools, it helps to know what we’re fighting against. Most toilet clogs happen for simple reasons:
Too Much Toilet Paper: Using more paper than the toilet is designed to flush can lead to immediate blockages.
Non-Flushable Items: This is a big one! Wipes (even “flushable” ones), paper towels, feminine hygiene products, cotton balls, dental floss, and cat litter simply don’t break down like toilet paper.
Low-Flow Toilet Issues: Older or less powerful low-flow toilets can sometimes struggle with even normal amounts of waste.
Foreign Objects: Kids playing with toys or accidentally dropping something down the drain can cause stubborn clogs.
Toilet Trap Obstructions: The S-shaped trap inside your toilet is the first line of defense. Anything that gets lodged here can cause a backup.
Knowing the cause can sometimes hint at the solution, but our tools are designed to handle various scenarios.
The Unclogging All-Stars: Your Essential Toilet Clearing Toolkit

These are the workhorses, the tried-and-true instruments that will save your day (and your toilet). Each one offers a unique approach to tackling those stubborn blockages.
1. The Humble Hero: The Toilet Plunger
You probably have one of these already, and for good reason! A good plunger is the first and often the most effective tool for unclogging a toilet.
Types of Toilet Plungers:
Flange Plunger (Bell Plunger): This is the most common type for toilets. It has a cup with an extra flap (the flange) that extends downwards. This flange fits snugly into the toilet drain opening, creating a better seal.
Pros: Excellent seal for toilet bowls, generally very effective for common clogs.
Cons: Can be a bit messy if not used carefully.
Cup Plunger: This is a basic, all-purpose plunger with a simple cup shape. While good for sinks, it doesn’t offer the best seal in a toilet bowl.
Pros: Simple, versatile for other drains.
Cons: Less effective for toilets due to a poorer seal.
How to Use a Toilet Plunger Like a Pro:
1. Ensure Enough Water: The plunger needs to be submerged in water to create suction. If the water level is low, add some (a bucketful) carefully.
2. Create a Seal: Place the plunger over the drain hole, ensuring the flange is fitted inside the opening and the cup is around it. Press down gently to push out air.
3. Plunge with Vigor: Push down firmly but steadily, then pull up sharply. Repeat this vigorous plunging motion 15-20 times. You’re aiming to dislodge the clog with pressure and suction.
4. Check for Flow: Remove the plunger and see if the water drains. If it starts to drain, you’ve likely succeeded! Flush (cautiously at first) to confirm.
5. Repeat if Necessary: If the clog persists, repeat the plunging process. Sometimes a second or third attempt is all it takes.
6. Clean Up: Dispose of the used water and clean your plunger thoroughly.
External Link: For more on basic plumbing tools and their uses, check out this guide from This Old House: https://www.thisoldhouse.com/plumbing/21034376/toilet-plunger
2. The Drain Snake or Toilet Auger: For Deeper Problems
When plunging doesn’t do the trick, it’s time to bring in the heavy artillery: the drain snake or toilet auger. These tools are designed to reach further down the drainpipe and physically break up or hook onto the obstruction.
Types of Toilet Augers:
Toilet Auger (closet auger): This is the specialized tool for toilets. It has a long, flexible cable housed in a protective sleeve or tube. The cable has a hook or corkscrew-like end that goes into the toilet trap. The sleeve protects the porcelain bowl from scratches. You crank a handle to feed the cable into the drain.
Pros: Designed specifically for toilets, protects the bowl from scratches, effective for deeper clogs.
Cons: Can be a bit pricier than a plunger, requires a bit more technique.
Drain Snake (also called a plumber’s snake or drain auger): These are similar but can vary in length and design. Some are manual, and others are electric. While a standard drain snake can be used, a dedicated toilet auger is usually preferred for toilets to avoid damage.
Pros: Can reach clogs further down the line, versatile for other drains.
Cons: Risk of scratching toilet bowl if not used with a protective sleeve or extreme care.
How to Use a Toilet Auger Effectively:
1. Position the Auger: Place the auger’s rubber or plastic boot at the bottom of the toilet bowl, directly over the drain opening.
2. Insert the Cable: Gently feed the end of the cable into the drain. As you push, you’ll feel it go into the trap.
3. Crank and Advance: Turn the handle clockwise. This will feed the cable deeper into the pipe. You’ll feel resistance when you hit a clog.
4. Break Through or Hook: Continue cranking. You might feel the clog break up, or the hook end might snag onto it. If you snag it, try pulling it back out gently. If it breaks up, push a bit further to ensure it’s cleared.
5. Retract the Cable: Once you believe the clog is cleared or you’ve hooked it, crank the handle counter-clockwise to retract the cable.
6. Test Flush: Carefully remove the auger. Add some water to the bowl if needed, and then flush. Again, be ready to stop the flush if it backs up.
7. Clean Up: Thoroughly clean the auger and the surrounding area.
A good drainage system is crucial. Learn more about basic drain maintenance from the EPA: https://www.epa.gov/watersense/rain-gardens (While this link is about rain gardens, it touches upon water flow and drainage principles relevant to home plumbing). Self-correction: This EPA link is not relevant. A better external link would be to a reputable DIY or home improvement resource detailing drain systems.
Let’s replace that. A better resource from a reputable source explaining household drains:
https://www.lowes.com/n/how-to/clear-clogged-drain
3. The Enzyme Drain Cleaner: The Gentle, Eco-Friendly Approach
If you prefer a less manual method or have recurring slow drains, enzyme cleaners are a great option. They use natural bacteria and enzymes to break down organic waste.
How Enzyme Cleaners Work:
These cleaners contain live enzymes and bacteria that “eat” organic matter like grease, hair, and food particles. They don’t work instantly like chemical cleaners but are much safer for your pipes and the environment.
Pros: Environmentally friendly, safe for pipes, good for maintenance and preventing future clogs, no harsh fumes.
Cons: Slow-acting (can take hours or overnight), may not be effective for solid obstructions (like toys).
When to Use Enzyme Cleaners:
For slow drains that aren’t completely blocked.
As a preventative measure once a month to keep pipes clear.
When you want an eco-conscious solution.
How to Use Enzyme Drain Cleaners:
1. Read Instructions: Always follow the product’s specific directions.
2. Pour and Wait: Typically, you pour the recommended amount into the toilet bowl or drain.
3. Let it Work: These cleaners need time. Often, they are best used overnight, so the enzymes have ample time to break down any organic buildup.
4. Flush: In the morning, flush the toilet to clear it out.
4. The Wet/Dry Vacuum: For the “Oh No!” Moments
This might sound unusual, but a wet/dry vacuum can be a surprisingly effective tool for removing water and sometimes even pulling out obstructions from the toilet bowl.
How a Wet/Dry Vac Works for Clogs:
You use the vacuum to suck standing water out of the bowl. This often removes looser debris and can create a situation where you can then use a plunger more effectively, or sometimes, the vacuum itself can pull out a clog that isn’t too stubborn or lodged deep within the pipes.
Pros: Removes excess water, can sometimes pull out clogs.
Cons: Can be messy, requires a dedicated wet/dry vac, not effective for deep or solid obstructions.
When to Use a Wet/Dry Vac:
When the toilet bowl is overflowing or full of standing water.
As a precursor to plunging if you want to clear excess water first.
How to Use a Wet/Dry Vac Safely:
1. Set to Wet Mode: Ensure your vacuum is set to “wet” mode and empty the canister.
2. Create a Seal: Stuff an old towel or rag around the hose nozzle at the base of the toilet bowl to create a good seal.
3. Vacuum Water: Turn on the vacuum and suck out as much standing water as possible.
4. Proceed with Caution: After removing water, you can try plunging. In some cases, the vacuum might have pulled out enough to allow flushing or might even be able to suck out a more solid clog if it’s near the opening.
5. Clean Thoroughly: Clean the vacuum canister and hose immediately.
5. Chemical Drain Cleaners: Use with Extreme Caution
Chemical drain cleaners are powerful but come with significant risks. They use harsh chemicals (like lye or sulfuric acid) to dissolve clogs.
Pros: Can be very effective for certain types of clogs quickly.
Cons: Hazardous fumes, can damage pipes if used improperly or too often, not safe for all septic systems, dangerous if mixed with other drain cleaners or if they don’t work and you then use a plunger (splash back risk).
When to Consider (and When to Avoid) Chemical Cleaners:
Consider: As a last resort for organic clogs that other methods haven’t cleared, and only if the product specifies it’s safe for your type of pipes and septic system.
Avoid: If you don’t know what caused the clog, if you have old or fragile pipes, if you have a septic system (check compatibility!), or if you’ve already tried other methods (especially plunging, as splashing can be dangerous).
If you choose to use a chemical cleaner, follow these safety steps religiously:
1. Read and Follow Instructions EXACTLY: Pay attention to the amount to use, waiting time, and how to flush.
2. Ventilate: Open windows and ensure good airflow.
3. Wear Protection: Always wear rubber gloves and eye protection.
4. Never Mix: NEVER mix different chemical drain cleaners or use them immediately after trying a plunger or other drain clearing method.
5. Flush Thoroughly: Ensure all chemical residue is flushed away.
Our Recommendation: For most DIYers, plungers and augers are the safest and most effective tools. Chemical cleaners should be a very last resort, used with extreme caution and awareness of their risks.
Comparing the Unclogging Tools: A Quick Reference
Here’s a table to help you decide which tool might be best for your situation:
| Tool | Best For | Ease of Use | Potential Risks | Cost (Approximate) |
|---|---|---|---|---|
| Toilet Plunger (Flange) | Standard clogs, soft obstructions | Easy | Messy if seal is broken | $10 – $25 |
| Toilet Auger (Closet Auger) | Deeper clogs, stubborn blockages, hard objects | Moderate | Can scratch porcelain if not used carefully; risk of pipe damage if forced | $25 – $60 |
| Enzyme Drain Cleaner | Slow drains, preventative maintenance, organic buildup | Easy | Ineffective for solid objects; slow results | $10 – $30 (per treatment) |
| Wet/Dry Vacuum | Removing standing water, light debris | Moderate | Messy, requires specialized equipment, not for deep clogs | $40 – $150+ (for the vacuum) |
| Chemical Drain Cleaner | Certain organic clogs, as a last resort | Easy (but dangerous) | Harsh chemicals, pipe damage, hazardous fumes, environmental concerns, splashback risk | $5 – $20 |
Step-by-Step Guide: When Plunge Fails, Auger Prevails

Let’s walk through a common scenario where a plunger isn’t enough.
Scenario: The Stubborn Clog
Your toilet is backed up, you’ve plunged vigorously, but the water level barely budged, or it went down slowly and then came back up. It’s time for the toilet auger.
Step 1: Gather Your Supplies
Toilet Auger
Gloves (disposable or reusable rubber)
Paper towels or rags
Bucket (optional, for water removal)
Protective flooring (old newspaper or towels)
Step 2: Prepare the Area
Lay down some old towels or newspaper around the base of the toilet. This is to catch any drips or splashes. Put on your gloves.
Step 3: Position the Auger
Open the toilet lid (if applicable) and bring the toilet auger to the bowl. Place the rubber boot at the bottom of the toilet bowl, right at the drain opening. Ensure it’s sitting securely.
Step 4: Insert the Auger Cable
Slowly and gently push the end of the auger cable into the drain. You’ll feel it start to enter the trap. Don’t force it. If it feels stuck, try wiggling it slightly while you turn the handle.
Step 5: Crank and Engage the Clog
Begin turning the auger’s handle clockwise. You’ll feed the cable into the drain. Keep turning as you push the cable in further. You should feel resistance when you hit the clog.
If you feel a hook: You might have snagged something. Try gently rotating the handle backward (counter-clockwise) to see if you can pull the obstruction out.
If you feel mushy resistance: The auger is likely breaking up the clog. Continue rotating and pushing until you feel the resistance ease.
If you feel solid resistance: You might be hitting a hard obstruction. Try rotating the auger vigorously to break it up or hook it.
Step 6: Retract the Auger
Once you believe the clog is cleared or hooked, begin to retract the cable by turning the handle counter-clockwise. Pull the auger out of the toilet bowl carefully, bringing the cable back into its housing.
Step 7: Test the Flush
With the auger removed, look into the bowl. If there’s still standing water and debris, you might need to remove some with a bucket or wet/dry vac before flushing. Once the bowl is at a normal water level, flush the toilet cautiously. Have a towel ready to quickly stop the flush by pushing down on the flapper in the tank if the water level rises too high.
Step 8: Clean Up
If the flush was successful and the water drains normally, congratulations! Clean your toilet auger thoroughly with soap and water. Dispose of any used paper towels or rags.
This systematic approach ensures you’re using the right tool at the right time and helps you feel confident about tackling even persistent clogs.
Preventing Future Clogs: Smart Habits for a Smooth Flow

Once your toilet is clog-free, you’ll want to keep it that way! Prevention is always easier (and cleaner) than a cure.
Be Toilet Paper Savvy: Use only a moderate amount of toilet paper. If you have a low-flow toilet, be extra mindful.
