
Unclogging a vent step-by-step is an achievable DIY task, even for beginners. This guide offers proven, effortless fixes to restore airflow, focusing on safety and clarity. You’ll learn to quickly identify blockages and clear them without special tools, ensuring your home stays comfortable and your HVAC system runs efficiently.
Dealing with a clogged vent can be incredibly frustrating. You might notice uneven temperatures throughout your home, strange noises coming from your vents, or a general lack of airflow. This common issue can impact your home’s comfort and even lead to higher energy bills if your heating or cooling system has to work harder than necessary.
Fortunately, unclogging a vent is usually a straightforward fix that most homeowners can handle themselves. With a few simple steps and common household items, you can get your airflow back to normal in no time. This guide will walk you through the process, step by step, turning a potentially daunting task into an easy, confidence-building DIY project.
Why Do Vents Get Clogged?
Vents, whether they are for your heating, ventilation, and air conditioning (HVAC) system or for exhaust fans in bathrooms and kitchens, can become clogged for a variety of reasons. Understanding these common culprits is the first step to prevention and effective unclogging.
The most frequent cause of clogged vents is the accumulation of dust, dirt, and debris. As air circulates through your home, it carries tiny particles. Over time, these particles settle and build up inside the vent ducts and on the vent registers themselves. This is especially true if your air filters aren’t changed regularly, as they are designed to catch most of this gunk before it enters the ductwork.
Another common issue, particularly with exhaust vents, is the buildup of grease, moisture, and food particles. In kitchens, cooking fumes can leave a sticky residue that traps dust. In bathrooms, steam and humidity can contribute to mold or mildew growth, along with hair and soap scum, all of which can restrict airflow. For supply vents in living areas, dropped items, such as toys, coins, or pet fur, can also create blockages. Even larger items like insulation or construction debris can find their way into ducts during renovations or if there are structural issues.
Here are some common causes summarized:
- Dust and Dirt Accumulation
- Grease and Food Particles (Kitchen Vents)
- Moisture, Hair, and Soap Scum (Bathroom Vents)
- Dropped Items (Toys, Coins, Pet Fur)
- Insulation or Construction Debris
- Infrequent Air Filter Changes in HVAC Systems
Preventing these clogs involves regular cleaning and maintenance. This includes not only cleaning the vent covers themselves but also ensuring your HVAC system’s air filter is clean and replaced as recommended. For exhaust vents, running them during and after activities like cooking or showering helps remove moisture and contaminants before they settle.
Understanding Your Vents: Supply vs. Return vs. Exhaust

Before you start poking around, it’s helpful to know the different types of vents you have in your home and their specific roles. This will help you diagnose the problem more accurately and apply the right fix.
Supply Vents
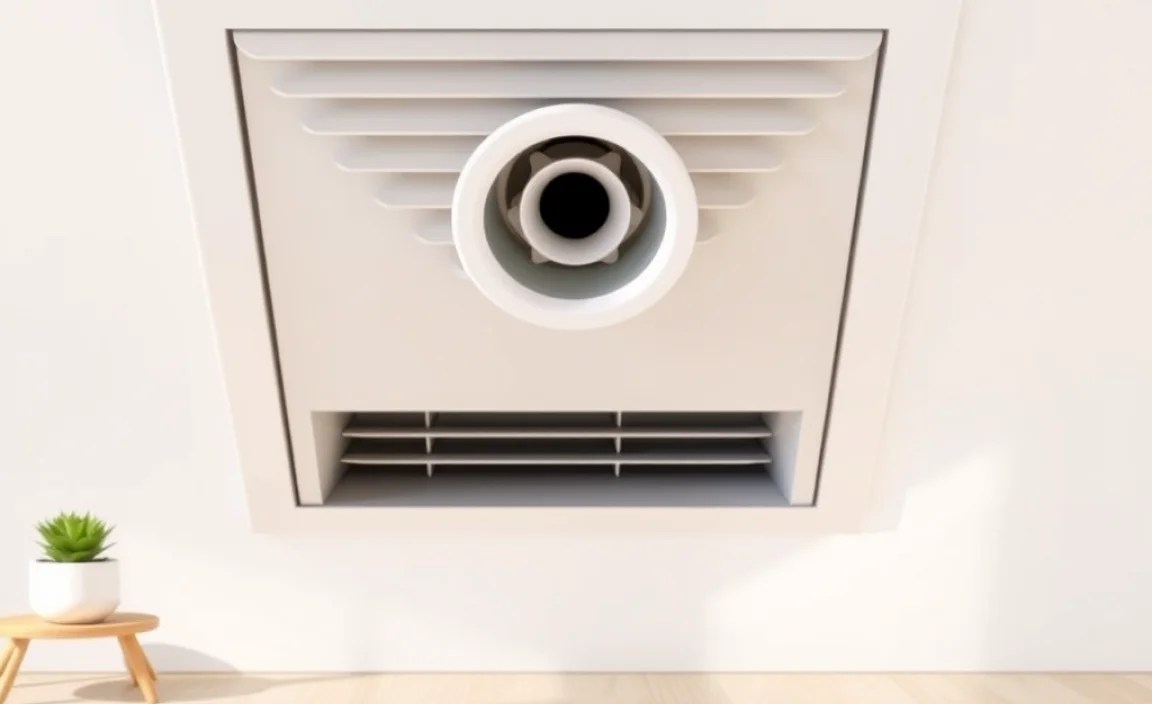
These are the vents that push conditioned air (either heated or cooled) into your rooms. You’ll typically find them in floors, walls, or ceilings. They are usually smaller and have adjustable louvers that allow you to control the direction and volume of airflow. If your rooms are hot or cold spots exist, supply vents are often the first place to check for blockages or closed louvers.
Return Vents
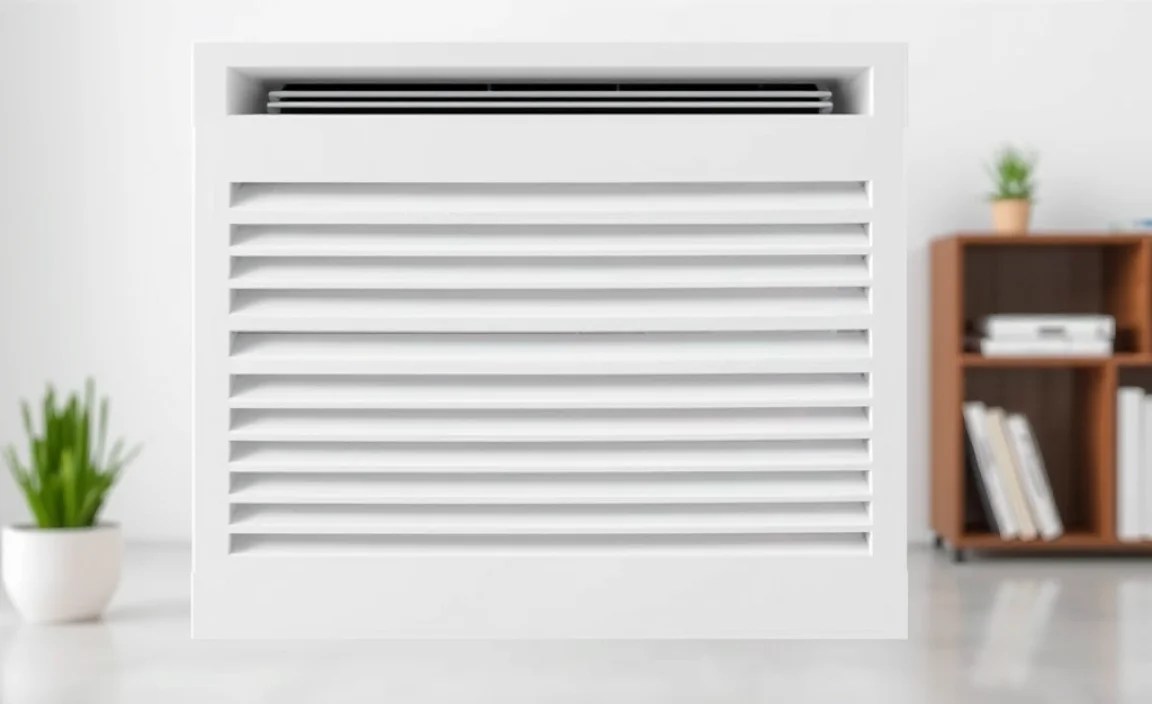
These vents are part of your HVAC system and work by drawing air from your rooms back into the system to be filtered and re-conditioned. They are usually larger than supply vents and often have grilles rather than adjustable louvers. These vents are crucial for your HVAC system’s efficiency. If they are blocked, the system can’t pull in enough air, leading to reduced performance and strain on the equipment. They are common places for dust bunnies and larger debris to accumulate.
Exhaust Vents
These vents are designed to remove air, moisture, and odors from specific areas of your home. You’ll find them in bathrooms (to clear humidity and smells), kitchens (to remove cooking fumes and grease), and laundry rooms (to vent dryers). These vents often connect to ductwork that leads directly outside. They are prone to grease, lint, and moisture buildup, which can significantly impair their function and even pose a fire hazard if not maintained.
Knowing the difference helps you target your efforts. For instance, a clogged bathroom exhaust vent has different potential blockages and solutions than a clogged HVAC supply vent.
Tools You Might Need
The good news is that most vent unclogging tasks don’t require specialized tools. You can likely tackle this with items you already have around the house. However, having a few specific tools can make the job easier and more effective.
- Vacuum Cleaner with Hose Attachment: This is your primary tool for sucking up dust, debris, and loose particles. A crevice tool is especially handy for reaching into tight spots.
- Screwdriver Set: Some vent covers are screwed into place. A Philips head and flathead screwdriver are usually sufficient.
- Gloves: To keep your hands clean and protect them from dust and sharp edges.
- Dust Mask: Especially important if you have allergies or are dealing with a significant amount of dust.
- Stiff Brush or Old Toothbrush: For scrubbing stubborn grime or dust from vent covers and louvers.
- Duct Tape or Strong Packing Tape: Useful for temporarily sealing off other vents if you’re working on a specific section of your ductwork, or for sealing minor leaks found during the process.
- Wire Coat Hanger (unbent): Can be used to gently probe and dislodge stubborn blockages in the very immediate duct opening. Use with extreme caution to avoid damaging the ductwork.
- Extension Pole or Long Stick: For reaching ceiling vents or pushing items further into the duct.
- Microfiber Cloths: For wiping down surfaces.
- Optional: Long, Flexible Cleaning Brush/Rod (Borescope Camera): For deeper clogs, a specialized flexible brush or even a small borescope camera can be helpful, though not usually necessary for basic vent unclogging.
Remember to always prioritize safety. If you are working with electrical components (like kitchen fan vents) or in tight spaces, exercise extra caution. If you feel uncomfortable at any point, it’s always best to call a professional.
Step-by-Step Guide: How to Unclog a Vent

This guide breaks down the process into simple, actionable steps, suitable for any beginner. We’ll cover common vent types, starting with the easiest fixes.
Step 1: Identify the Problem Vent and Assess Airflow
First, pinpoint which vent or vents are causing issues. Is it one specific room that feels poorly heated or cooled, or is airflow generally weak throughout the house? Feel the air coming from each vent. If one feels significantly weaker than others, that’s your target. Also, visually inspect the vent cover for obvious obstructions like furniture pushed against it, thick dust buildup, or visible debris.
Step 2: Clean the Vent Cover and Louvers
Often, the blockage is simply surface-level dust and grime on the vent cover itself.
- For removable covers: If your vent cover can be easily removed (usually by unscrewing it or releasing clips), take it off.
- Cleaning: Take the cover outside or to a well-ventilated area. Use a vacuum cleaner with a brush attachment to remove loose dust. For tougher grime, use a damp cloth and a mild soap solution, then rinse and dry thoroughly before reattaching. A stiff brush or old toothbrush can help dislodge dust from louvers.
- For non-removable covers: If the cover is painted on or difficult to remove, use your vacuum’s crevice tool to suck up dust and debris from between the louvers. A damp microfiber cloth can also be used to wipe down the surfaces without much effort.
Step 3: Clear Immediate Obstructions in the Duct Opening
Once the cover is clean (or if you couldn’t remove it), look into the vent opening. Sometimes, larger debris like pet fur, small toys, or trash can get lodged just inside.
- Visual Inspection: Use a flashlight to see inside.
- Removal: If you see something accessible, try to carefully remove it with your fingers or the crevice tool of your vacuum.
- Gentle Probing: For something stuck deeper, you can very gently use an unbent coat hanger or a long, thin stick to try and dislodge it. Be careful not to push the blockage further in or damage the ductwork. The goal is to loosen it so the vacuum can pick it up.
Step 4: Vacuum the Duct Opening Thoroughly
This is a crucial step for removing loose dust and debris from the immediate duct opening.
- Attachment: Use the hose attachment of your vacuum cleaner. A crevice tool is ideal for reaching into the vent opening and along the edges.
- Depth: Insert the nozzle as far as you comfortably can into the duct opening and move it around to suck up as much loose dust and debris as possible.
- Repeat: Do this for a few minutes, ensuring you’re getting into any accessible corners.
Step 5: Dealing with Clogs Further Up the Ductwork (HVAC Systems)
If the problem isn’t resolved after cleaning the vent opening, the clog might be deeper within the ductwork. This is where things can get a bit more involved, but still manageable.
Method A: Using a Vacuum and a Flexible Hose Extension
This method works by creating a more powerful suction further down the duct.
- Seal Other Vents: To maximize suction at the clogged vent, temporarily seal off all other supply and return vents in your home. Use towels, blankets, or painter’s tape. This directs the airflow from your vacuum to the problem area.
- Create a Seal: You’ll need a way to connect your vacuum hose to the open vent. You can use a piece of cardboard cut to size, a plastic bag, or even a sturdy towel wrapped around the hose and tucked securely into the vent opening to create a seal.
- Vacuuming Technique: Turn on your vacuum cleaner (preferably a shop vac for stronger suction). Let it run for 5-10 minutes, focusing its suction on the blocked vent. The strong airflow might be enough to pull loose debris further down the line into the vacuum or dislodge it enough for your system to handle it once it’s turned back on.
Method B: Using a Long, Flexible Brush or Rod
For more stubborn blockages that vacuuming can’t reach, a specialized cleaning tool might be necessary.
- Insert the Tool: Obtain a long, flexible duct cleaning brush or a rod designed for this purpose. You can find these at hardware stores or online.
- Gentle Manipulation: Carefully insert the brush into the duct opening and gently push it in as far as possible. Twist and move it around to dislodge any caked-on dust or debris.
- Combine with Vacuuming: After using the brush, immediately follow up with the vacuum cleaner (as described in Step 4 or Method A) to suck up the loosened material.
- Professional Tools: For very deep or persistent clogs, professionals use rotating brush systems or powerful suction machines. If you can’t access the clog with simpler tools, it might be time to consider professional duct cleaning. You can learn more about professional HVAC cleaning services from the U.S. Environmental Protection Agency, which offers guidance on maintaining good indoor air quality.
Step 6: Addressing Bathroom and Kitchen Exhaust Vents
These vents have unique challenges due to grease, moisture, and lint.
- Locate the Fan Unit: For bathroom exhaust fans, the clog might be in the vent cover or the fan housing itself. For kitchen range hoods, this is typically the metallic filter or the ductwork behind it.
- Clean the Fan Cover/Filter First: Remove the cover or filter if possible. Wash metal filters in hot, soapy water to remove grease. Replace disposable filters if necessary. For dust on fan covers, use a damp cloth and a soft brush.
- Inspect Fan Blades: Gently spin the fan blades to ensure they move freely. Clean them with a cloth and a mild cleaner. Ensure power to the unit is completely off before doing this.
- Access the Ductwork: This can be trickier. From the inside of the room, you might be able to reach a short distance into the duct with a flexible brush or vacuum hose.
- External Access (if possible): If you can safely access the vent outlet on the exterior of your home, check for obstructions there (like bird nests or debris). You can then use a brush or vacuum from the outside to try and clear the line.
- Grease Buildup Hazard: Be aware that grease buildup in kitchen exhaust ducts can be a fire hazard. If you suspect significant grease accumulation, professional cleaning is strongly recommended for safety. The National Fire Protection Association (NFPA) provides safety tips regarding cooking fires and ventilation systems.
Step 7: Reassemble and Test
After you’ve cleaned the vent cover, cleared immediate obstructions, and vacuumed the opening (and potentially worked on deeper clogs), it’s time to put everything back together.
- Reattach Covers: Screw or clip the clean vent covers back into place securely.
- Restore System: Remove any tape or towels used to seal other vents.
- Test Airflow: Turn on your HVAC system or bathroom/kitchen fan. Feel the airflow from the cleaned vent. It should be noticeably stronger.
- Check for Noise: Listen for any unusual noises that might indicate a remaining blockage or a loose component.
Table: Identifying and Cleaning Different Vent Types

Here’s a quick reference to help you distinguish and tackle common vent types:
| Vent Type | Primary Function | Common Clog Materials | Easiest Fixes | Potential Deeper Issues |
|---|---|---|---|---|
| HVAC Supply Vent | Delivers conditioned air into rooms. | Dust, dirt, pet fur, small dropped items. | Clean vent cover, vacuum opening, remove visible debris. | Deeper duct dust, kinks in ductwork, insulation blockage. |
| HVAC Return Vent | Draws air from rooms into HVAC system. | Large dust accumulations, pet fur, larger debris, lint. | Clean grille, vacuum thoroughly, remove visible debris. | Significant dust buildup deep in duct, debris behind grille. |
| Bathroom Exhaust Vent | Removes moisture and odors. | Hair, soap scum, mildew, dust, lint. | Clean exhaust fan cover/grille, clean fan blades (power off!), check exterior vent for blockage. | Mold/mildew in duct, significant lint buildup (dryer vents need similar care!). |
| Kitchen Exhaust Vent (Range Hood) | Removes cooking fumes, grease, and smoke. | Grease, dust, food particles, lint. | Wash metal filters, clean fan housing/grille. | Heavy grease buildup in duct (fire hazard!), debris in fan motor. |
Regular visual checks and cleaning of vent covers are key to preventing most clogs. For HVAC system ducts, maintaining a clean air filter is your first line of defense for preventing deep clogs. You can find manufacturer recommendations for air filter replacement on sites like Energy.gov’s home energy efficiency section.
Preventing Future Vent Clogs
Once you’ve successfully unclogged your vents, you’ll want to keep them clear. Prevention is always easier (and cheaper!) than a cure. Here are some easy habits to adopt:
- Regularly Change Your HVAC Air Filter: This is the single most effective way to prevent dust and debris from entering your ductwork. Check your filter monthly and replace it according to the manufacturer’s recommendation (typically every 1-3 months, depending on the filter type and household conditions like pets or allergies).
- Keep Vents Clear of Obstructions: Make it a habit to keep furniture, rugs, and other items from blocking supply or return vents.
