
Facing clogged vents? Effortlessly unclog vents with specialized tools designed for easy debris removal. These simple, effective solutions tackle dust bunnies, pet hair, and obstructions, restoring airflow and improving your home’s comfort and efficiency. Get your vents clear in no time!
Is your home feeling stuffy, or is your HVAC system struggling to keep up? The culprit might be hidden right inside your air vents! Over time, vents can become clogged with all sorts of things – think dust bunnies the size of small creatures, pet hair that seems to multiply, and other sneaky debris. This blockage doesn’t just look unsightly; it can seriously hinder your heating and cooling system’s performance, leading to higher energy bills and uneven temperatures throughout your house.
Don’t worry, tackling this common household problem doesn’t require a professional or a complicated overhaul. There are surprisingly simple tools designed specifically to make unclogging your vents an effortless task. You’ll be amazed at how quickly you can restore proper airflow and enjoy a more comfortable home environment.
Why Do Air Vents Get Clogged Anyway?

It’s amazing how quickly dust and debris can accumulate, isn’t it? Our homes are living spaces, and as we live in them, a natural process of shedding and dust accumulation occurs. Pet dander, human hair, fabric fibers from carpets and upholstery, and airborne dust particles are constantly being circulated by your HVAC system. When the air passes through your vents, these particles can get caught on the vent grates and, over time, work their way deeper into the ductwork, eventually accumulating and forming stubborn blockages.
Think of it like a giant, invisible filter in your home. The vents are the entry points, and without regular attention, they become overwhelmed. This is especially true for homes with pets, older carpeting, or frequent DIY projects that can kick up a lot of dust. Ignoring these clogs means your HVAC system has to work harder to push air through, which uses more energy and puts unnecessary strain on the equipment. It’s a small maintenance task that can have a big impact on your home’s health and your wallet.
Understanding the “Unclog Vent Tools” You Need

Gone are the days of awkwardly trying to shove a vacuum hose into a vent or using flimsy straightened coat hangers. The market has evolved, offering specialized “unclog vent tools” that are specifically designed for this job, making it not just possible but easy to get those vents cleared out. These tools are built for efficiency and ease of use, even for beginners. Let’s explore some of the most effective and popular options.
The Vacuum Hose Extension & Brush Combo
This is a classic for a reason. Most standard household vacuums come with attachments, but often they aren’t long or flexible enough to reach the really tricky spots inside a vent or the immediate ductwork. Enter the vacuum hose extension and brush combo.
What it is: This usually involves a set of flexible, often interlocking, plastic tubes that extend your vacuum hose considerably. Included with these is a specialized brush attachment with bristles designed to loosen dust and debris so the vacuum can suck it up. Some kits are designed to attach directly to the crevice tool, while others are standalone flexible hoses.
Why it’s genius: The flexibility allows you to navigate bends in the ductwork, and the brush actively dislodges stubborn particles. It’s like having a mini-plumber’s snake for dust!
What to look for: Check the diameter to ensure it fits your vacuum cleaner hose. Look for kits with multiple brush heads for different vent types and lengths. Some are even designed to be powered by the airflow of your vacuum, spinning the brush for extra cleaning power.
Where to find them: Available at major home improvement stores, well-stocked hardware stores, and online retailers.
The Vent Cleaning Wand
Similar in concept to the vacuum hose extension, a vent cleaning wand is often a more rigid, but still somewhat flexible, rod with a brush or fan-like attachment at the end. Some are designed to be used independently with a dusting cloth, while others are specifically made to connect to a vacuum cleaner.
What it is: A long, slender tool, often telescoping or made of flexible segments, with a cleaning head on the end. The cleaning head can vary from soft brushes to more robust, fan-shaped tools designed to agitate debris.
Why it’s genius: These wands are excellent for reaching deep into ductwork and can often maneuver around corners that a straight attachment can’t. They provide direct control over the cleaning head, allowing you to target specific areas causing blockages.
What to look for: Flexibility is key for navigating turns within your duct system. Consider wands that are telescoping for adjustable reach. If it’s for use with a vacuum, ensure compatibility with your system.
The Compressed Air Duster/Blower
For very light clogs or as a first pass, compressed air can be surprisingly effective. This isn’t your typical can of office duster, though. We’re talking about more industrial-grade compressed air tools designed for cleaning out tools and equipment.
What it is: A tool that uses compressed air, either from a portable tank or a compressor, to blast air into the vents. These can be handheld devices or attachments for larger air compressors.
Why it’s genius: A strong burst of air can dislodge loose debris and push it further down the ductwork (where it may need to be addressed by a professional HVAC service, or if you have access points, can be vacuumed out). It’s a good tool for getting visible dust and cobwebs out of the grates themselves.
What to look for: Varying nozzle types are available. Consider the power source – battery-powered units offer portability, while compressor attachments offer more sustained power.
Safety note: Always wear eye protection when using compressed air, as debris can be blown back at you. You’ll also want to ensure your HVAC system is off during this process to avoid circulating loose debris throughout the house.
DIY Solutions with Common Household Items
While dedicated tools are best, you might be able to get by using common items for less severe clogs or as a preliminary step. Remember, these are less efficient and might not be as safe if not done carefully.
- Wire Coat Hanger: Carefully straightened, it can be used to poke and dislodge small clumps of dust. Be very gentle to avoid puncturing ductwork.
- Long, Stiff Brush: A toilet brush or a long-handled scrub brush can sometimes reach the initial few inches of a vent.
- Microfiber Duster with Extension: Many microfiber dusters have extendable handles. These are great for cleaning the visible vent grates and the immediate area.
Important Consideration: These DIY methods are best for visible dust and cobwebs on the grate itself or the very opening of the vent. For clogs deep within ductwork, dedicated “unclog vent tools” are far more effective and less risky.
Step-by-Step: How to Effortlessly Unclog Your Air Vents

Ready to tackle those dusty vents? This guide will walk you through the process using one of the most common and effective tools: the vacuum hose extension and brush combo. Remember to always prioritize safety and be gentle with your ductwork.
Step 1: Preparation is Key
Before you start, gather your tools and prepare the area. This prevents you from making the problem worse or creating a larger mess.
- Turn off your HVAC system: Locate your thermostat and switch it to the “Off” position. This is crucial to prevent dust and debris from being circulated throughout your home while you’re cleaning.
- Gather your tools: You’ll need your vacuum cleaner, the vent cleaning tool kit (hose extension, brush attachments), and a dust cloth or old towel.
- Protect your floors: Lay down a dust cloth or towel on the floor around the vent you’ll be working on. This will catch any falling debris.
- Remove the vent cover: Most vent covers are held in place by screws. Carefully unscrew them and set them aside in a safe place. Some older vents might have clips or tabs. If you’re unsure, check your home’s manual or look for online guides specific to your vent type.
Step 2: Initial Debris Removal
This is where you get the bulk of the visible gunk out before going deeper.
- Brush the Vent Grate: Use a smaller brush attachment or even a stiff brush (like a toothbrush or grout brush) to loosen dust and debris from the vent grate itself. You can often do this while the vent is still attached, or after removing it.
- Large Debris Removal: If there are large “dust bunnies” or noticeable clumps of hair, carefully remove them by hand or with tweezers. Dispose of them properly.
Step 3: Using the Vacuum Extension Tool
Now it’s time for the main event. This is where the specialized “unclog vent tools” shine.
- Assemble your vacuum extension: Connect the flexible tubing pieces to create the desired length. Attach the appropriate brush head to the end of the extension.
- Insert the tool: Gently insert the brush head and extension into the vent opening. If you’re using a vacuum-powered spinning brush, ensure it’s securely attached.
- Work the tool gently: Slowly move the brush back and forth, and rotate it to loosen dust and debris from the sides of the duct. As you loosen debris, the vacuum will suck it up. Don’t force it; if you encounter significant resistance, you might have a more serious blockage.
- Reach as far as possible: Continue until you can no longer effectively reach or dislodge debris. For most residential systems, this tool will clear out the accessible portion of your ductwork near the vent.
- Repeat for other vents: Move on to each vent in your home and repeat the process.
Step 4: Cleaning the Vent Cover and Reassembly
Don’t forget the part you removed!
- Clean the vent cover: Take the removed vent cover outside or to a well-ventilated area. Wash it with soap and water, or wipe it down thoroughly with a damp cloth. For metal grates, you might use a degreaser if there’s a lot of accumulated grime.
- Dry the cover: Ensure the vent cover is completely dry before reattaching it.
- Reattach the vent cover: Carefully align the vent cover and secure it with its screws.
Step 5: Test Your Work
The moment of truth!
- Turn your HVAC system back on: Return to your thermostat and switch it back to your desired setting (Heat, Cool, or Auto).
- Check airflow: Feel the air coming out of the vent. You should notice improved airflow and your system should sound more efficient.
Congratulations! You’ve successfully unclogged your air vents using specialized “unclog vent tools.” This simple maintenance task can make a real difference in your home’s comfort and energy efficiency.
When to Call the Pros: Beyond DIY Tools

While these “unclog vent tools” and DIY methods are excellent for routine maintenance and clearing out the accessible parts of your ductwork, there are times when you’ll need to call in the experts. If you’ve tried our step-by-step guide and still experience poor airflow, strange noises, or persistent odors, it might be time for professional duct cleaning.
| Sign of a Deeper Problem | What It Could Mean | When to Call a Pro |
|---|---|---|
| Persistent bad odors from vents (musty, moldy, or foul smells) | Potential mold, mildew, or pest infestation within ductwork. | Yes. This requires specialized equipment and cleaning solutions. Your health and HVAC system might be at risk. |
| No or very weak airflow from multiple vents after cleaning | Major blockage deep in the main ducts, or a problem with your HVAC system itself. | Yes. Professionals have powerful vacuum systems and inspection cameras to diagnose and clear extensive blockages. |
| Visible debris or foreign objects blocking the opening | Could be anything from a rodent’s nest to construction debris. | Sometimes. If it’s easily reachable with your tools, try. If not, yes, especially if it’s large or stuck. |
| Sudden increase in dust or presence of mold spores | Severe contamination within the duct system. | Yes. This indicates a significant issue that needs thorough professional cleaning. |
| Frequent HVAC system issues or breakdowns | Clogged vents could be contributing to system strain. | Consider it. A professional HVAC inspection can determine if duct cleaning is part of a larger system issue. |
Professional duct cleaning services often use industrial-grade equipment, including high-powered vacuums, air whips, and specialized brushes designed to reach every corner of your duct system. They can also perform visual inspections using cameras to identify the extent of any contamination. Resources like the EPA’s Indoor Air Quality guidance on ducts offer further insight into the importance of clean air ducts.
Prolonging Vent Cleanliness: Maintenance Tips
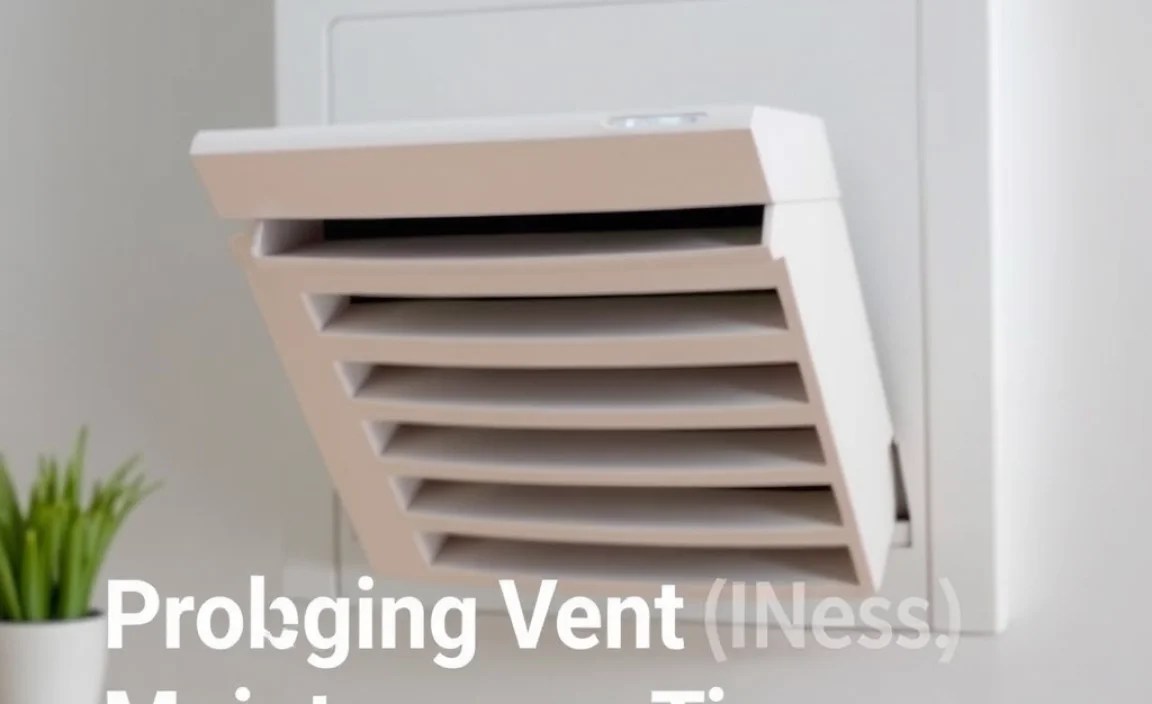
Once you’ve experienced the satisfaction of clear vents, you’ll want to keep them that way! Regular, small efforts are far easier than periodic deep cleans. Implementing these habits can significantly reduce the frequency and severity of vent clogs.
- Regular Vacuuming: Vacuuming your floors and upholstery regularly is the first line of defense. This captures a lot of the dust and debris before it even has a chance to float up to your vents. Pay special attention to areas around vents.
- Change HVAC Filters Frequently: Your HVAC filter is your system’s primary air cleaner. A clogged filter means your system is working harder and can’t effectively capture airborne particles, which then end up in your vents. Check your filter monthly and replace it as needed. Many experts recommend replacing standard 1-inch filters every 1-3 months, while thicker media filters might last 6-12 months. For precise recommendations, consult your HVAC system’s manual or a qualified technician. The U.S. Department of Energy offers good advice on maintaining your HVAC system.
- Use High-Quality HVAC Filters: Consider upgrading to filters with a higher MERV (Minimum Efficiency Reporting Value) rating. These are more effective at capturing smaller particles like allergens and fine dust, thus reducing what makes it to your ducts. A MERV rating of 8-13 is typically excellent for residential use, balancing filtration with airflow.
- Keep Doors Closed: If one room is significantly dustier (e.g., a workshop or a room with a lot of pets), keeping the vent closed in that room when not in use can reduce the amount of debris it sends through the system.
- Address Pet Grooming: Regular brushing of pets, ideally outdoors, will drastically reduce the amount of pet hair and dander that circulates in your home.
- Be Mindful of DIY Projects: When undertaking home renovations or crafts, try to seal off vents in the work area or cover them loosely with a cloth to prevent dust from entering the ductwork.
- Schedule Periodic Visual Checks: Make it a habit to glance at your vents every few months. If you see a buildup starting, it’s much easier to tackle than a large, established clog.
By incorporating these simple practices into your routine, you’ll vastly improve your indoor air quality and reduce the strain on your HVAC system, making those future “unclog vent tool” sessions less frequent and much easier.
Frequently Asked Questions About Unclogging Vents
Q1: How often should I unclog my air vents?
A: For most homes, a visual inspection and light cleaning of the vent covers every 1-3 months is sufficient. A deeper clean using “unclog vent tools” for the immediate ductwork might be needed every 6-12 months, or more often if you have pets or notice reduced airflow sooner.
Q2: Can I damage my ducts by trying to unclog them?
A: It is possible, but unlikely with the right tools if you are gentle. Be careful not to force tools into the ducts, puncture them with sharp objects, or use excessive pressure. Using flexible extensions and soft brushes designed for this purpose minimizes risk.
